


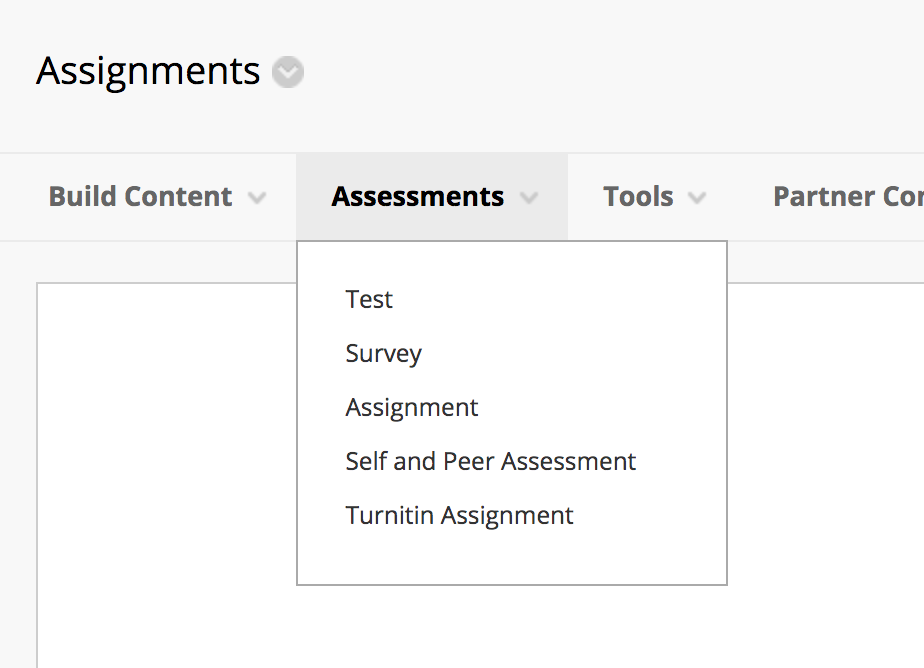
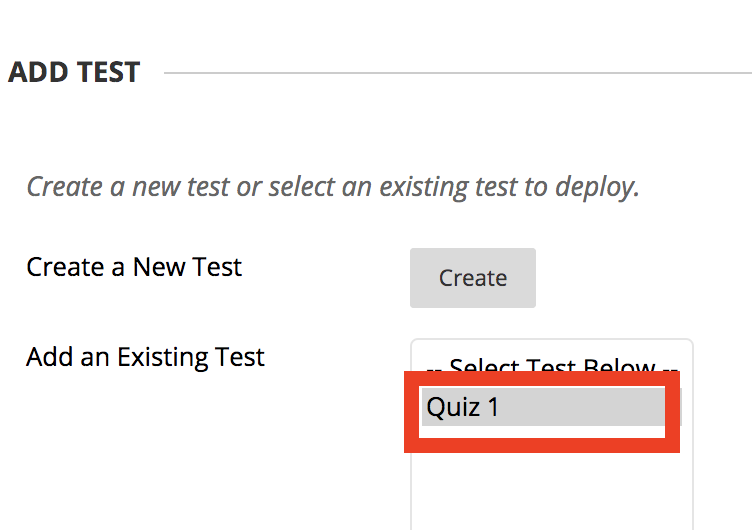
When adding a test to the Assignments page, you can either create a new test or select a previously made test. Since we have no previous tests, let’s make a new one.
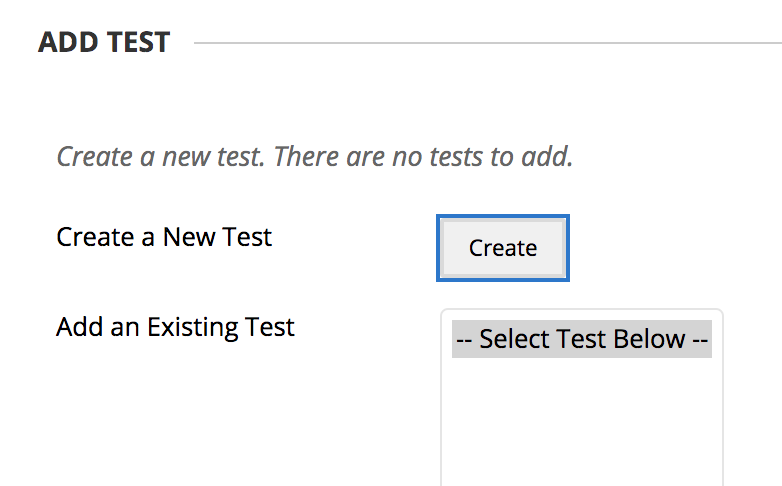
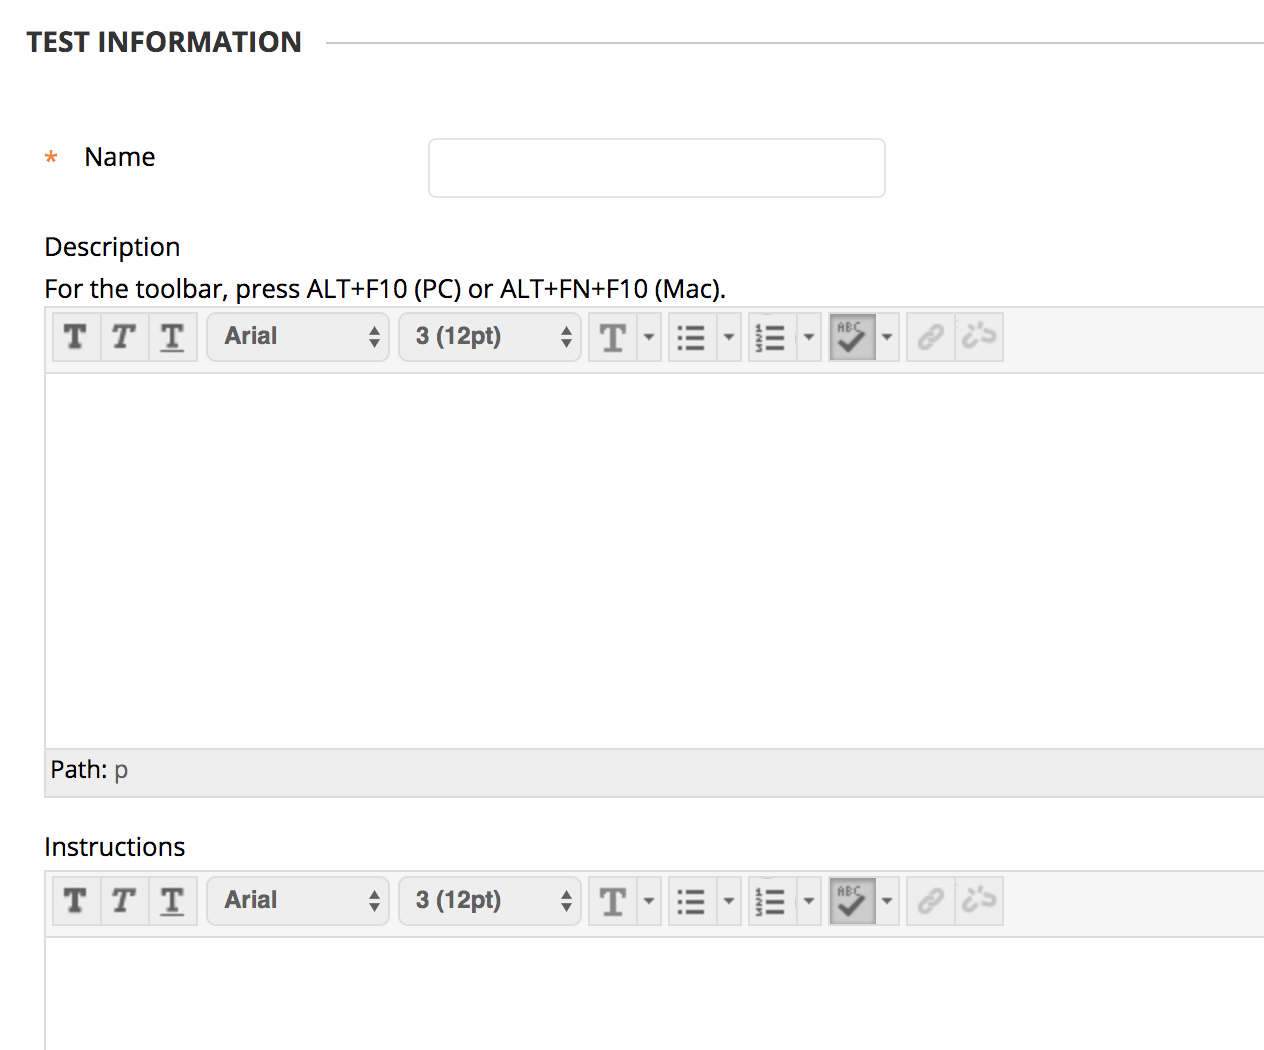
1) Select Create and fill in the name of the test, a description if you want one, and instructions. Then click Submit.
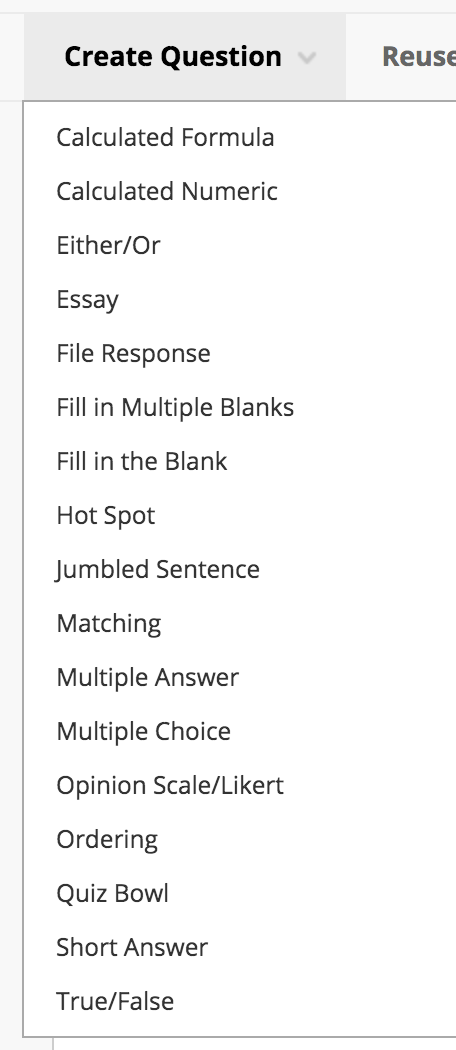
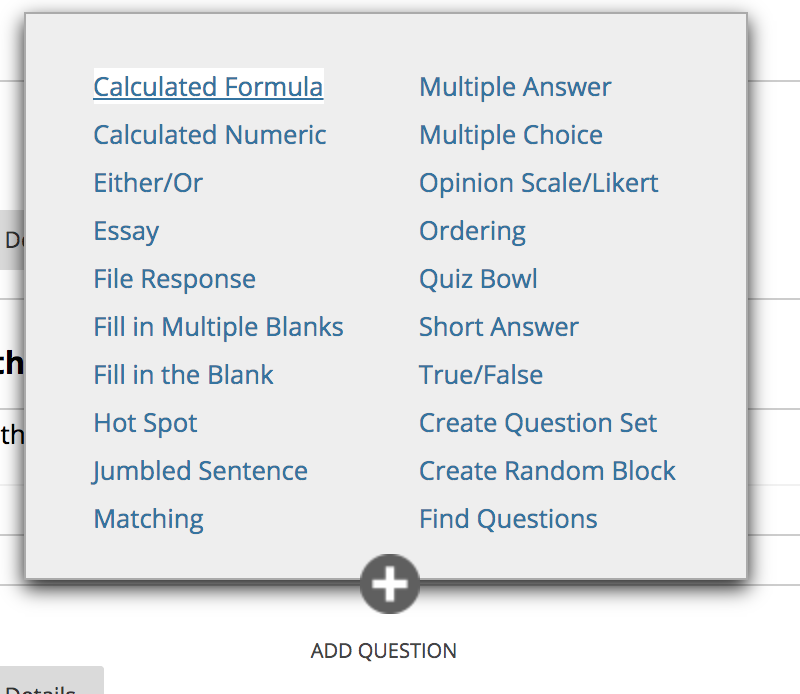
2) This will then take you to your test. Right now your test has no questions so we’ll have to make them by selecting the Create Question dropdown menu on the left.

This will give you many options for what type of questions you can create. We will go over the most commonly used formats: Essay and Multiple Choice.
Essay
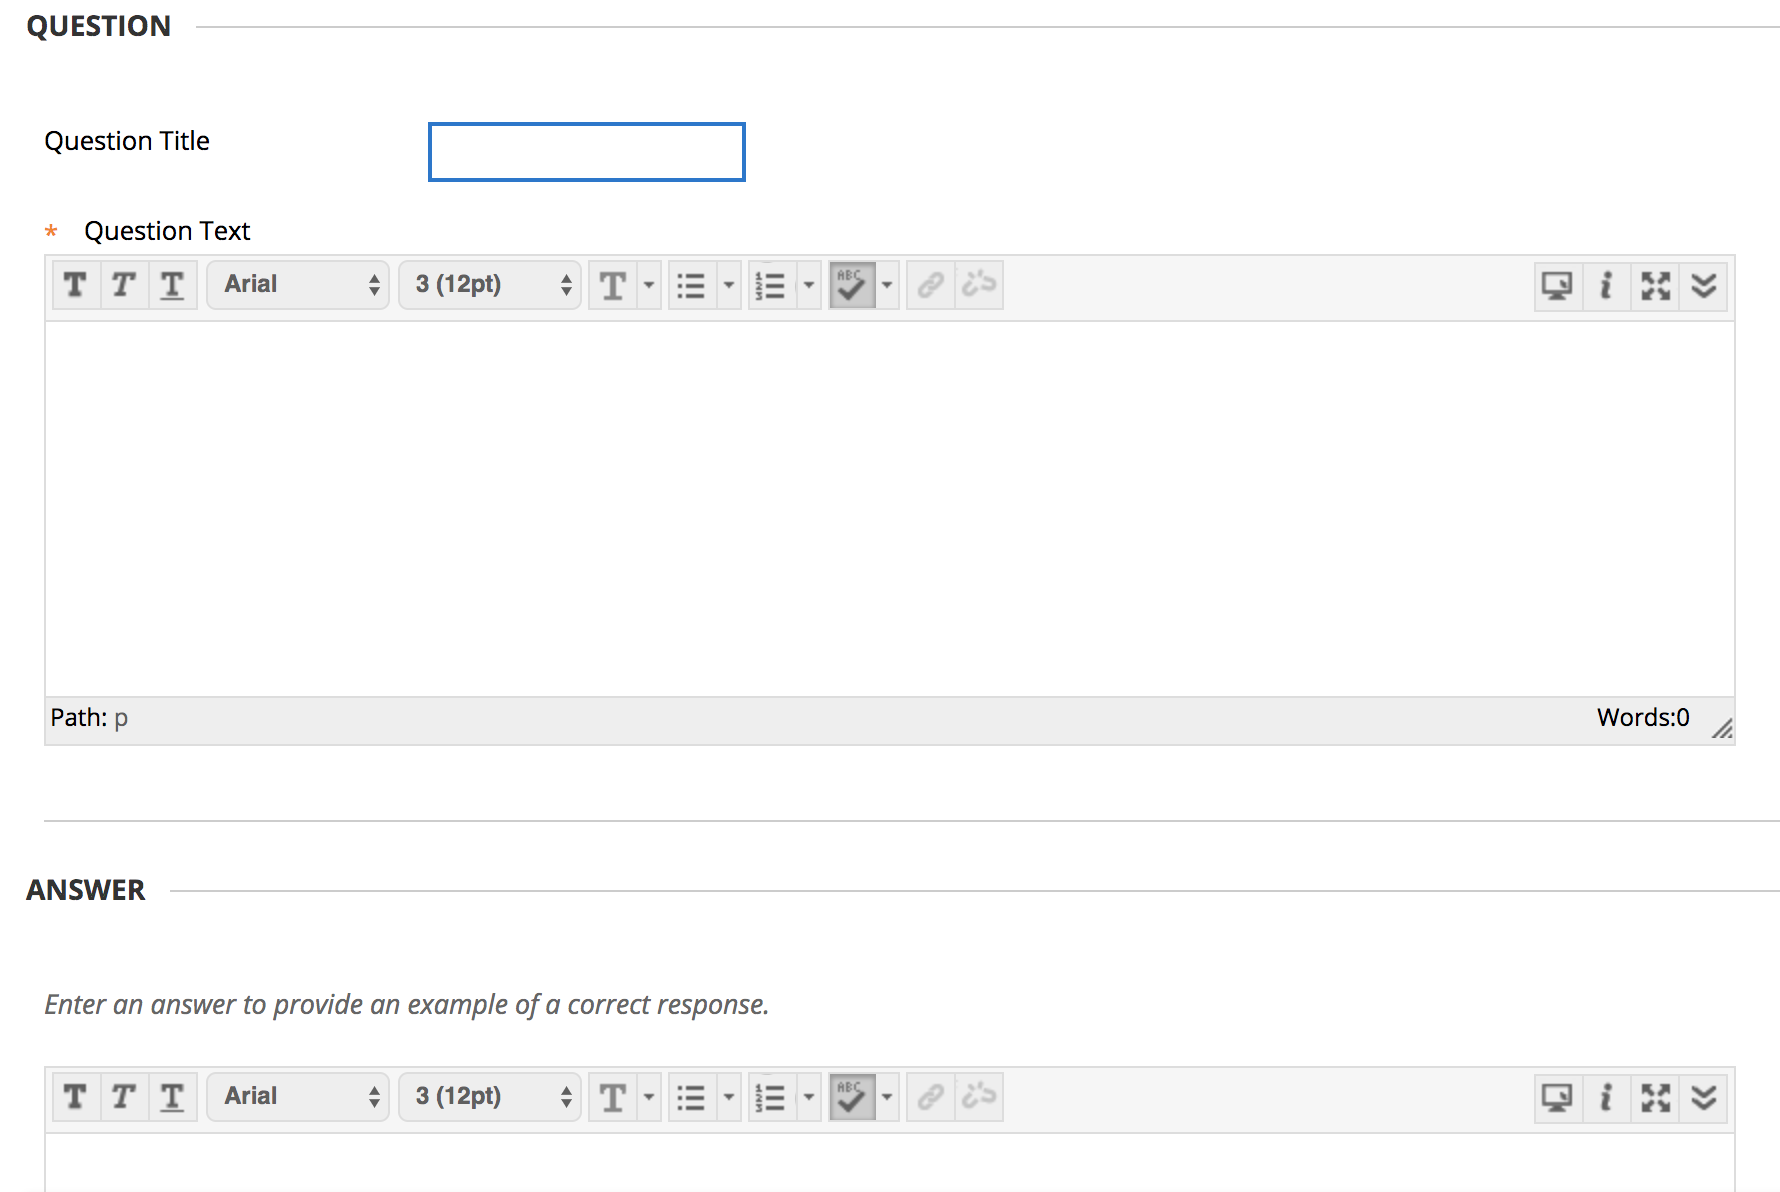
1) Select Essay and input the essay prompt under Question Text. Underneath the Question section you will see an Answer section. You don’t need to fill that out.
2) Then scroll down the page to where you see Rubric. This is an optional section where you can create a rubric for how the question will be graded. If you would like to use a Blackboard rubric, we suggest creating a new rubric (if you haven’t already made one).
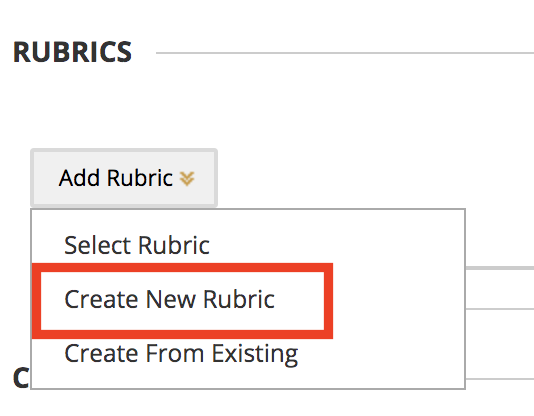
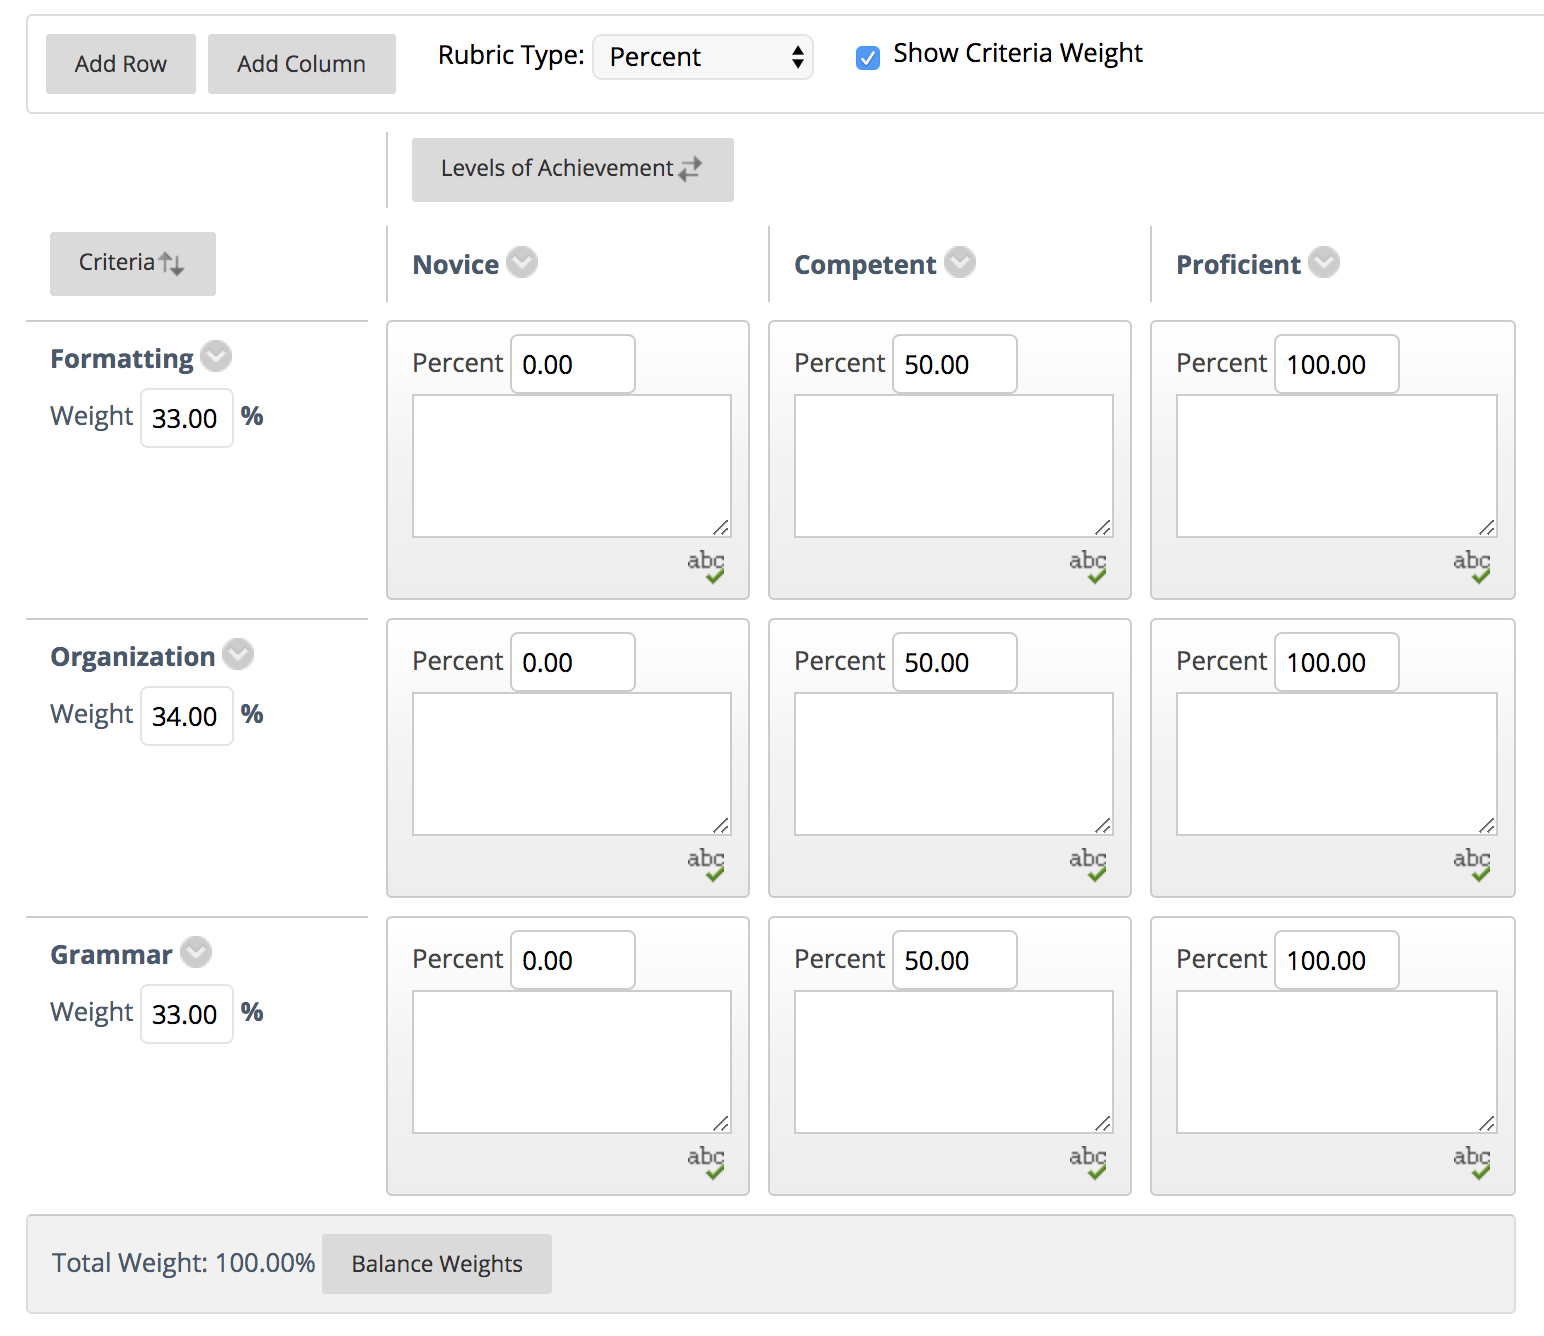
After selecting Create New Rubric, a new pop up window will show up. After naming the rubric, scroll down and you will find a table. You can add additional rows and columns in the upper left-hand corner. Under Rubric Type you can choose to have the question be graded by percent or points. Once you’re satisfied with your rubric, hit Submit.
You will then see your rubric under the Rubric section. From here you can delete, edit, view, or change whether or not students can see it.

3) Once you’re finished editing the essay question, click Submit or Submit and Create Another if you’re still creating questions.
Once you submit it, you will see your finished question under the Test section.
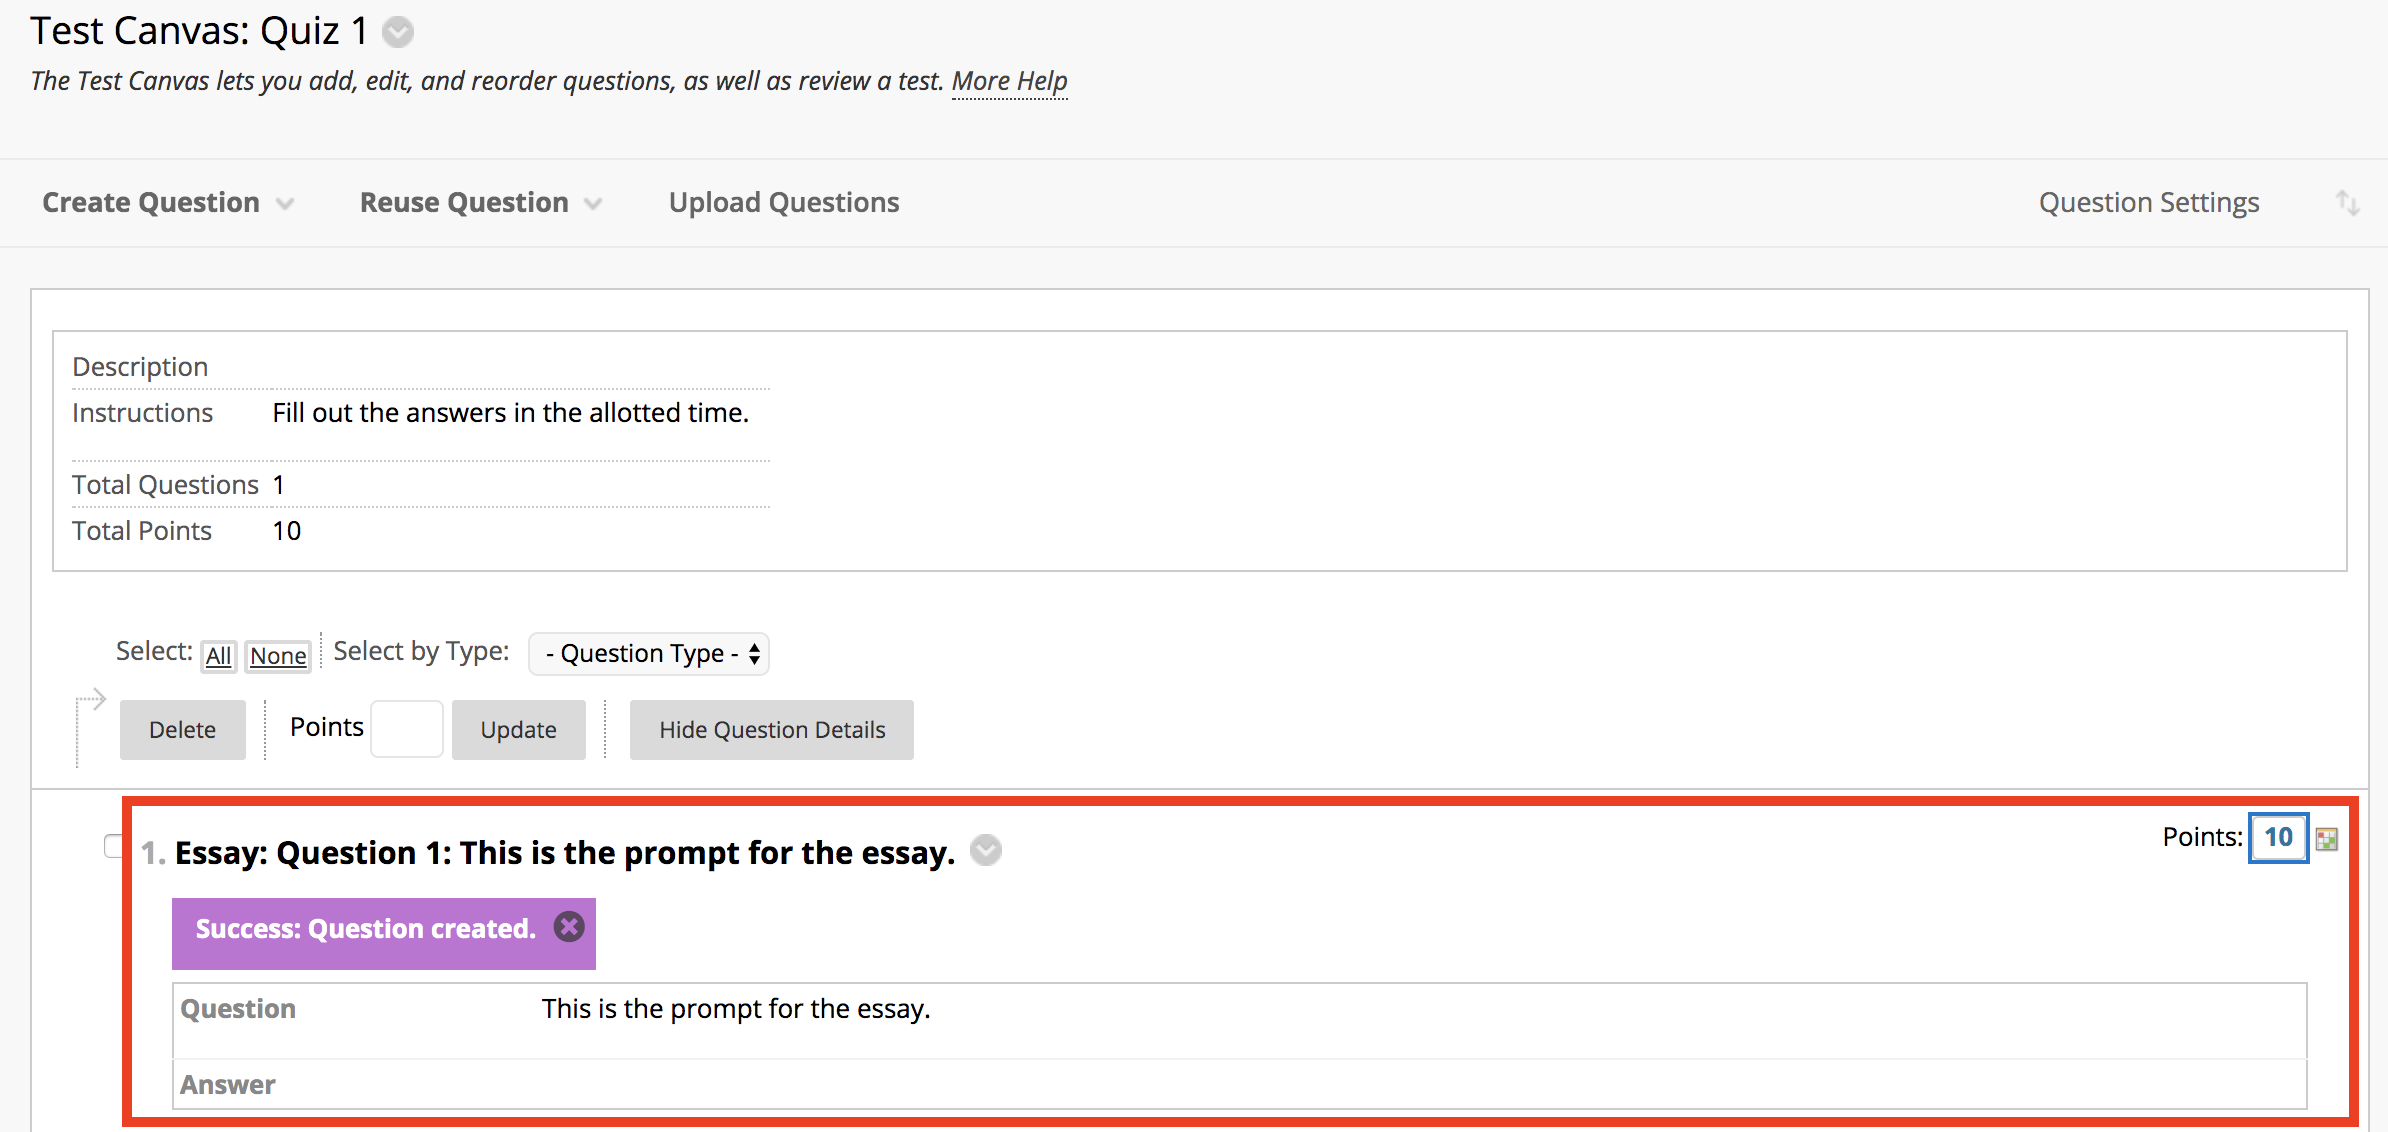
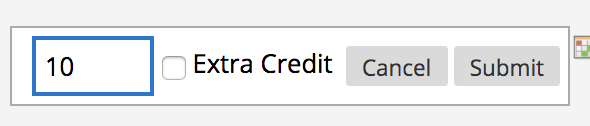
4) In the right corner, you can change how many points you’d like the question to be worth. To save any changes, click Submit.
If you hover your mouse over the question, the purple bar will show up on the left (meaning you can drag to re-order) and two plus signs (+) will show up at the top and bottom of your question. If you select the plus sign on the bottom, you will be given the option to create a new test question which will be ordered after this current one. If you select the plus sign at the top, you can create a new test question that will be placed before this current one. 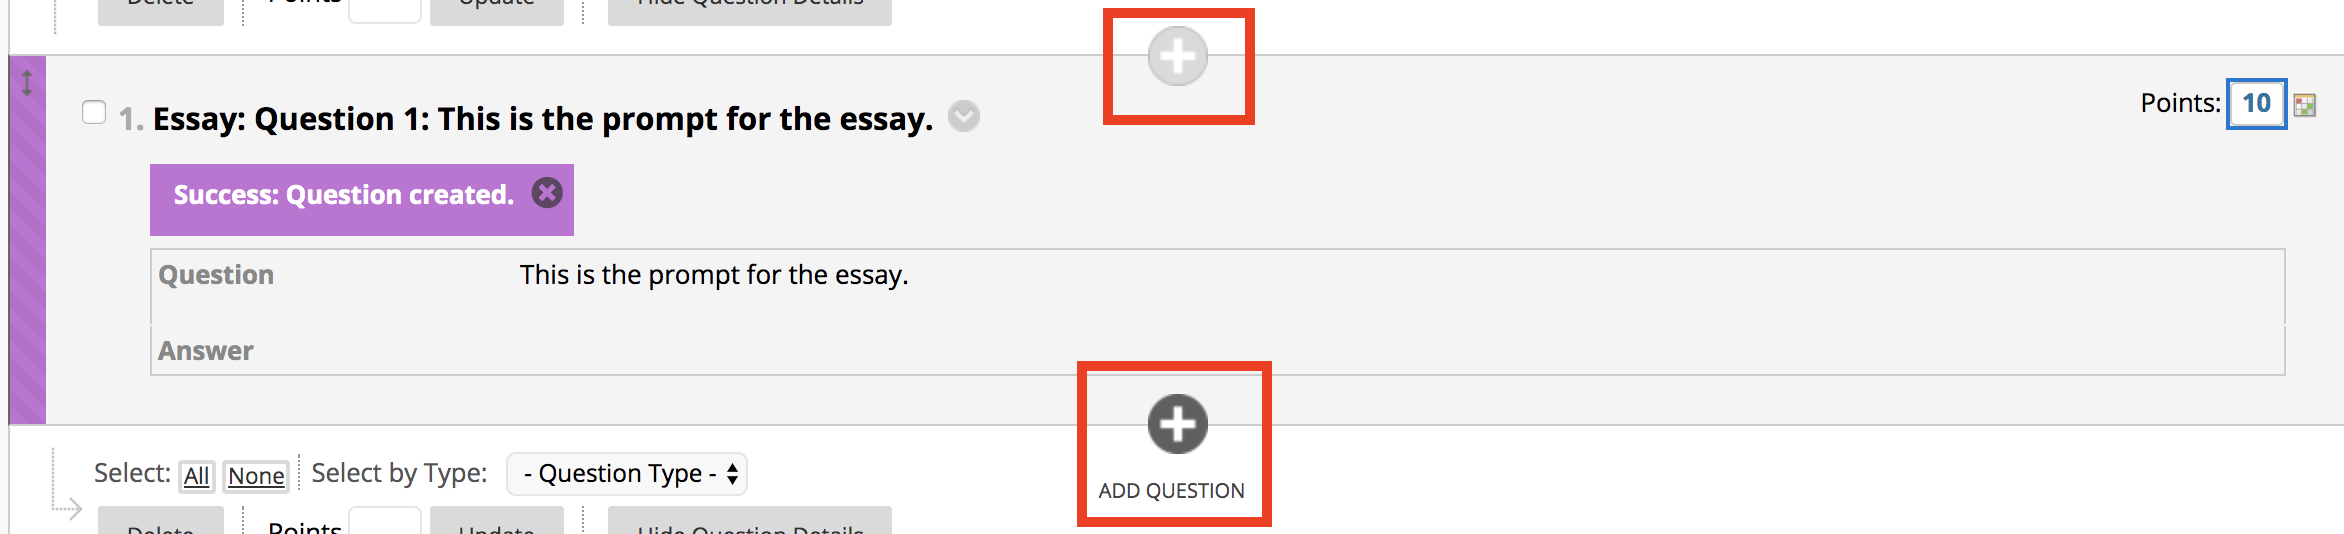
Let’s add a multiple choice question after this essay question.
Multiple Choice
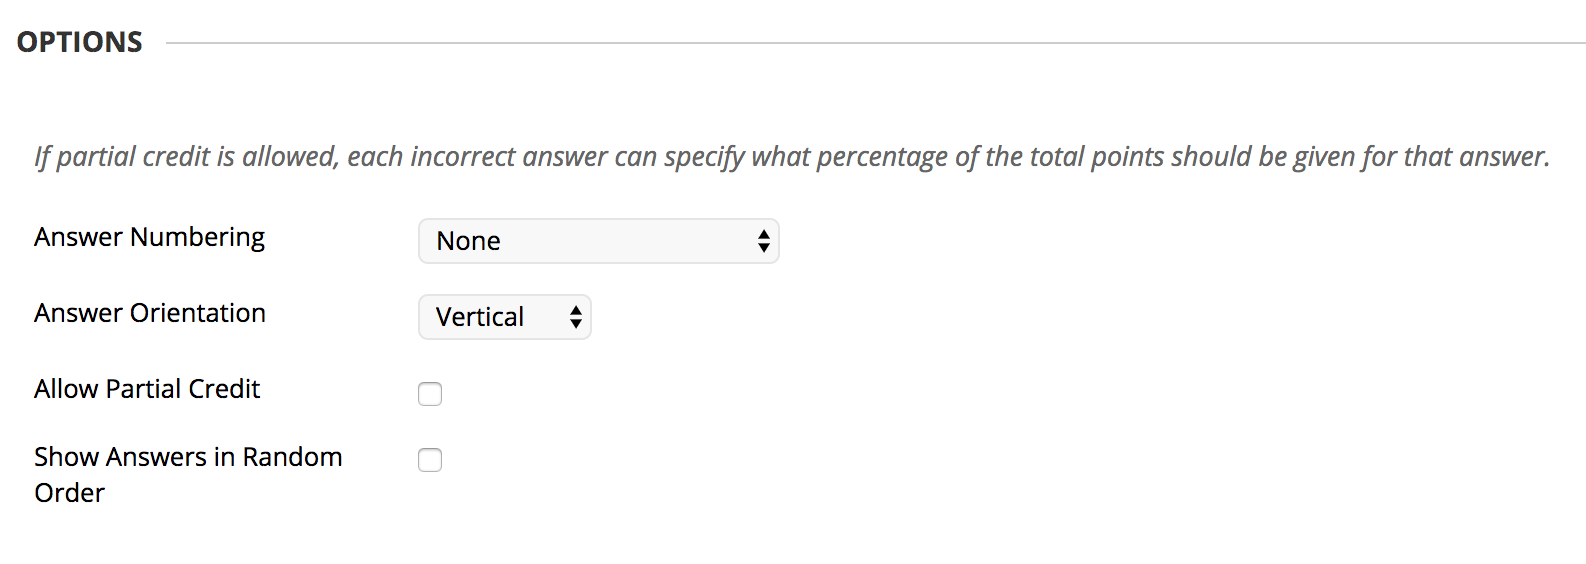
1) It will again prompt you to input the prompt or question under Question Text. Then under the Options section you can choose how your answers are numbered, the orientation, if you want to allow partial credit, and if you want the answers to appear in a random order.
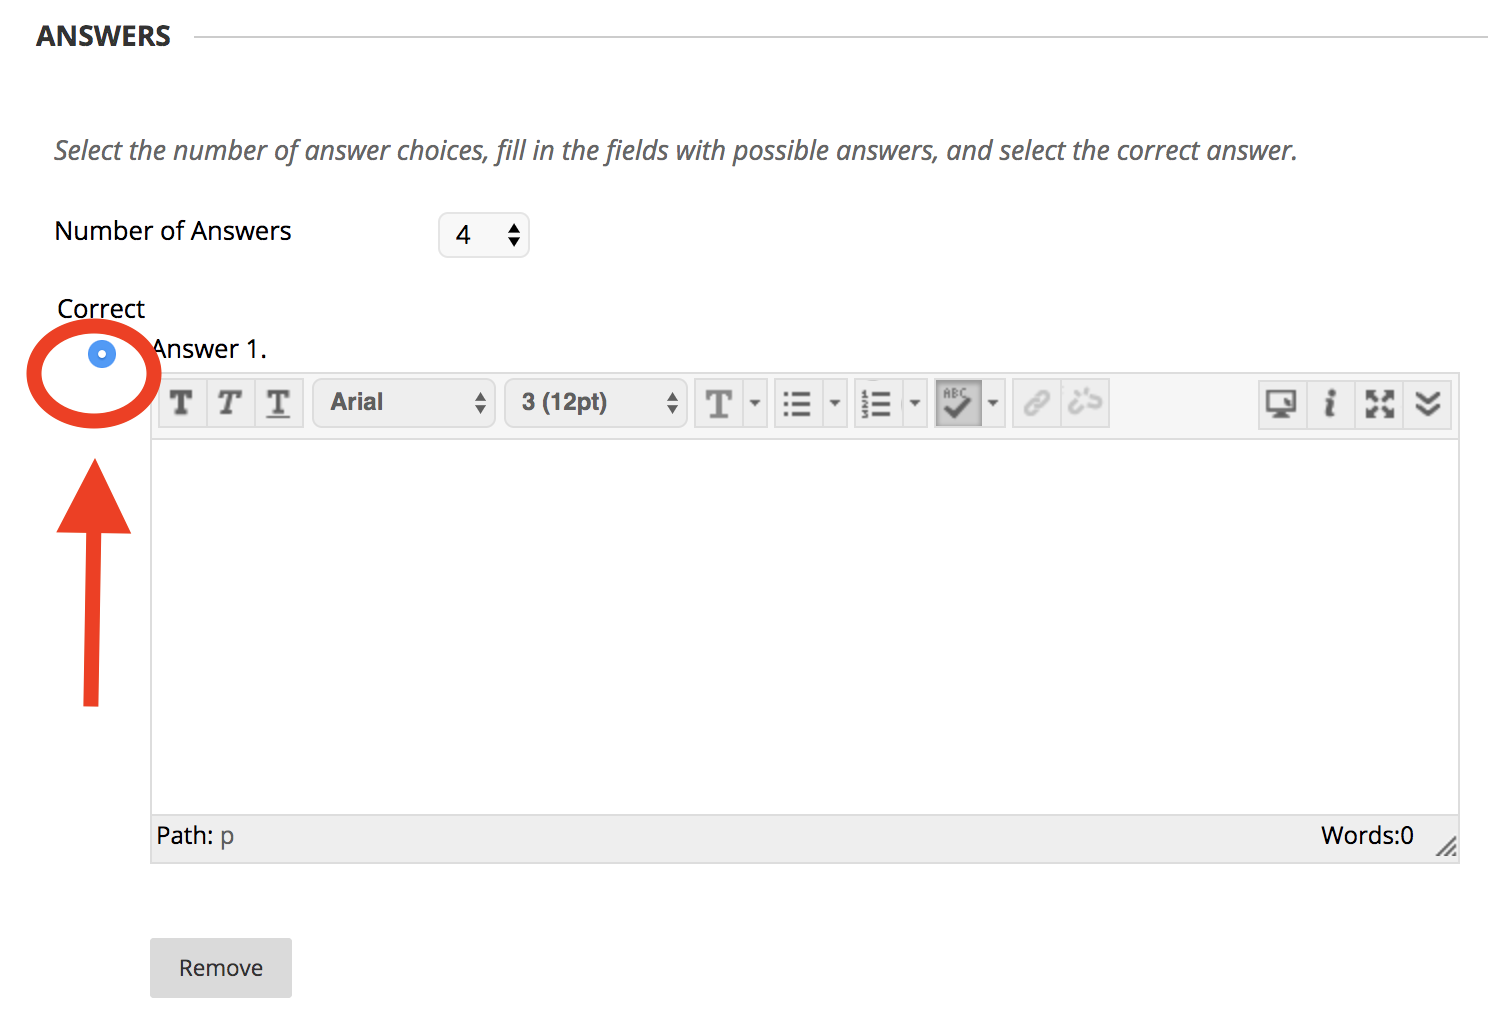
2) Under the Answers section, first choose how many options you would like to give. Then fill out all the options. Select the option that is the correct answer by selecting the circle to the left of the correct answer.
3) When you are finished, click Submit.
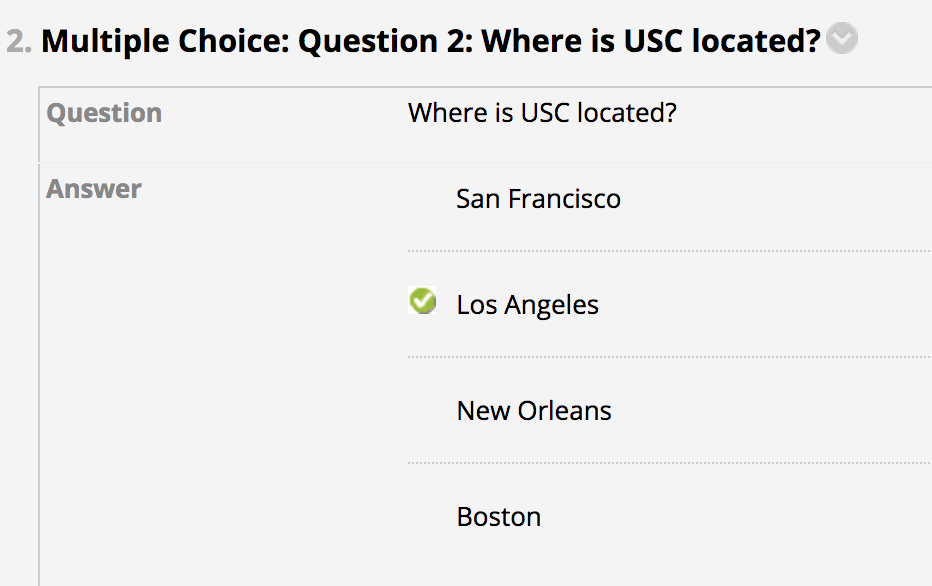
4) Now you can view your multiple choice question in the test section. It will show the question at the top and show all the choices you provided. A green checkmark will show up next to the correct answer.
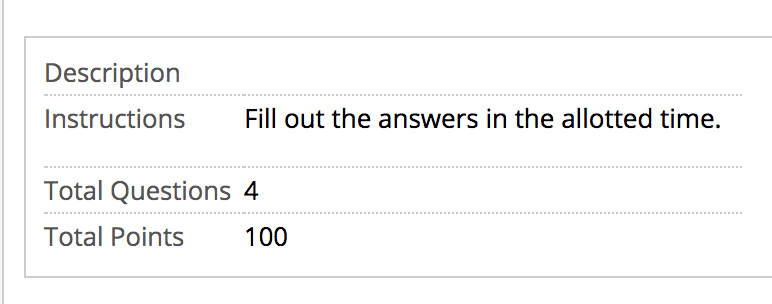
Once you are done creating all your questions, you can scroll to the top of the page and check how many questions you have and how many points in total this test is. Then scroll to the bottom of the page and click Ok.
5) You will then be taken back to the Create Test page where you will now see your new test/quiz in the Existing Test section. Select your test and click Submit.
Other Setting Options
You will then be brought back to the Test Information page. Scroll down to see more customizable options. You can choose to show instructions before the students start the test or to open it in a new window.

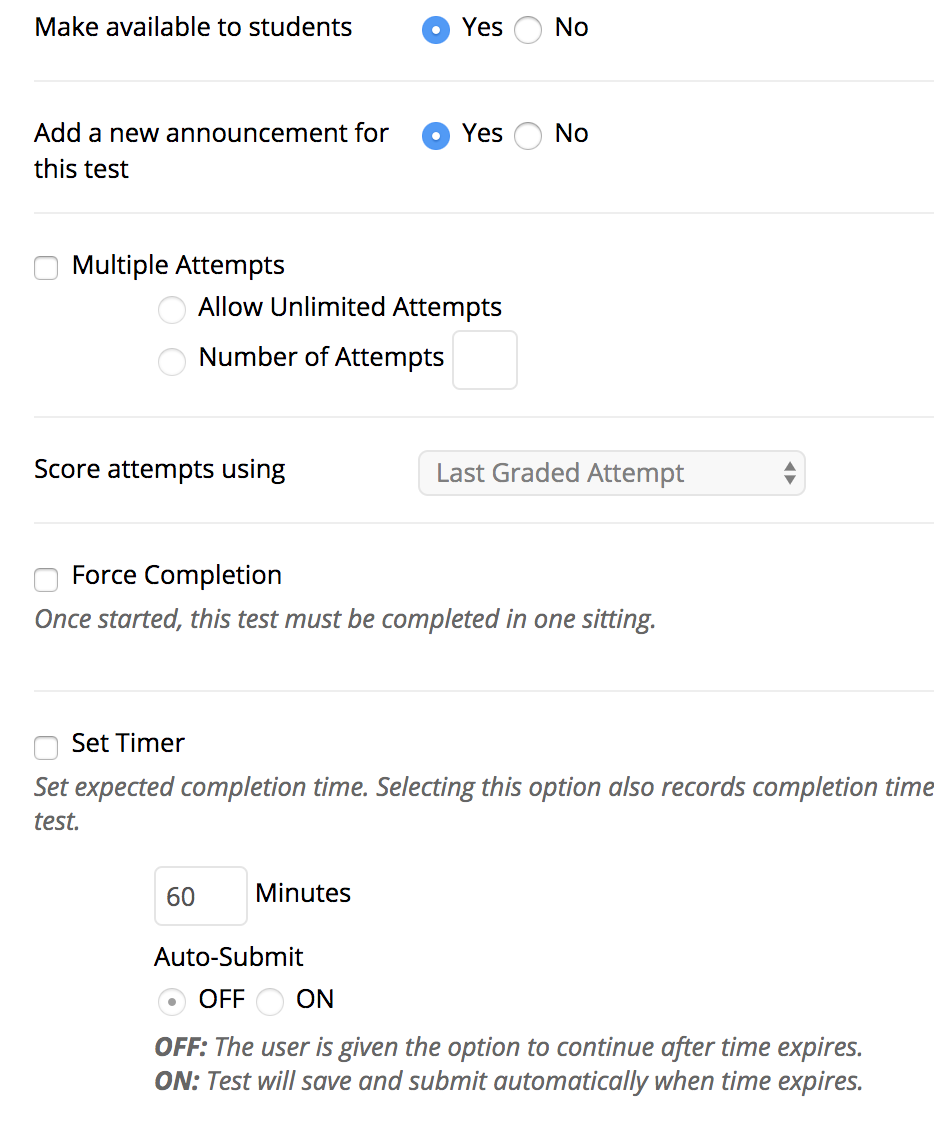
Below that we have the Test Availability section. You can allow your students to have multiple attempts, force completion, or set a timer.
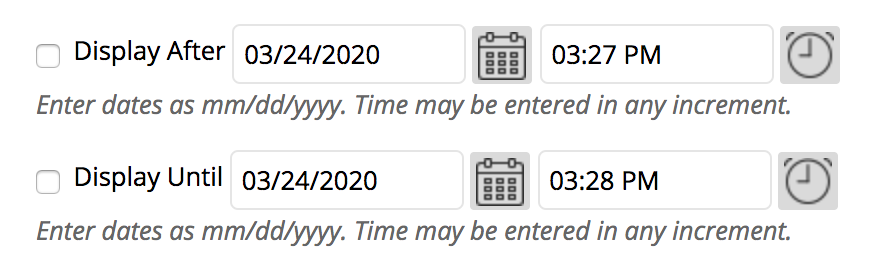
You can then choose to have the test made available and unavailable on a certain day and time.
*note: If you decide to make a date for Display Until, the student can still access the test until that very last second. So if you’ve included a 60 minute timer and the student enters the test within the last minute, the student will still have 60 minutes to complete the test.
The next section, Test Availability Exceptions, is for students who may need extra time. First, select Add User or Group and select the students who need this exception. After their name shows up, you can select how many attempts they will get for the test and how long the test will be available to them.
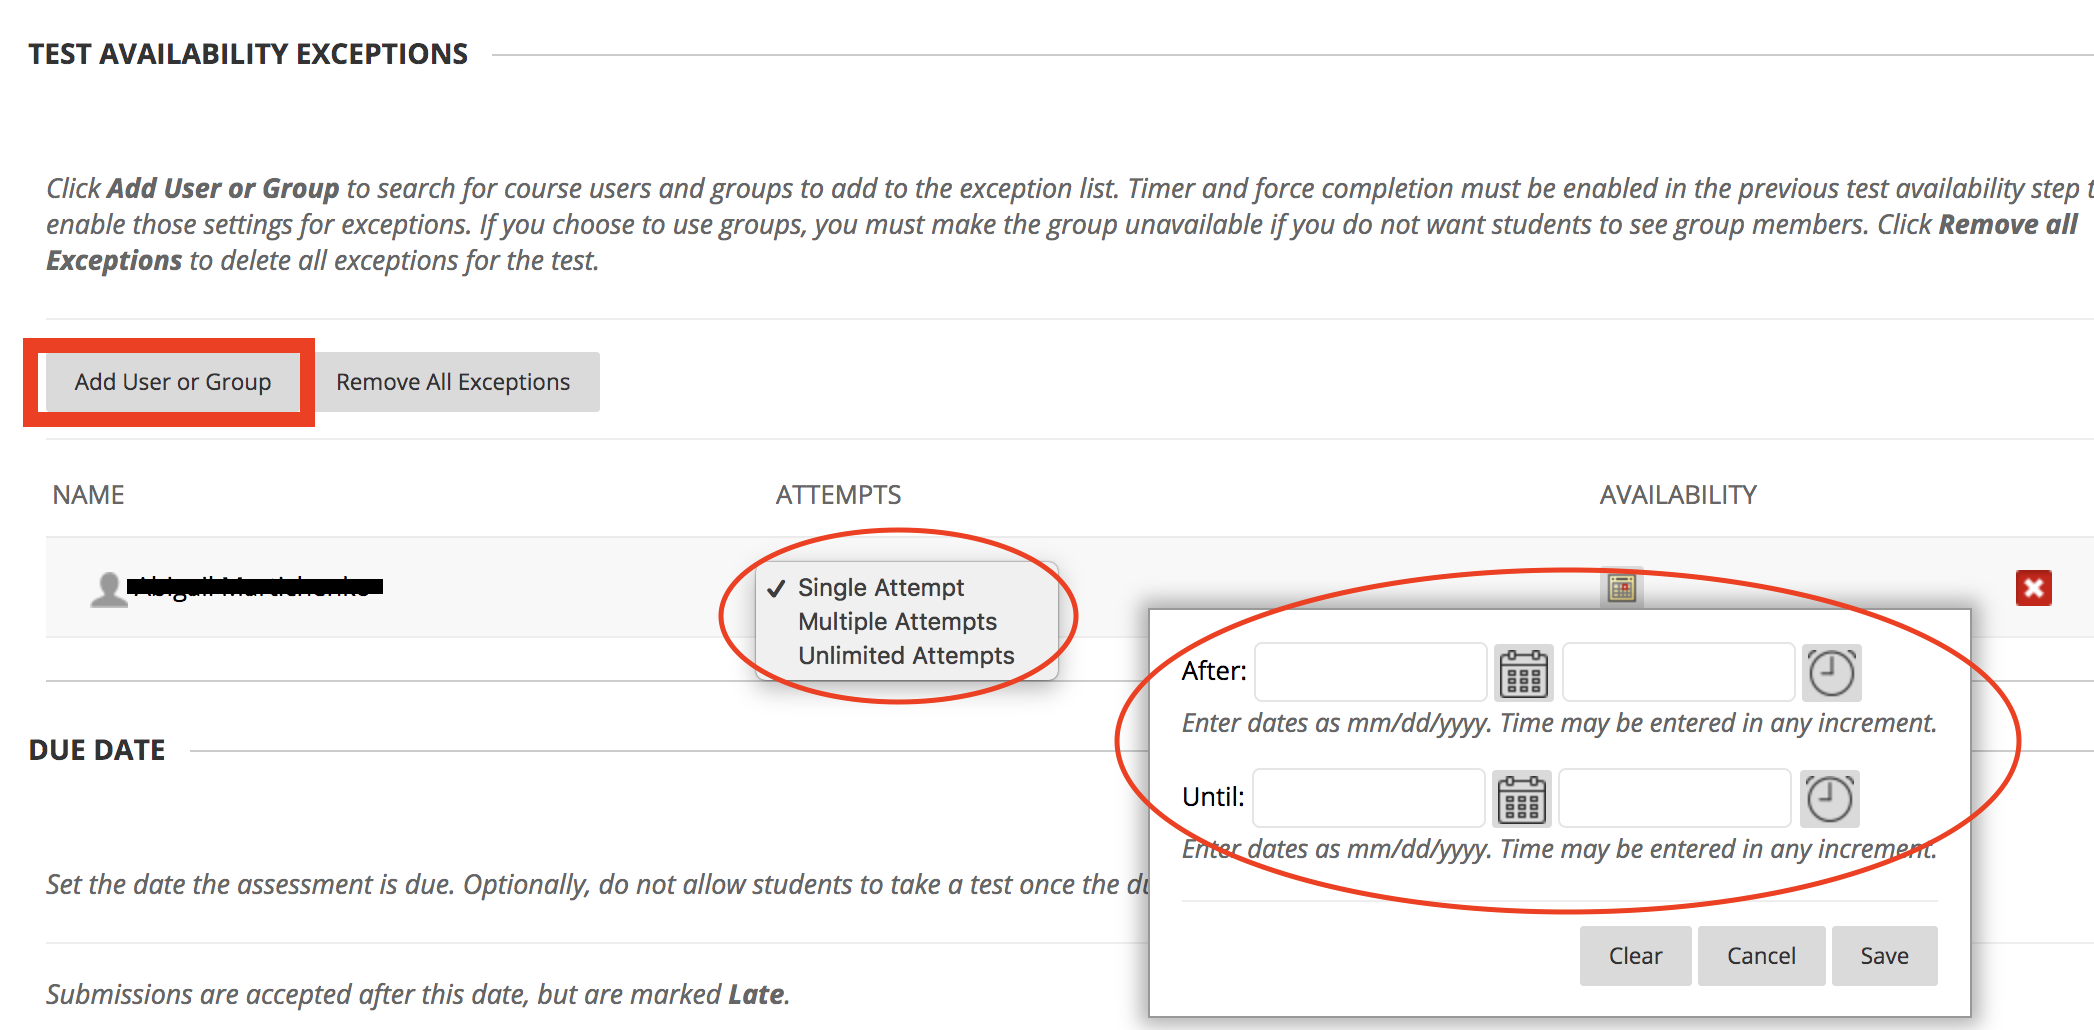
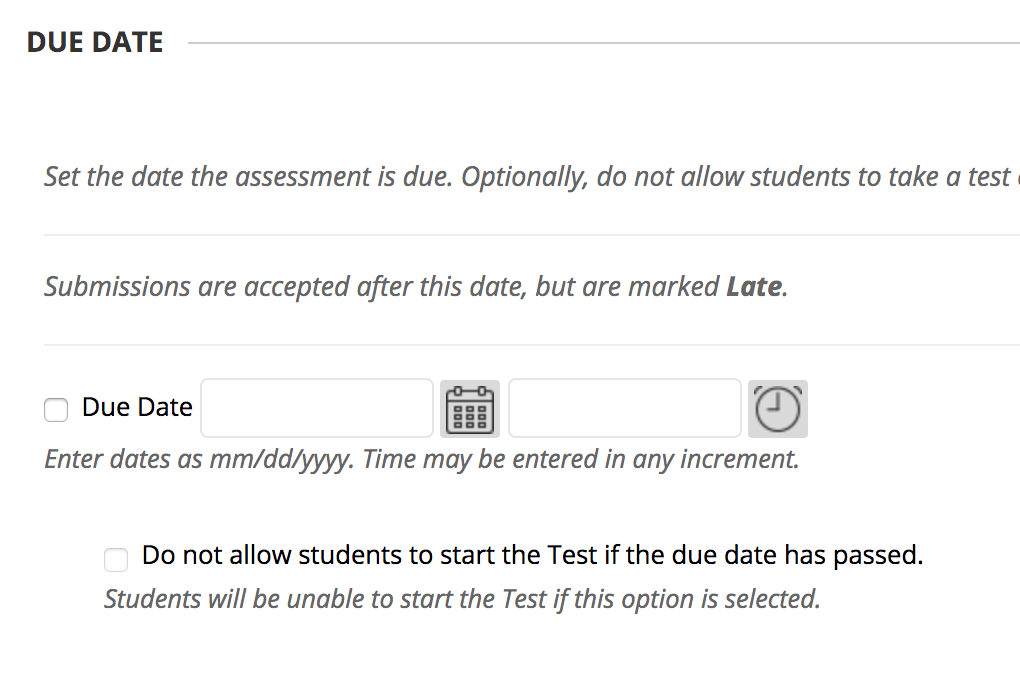
Scroll down and you will find the Due Date section. This section is for creating a deadline for your students to submit.
Under the Self Assessment section, you will want to keep the checkbox checked that shows the students their grades. Below that, you can also choose to share the test results with your students.
Once you’re satisfied with all the settings, click Submit.