


Topics
Screencast from the live session of the ASCJ 200 Course
You don’t have to be an illustrator or animator to start using Adobe Illustrator! Follow this tutorial on how to start creating simple shapes and icons. First, we’ll cover some basics to working in Illustrator if you’re completely new to the program. Feel free to skip over this if you aren’t.
Understanding Illustrator
Vector vs. Raster
Before we dive into Creative Cloud’s graphics creation software, let’s go over the important distinction between raster- and vector-based graphics.
Most of the images that you come across on a regular basis are raster-based, meaning that they are made up of a grid of tiny pixels that come together to form the whole image. Computer monitors, TVs, and smartphone displays all render images using pixels, so raster graphics are the most common way to show things as simple as a smiley face or as complex as a photo. Photoshop works in raster graphics.
On the other hand, we have vector-based graphics in Illustrator, which use mathematical expressions in the form of points, lines, curves, and shapes to make up an image, such as a logo or an illustration.
While it is more difficult to generate fine details with vector compared to raster, the advantage of vector graphics is that you can scale them up or down as much as you want without distortion. This means that you can use the same design on a business card or blown up on a billboard with no impact to quality.

Understanding Points and Paths

Paths are the line segments that make up the overall structure of the artwork that you create (the skeleton). For instance, a rectangle is made up of a path that has four vertical lines that all connect and there are four points (the joints) in the corners. Every shape and object will have path and anchor points. Notice the red outline of this line created in Illustrator. It shows the points (the red dots) and the paths (the red lines connecting the dots) that make up this object.
Selection Tool and Direct Selection Tool
The Selection Tool ![]() is your cursor that will allow you to select objects in your document and move them around.
is your cursor that will allow you to select objects in your document and move them around.
The Direct Selection Tool ![]() allows you to select points within an object and move the points around to manipulate that path.
allows you to select points within an object and move the points around to manipulate that path.
Next, we’ll cover how to pull free vector assets from the internet and Adobe and then delve into Illustrator to show you how to make your own!
Pulling Free Assets Without Any Work
Adobe Creative Cloud Assets
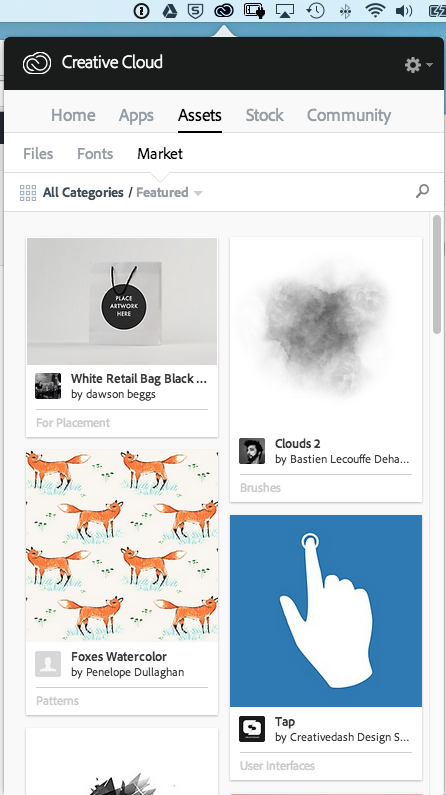
As part of the Adobe Creative Cloud subscription, you have access to a wide variety of royalty-free icons, graphics, and patterns. If you don’t have time to create your own vectors, then this can save you a lot of time. However, keep in mind that making your own icons helps you keep a consistent look and feel throughout your infographic.
1) Open up your Adobe Creative Cloud and go to the Assets tab. From here you can browse assets by categories or use the Search area to find what you’re looking for!
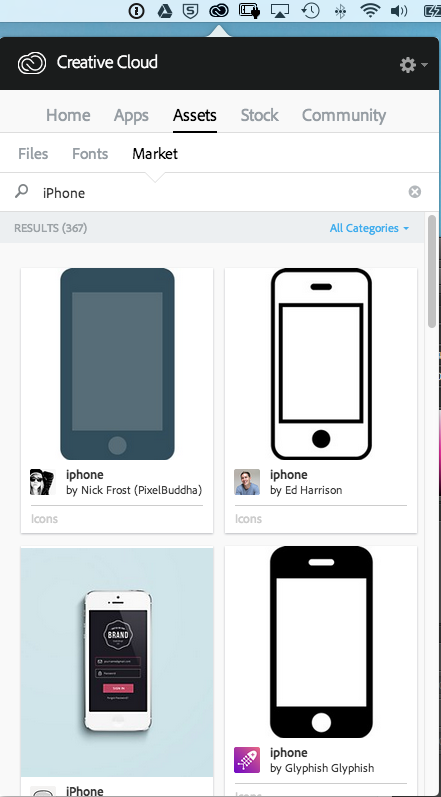
2) As an example, we’ll search for an iPhone. Tap on the magnifying glass and type iPhone. You can scroll through the results and find exactly what you want. In this case, we want to find a vector of an iPhone and not a realistic photo.
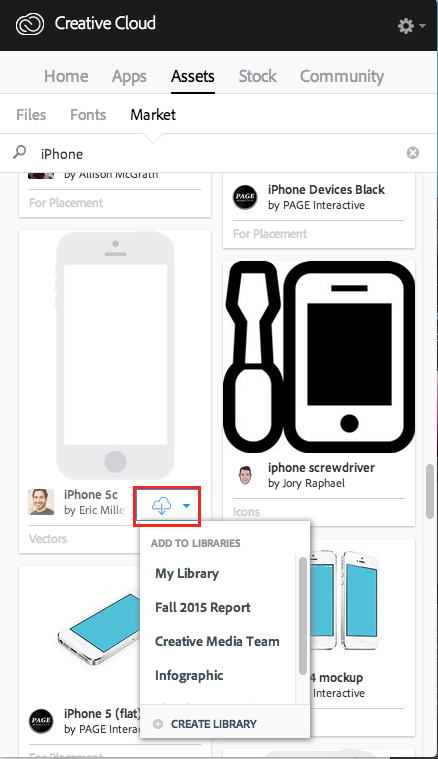
3) Once you’ve found one you like, hover until you see a cloud with a down arrow – this is the download button! Click on the icon and it’ll ask you were you want to send your asset. You can save it in your Library or create a new Library. It might be helpful to create a library for each project that you’re working on, so that you can separate your assets for different projects. In this case, I’m just going to choose My Library.
4) Now when you are in Adobe Illustrator, go to Window > Libraries to open up your Libraries panel if it’s not already visible. Now, you can simply click and drag the asset from the Library panel into your artboard!

Using Pre-made Assets Online
There are resources online that create free vector graphics for infographics that you can download and use! Visit our Pinterest and check out our Infographic Elements & Examples board to download some.
For example, you can download one created by FreePik here. Download the .zip at the end of article when you follow the link. When you open the zip, you should see an .eps or .ai files. When you open the file in Illustrator, you will see lots of icons and charts that you can manipulate for your infographic. Simply copy and paste those elements into your own artboard.
Now let’s go over how to make your own icons in Illustrator!
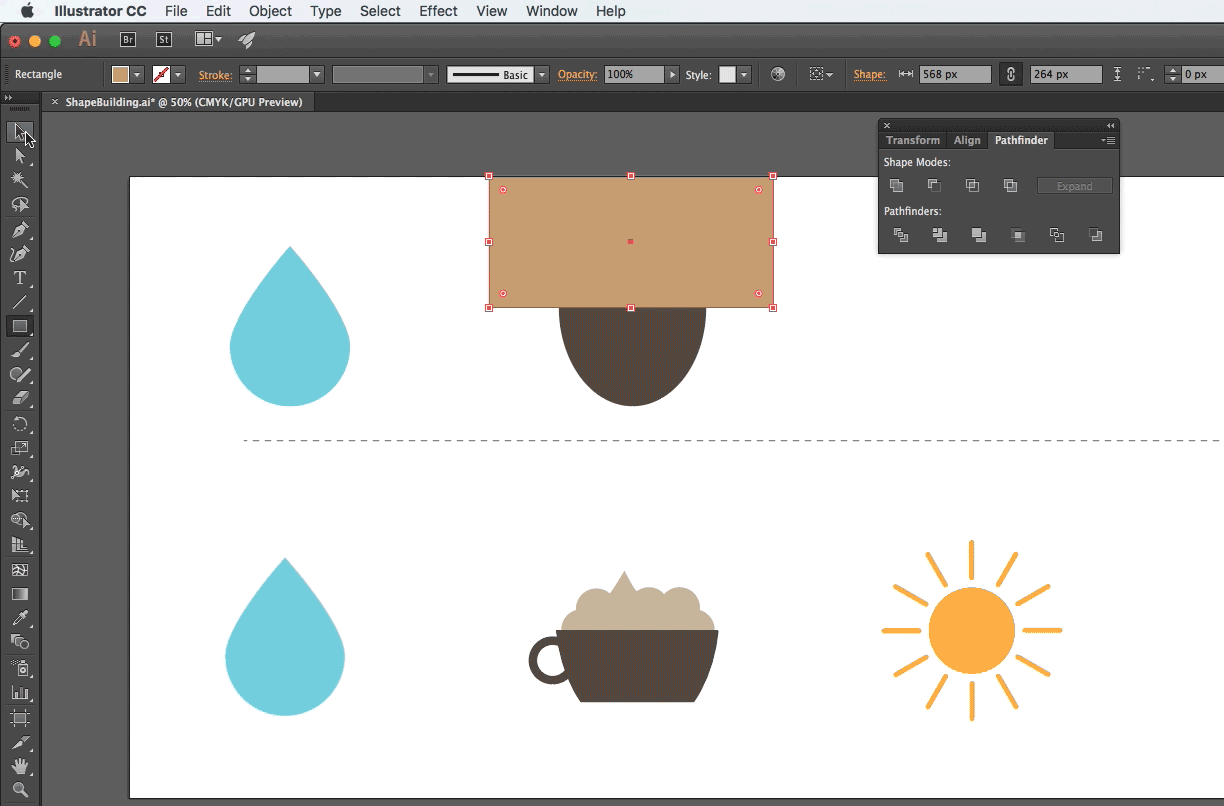
Shape Building
Both the Pathfinder Panel and Shape Builder Tool can help you put shapes together to create objects. These tools allow you to combine, divide, and subtract shapes from each other.
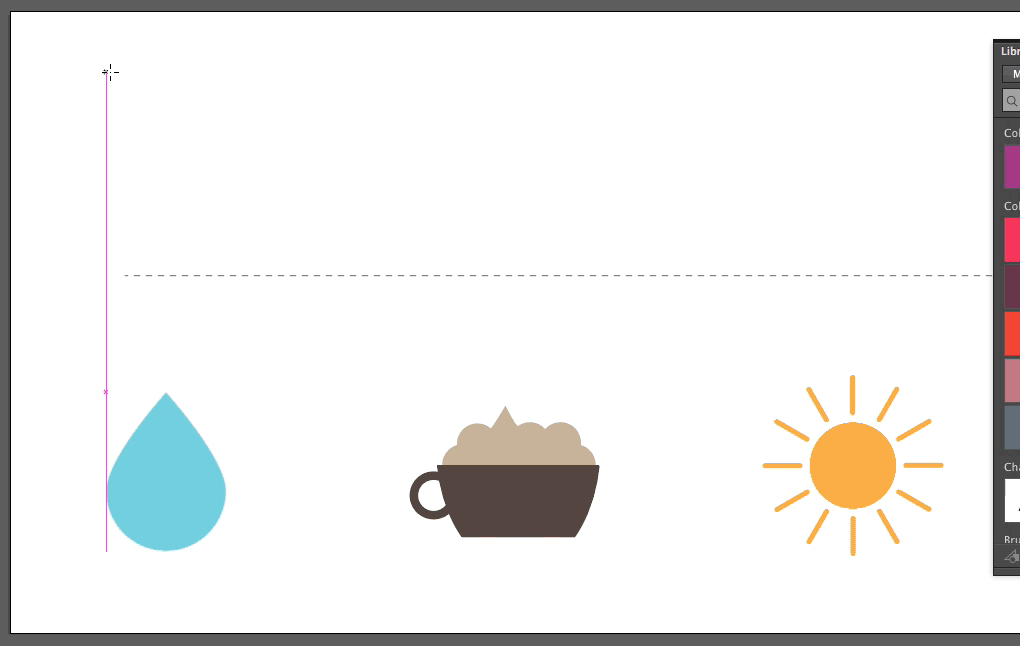
We’ll be creating these shapes for this tutorial:

Download the ShapeBuilding.ai file here.
Object #1: Water Droplet
1) Open up Adobe Illustrator. File > Open…. the ShapeBuilding.ai file.
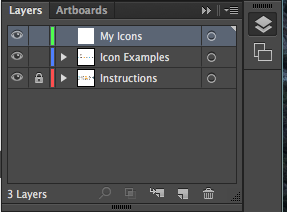
2) On the right hand side, you’ll see a Layer panel. Click on the icon if it’s not showing, you’ll notice that I’ve separated the Instructions elements from the Icon Examples. Click on the Create a New Layer icon ![]() . Name the layer My Icons by clicking on the name to type in a new name.
. Name the layer My Icons by clicking on the name to type in a new name.
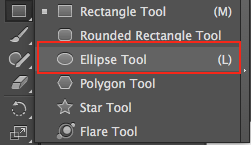
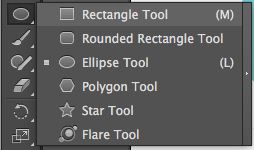
3) We’ll start with the water droplet and then work our way right! Before you know it, we’ll have created all the shapes. Select the Ellipse Tool. The Ellipse tool is hidden underneath the rectangle tool – click and hold on the tool to get the list of other tools. (Note: A tool has hidden tools if it has a little triangle next to the icon!)
4) Click and drag on the artboard to start drawing a circle. Hold down Shift while you do this to keep the circle proportional.
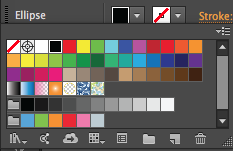
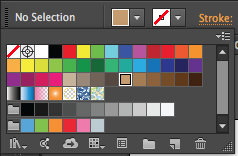
5) Next, we’ll change the color of the circle to be blue! Go to the tool properties at the top. The first box is the fill color of your shape and the second box changes the stroke color. Click on the little triangle next to the first box to choose a blue fill color.
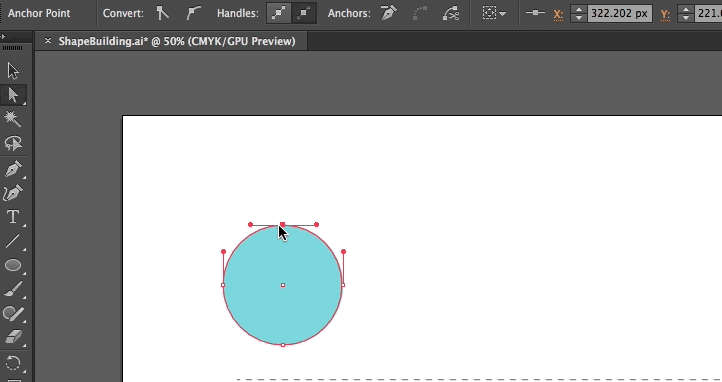
6) Using the Direct Selection tool ![]() , choose the top anchor point of the circle. Then in the tool properties bar, Convert the point to an anchor point. Next, hold down Shift and press the up key until you have a shape similar to the one shown!
, choose the top anchor point of the circle. Then in the tool properties bar, Convert the point to an anchor point. Next, hold down Shift and press the up key until you have a shape similar to the one shown!
Voila! You have a water droplet.
Object #2: Coffee Cup
1) Select the Ellipse Tool ![]() again.
again.
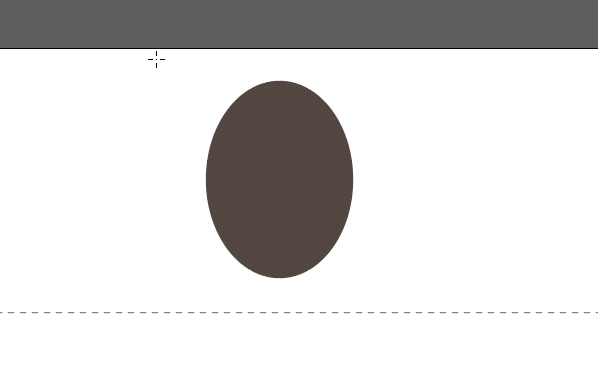
2) Draw an oval. In this situation, you do not hold shift, because you don’t want the circle to be proportional!
3) Change the fill color to a dark brown.
4) Choose the Rectangle Tool now.
5) I’m going to change the fill color to a lightbrown before drawing. Since I’m doing to draw a rectangle on top of the oval, I want to be able to see the color difference.
6) Click and drag to create a rectangle that lays on top of the oval.
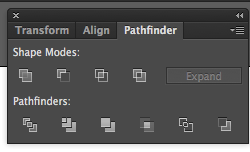
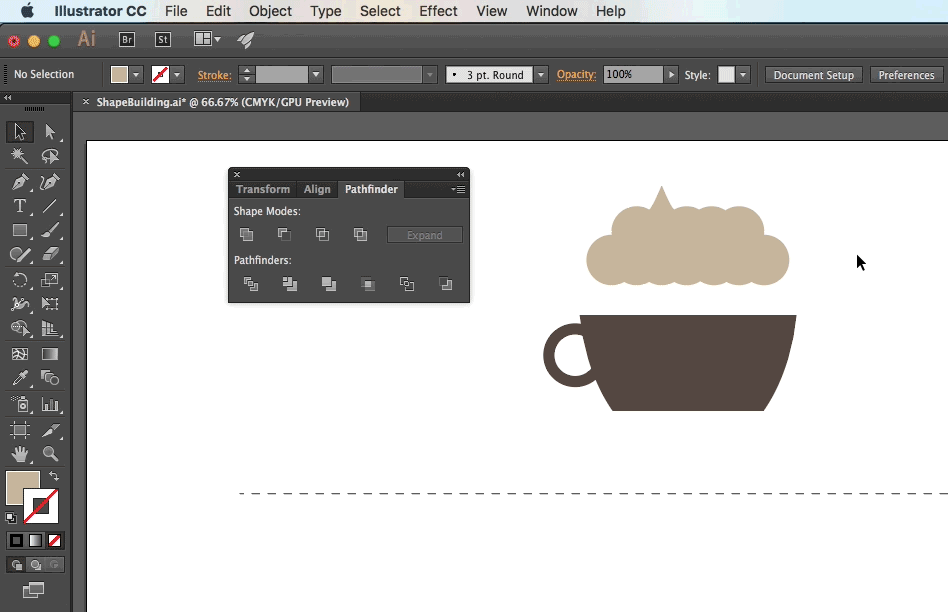
7) Go to Window > Pathfinder. This will open a panel that allows you combine, subtract, and divide objects.
8) Using the Selection Tool ![]() , select both objects and then choose Minus Front. This will subtract the rectangle from the oval.
, select both objects and then choose Minus Front. This will subtract the rectangle from the oval.
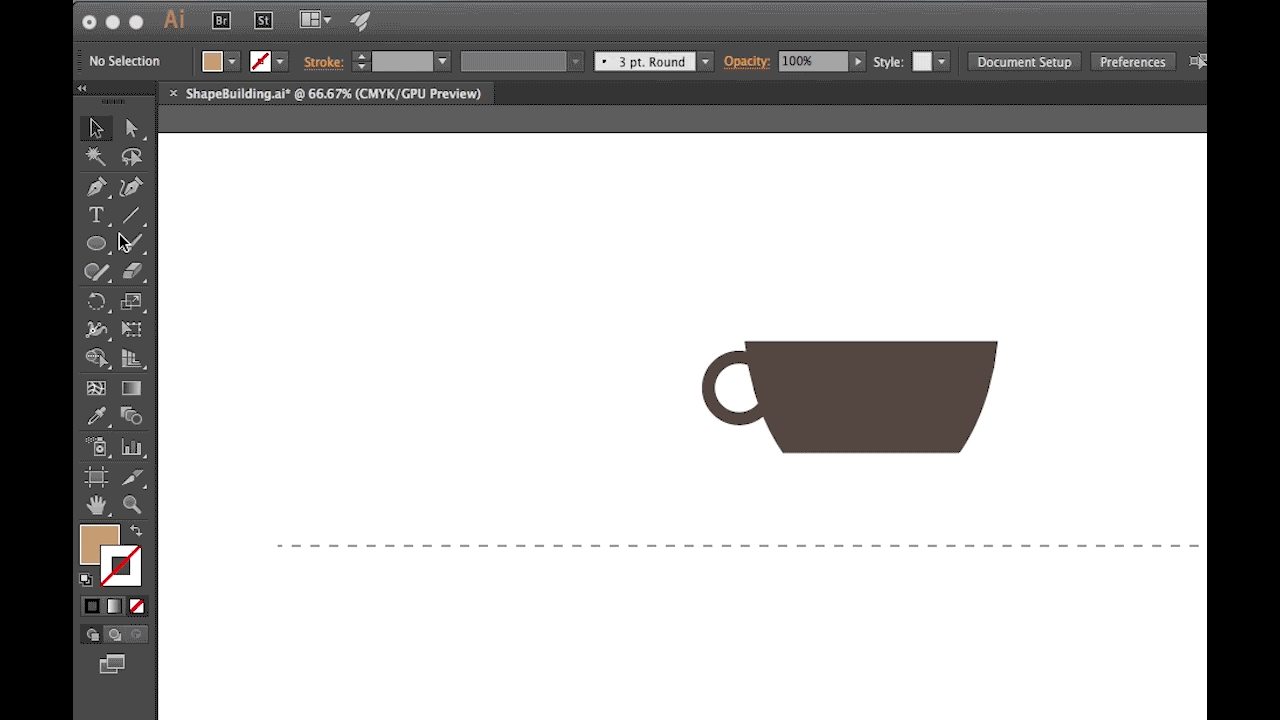
9) Repeat the same steps of creating a rectangle on top of the bottom part of the Oval. Select both objects and Minus Front. Now you have the body of the coffee cup!


10) Select the Ellipse Tool again and click and drag to create a handle for the cup.

11) Give the handle a fill of None and a stroke of dark brown and set the stroke to 16pt.
![]()
12) Your coffee cup should look like this now:

13) Using the Ellipse Tool, we are going to create foam! Select the Ellipse Tool and draw a small circle. Then select the Selection tool. Click on the small circle you’ve created, and while holding Alt the entire time – click, drag, and let go. Repeat this until you have a nice pattern of circles as shown below.
14) Select the Selection Tool and select all the circles. The pathfinder window should still be open. If not, go to Window > Pathfinder. Choose Unite.
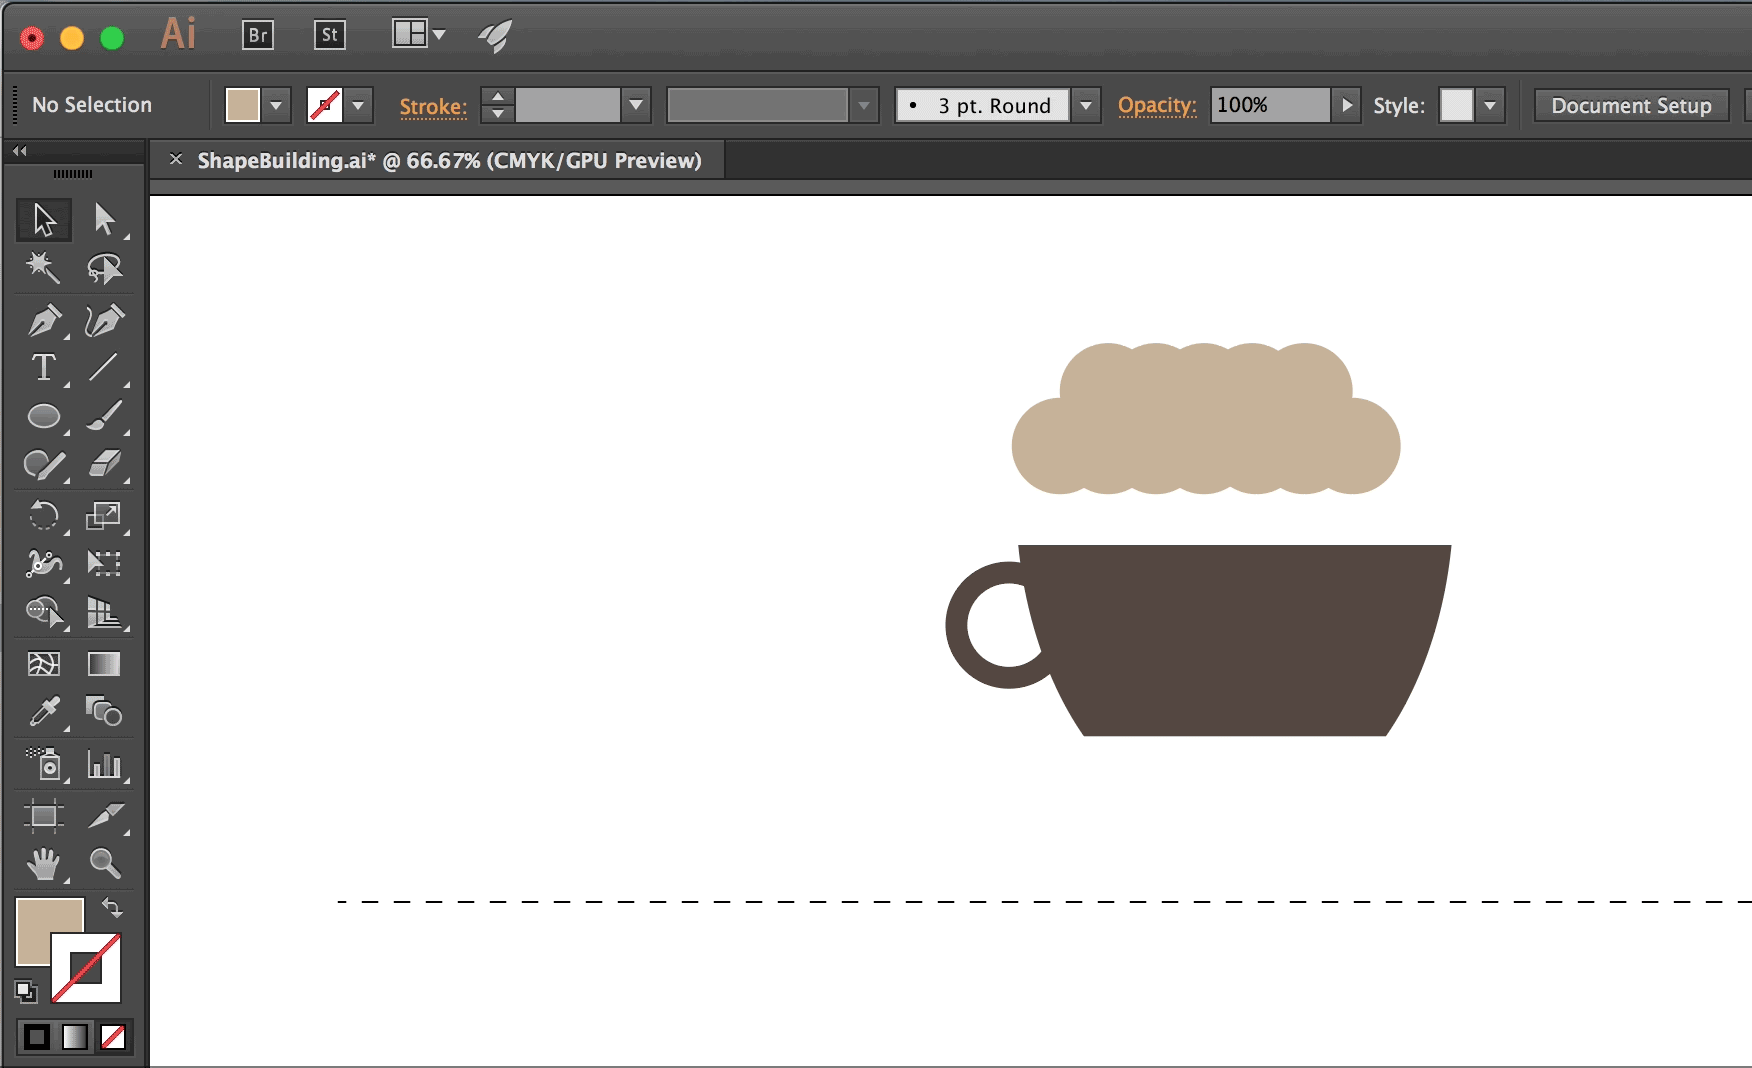
15) Select the Selection Tool and choose the top anchor point of one of the circles. We’ll convert the point to a corner anchor point just like we did for the water drop! And then while holding Shift, press the up key on your keyboard a few times to get a foam peak.
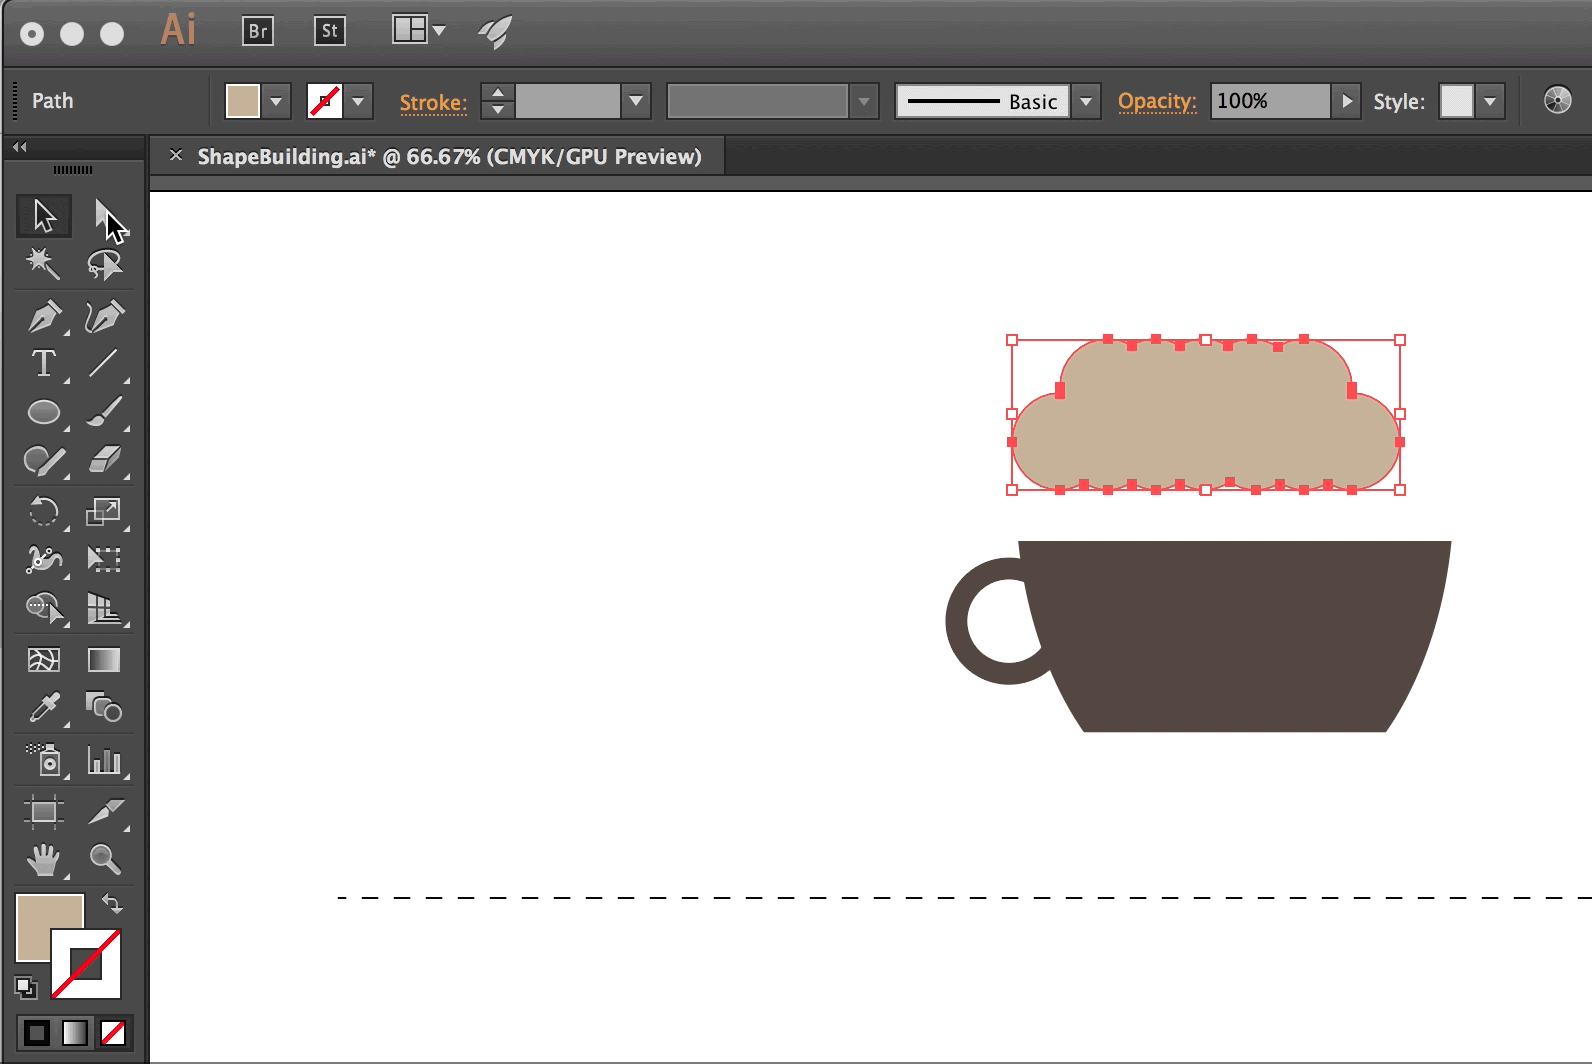
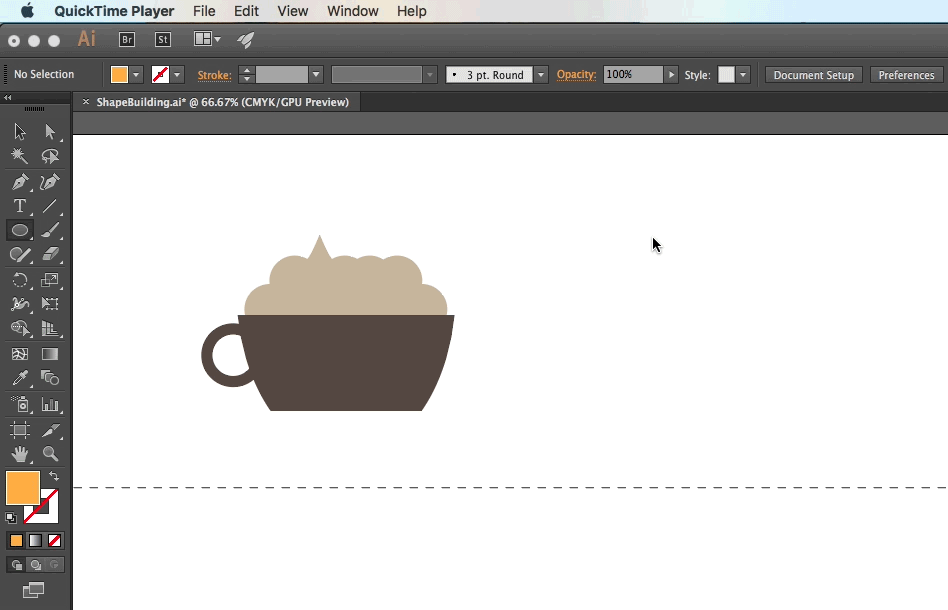
16) Resize your foam if it’s not quite the right size with the Selection Tool. Then, place the foam in the right spot. You’ll notice that it sits on top of the cup. Each new layer sits on top of the layers created before it. So in this case, we’ll need to send the foam to the back. Click the foam and go to Arrange > Send to Back.
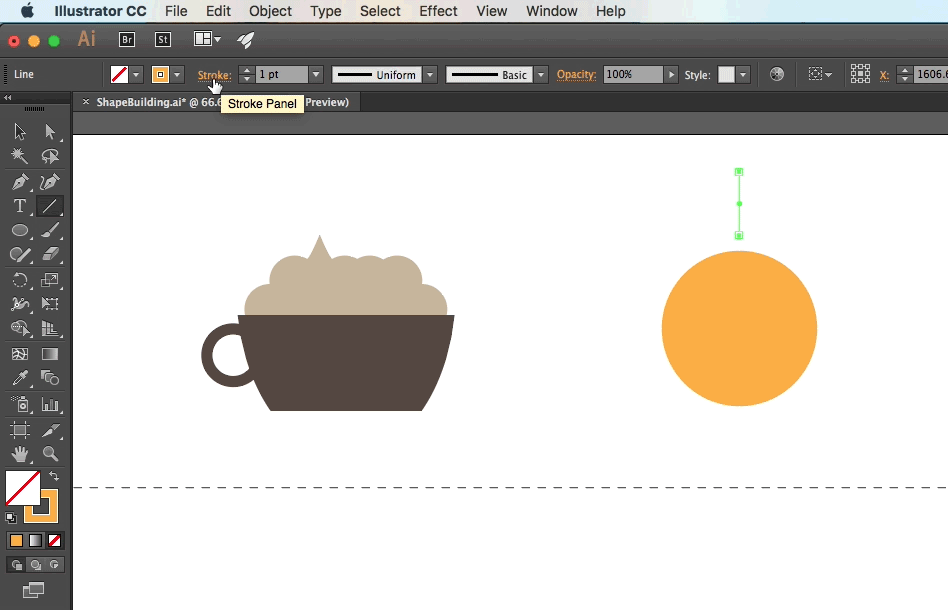
Object #3: Sun
Next up, we’ll create a sun.
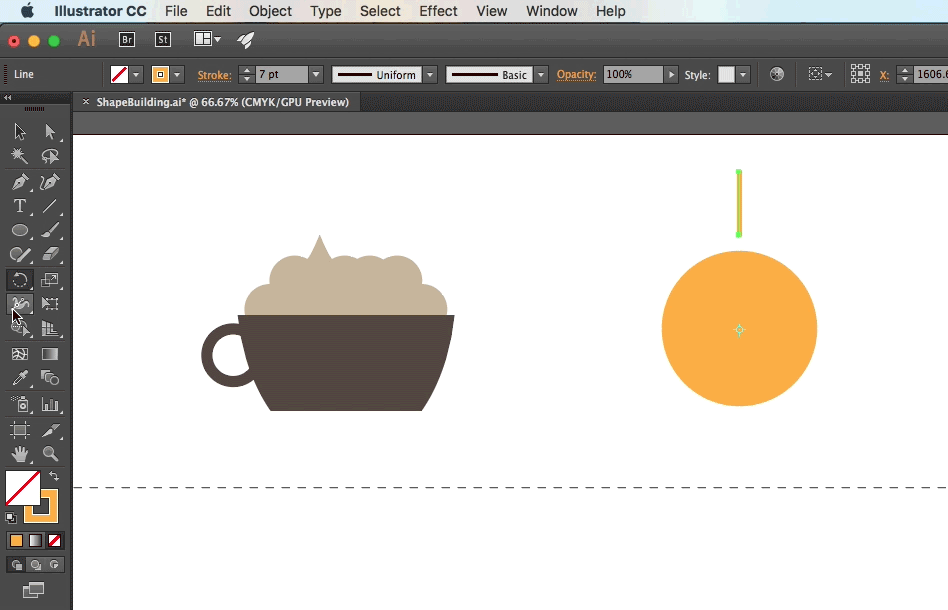
1) Select the Ellipse Tool and change the fill to an orange-yellow.
2) Draw a circle. Hold down Shift as you click and drag to create a proportional circle.
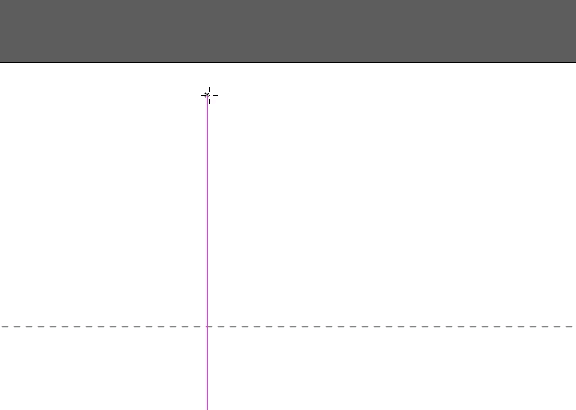
2) Select the Line Segment Tool and using the guides, draw a straight line up from the center to create a ray. Hold down shift as you click and drag to keep the line straight. Leave the Fill as None and change the Stroke to yellow.

3) Change the Stroke to 7pt and give it a rounded cap.
4) Next, we’re going to have Illustrator help us create the rest of the rays! Using the Selection Tool, select the line you just made. Then click on the Rotate Tool. We need to choose a point for the line to rotate around. We will hold down Option + Click on the center of the circle. Use the Smart Guides to help you – when you hover over the center, it will say center. Type in an angle that is divisible by 360 (I typed in 30) and click on Copy.
The copies the line segment and moves it 30 degrees.
5) Next, we’ll tell Illustrator to repeat that action with the you created. Press Command + D to duplicate the action over and over again until you have gone fully around the sun!
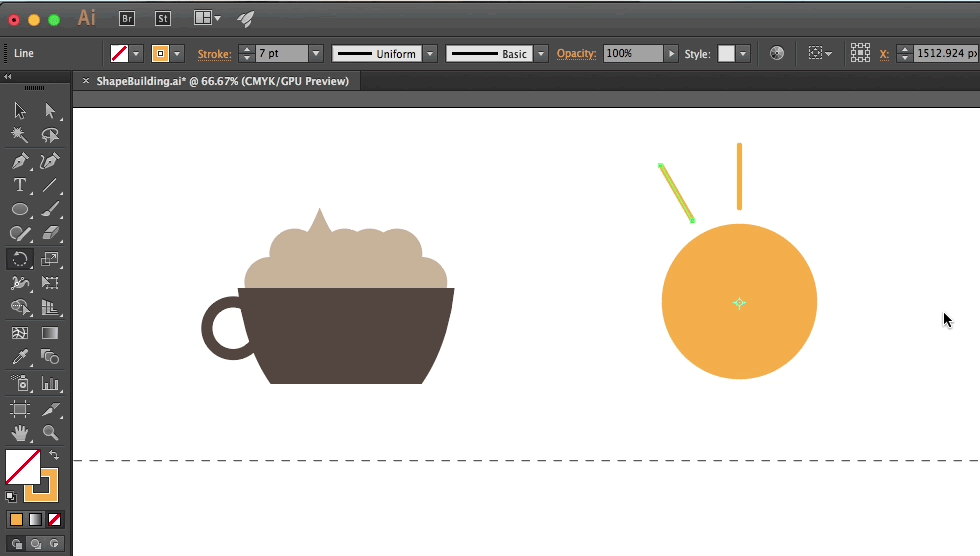
And now you’ve created a sun!