Topics
Adobe Illustrator CC is a vector-based image editing program. Illustrator is used to create scalable vector art for both print and web projects. What is vector-based imaging mean? It means that your image can be scaled infinitely without any distortion or pixelation. This allows for flexible artwork that can be used at various different sizes. These can come in handy when needing to scale a poster or artwork object from 8 1/2” X 11” to a digital screen with proportions of 1920px by 1080px. In this tutorial, we’ll cover using the Pen Tool to create your own custom illustrations and how to create and manipulate text.
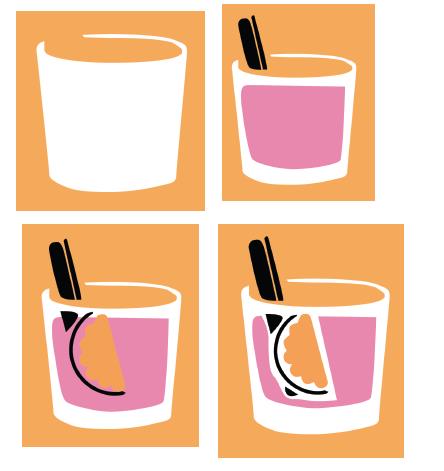
In this tutorial, I’ll show you how to recreate this image that I made for an event poster. It is recommended that you use a mouse when using the Pen Tool!

Creating Your Document
1) Launch Adobe Illustrator.
2) Choose File > New…
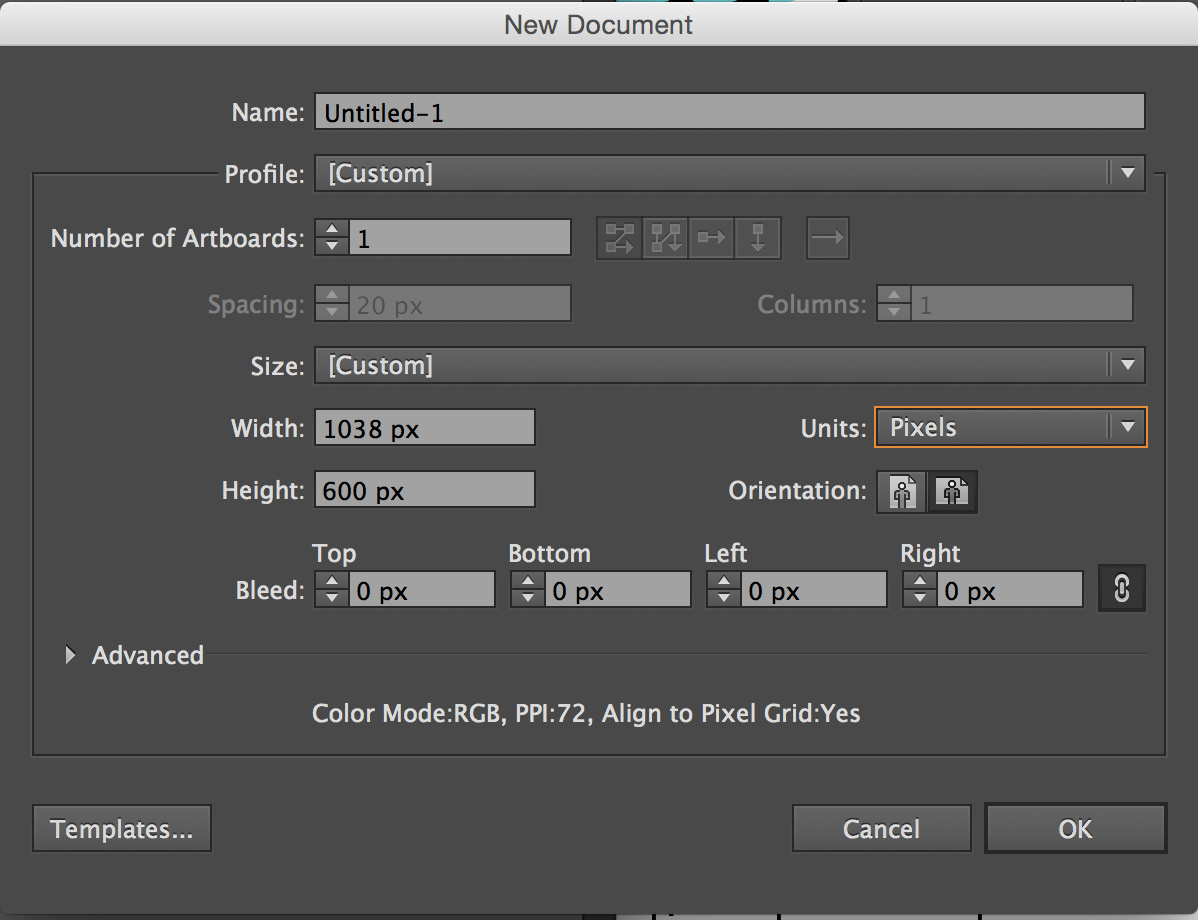
3) For this file, I’ve set the profile to Web and changed the width and height to 1038px by 600px.
4) Then click OK.
Understanding Points and Paths
Covered in the beginner’s handout, but as a refresher, please go through it again! Before moving forward, you need to understand points and paths in Illustrator.
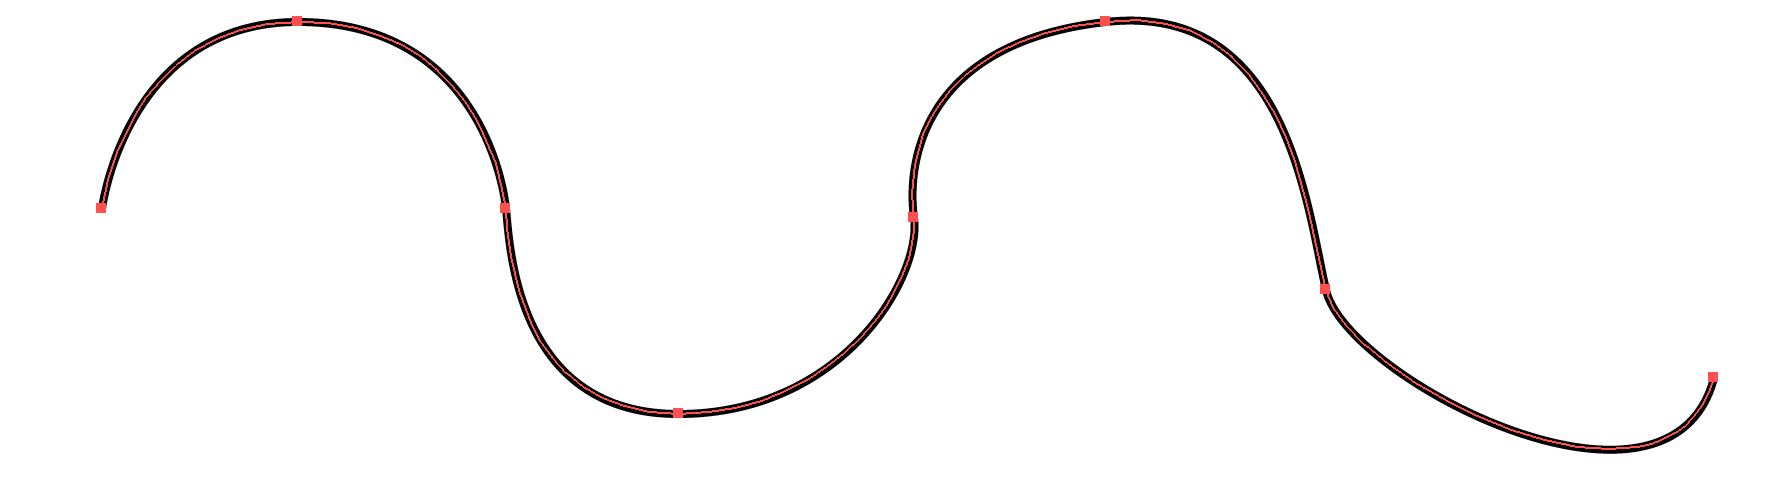
Paths are the line segments that make up the overall structure of the artwork that you create (the skeleton). For instance, a rectangle is made up of a path that has four vertical lines that all connect and there are four points (the joints) in the corners. Every shape and object will have path and anchor points. Notice the red outline of this line created in Illustrator. It shows the points (the red dots) and the paths (the red lines connecting the dots) that make up this object.
Selection Tool and Direct Selection Tool
You’ll be using the Selection Tool a lot in Illustrator. The Direct Selection Tool will be covered in a more advanced Illustrator tutorial, but you should know what it does.
The Selection Tool ![]() is your cursor that will allow you to select objects in your document and move them around.
is your cursor that will allow you to select objects in your document and move them around.
The Direct Selection Tool ![]() allows you to select points within an object and move the points around to manipulate that path.
allows you to select points within an object and move the points around to manipulate that path.
The keyboard shortcut for the Selection Tool is v and the keyboard shortcut for the Direct Selection
Tool is a.
In this tutorial, the Direct Selection Tool will be your best friend alongside using the Pen Tool. Using these two tools together, you are able to create almost anything in Adobe Illustrator.
Using the Pen Tool: Creating Straight Lines
The Pen Tool creates precise curved and straight segments that are connected by anchor points. Mastering the pen tool takes patience and practice, so don’t be frustrated! points.
Before you can start creating drink glasses and a light bulb, practice creating straight-sided shapes with the pen tool.
1) Select the Pen Tool.![]()

2) Turn on Smart Guides to help you align points. Go to Illustrator > Preferences > Smart Guides, check all the boxes under Display Options. Click OK.
3) Set the Stroke and Fill. If you want to create a shape that is filled in, set the Fill to a color. If
you want to create a shapes that is just a line only, choose the desired stroke color a fill of None. For this, you can set it to whatever you like. This is simply for practicing purposes.
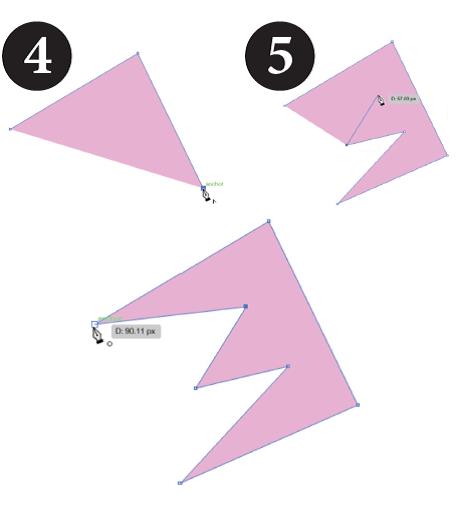
4) Click anywhere to create the first anchor point, then click to create a second one.
5) Click to create additional anchor points. They will be connected by straight segments.
6) To complete the object, position the pointer over the starting point, until you see a little circle next to your pointer, then click the point. This will close the path and finish your object.
Using the Pen Tool: Creating Curved Lines
Let’s also practice creating curved lines. Follow these steps to create smooth curves with the Pen tool. Each smooth anchor point that connects two curve segments has a pair of direction handles that move in tandem. The longer the direction handles the more steep or broad the curve.
1) Select the Pen Tool.![]()

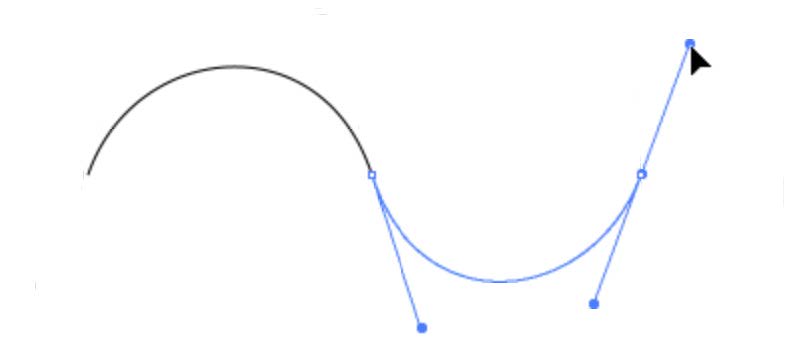
2) Click and drag to create the first anchor point. The angel of the direction handles on the point will align with the direction you drag.
3) To create a second anchor point, release the mouse and move it away from the last anchor point. You’ll see a preview showing the general appearance of the next line segment that you’ll draw. Drag a short distance in the direction you want the curve to follow. A curve segment will connect the first and second anchor points, and the next pair of direction handles will appear.
4) Drag to create more anchor points and direction handles. To product smooth, symmetrical curves, place the points at the beginning and end of each arc. You can use Smart Guides to align new points to existing ones.
5) If I’m creating a curved line, I don’t want to close the path in this case. To completed the object as an open path, choose another tool to get out of the Pen Tool.
Tips: To keep the curves from looking bumpy and irregular, you want to use the minimum number of anchor points necessary to define them.
Tracing an Object

To get acquainted with the Pen Tool, let’s try tracing an image before we start creating our own images. Let’s say I find this lightbulb image and I want to trace the general shape of it for my lightbulb. Download the lightbulb.jpg image.
1) Go to File > Place.. and find the file in your computer.
2) You’ll then be able to click anywhere to place your image.
3) Decrease the opacity of your image, so that’s it’s transparent and easy to trace over. With the image selected, go to the toolbar and type in 50% under Opacity.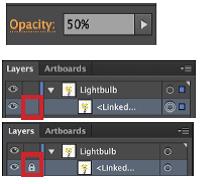
4) I’ll go to my Layers panel (if you don’t see it, go to Windows and select Layers, or hit F7) and i’ll lock that object, so it can’t be moved around. This will allow me to work on top of the object. Click on the box next to the eye and you’ll see a Lock. Then you’ll notice, you can’t move or select the image.
5) Set your Fill to None and your Stroke to Black. Increase your stoke to 4pt.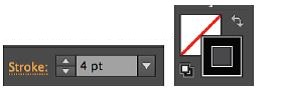
6) Select the Pen Tool.![]()
7) I’m going to create the top part of the bulb first. Click and drag to start creating your first point. until you get all the way around. This is what mine looks like.
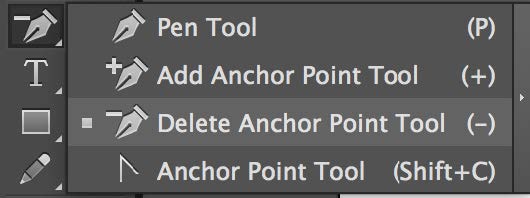
8) Go back with the Direct Selection Tool ![]() to get out any kinks. Under the Pen Tool, you can also use the Subtract Anchor point tool to remove any points that you don’t need.
to get out any kinks. Under the Pen Tool, you can also use the Subtract Anchor point tool to remove any points that you don’t need.
Creating Drink #1 with the Pen Tool
Now that we understand how to create straight and curved segments with the Pen Tool, we can start creating our shapes. Let’s start with one of the drinks:
1) First, I used the Rectangle Tool to create an orange background for me to work on.
2) I’m going to create the glass first, before creating what’s inside it and the straw. Select the Pen Tool.
3) Click and drag to create your first point. You want to drag up to create a small line to start creating the small corner and go from there. Don’t worry if it’s not perfect the first time, you can readjust after, but try and get as close to the basic shape as you can. The following are all the points I created to get started:
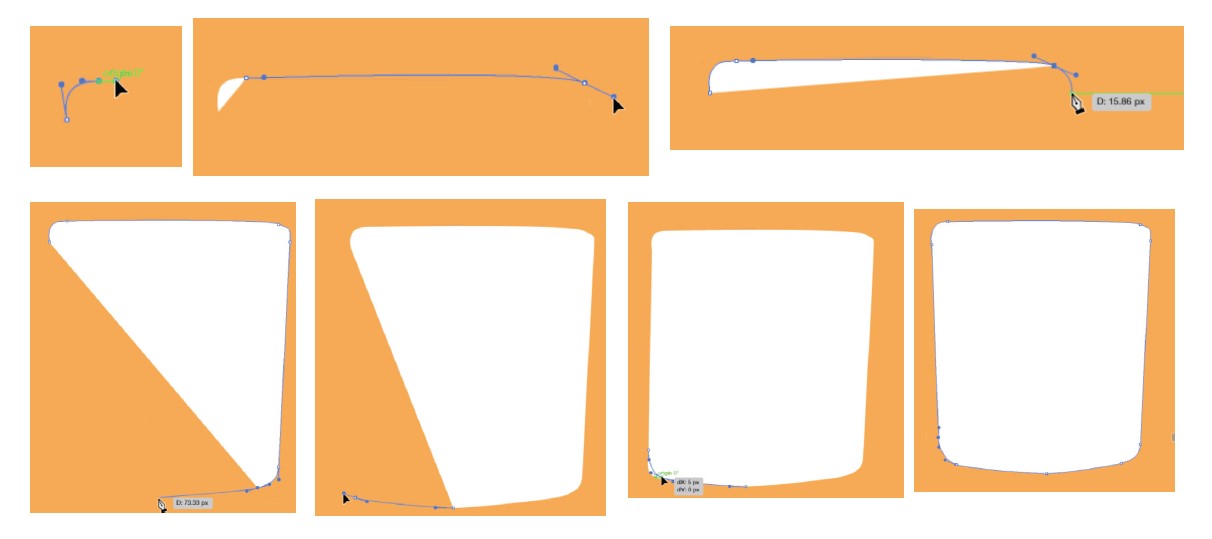
As you can see, my shape isn’t even perfect. With the object selected and using the Direct Selection
Tool, you can click and drag on anchor points and handles to adjust them.
4) I’ll repeat this process for each subsequent shapes that makes up this drink. Again, practice makes perfect, so don’t get frustrated!
Tips:
- Don’t worry about getting exactly right the first time. If you can get the general shape, you can always go back with the Direct Selection Tool and adjust the points and paths to perfect it.
- It might be easier to make a larger version of the artwork and then scale it down, or it’s helpful to be really zoomed in when using the Pen Tool, so you can see each path and point better.
- Trace objects if it’s easier – just like we did in the lightbulb exercise!
Manipulating Text
You can practice creating the other drink and the rest of the lightbulb. In Illustrator, there are many ways to manipulate text and create an interesting look. For this image, I used a cursive font and a chunky font. Use whatever fonts you have in your computer for this part of the tutorial.
1) Select the Text Tool.![]()
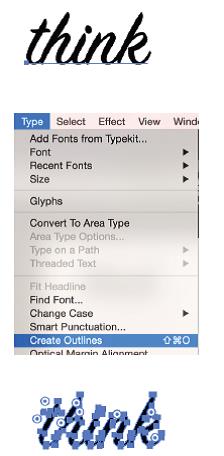 2) Click anywhere and then start typing ‘Think’ and change the font to a cursive font. (One that should come with Illustrator is SignPainter-HouseScript) and increase the font size to 100pt.
3) Now we’re going to turn the text into a vector shape. To do this, with the text selected, go to Type > Create Outlines…
4) Now, instead of it being a text, it turns the text into points and paths as pictured to the right. Note: When you create outlines, you can no longer change what the text says.
5) Now with the Selection tool![]() , I’ll drag from the cover and increase it to scale with my drinks and lightbulbs. I can also rotate the image.
, I’ll drag from the cover and increase it to scale with my drinks and lightbulbs. I can also rotate the image.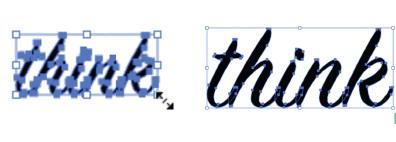
6) Now do the same with ‘and’ and ‘drink’. My image is starting to come together:
Again, practices makes perfect! Start tracing objects and you’ll get the hang of it.