


Topics
Download this tutorial as a PDF here.
Introduction
Adobe Lightroom 5 is a editing and management program for your images. It’s a helpful application for managing, improving, and sharing a high volume of images. In this handout, we’ll cover importing and organizing your photos. Please see other handout for how to edit and share photos within Light-room.
Understanding File Formats
Lightroom allows you to import various different file formats (JPG, TIFF, PSD, RAW, CMYK, MOVIE)
If you’re using PSD files:
Keep in mind that Lightroom doesn’t have layers. In order to easily work with Photoshop files within Lightroom, you need to turn on “maximize PSD file compability” in the Adobe Photoshop program – and that way, any files that you work on in Photoshop will save in such a way that all your layers will be able to be viewable and workable within both Photoshop and Lightroom.
To turn this setting on:
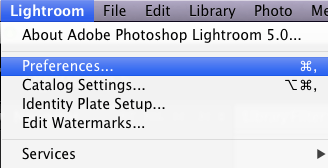
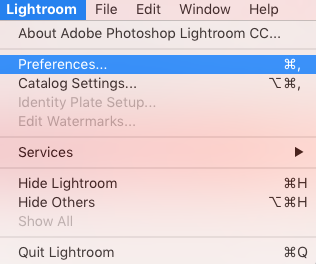
1) Open up your Photoshop. Click on Photoshop in the upper right hand corner > Preferences > File Handling…
2) A pop up window will appear. Look for the “File Compatibility” section.
You will want “Maximize PSD and PSB File Compability” set to ALWAYS.
Importing Preferences
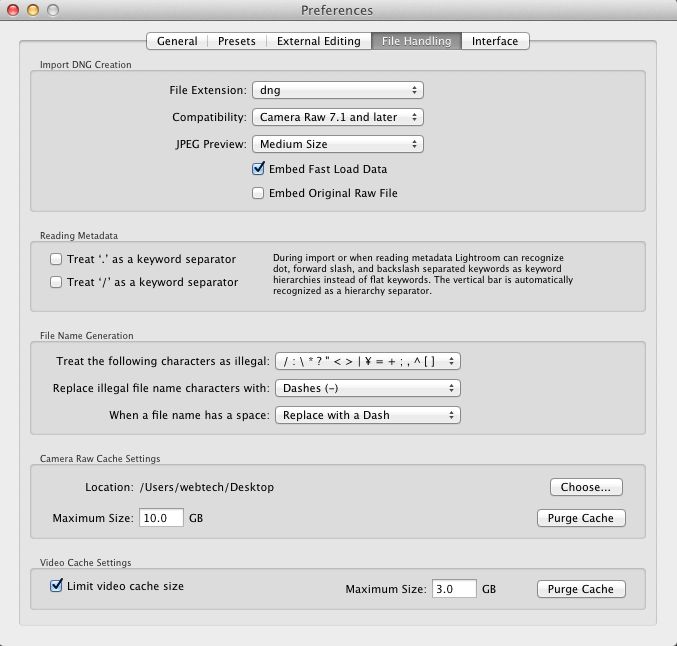
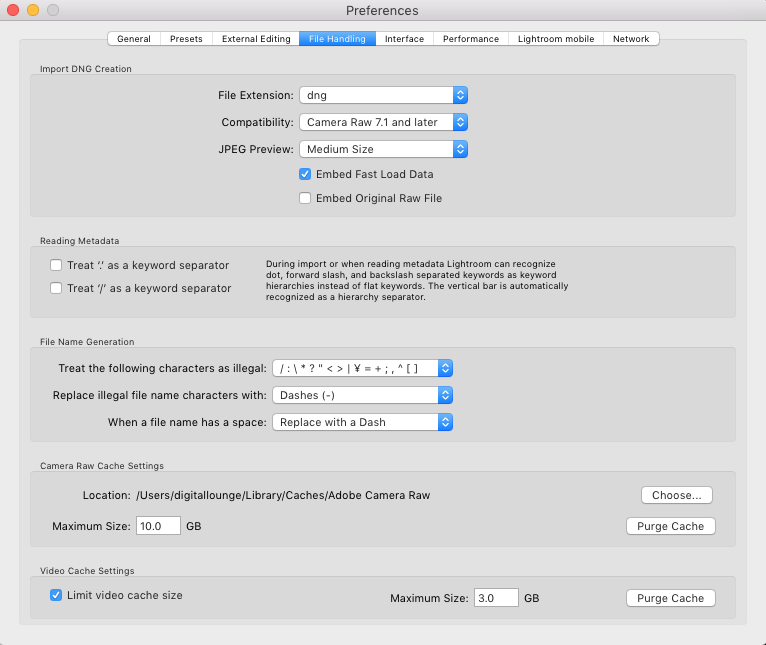
In order to maximize Lightroom’s speed and efficiency, it’s important to make sure you have the right settings within Lightroom and to make sure your file names have a uniform naming convention to avoid corrupt files.
1) Open up the application and on the top toolbar, click on Lightroom > Preferences. A new pop up window will appear. The following settings below are ideal for Lighroom.
Importing From a Folder
Now it’s time to start importing files. Click on the “Import…” button in the bottom left hand corner. A new window will appear that allows you to start importing files.![]()
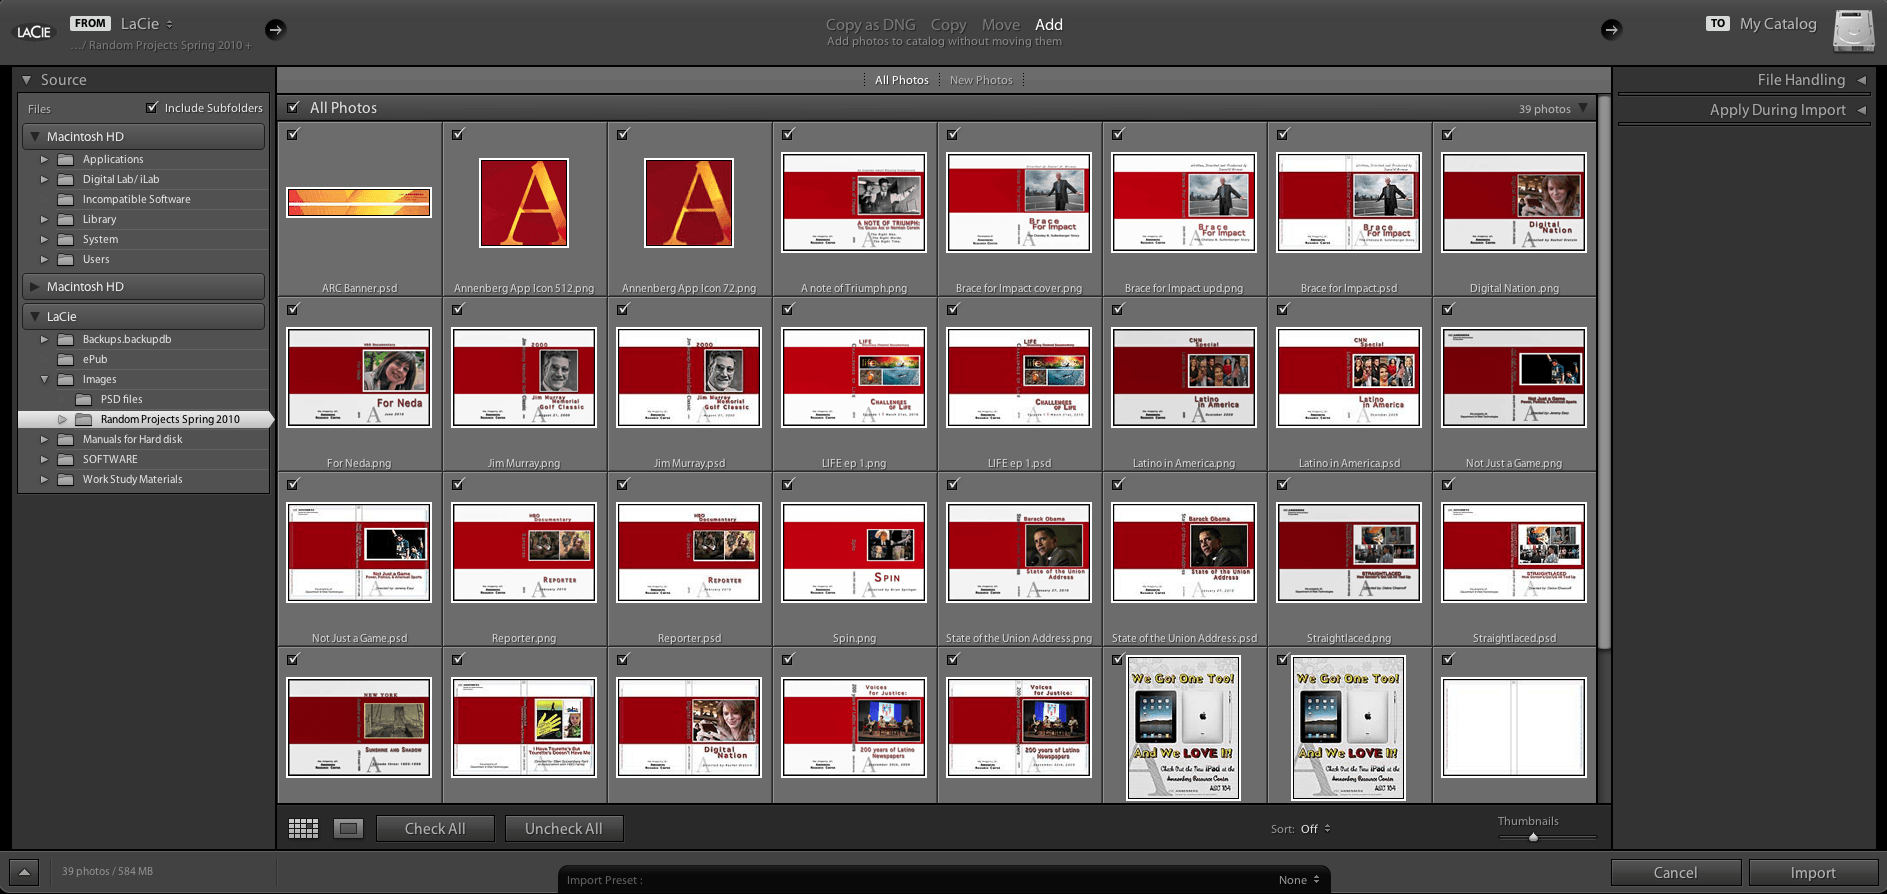
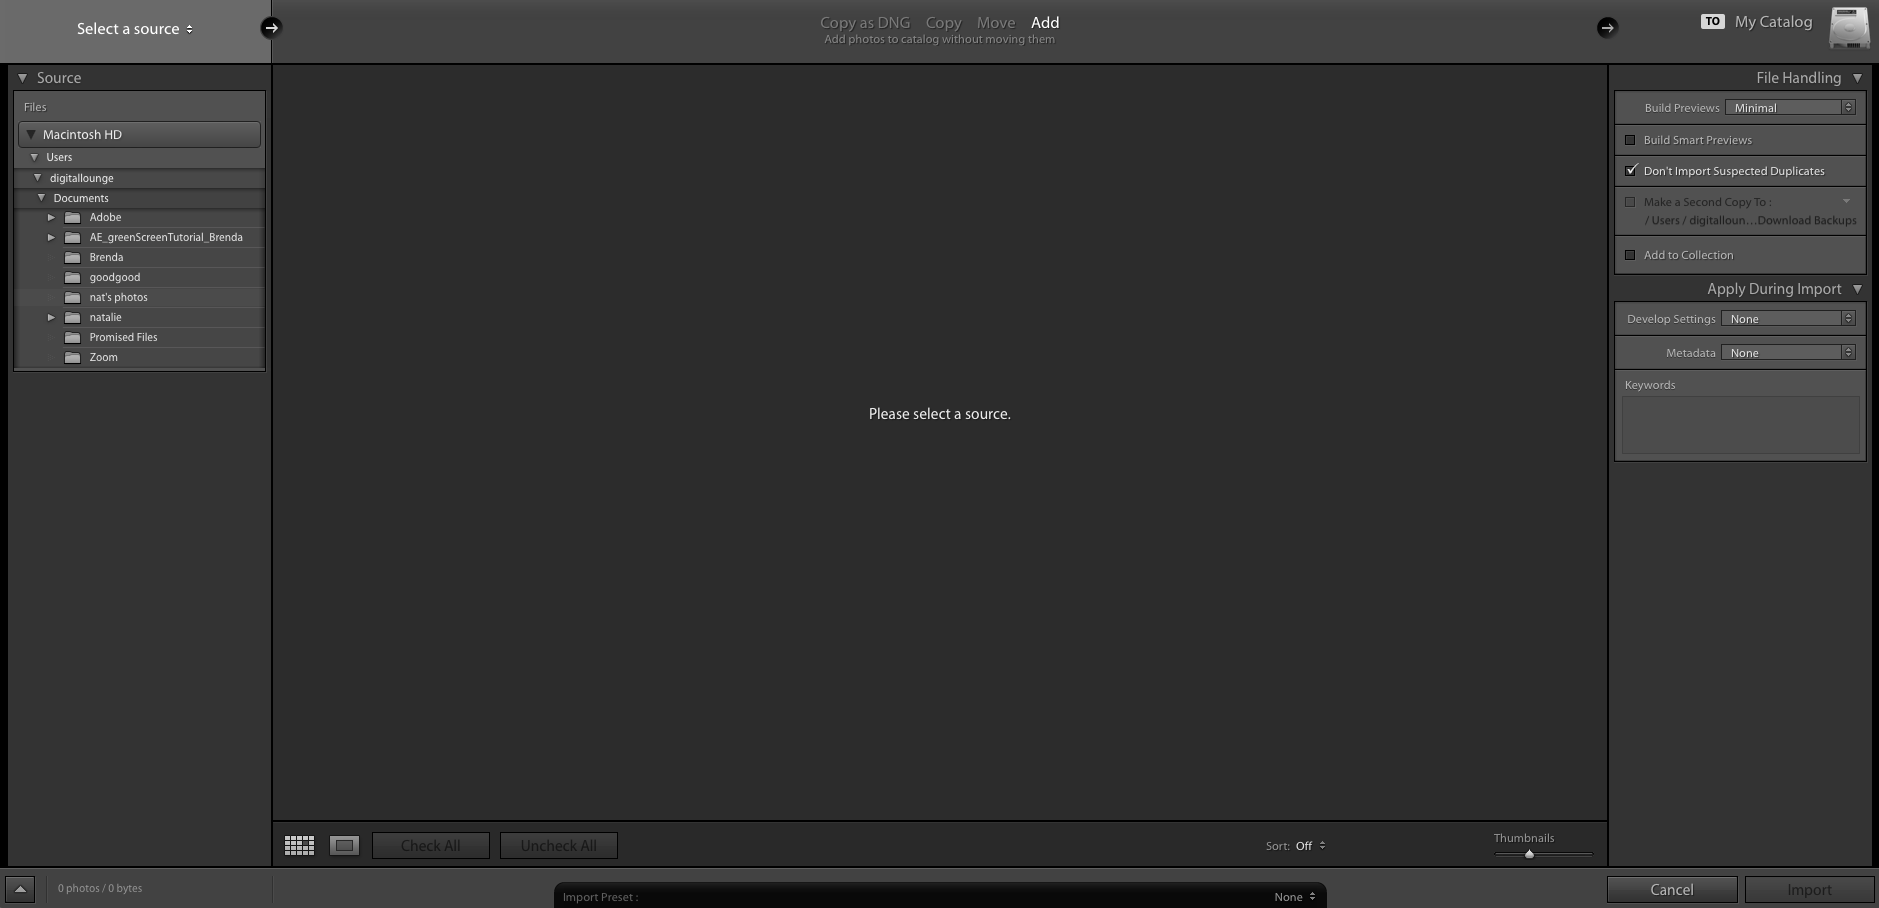
1) You will need to first select the files you want to import. Select your Source (your computer, Hard Drive, etc.) and folder of files. You can also click on the small up and down arrows next to your source and get a pull down menu to choose from your Desktop, Recent Locations, etc.

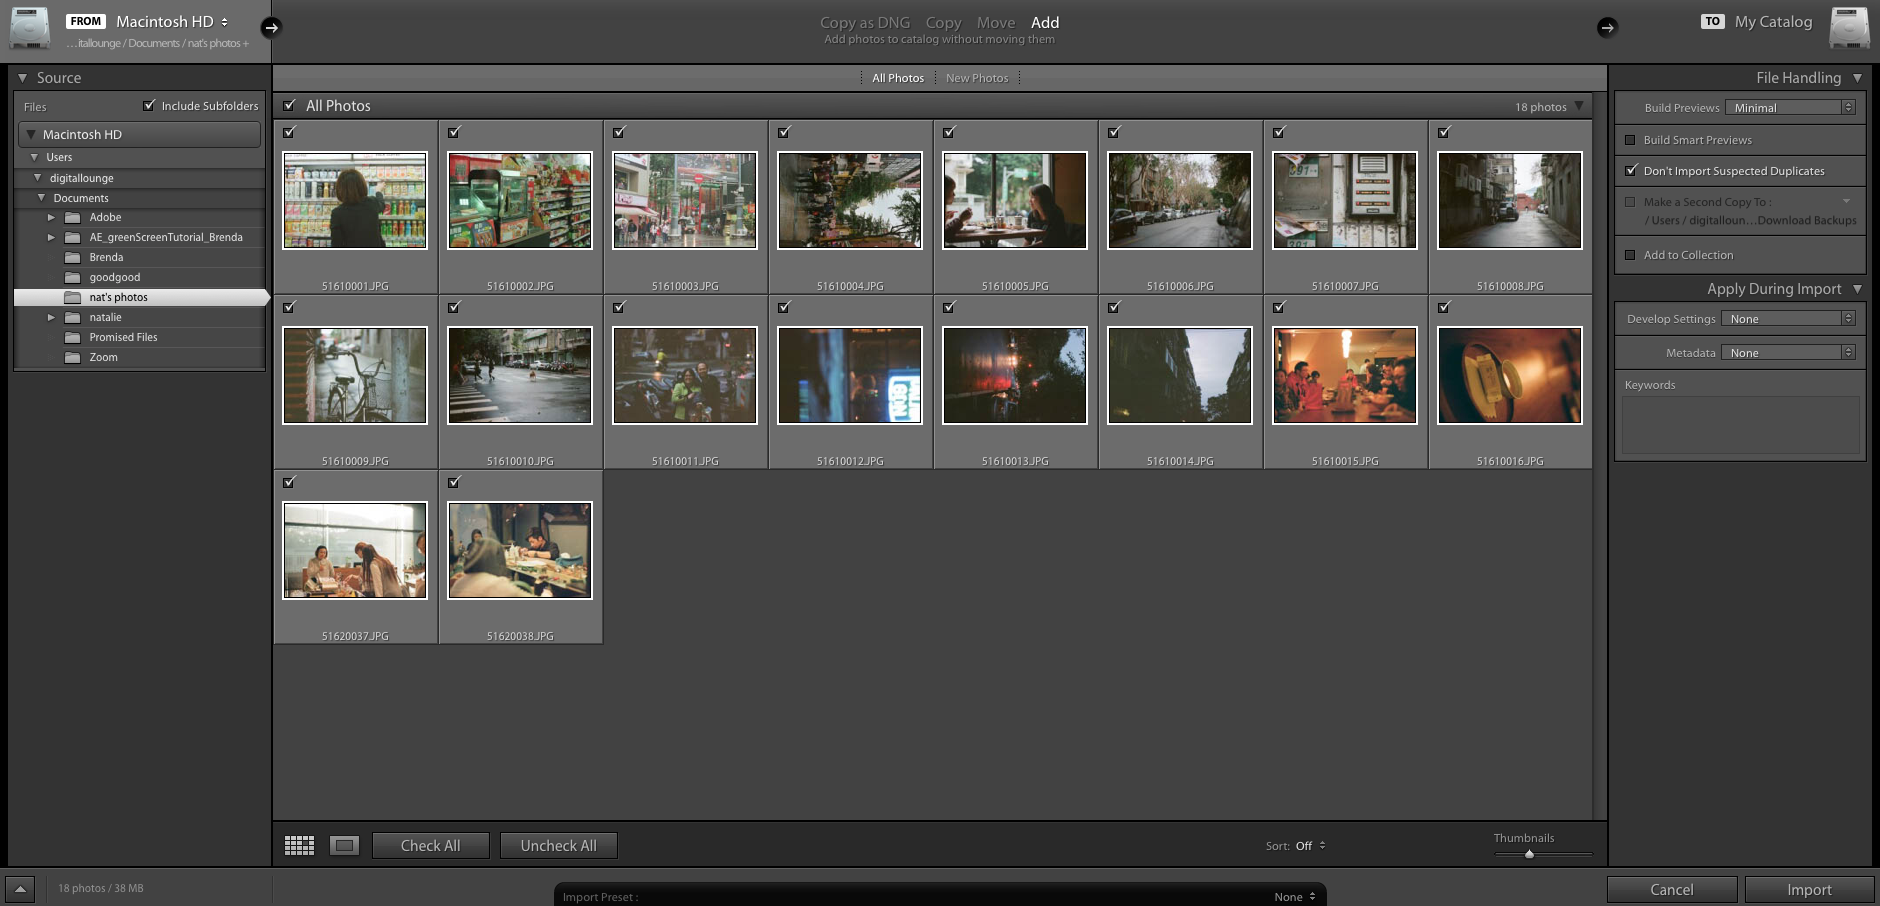
2) In the middle of the screen, you will see thumbnails of your images and be able to check which ones you want.
![]()
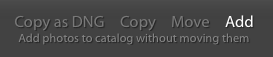
3) There are three options at top: Copy, Move, and Add.
Copy – Copies your files into a new folder and adds them to the Lightroom catalog.
Move – Moves your files into a new folder and adds them to the Lightroom catalog.
Add – Adds your files to the Lightroom catalog.
For Copy and Move, options will appear on the right hand side to select where you want your files to copy or move.
Note: if you’re importing from a CF card, you will want to select the Copy option, in order to import those files onto your computer, where Lightroom can access them. Remember, adding files to Lightroom’s catalog simply informs Lightroom that your files exist somewhere. Once you take out your CF Card, it will not be able to find your files unless you copy them somewhere on your computer or Hard Drive.
4) In this tutorial, we’ll focus on Add. Select Add at the top of the window. The sidebar on the right will change to give you options to change File Handling, apply develop settings, and add keywords to your images to help you find them later.
Select for the render previews to be “Standard.” Make sure to check mark Build Smart Previews. This will help Lightroom load thumbnails of your images quicker. “Don’t Import Suspected Duplicates” will help you avoid putting a file twice in Lightroom.
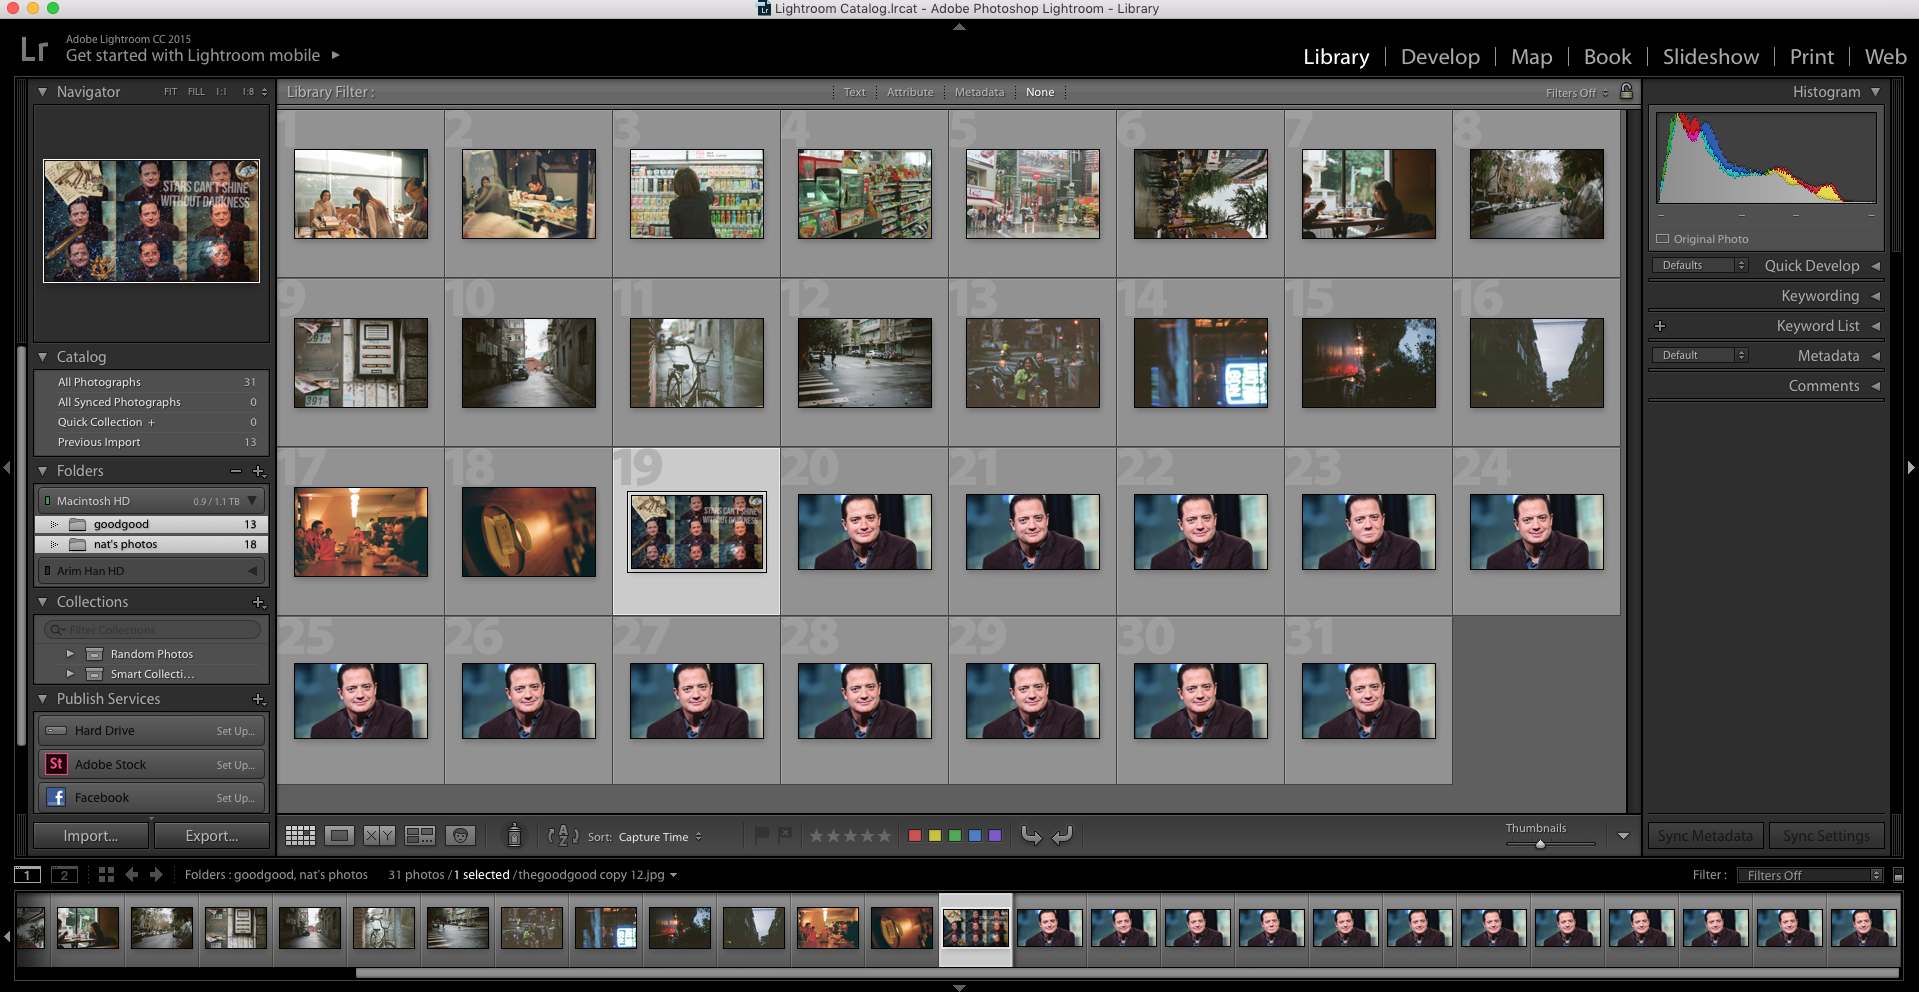
5) Once you’ve made all your choices, click on the Import button in the bottom right hand corner.
6) It will then return you to the main window and all your photos will be viewable now (along the bottom of the screen and in the center). Note that your folder now appears on the left hand side as recognized by Lightroom.
Organizing Your Photos
Lightroom gives you several ways to organize your photos and allows you to quickly filter or sort your photos later on.
![]()
![]()
 .
.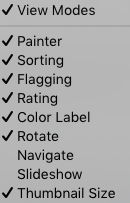
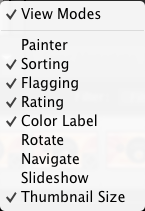
On the right hand side, you’ll find an upside down arrow that will allow you to turn on these organization tools. Check mark the ones that you want. We will go over flagging, ratings (stars), and color label.
Once you’ve selected the organization tools you want, you should see this on the toolbar along the bottom of Lightroom.
![]()
![]()
Flagging
![]()
Remember you can select your photos by simply clicking on it at the bottom slider and you can also use the left and right keyboard keys. The flag can be used to represent a photo that you’ve selected or one that you like. To remove the flag icon, simply just click on the flag icon again. The flag with the x in it represents “rejecting a photo” and can help you quickly delete all the rejected photos later on.
Keyboard Shortcut: “P” to flag photo, “U” to unflag photo, “X” to reject photo
Ratings (Stars)
![]()
This is based on a 5-star rating. This will help you filter later when you want to find the best quality pictures in your Lightroom catalog.
Keyboard Shortcut: 0 thourgh 5, corresponding to amount of stars, tap number again to remove star rating
Color Label
![]()
Color labeling gives you more flexibility. You can assign colors based on however you want to organize them. (i.e. Red could represent photos you want to post on your blog. Simply individually choose each photo and label it Red).
Flagging, Rating, & Labeling Multiple Photos
This can be done by going to Grid View by pressing on this button ![]() on the toolbar or press “g” on the keyboard. Once you’ve done that, your photos will appear in a grid – allowing you to hold shift or control as you select multiple photos. After you’ve selected the group of photos, simply choose the flag, rating, and label you want for those group of photos.
on the toolbar or press “g” on the keyboard. Once you’ve done that, your photos will appear in a grid – allowing you to hold shift or control as you select multiple photos. After you’ve selected the group of photos, simply choose the flag, rating, and label you want for those group of photos.
Filtering Your Photos
Now that you’ve organized your photos with different labels, it can help you filter and find the photo you want quickly. This will be easiest to do in the Grid view.
![]()
![]()
At the top, you’ll see a section titled “Library Filter” – in which you can select to view via Text, Attribute, and Metadata. In order to view photos you’ve flagged, rated, or labeled, you’ll want to click on “Attribute”.
![]()
![]()
Then you’ll be able select how you want to search your photos. Lightroom will then filter your photos based on your selected attribute.
Sorting Your Photos
Now you can also sort how you view your photos, for example, putting your highest rated photos at the beginning of your photo collection.
![]()
![]()
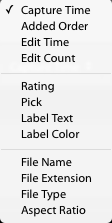
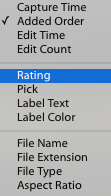
In the toolbar, you’ll find the sort section, where you can select different options for sorting. The AZ button will reverse the selection. For instance, if you have your highest rated photos at the top, it’ll switch the lowest rated photos to the top when you click on that button.
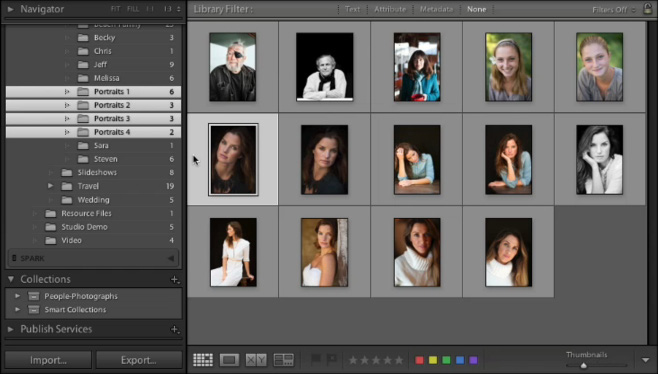
Collections
Another option that you have is to organize your photos through collections. Again, remember that the files that you’ve added to the catalog are just linked through existing folders on your computer or a hard drive (whatever your source happens to be). Collections allows you to groups images from multiple different sources. For instance, you can create a collection of photos that are all portraits that you’ve taken EVEN if they are from multiple locations. It’s simply another organization tool. Pho-tos can be deleted from collections and still exist on your source.
Creating Collections
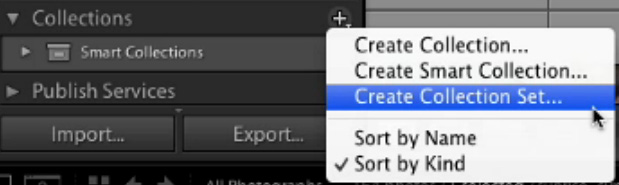
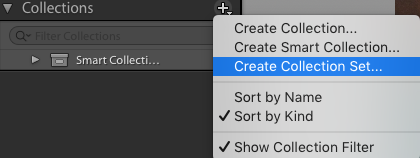
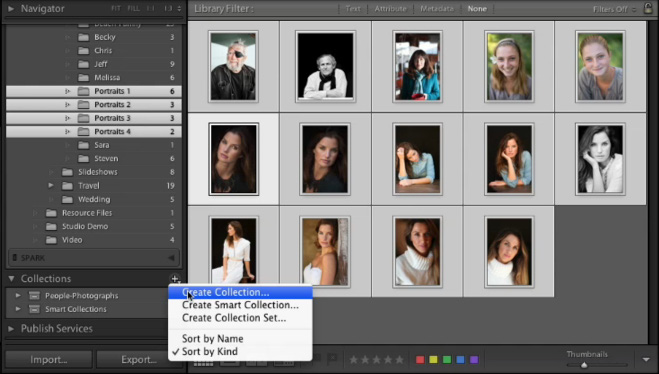
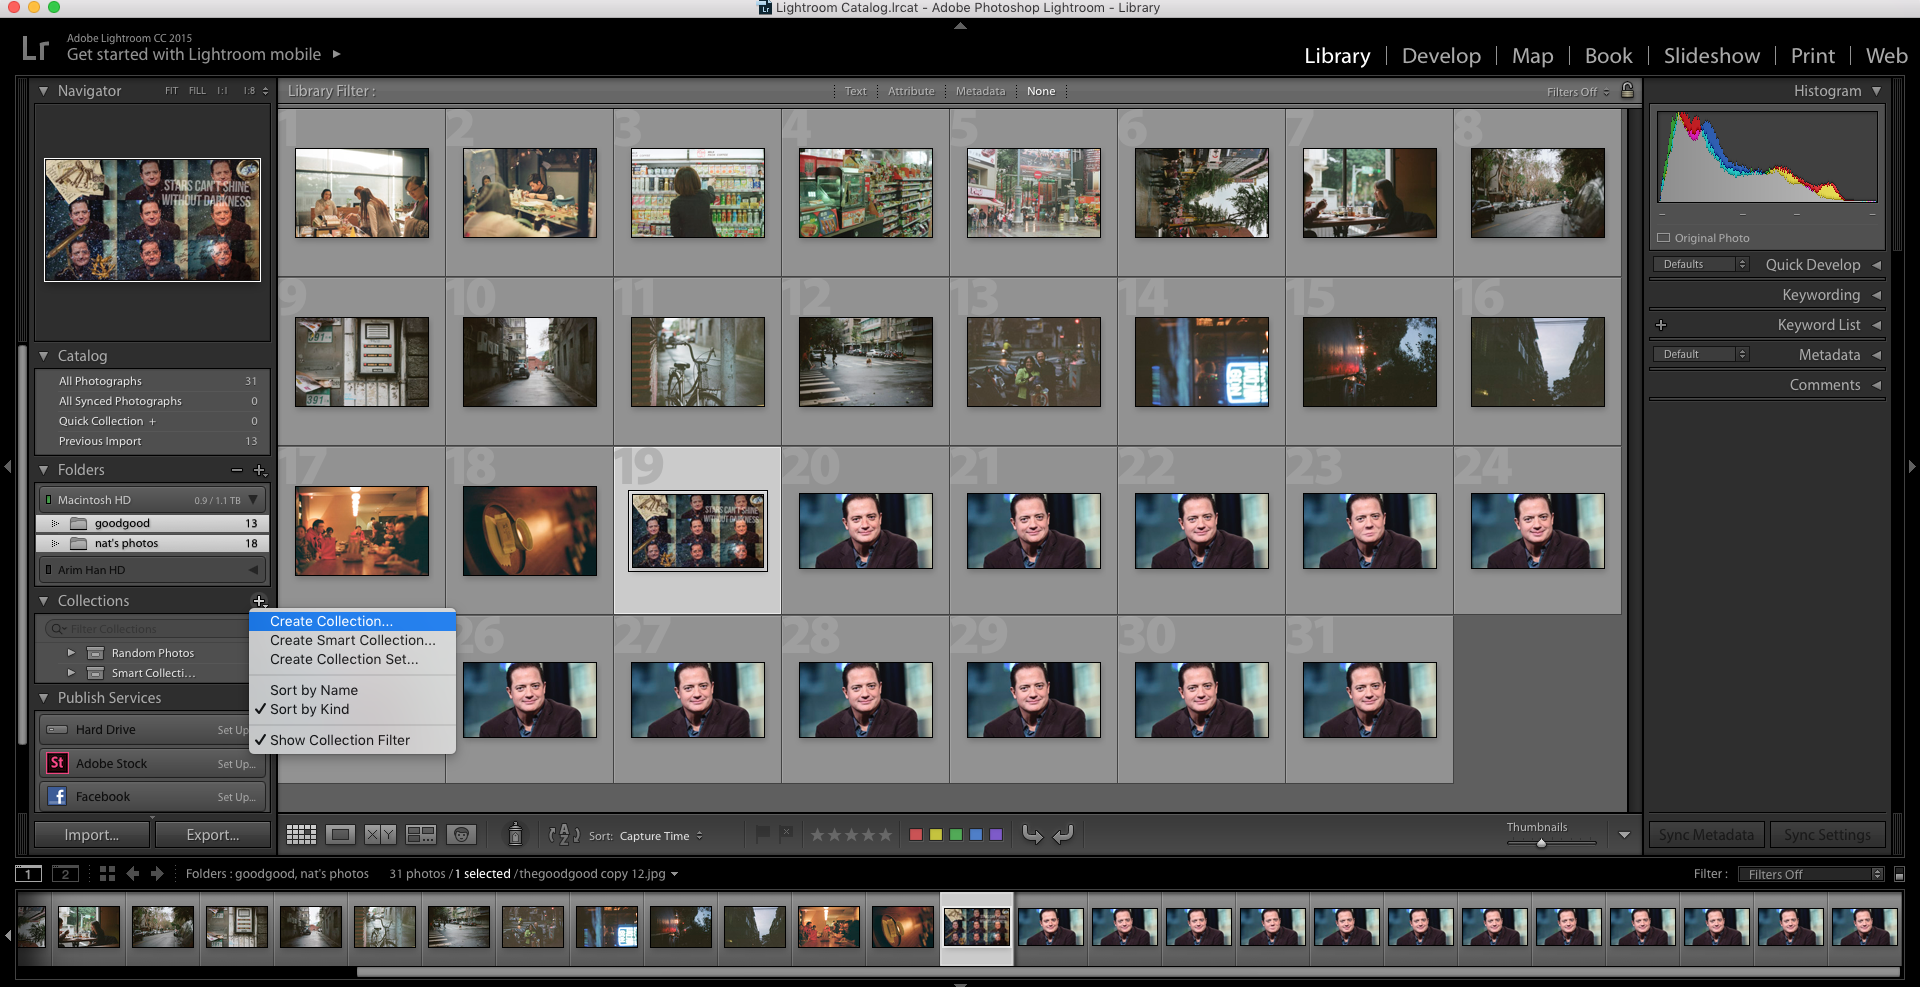
1) On the left hand side, you’ll see a section called ‘Collections” To get started, click on the plus sign next to Collections and a drop down menu will appear, select “Create Collection Set…”
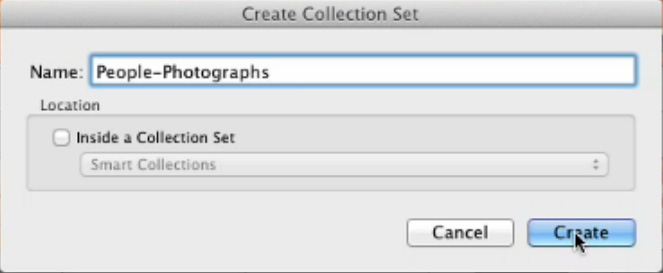
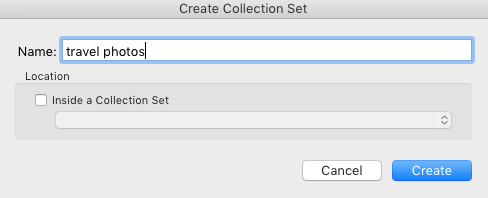
2) A pop up window will appear. In this case, we’re naming our collection “People – Photographs.” Then click Create. In the Collections section, you will now see “People-Photographs” listed.
3) Now you want to find the photos that should be placed in this collection. In this case, we have four folders of Portraits that we want to add to the collection. We simply hold the Command Key on a Mac or the Control Key on a PC, and you can click on multiple photos. Then we’ll do the same thing to select the photos within those folders that we want.
4) Once you’ve highlighted your photos, click on the plus sign and this time, select “Create Collection…”
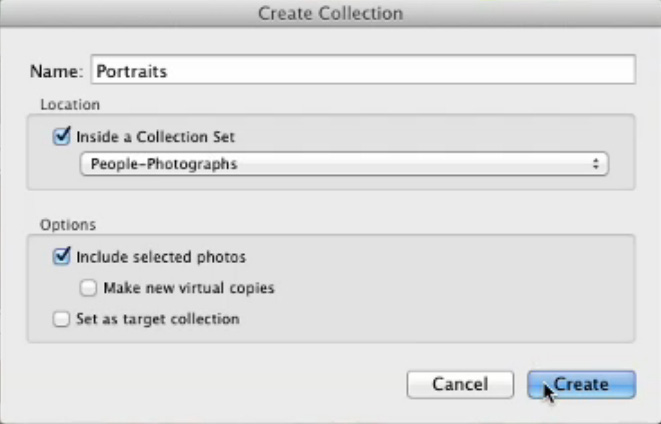
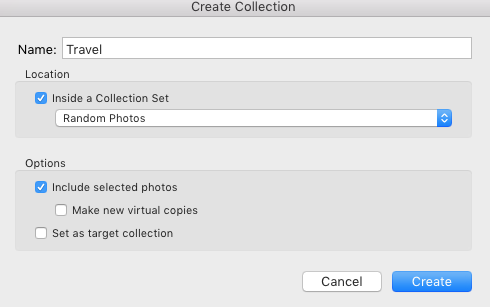
5) A pop up window will appear. You will want to name this folder. In this case, we’ll name it Portraits. We’ll select a Location by checking “Inside a Collection Set” and we’ll want to place it in “People-Photographs.” Then click Create. Now, under People-Photographs, you’ll see a folder that says Portraits. Now you can simply drag photos into that collection from the Catalog if you want to add more.
Shortcut: The “Set as Target Collection”
is an option that allows you to quickly add photos to collections. You can right click on any collection and you’ll see an option to set it as a Target Collection. You’ll now see a plus sign next to that collection name. Now, when you’re going through your photos in the Catalog, simply press the “b” on the keyboard when a photo is selected and it will add it to the current target collection. You can only have one collection set as the target collection at a time.
I attended the Lightroom Intro class and Photography workshop last week and it was very informative, hands on and practical. Marti was very professional and I’ve learned a great deal about how to work a DSLR camera, use the appropriate equipment at a photoshoot set, and manipulate the images using the software while having a lot of fun! After some practice, I am now quite confident in doing similar projects using the Adobe software. Annenberg Digital Lounge needs to do more events like this and expose Annenberg students to a diverse skillset that could assist in our professional careers in the near future!