


Topics
Introduction
Adobe Photoshop is a program that allows you to correct, enhance, and distort digital photos and prepares images for print and web. In this tutorial, we will cover a basic introduction to retouch-ing and photo editing of a damaged vintage photograph.
Having a Strategy
How much retouching you do depends on the image you’re working on and your goals for it. For many images, you may only need to change the resolution, lighten the image, or repair a minor blemish. For others, you may need to perform several tasks and employ more advanced filters. Here are some general tips:
- Duplicate the original image or scan; working in a copy of the image file makes it easy to recover the original later if necessary
- Ensure that the resolution is appropriate for the way you’ll use the image
- Resolution refers to the number of small squares, known as pixels, that describe an image and establish its detail; Resolution is determined by pixel dimensions (i.e. Width & Height of an image)
- Image resolution ranges from low resolution (72 ppi or 96 ppi image will live on the web) to high resolution (300 ppi or higher are destined to be printed).
- Crop the image to final size and orientation
- Adjust the overall contrast or tonal range of the image
- Adjust the color and tone in specific parts of the image to bring out highlights, midtones, shadows, and desaturated colors
- Will you need to add text to the image? Deciding the appropriate font and size is important.
Opening and Saving Your File As…
1) First, save this tutorial photo to your computer so we can work from the same file. You can right-click and “Save As” or some browsers will let you just drag it to your desktop.
2) Launch Photoshop and use File > Open and pick the photo.
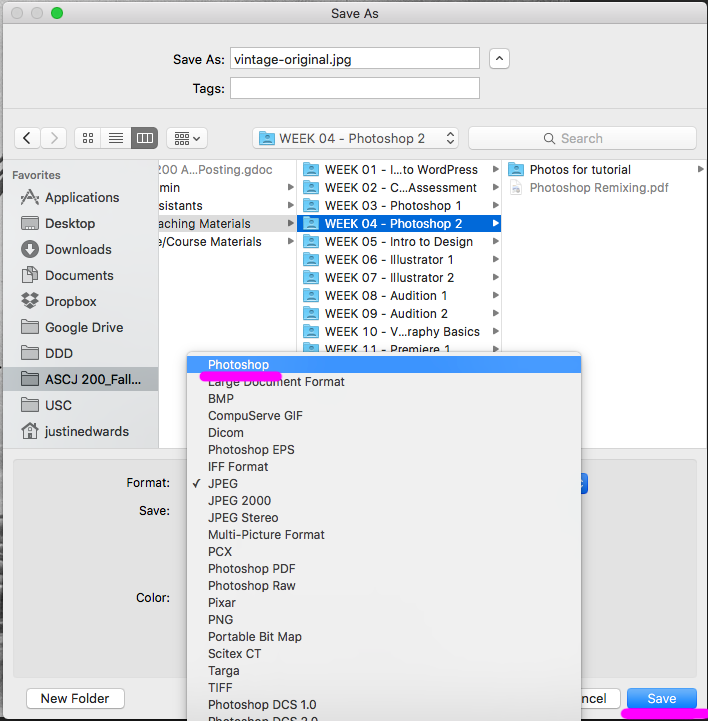
3) Before doing any editing, you’ll want to “Save As…” a Photoshop file so you don’t lose your original file in case you need to go back to it. Go to File > Save As… and make sure you select Photoshop for the Format.
Adjusting the Color and Tone
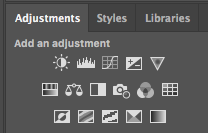
Photoshops offers different Adjustment tools to edit your photo, such as Brightness/Contrast, Curves, Levels, Exposure, Vibrance, etc. You can select them in the Adjustments panel. If yours isn’t open, go up to Window > Adjustments to bring it back.
When you select an adjustment, it will create a new layer in your Layers panel, which allows you to go back and change your adjustment as well as delete it. Play around with the different adjustments to get a sense of what each of them do. You can always delete your adjustments later in the Layer panel.
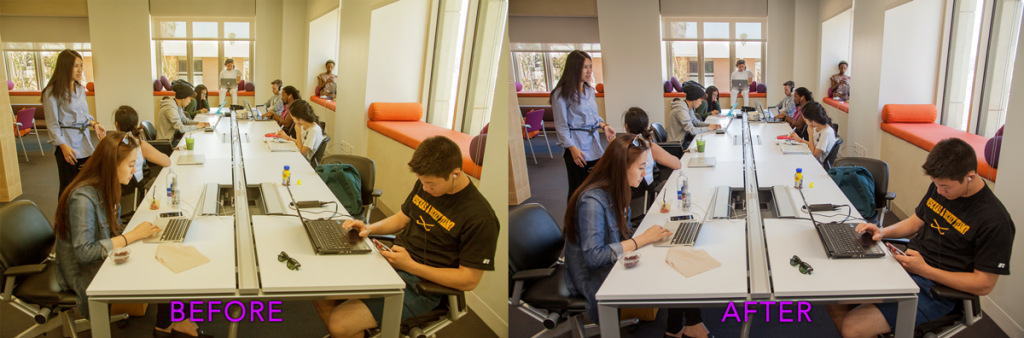
1) This photo is definitely too yellow/orange. Let’s adjust our color and tone with the Color Balance tool:
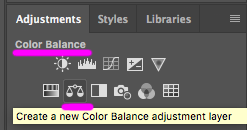
This will bring up your options for the tool in the Properties panel:
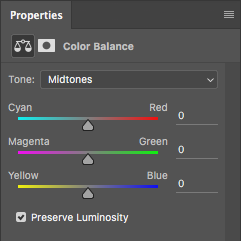
Adjust these sliders to see their effect on the image. The Tone can be changed between Shadows, Midtones, and Highlights to affect your image in those respective areas accordingly.
The main principle in color balancing is use skin tones as your guide. Look at people’s faces. You don’t want faces to be too blue, too red, too orange, too green – you want to try to match skin tones with what they look like in real life since often cameras can be fooled by the light and pick the wrong white balance.
For this example, I ended up adding more Cyan (which subtracts Red) and adding Blue (which subtracts yellow) to make it cooler, since it was obviously too warm/orange/yellow originally. I left the Magenta/Green slider alone since that seemed pretty on point to me.
3) Next, let’s add a Levels adjustment layer to fine tune our tones and contrast.
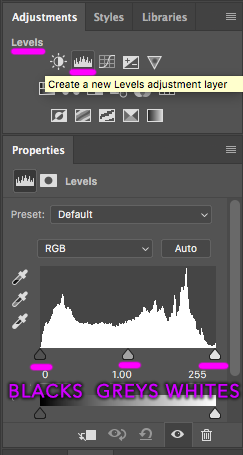
The image’s Histogram will appear in the Properties and display the range of dark and light values in the image. The left triangle represents black point, the right triangle represents the white point, and the middle triangle represents the midtones or greys.
4) Drag the midtones triangle around and see how it affects the photo. Dragging the blacks to the right will make the image fall into black faster. Dragging the whites to the left will make the image fall into white faster. This is how you can adjust the contrast of your image. Each photo will have it’s own unique histogram, so each level adjustment will be a different experience.
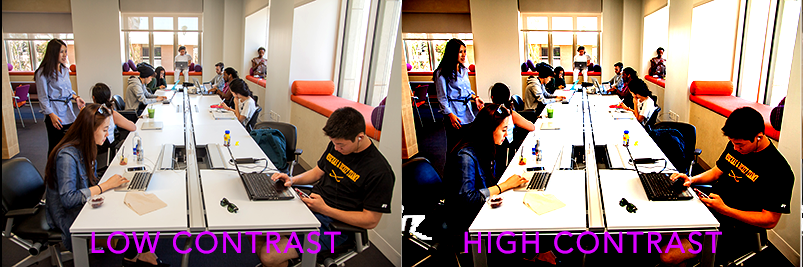
Change the Saturation
Saturation refers to the amount of color in an image. Let’s now add a Hue/Saturation adjustment layer.
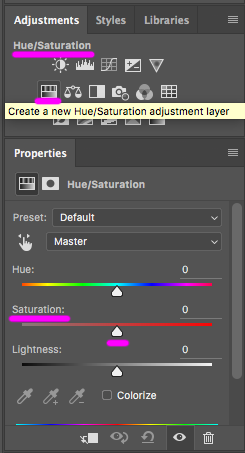
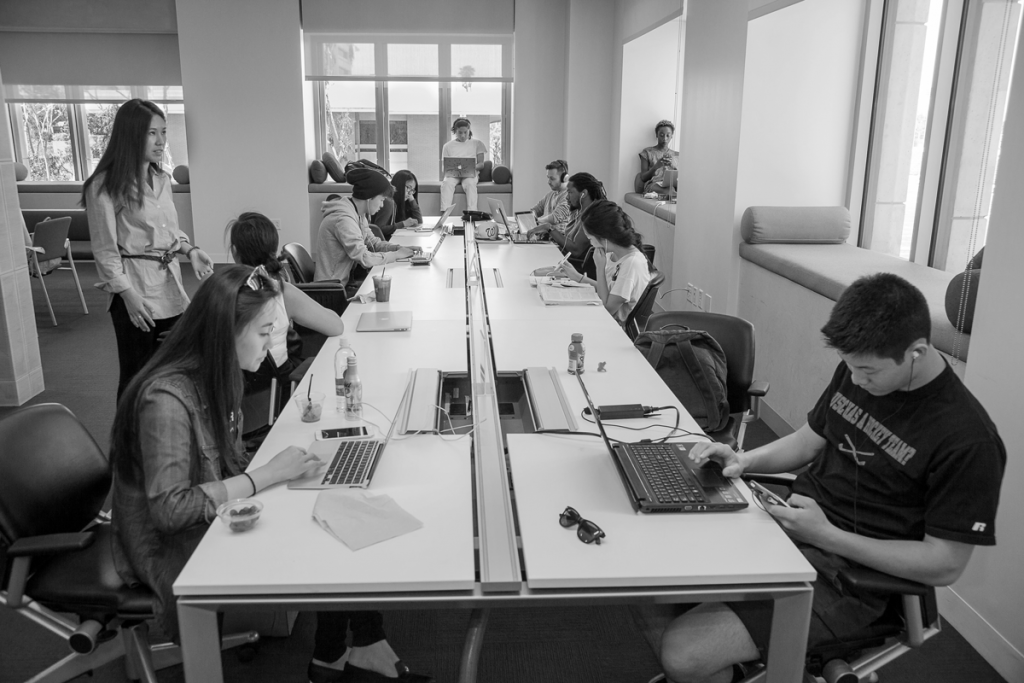
Decreasing saturation will remove color, and can go so far as to make the image black & white. Slide the Saturation slider in the Properties tab all the way to the left.
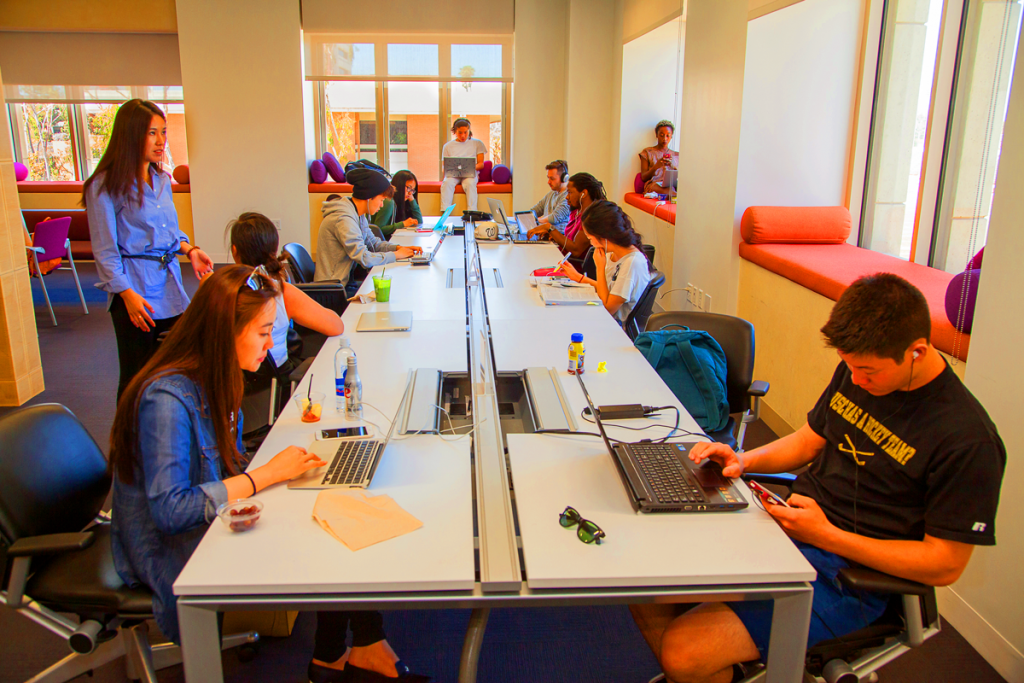
Adding saturation brings out more color in your image, just be careful not to oversaturate it (unless that’s the point). Here’s going too far right with the saturation slider:
Straightening and Cropping Your Image
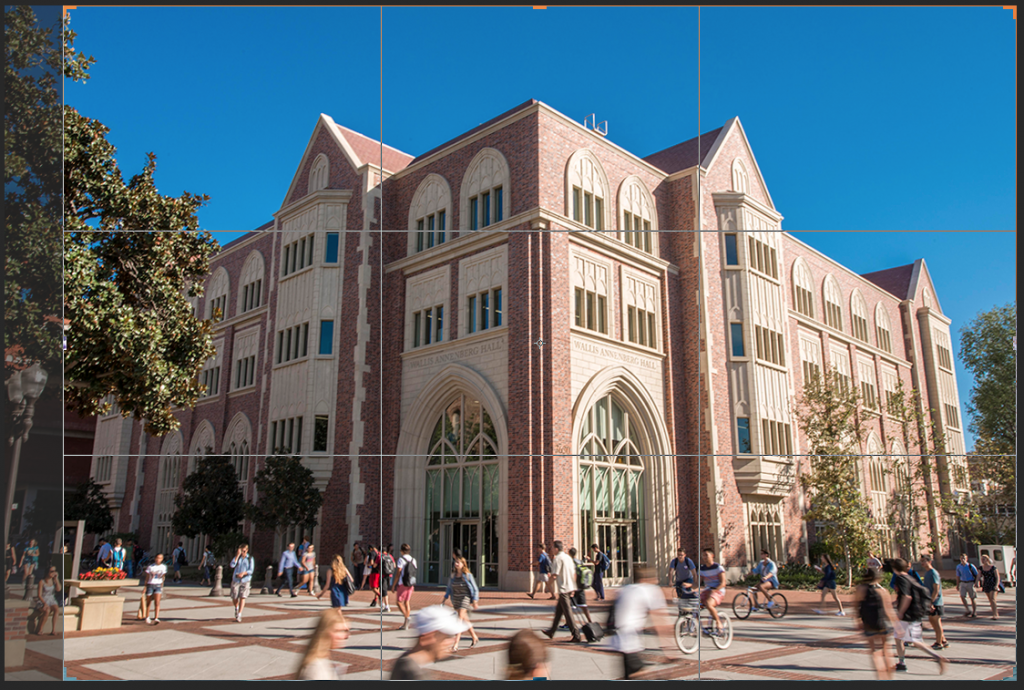
1) Let’s use another photo that needs straightening and use the Crop tool to fix it. Save this image to your computer and open it in Photoshop:
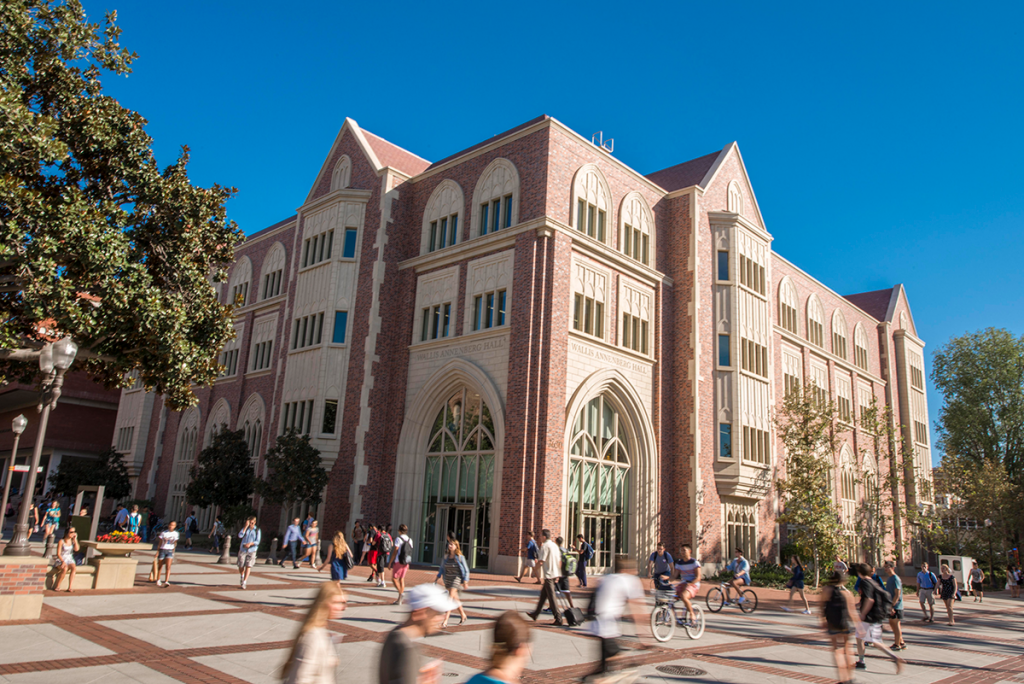
As you can see, our beloved ANN building is crooked.
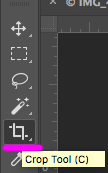
2) In the tool panel on the left, select the Crop tool (5th tool down).
A crop grid appears. A cropping shield covers the area outside the cropping selection. First, let’s straighten the image.
3) Click Straighten tool in the options bar up top. Your cursor will change to the Straighten tool.
![]()
4) With the Straighten tool you’ll need to click and drag a line to tell Photoshop what should be vertical or horizontal in the image. Often this is easy by just using a horizon line, but this image doesn’t have one visible, so we’ll need to use something else. I found success using the center corner of the building, since that should be vertical.

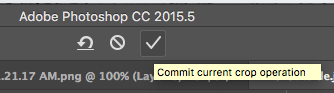
Photoshop will give you a preview of the straightened image. Hit RETURN or click the checkmark up top to accept this.
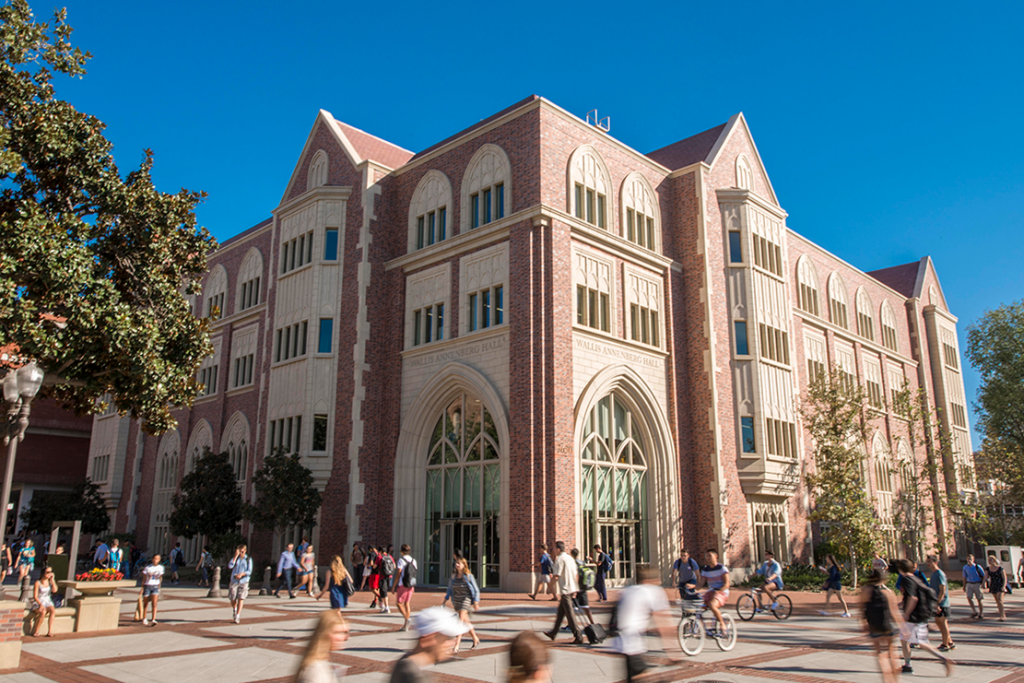
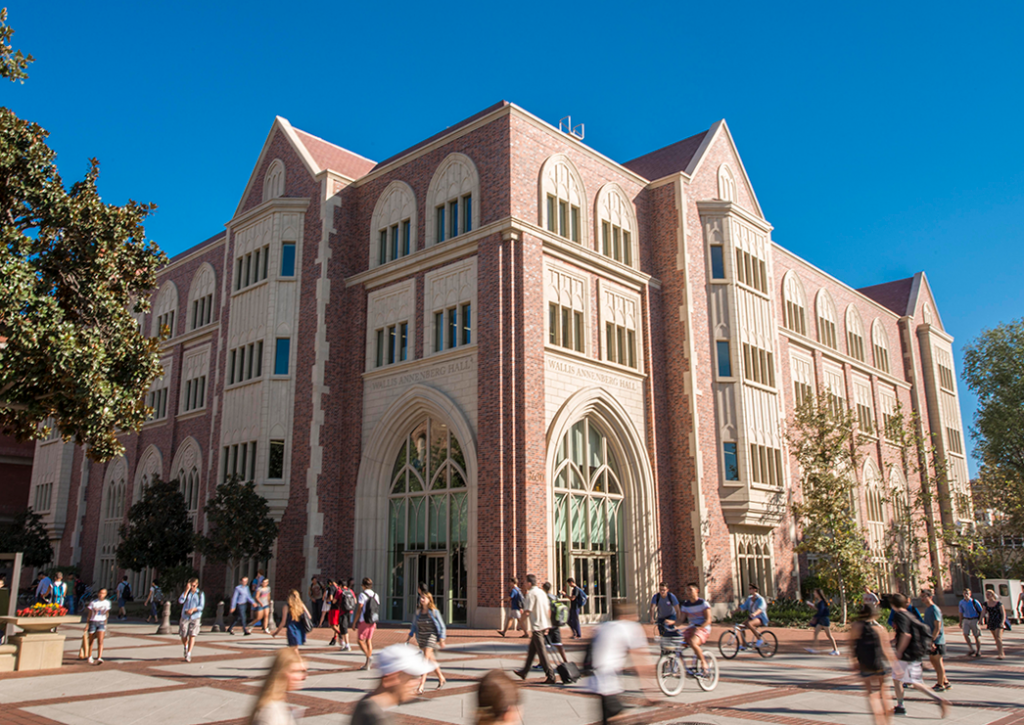
Voila! ANN is straight now!
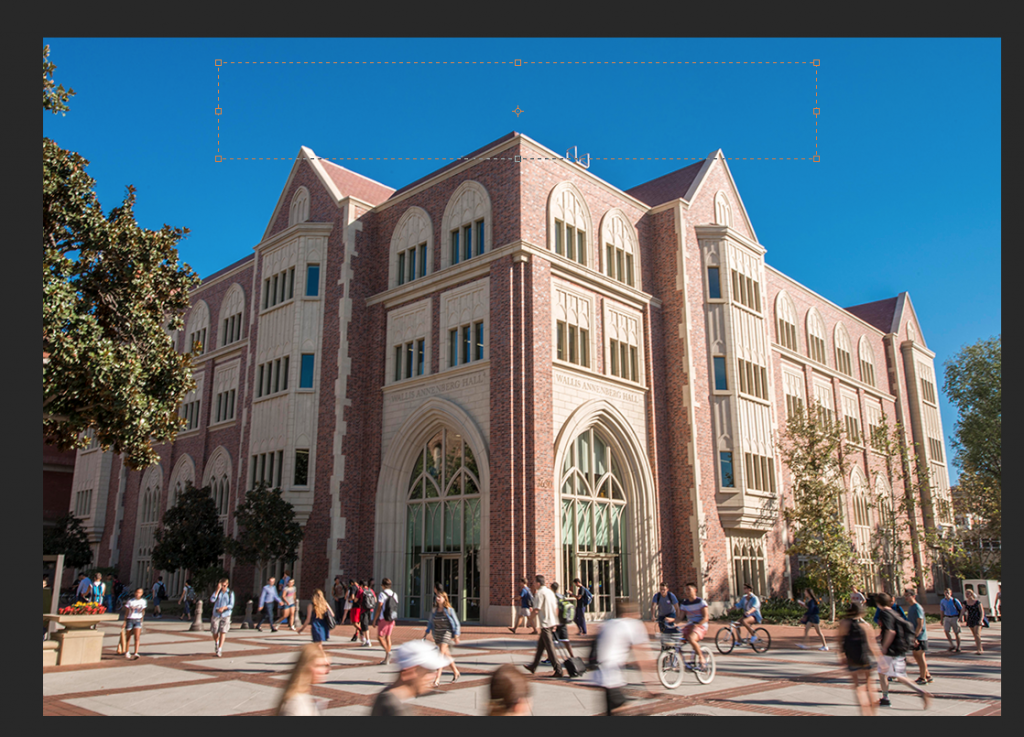
5) Other than straightening, the Crop tool is useful for chopping out what you don’t want in the image. With the Crop tool selected, simply select what part of the image you want to keep, and Photoshop will cut out the rest.
Let’s stay with our now-straight ANN image, and let’s lose some of the left side of the frame so ANN is more centered. Drag the left side of the Crop box in until you’re happy with the preview:
Hit RETURN or use the checkmark up top and boom – ANN’s centered.
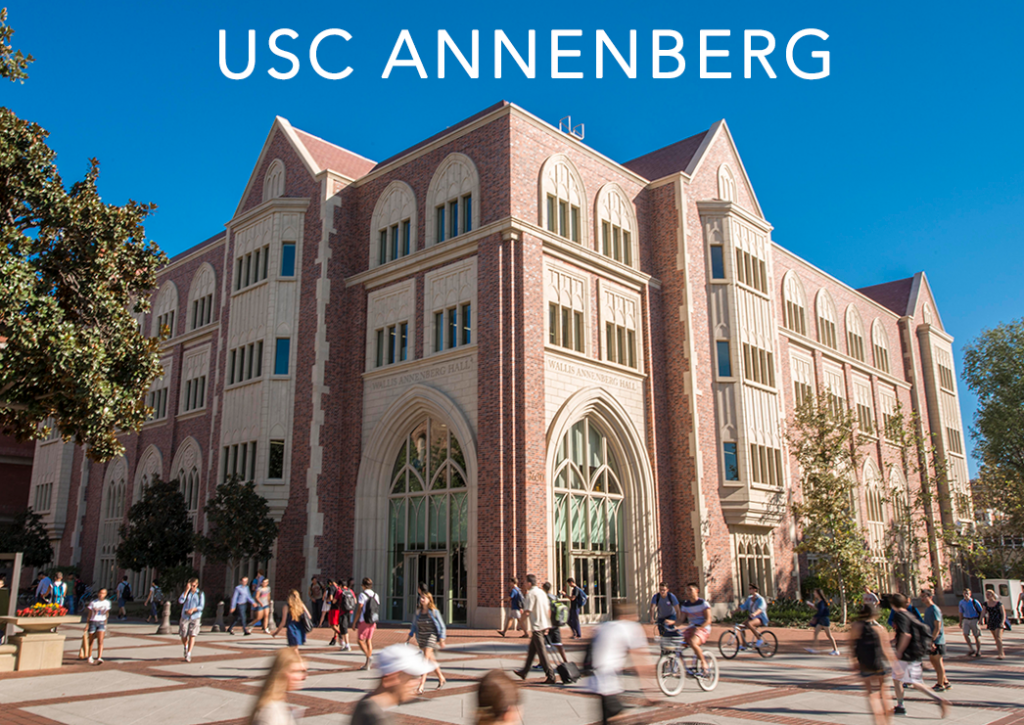
Adding Text To Your Image
Let’s add some text to our ANN photo.
1) Select the Type Tool – halfway down the tools panel:

2) Drag a box around the area where you want your text to be.
3) The top bar below the menu has your text options: Font, Weight, Size, Paragraph, and Color.

4) Type! If you run out of room or need to adjust the text box size, grab the box’s corners to resize.When you are done and want to accept your work, hit ESCAPE or use the trusty checkmark up top.
Saving Your File
1) Select File > Save As…
2) Name your file.
3) Select an appropriate format and Save.
A word on formats:
Photoshop supports various image file formats. For photos going to the web, use jpg or png. The gif format is also good for the web, but is generally suited for graphics, as it only has a limited number of colors it can display. These web file types are optimized for speed and size. None of these methods retain Photoshop layers or Actions.
For Photoshop Compositions in progress or for archiving, use the psd format. This file type will save all of your actions, layers and masks.