


Topics
Link to screencast from the live session of the ASCJ 200 Course
In this tutorial, we will continue looking at Photoshop tools that can help with remixing the original intention of a photo to give it an alternate meaning.
Using the Quick Selection Tool & Refine Edge
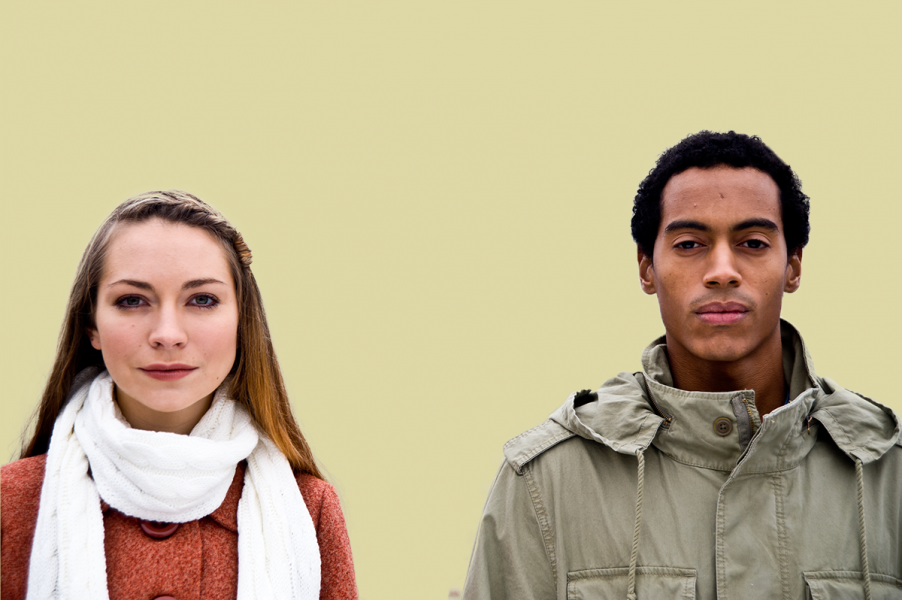
Photoshop’s Quick Selection Tool and Refine Edge tool can help you cut someone out of a photo even when they’ve got fly away hairs. For this part of the tutorial, we’ll be using this image (QuickSelect.psd).
1) Go to File > Open… and find the Photoshop file. We’ll make a quick selection for the girl, then the boy, and put them on different mask layers.
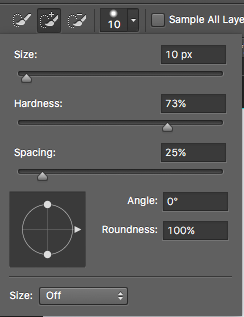
2) Choose the Quick Selection Tool in the toolbar on the left.

3) In the Tool Properties, increase the size of the brush to 10px. You can also use the bracket keys on your keyboard to increase ] or decrease [ the size of the brush.
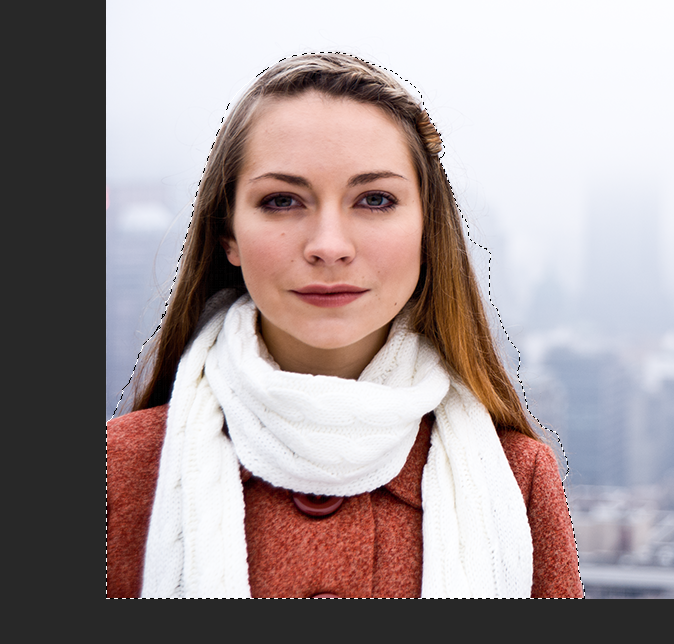
4) Start with the girl. As you click and drag over the parts you want to select, the selection will expand. Hold down Alt as you click and drag to subtract a part of the selection. Up in the toolbar, you can also toggle between the brush with the + and the – sign. Zoom in by using Command and the + sign on your keyboard to zoom into the image. Hold down the spacebar and click around to move around your image. Zooming in can be very helpful to make sure your selection is as accurate as possible.
Select the fly away hairs even if it includes some of the background. Don’t worry about getting all the fly-aways, we just want to get enough that it doesn’t look unnatural. We’ll use refine edge next to tighten up the hair selection.
5) Now, we’re going to refine our edges to get a better selection. In the tool properties up top, click on “Select and Mask…”
![]()
6) You can change the View to help you better see what you’ve got selected. We’ll change the view to On Layers. Click on the little triangle and you’ll be able to select a view. You can also use the “F” key to toggle between different views.
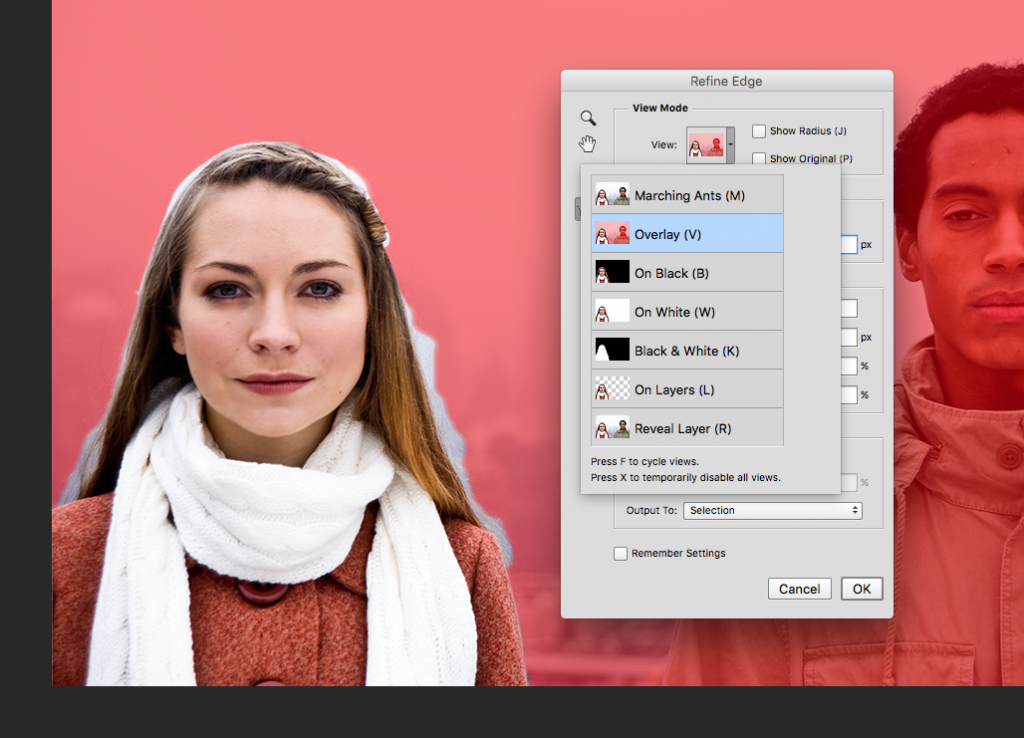
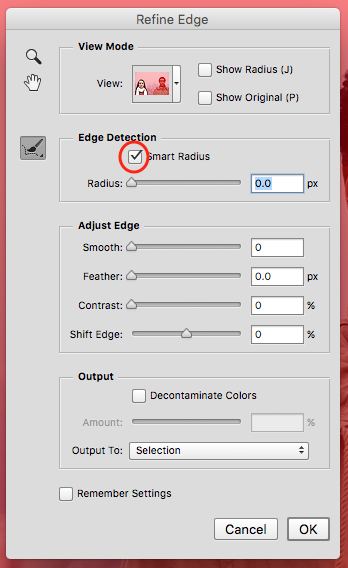
7) Open the EDGE DETECTION option and turn on SMART RADIUS. With Smart Radius enabled, Photoshop looks more closely along the edge of the initial selection and tries to tighten up the radius size wherever possible. Next, we’ll brush over her hair to get a refined edge.
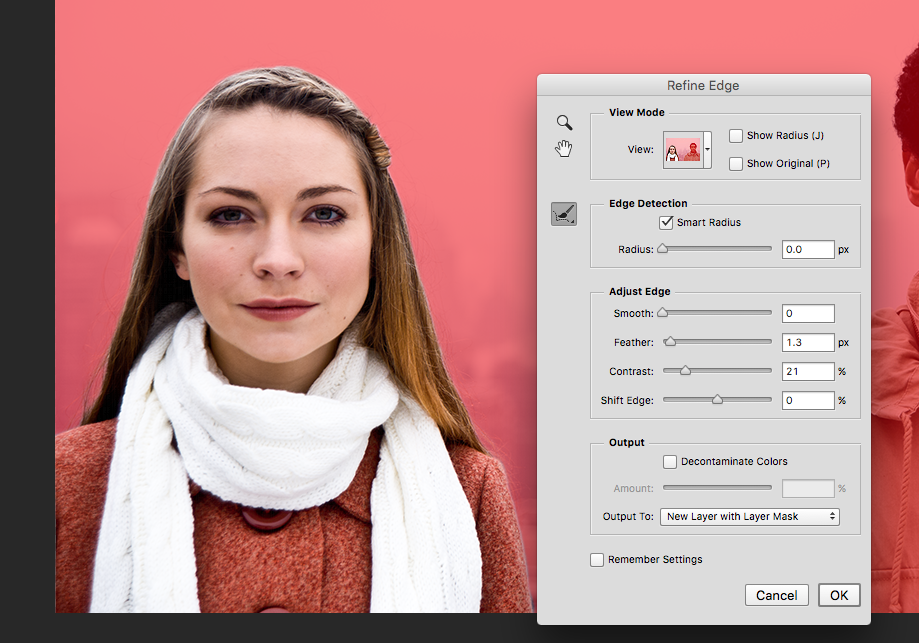
8) Start to click and drag to brush over her hair and you’ll see the radius tighten around her hair. Take note of the + sign when you brush over, that’s where it will target to adjust the radius. You can adjust the size of the brush in the tool properties area or use [ or ] to increase or decrease the size. Then, play around with the sliders to smooth out (Smooth and/or Feather) or make your selection sharper (Contrast) until you get a selection that you like.
On the right side of the panel towards the bottom, open the Output options and change the Output to New Layer with Layer Mask. Click OK.
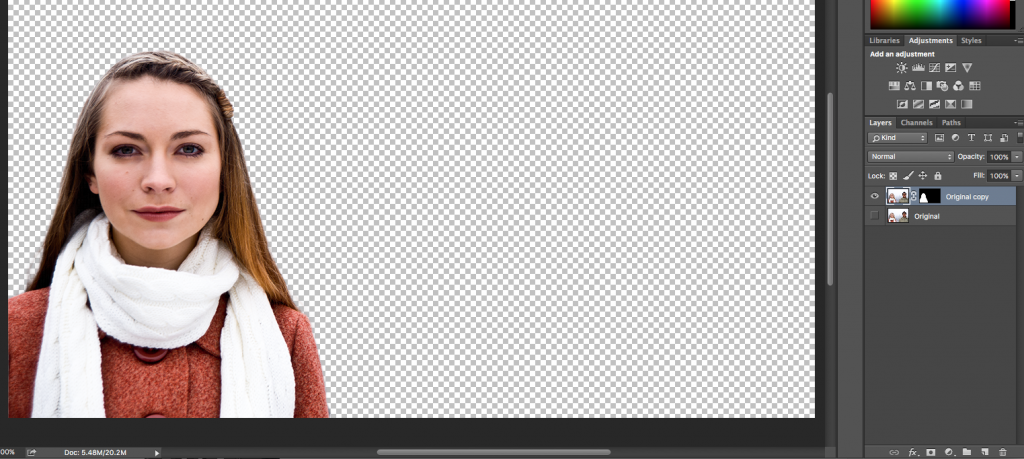
9) This will bring your selection into a new layer in your Layers Panel. You’ll notice that the Original image is still a layer but now invisible.
Repeat these steps for the boy by clicking on the eye icon next to the original to make the full photo visible again.
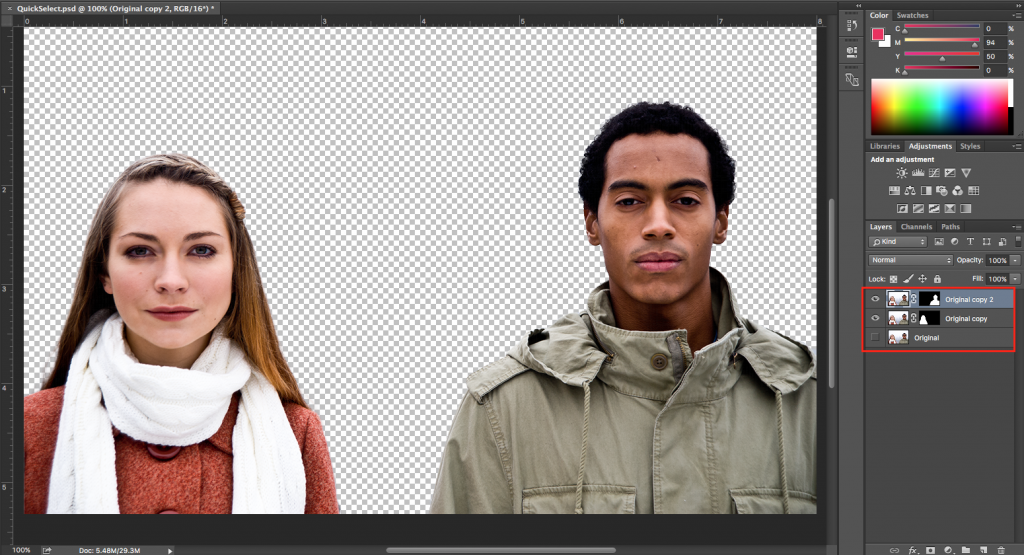
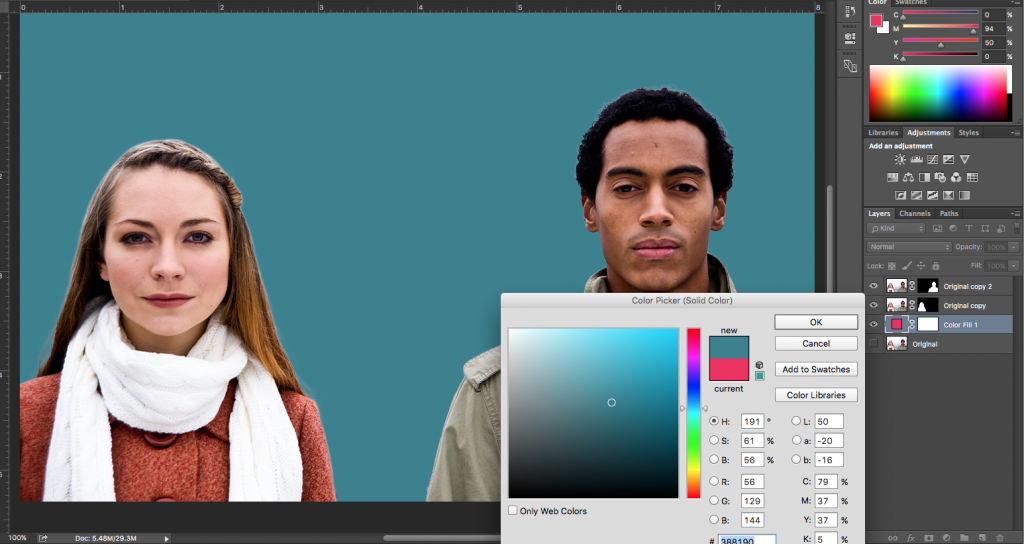
10) Once you’ve made the selection of the boy, make the Original layer invisible and make both your new selections visible as shown below.
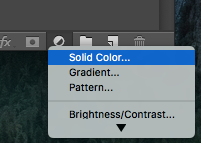
11) Now you can put anything you want behind your subjects! To add a solid color, select the Original layer and at the bottom of the panel, click on the half circle icon to add a fill layer. Choose Solid Color…
12) Use the color picker to change it to whatever color you want and click OK.
Using the Patch Tool & Content-Aware Fill
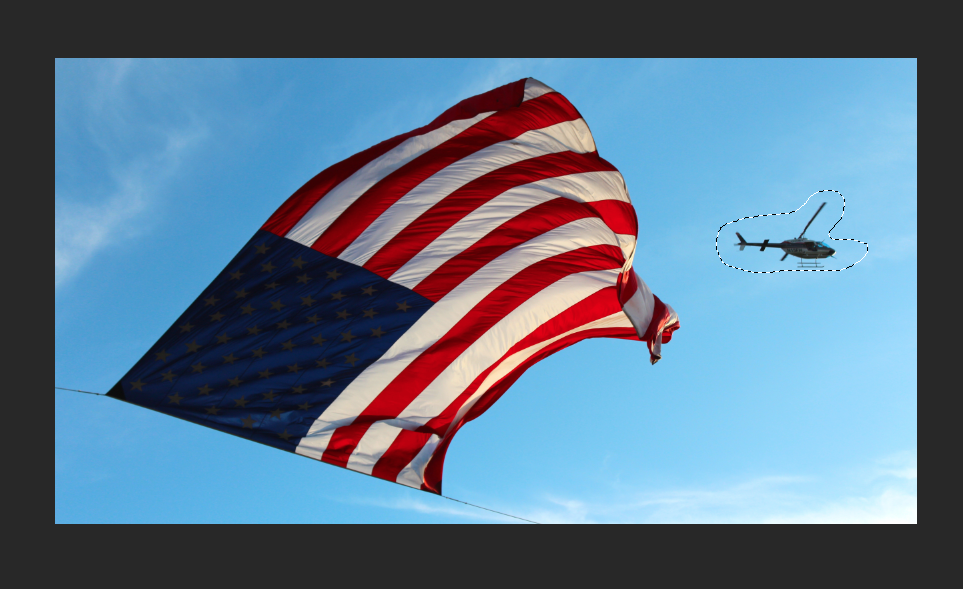
Content-Aware Fill uses Photoshop magic to remove an distracting objects from an image. We’re going to download this image here (ContentAwareFill.jpeg) and remove the helicopter from the background.
1) Select the Patch tool (under the Spot Healing Brush dropdown menu).
![]()
2) Choose Content-Aware under the Patch options in the top menu.

Adjust structure and color. Since this is a fairly simple background, we want to very strongly match the background sky and do maximum blending, so we’ll set Structure to 7 and Color to 10. You can play around with this when doing this with different images.
Structure: Enter a value between 1 and 7 to specify how closely the patch should reflect existing image patterns. If you enter 7, the patch adheres very strongly to existing image patterns. If you enter 1, the patch adheres very loosely to the existing image patterns.
Color: Enter a value between 0 and 10 to specify the extent to which you want Photoshop to apply algorithmic color-blending to the patch. If you enter 0, color blending is disabled. A Color value of 10 applies maximum color blending.
3) Draw around the helicopter.
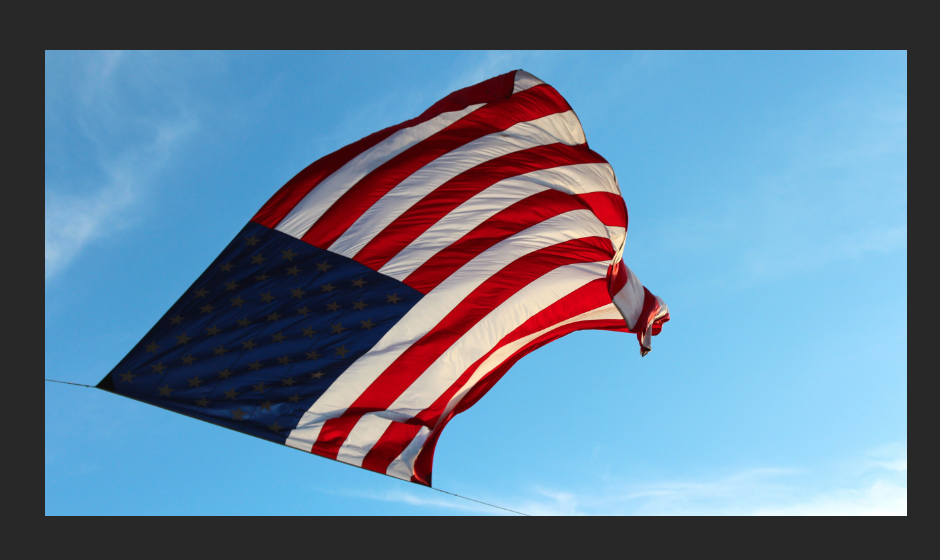
4) With the Patch tool still selected, drag your selection to a different area of the photo that you want it to be based off of. We’ll drag it to another part of the sky.
5) Now the helicopter will be removed and the sky will be blended.
6) Often after making a patch tool selection, hitting DELETE will give you decent results as well. It will open a pop up window with some options (Content Aware is your friend), and you can just hit OK to see how well it does.
More Patch Tool with Vanishing Point
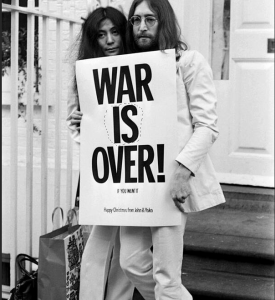
We’re going to use the Patch Tool more aggressively to remove the lettering from a Poster, and the Vanishing Point tool to add our own saying to that poster with the proper perspective in place.
1) Open this file, titled “yokoandjohn.jpg.”
2) Grab the Patch tool.
3) Select the word “IS,” then drag to the left or right to create an all white background. Click to commit your change.
4) Using this same process, delete the words “War” and “Over!”
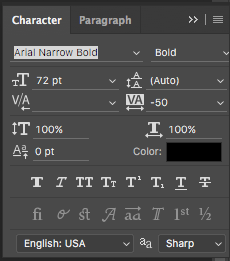
5) Using the “Horizontal Type Tool,” create a new text layer. Change the font to “Arial Narrow Bold,” Size: 72 pt.
6) Type “FEEL THE BERN!” in all caps onto the poster.
7) Go to Window > Character. In the Character pane, change the font kerning to -50, so that the letters are closer together like the original photo.
8) Now go to Select > All to select your text layer. You should see marching ants around the entire photo. Then go to Edit > Copy.
9) With your text now saved to your clipboard, go ahead and turn off the text layer by clicking on the eyeball. You can also hit Command D (Control on PC) to deselect and turn off the marching ants if they are annoying you!
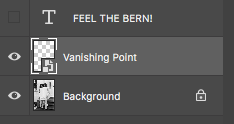
10) Click on the “Background” layer to highlight it. Now create a New Layer based on that one, and call it “Vanishing Point.”
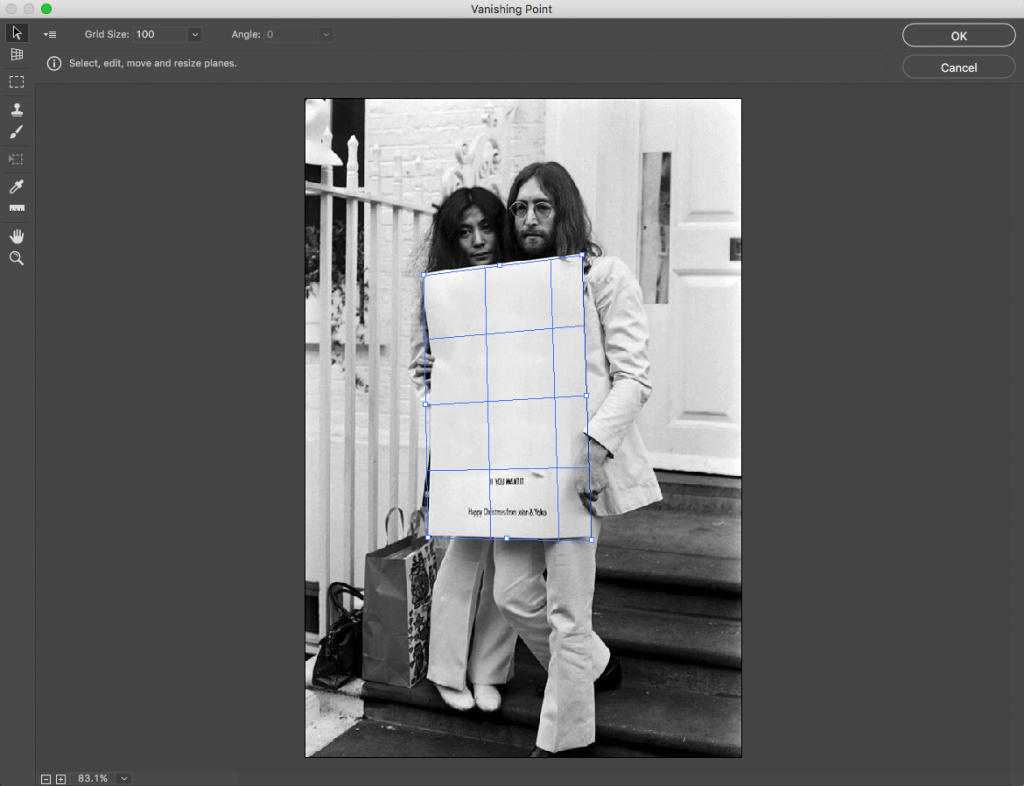
11) Go to Filter > Vanishing Point. This will open up a new interface. Select the “Create Plane Tool” from the lefthand toolbar.

12) Click on each corner of the poster to create a grid. The grid must be blue, so if you see yellow, keep adjusting until you get a blue lined rectangle covering the poster.
13) Now, hit Command-V (Ctrl on PC) to paste the text from your clipboard. It should appear in the upper lefthand corner.
14) Drag your text onto the poster plane, and it should move into place within the poster but with a new perspective – more diagonal and natural fitting.
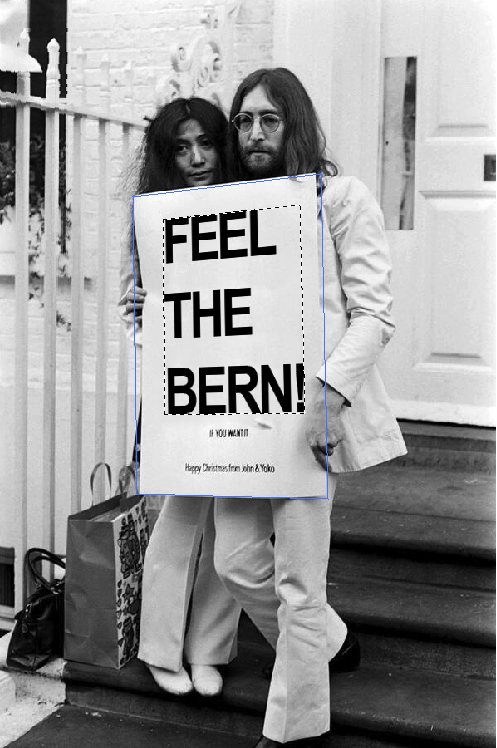
15) When you are finished adjusting, click OK to commit your changes. Now you have a photo of John & Yoko hitting the 2016 campaign trail!
Liquify
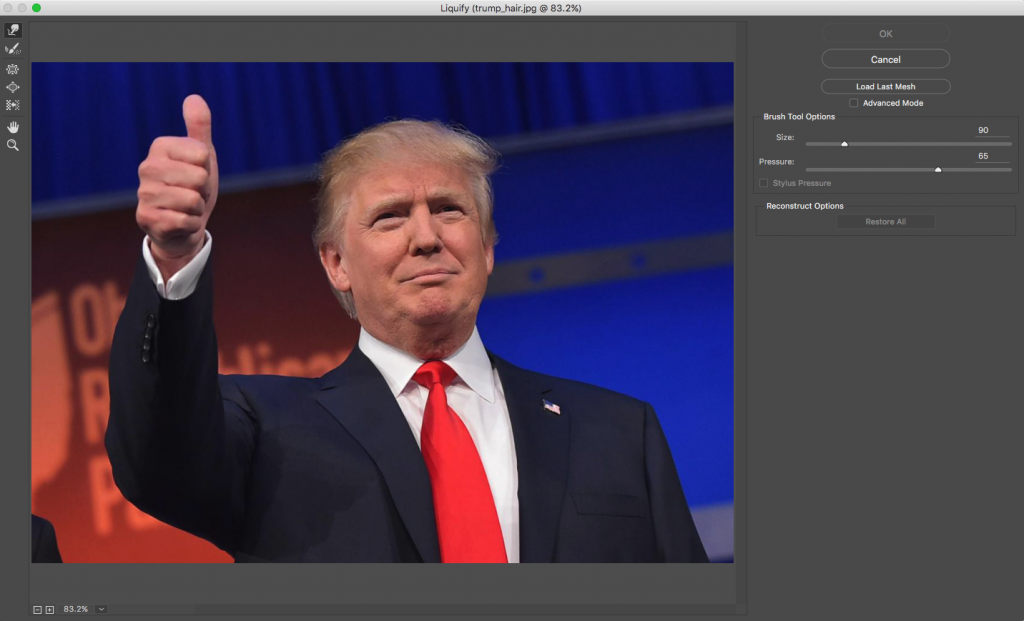
The Liquify filter lets you push, pull, rotate, reflect, pucker, and bloat any area of an image. The distortions you create can be subtle or drastic, depending on what you’re going for. In this tutorial, we’re going to have some fun with Donald Trump’s hair!
1) Open this file, called “Trump_hair.jpg”
2) Go to Filter > Liquify. This will open up a new tool interface:
3) Using the “Forward Warp Tool,” add some additional to volume to Donald’s hair by slowly clicking and dragging.
4) Also try bringing in his chin, then use the Pucker Tool to clean up.