


Topics
Download this tutorial as a PDF here.
Introduction
Audacity is a free digital audio editor and recording application that runs on Mac or PC. For this workshop, we will be using version 2.0.4 for Mac which can be downloaded here: http://audacity.sourceforge.net/
Set Sample and Bit Rates
1) Click on Audacity in the upper lefthand corner, then select Preferences.
2) In the dropdown menu, go to Quality.
3) Here you can select your “Sample Rate” (measured in Hz) and your “Sample Bit Format” (resolution). In addition to quality and resolution, these settings also affect file size.
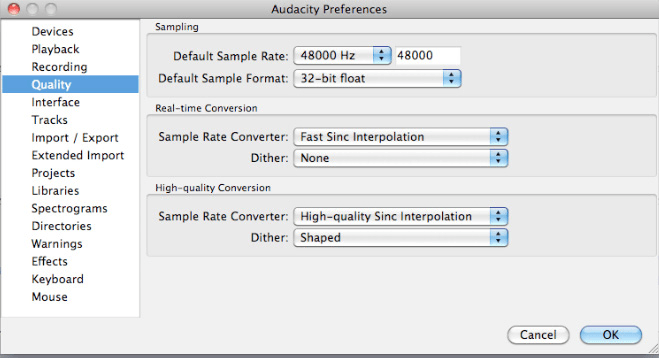
If you are going to stream your audio as a podcast or burn to CD, use these settings:
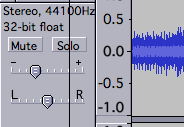
- Sample Rate: 44100 Hz
- Sample Format: 16-bit
If you plan to import your audio into a video project, use these settings:
- Sample Rate: 48000 Hz
- Sample Format: 32-bit
Importing Audio Files
Formats that can be imported: WAV, AIFF, AU, MP2/MP3 or OGG Vorbis
1) When you open the application, it will immediately open a new project screen.
2) Select “Save Project As” to name your project and save a copy to the desktop. Audacity will save it as an “.aup” file (we will export to other formats later).
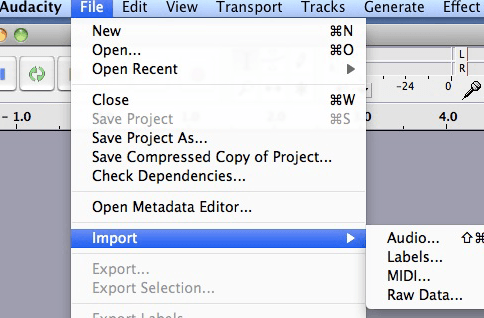
3) To import the sample audio files, go to File > Import Audio
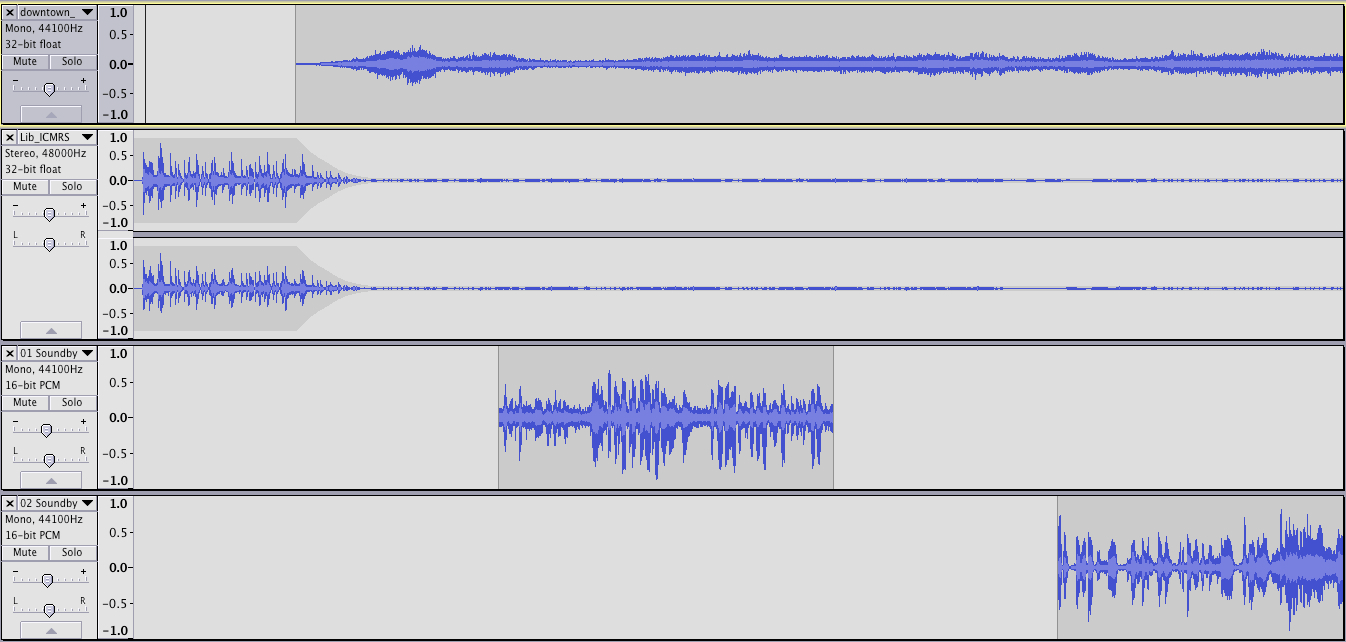
4) Select the “Audacity Sample Files” folder from your desktop. You can select all four (4) files at once by holding down the COMMAND key.
5) When they are finished importing, you should have a project screen that looks like this:
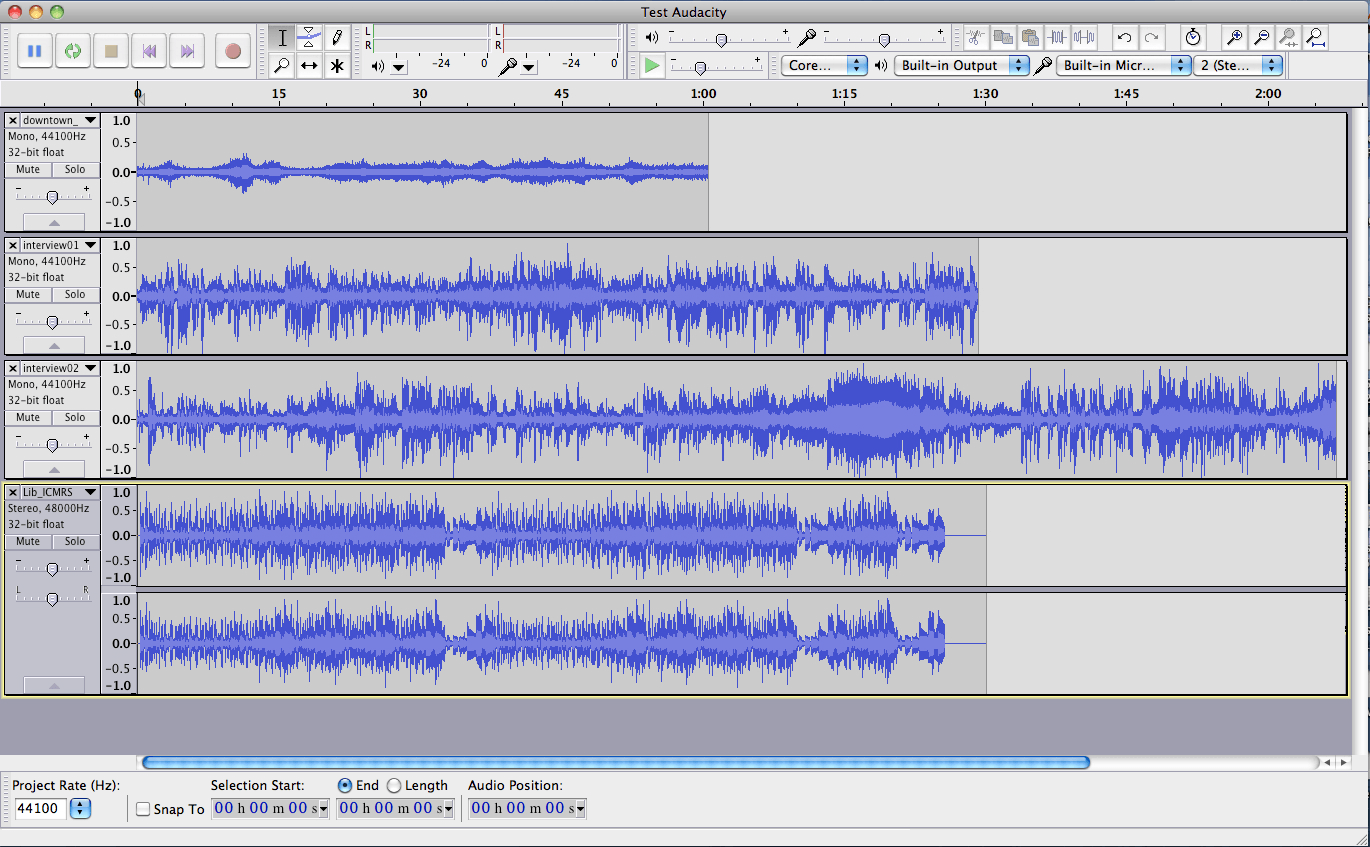
6) You can listen to each individual track by clicking the Solo button, then hitting Play.
7) If one track is too loud or soft, you can adjust its master volume by sliding the fader.
Editing Audio
Here are the basic tools:

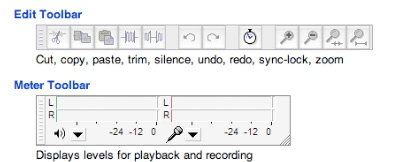
More Tools

Creating Soundbite #1
1) Navigate to “Interview 1.” Make sure everything else is muted.
2) Use the zoom tool to get in a little closer.
3) Use your selection tool to place your cursor, and the space bar to play/stop.
4) Highlight the dialog beginning with “Whatʼs your perception of downtown Los Angeles …,” which begins around 00:12, through “… since I came back from Vegas, I think it looks a lot nicer,” which ends around 00:24.
5) The play button will preview your highlighted selection, and you can use the tool that looks like a hand to adjust your intro and outro points.
6) Once you have your selection highlighted, hit COMMAND-C to copy.
7) Go to Tracks > Add New > Audio Track.
8) A new unlabeled audio track will appear at the bottom of your screen. Paste your selection into this track by hitting COMMAND-V.
9) Name this new track “01 Soundbite” by clicking the the arrow on the left.
10) Delete “Interview 1” by clicking on the “X.”
Creating Soundbite #2
1) Navigate to “Interview #2” and select the dialog “itʼs probably a bad thing for affordable housing …, ” which begins around 01:38:05, through “…mixed blessing I guess,” which ends around 02:03.
2) Repeat the steps from previous page and create a new track called “02 Soundbite.”
3) Delete “Interview #2.”
Noise Removal
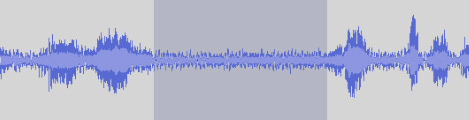
1) In “02 Soundbite,” there is a bit of dead space towards the end of her dialog between “businesses, and um” and “ … so mixed.”
2) Highlight this dead space:
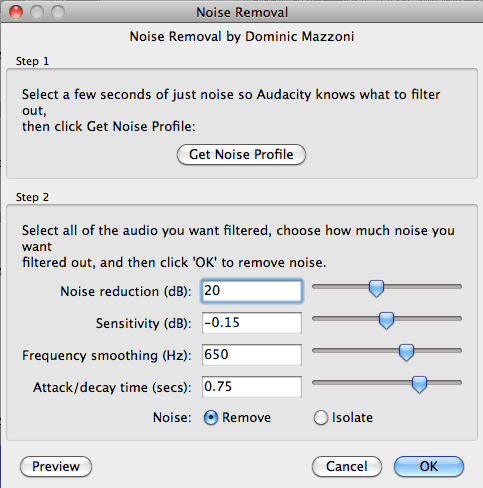
3) Go to Effect > Noise Removal.
4) Click Get Noise Profile. This will record the background noise that you have highlighted.
5) Go back to “02 Soundbite” and highlight the entire clip.
6) Select Effect > Noise Removal again.
7) You can now adjust the faders and preview how it sounds.
8) Once you have set your desired levels, click OK.
9) This tool will extract the background noise from your soundbite
On your own: Tighten-up “02 Soundbite” by deleting the “ums” and “pauses”.
Envelope Tool
The envelope tool is useful for ramping audio levels. Selecting the tool will add blue volume bars onto the timeline.
![]()
1) Activate the library music track “Lib_ICMRS” by hitting solo.
2) Select the Envelope tool; you should see the blue lines appear.
3) Click around :06 to make your first point, then another around :08. You can control these levels by sliding the points up and down. Audacity will create a path between these points to make a smooth volume adjustment, or in this case, a fade out.
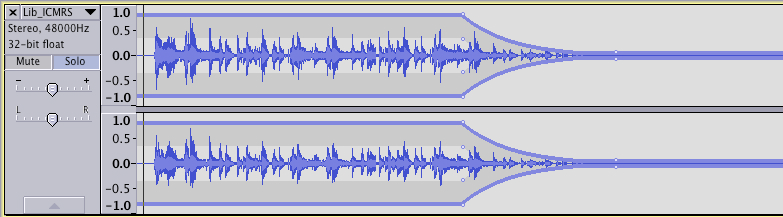
4) If you accidentally add too many control points, click on the point you want to delete, drag it outside of the track, then let it go.
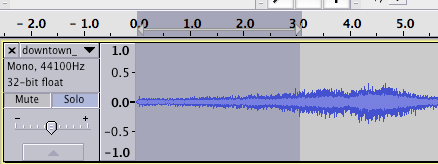
Fade Effects
1) For fading in and out of tracks, you can also use effects.
2) Mute the music track and solo the downtown ambience track.
3) Notice that a car comes in around :09. Highlight and delete the first :07 seconds.
4) Highlight the first few seconds of the newly-edited track.
5) Go to Effect > Fade in.
6) The beginning of the track is now flat and gradually rises:

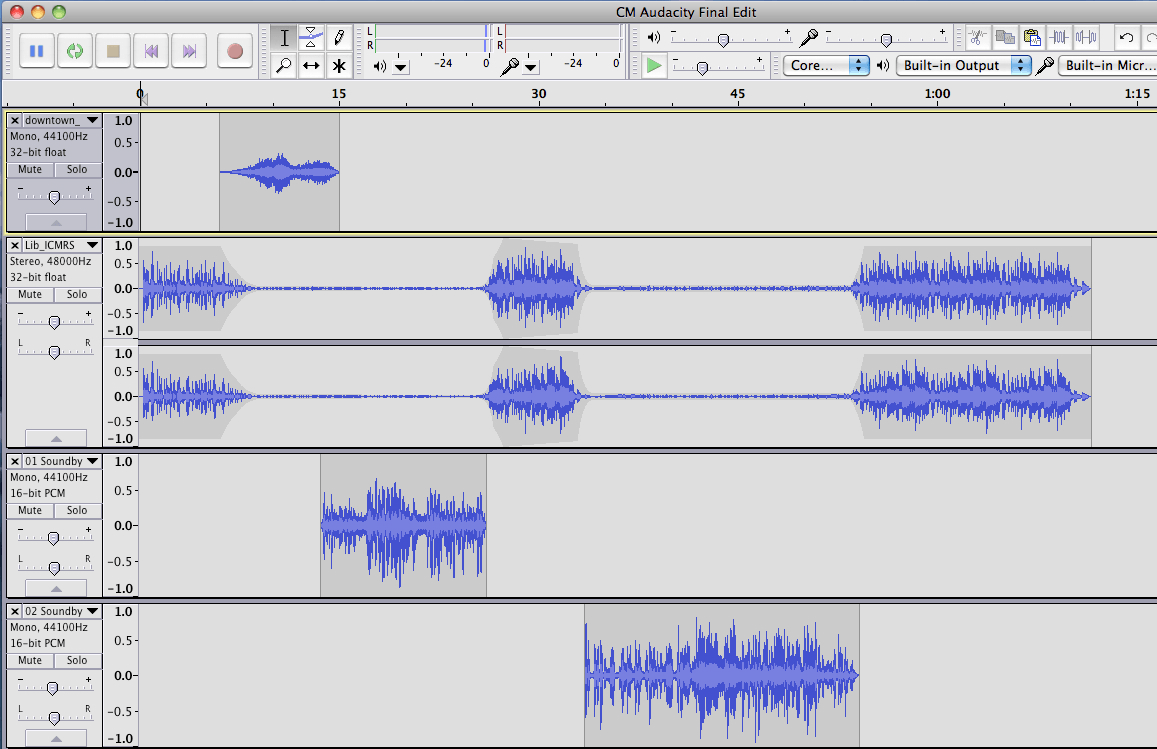
Assembly
1) Using the Timeshift tool, ![]() slide your tracks so you have an order like this:
slide your tracks so you have an order like this:
2) The order of what we should hear in the final product is: Music, Ambient Sound, 01Soundbite, Music.
On Your Own
1) Use the Envelope and Fade effects to transition in-between each track.
2) Your final project should end up looking something like this:
Export
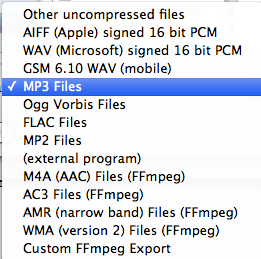
1) Go to File > Export.
2) Under Format, select MP3. You should already have a Lame encoder installed.
3) Name your project and save it to the desktop. (You can also input metadata before saving).