
Convert Text to an Audio File with Mac’s Automator
Do you have a Mac? Did you know you can highlight text, right-click it, and turn it into a spoken word audio file read aloud by the Mac system voice of your choice? Learn how to create this service by following these simple steps.
1 – Open Automator and Create a New Service
Automator is built into Mac OSX. Go up to FILE > NEW and it will bring up your options.
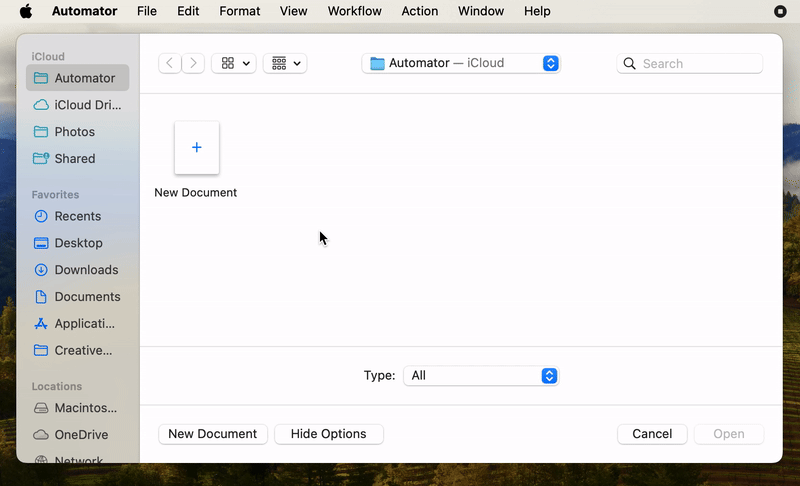
Pick QUICK ACTIONS and hit CHOOSE.
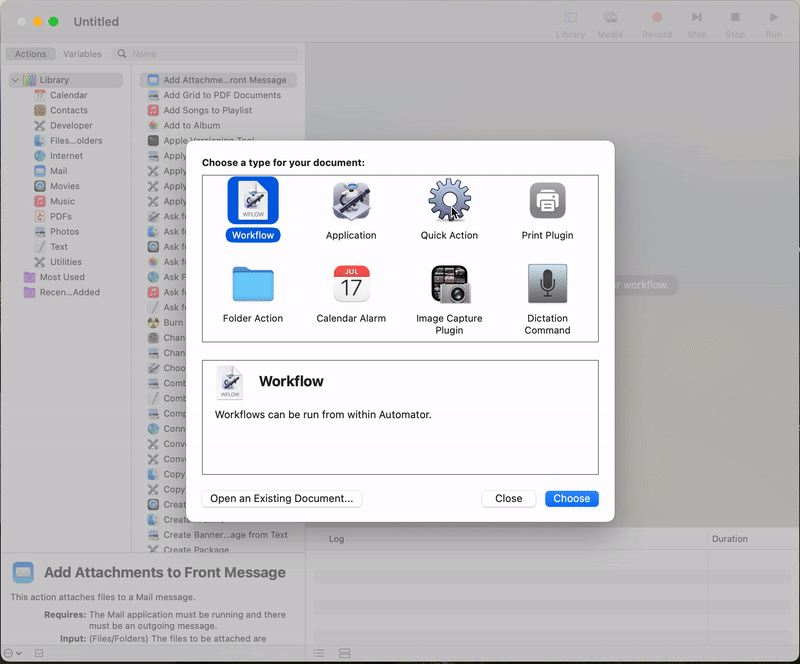
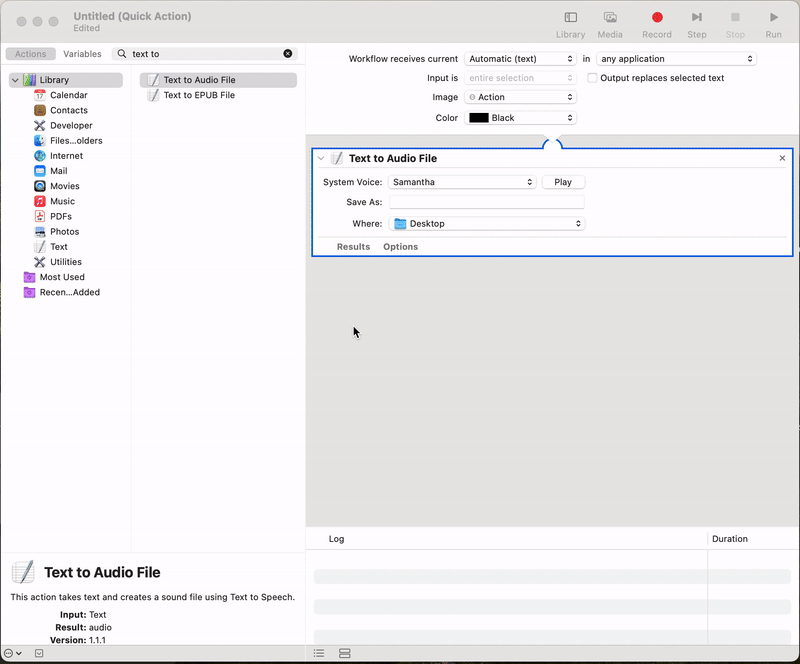
2 – Choose “Text to Audio File” & Drag It Over
By default your service description should read Service receives selected text in any application. If it’s not, adjust your dropdowns so they are.
Search for the Text to Audio File action in the 2nd column. Click & drag it into the light blue box next to it.
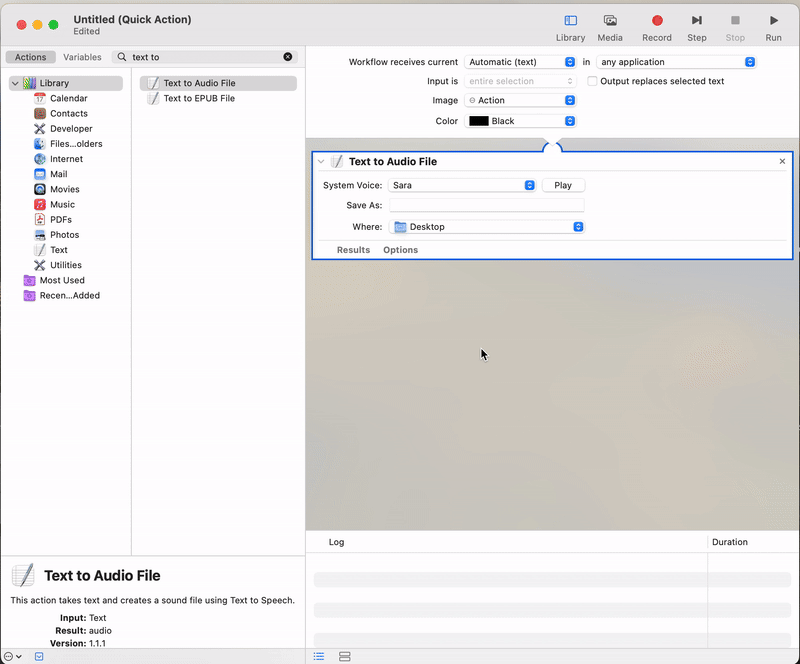
3 – Pick a Voice, a Default File Name, and Where It Will Live
These are up to you. Sample a voice and find one you like by hitting Play. You can set your location so it’s easy to find when it’s done, this is where all of your created audio files will be saved.
4 – Save the Service & Name It
You can use FILE > SAVE or the keyboard shortcut Command-S. Whatever text you save here will be what you see in your right-click menu when you want to use the service.
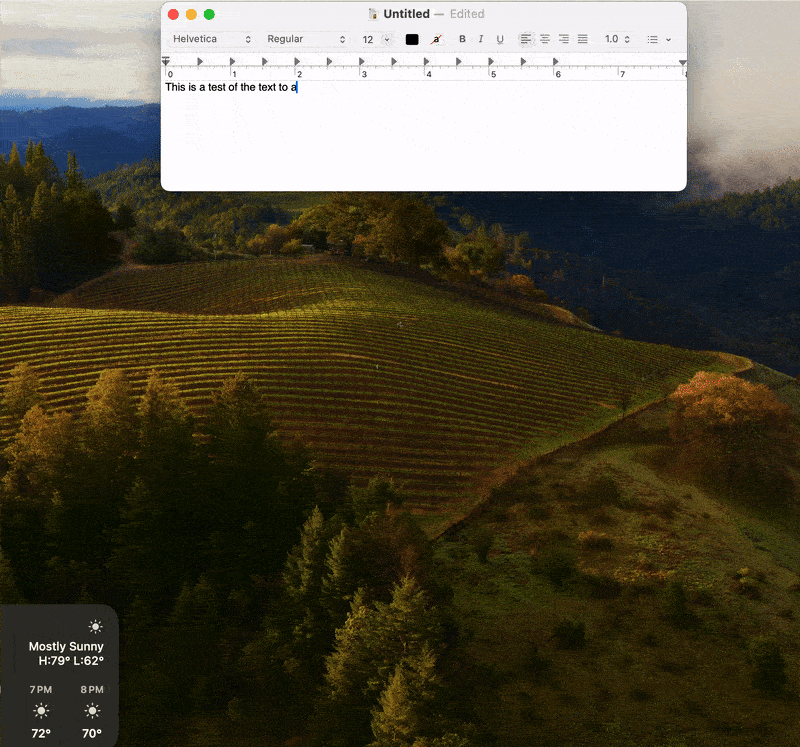
5 – Type Some Text & Select It, Right Click the Highlighted Text
I typed this up in TextEdit. You can also just select any text. The rule here is: If you can select it, you can make it into an audio file. With any text selected, right-click or control-click it and you should see your new service listed at the bottom here!
Your file Is complete! You should find it on whichever folder you selected in the beginning as planned. This AIFF file is ready to rock, and good to use in videos or podcasts too!
Want to learn more about audio editing? Take a look at our Adobe Audition tutorials!