


Topics
In this tutorial, we’ll cover how to gather found footage, bring it into Premiere, and show you tricks for editing it all together to make a remix video. You can download the clips and assets that we’ll be working with here.
What is a remix video?
A remix video is when separate media elements are joined to form a new, different piece of media with an entirely different meaning than the original. It can be in narrative format or a mashup montage.
Often times, people use a variety of source material to create an original argument about a social/political/economical issue. You can pull commercials, trailers, news segments, public service announcements, pop culture and mash it all together. Once you’ve pulled all your materials, you can alter it with techniques like voiceover, adding text, music, re-cutting it, etc., to expose a new meaning.
Fair Use
You might be wondering how can we use all these clips and copyrighted material without getting sued? Well, we are protected under Fair Use when it comes to video remix! “Fair use” is the right to use portions of copyrighted materials without permission for purposes of education, commentary, or parody. Check out Stanford’s rules and guidelines for Fair Use in Education here.
A Video Remix Example
First, come up with an idea and brainstorm a list of media clips that you’ll need.
For our remix example, we’re using the recent Panama Papers controversy as our topic. We will be creating a fake Mossack Fonesca commercial for the British Virgin Islands as a place to launder your money.
I’ll be looking for / gathering these assets:
- British Virgin Island Travel Video
- Money laundering clips from Hollywood movies
- Epic movie film score
- Footage of Putin — showing world leader’s involvement in the controversy
Footage and Assets
Once you’ve got a general idea of what footage you want to gather, it’s time to start searching! Here are some recommended places for finding video, images, and audio.
Finding & Gathering Resources
Video
If you need content from pop culture, you can pull content from DVDs or rent the content online. We’ll show you how to capture that content in the next section.
Images
Audio
Capturing & Downloading Footage
There are a few ways to capture footage from the internet. For YouTube videos, you can capture it using a Firefox extension that can download the video for you or download this software called 4K Video Downloader.
The Quicktime Player can be handy if you want to record what someone is doing on a screen or if you have a DVD that you want to capture content from or you want to grab a non-YouTube clip.
Using a Firefox Extension
The Download YouTube Videos as MP4 extension is one that we’ve used. Follow that link in your Firefox browser and add it to your Firefox.
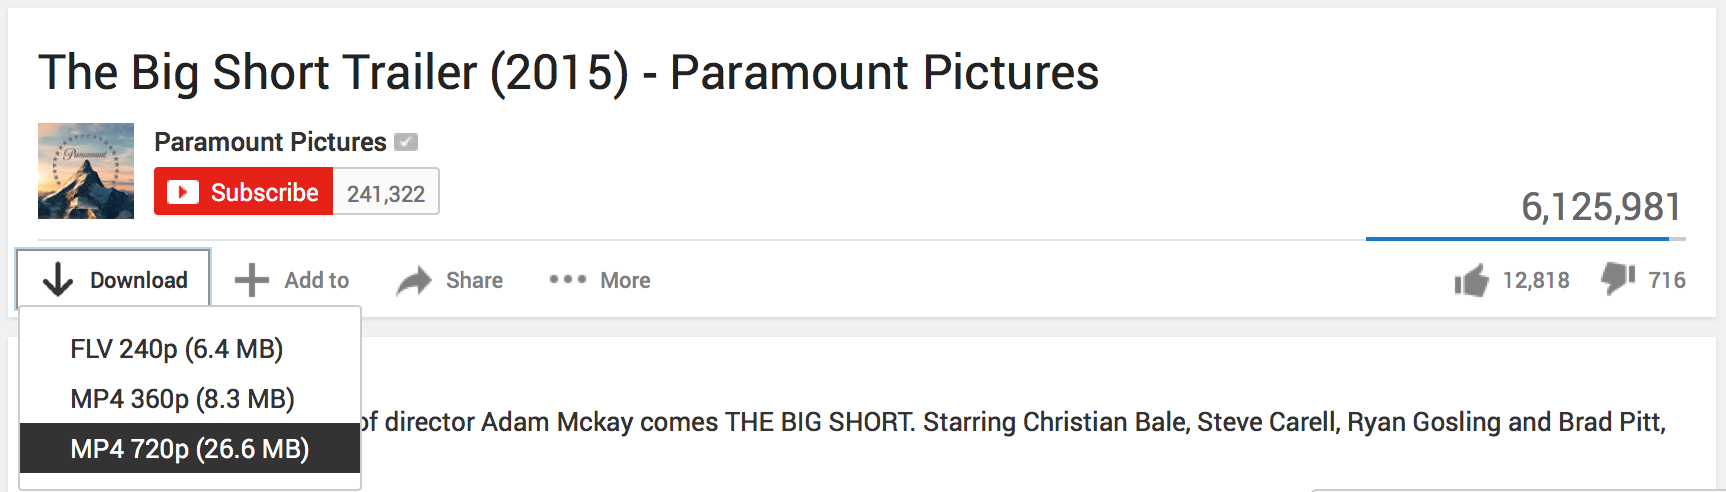
Once you’ve installed the add-on, you’ll see a download button on all YouTube videos. When you’re on a clip, all you have to do is click on the download button and select one of the MP4 options. You’ll want to select the best quality version – in this case, it’s the MP4 720p. It will download and save to your Downloads folder on your computer.
4k Video Downloader
This application can help you download YouTube videos as well! It is compatible with both PCs and Macs. Install it and follow instructions on their website on how to download YouTube videos.
Using QuickTime Player Screen Recorder
Next, we’ll cover how to use QuickTime Player to capture content. For our example, we’ll be using the same YouTube clip, but this can be done the same way for any non-YouTube media clip you want to capture.
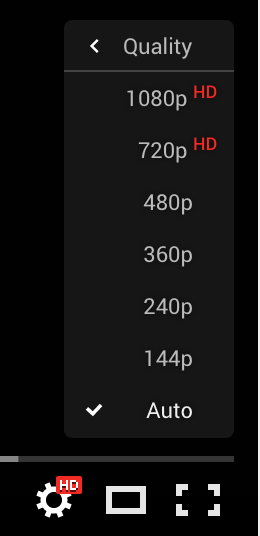
1. Pull up the video in your browser. We’ll be pulling down the Big Short trailer. If you are pulling a clip from the internet, make sure you select it to play at the highest quality. For this YouTube video, I changed it to 1080p. If from another source, see if there is a quality setting that you can change.
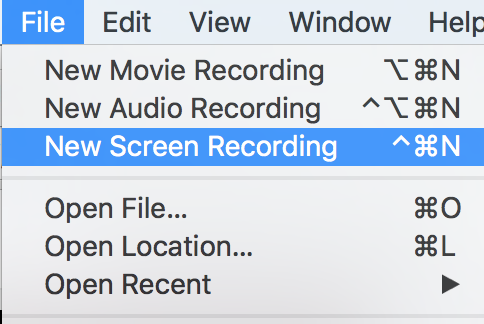
2. Open up QuickTime Player and go to File > New Screen Recording.
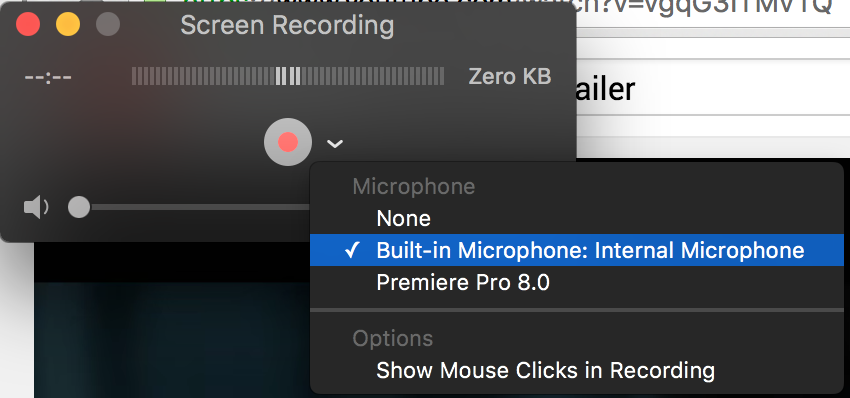
3. A pop up window will show up. Click on the little down arrow next to the record button to make sure your built-in microphone is selected if you also want to capture the sound of the clip. Start talking to ensure the sound is coming through – you’ll see the volume bars move. Ensure that the volume on your computer is up high and that you’ll in a relatively quiet room. Unfortunately, the internal microphone will pick up any sound in the room. Hit the red Record button.
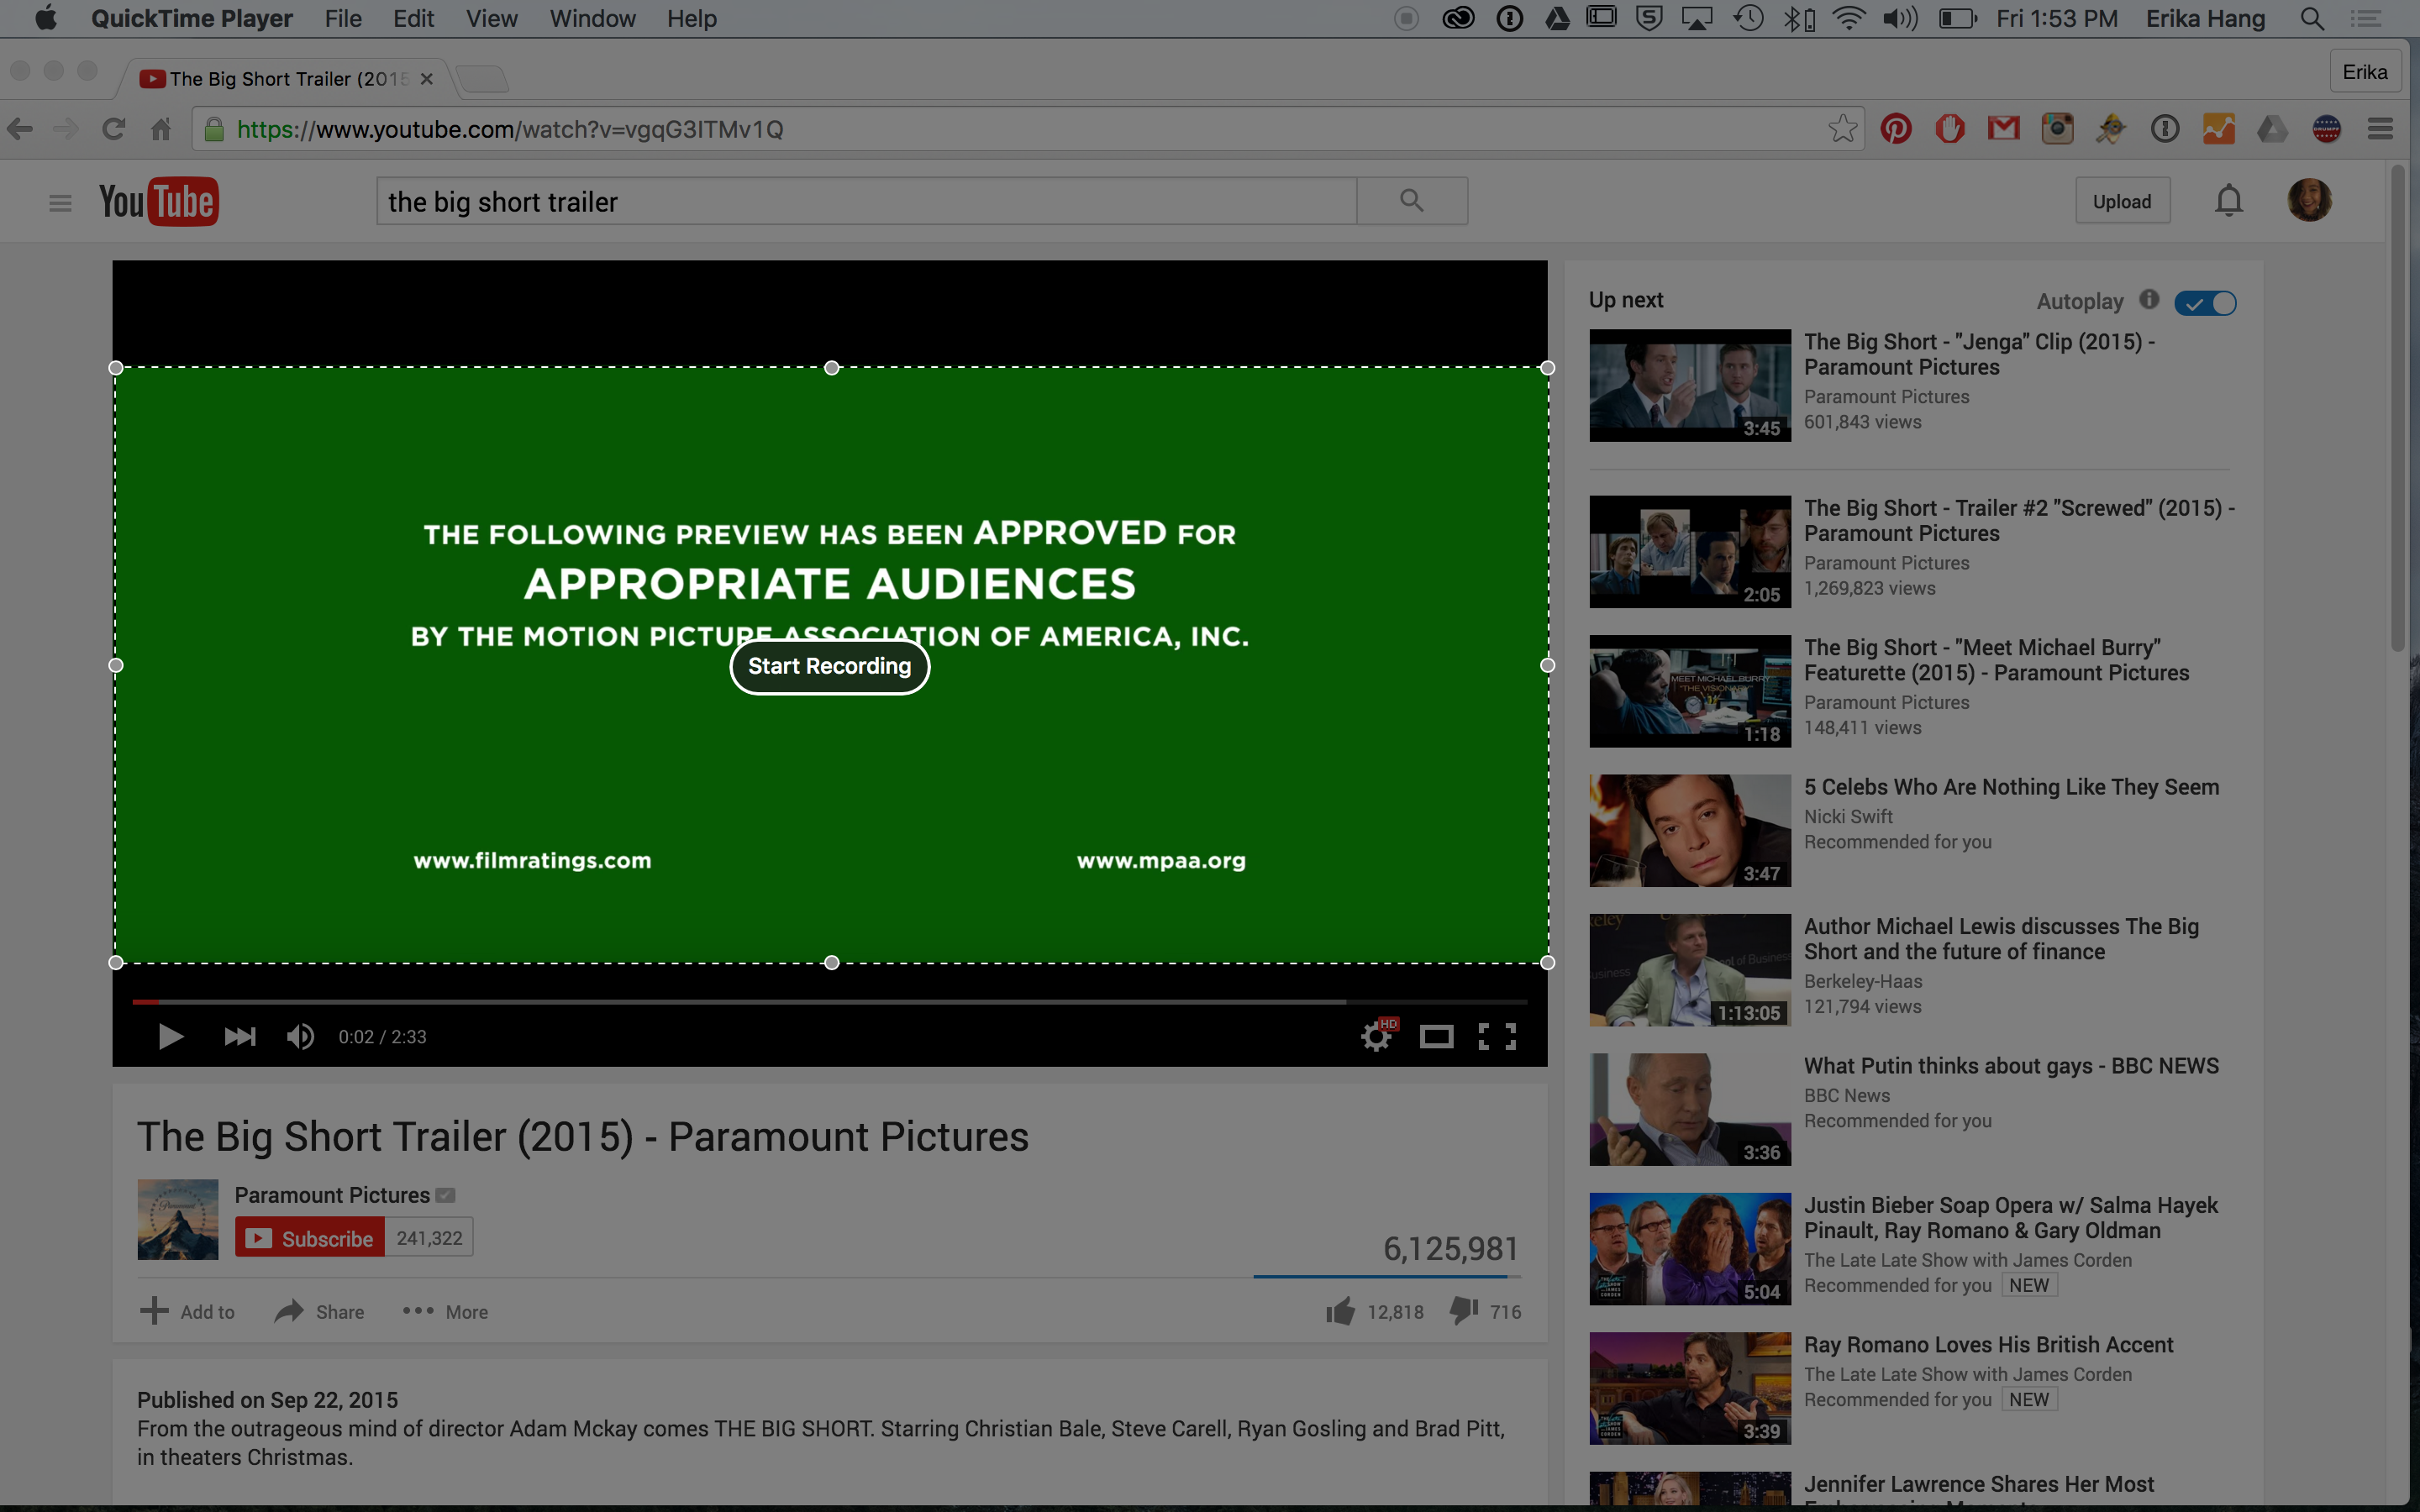
4. Select the area of your screen that you want to record by click and dragging. You can use the handles to adjust it. Notice how I’ve just selected just the video area and left out the YouTube controls. Click Start Recording once you’re happy with your selection.
5. Play your video all the way through. When it’s done, click the stop button ![]() in the top tool bar of your Mac. Quicktime will open your recording for you to Save.
in the top tool bar of your Mac. Quicktime will open your recording for you to Save.
6. Go to File > Save and save our clip onto your computer.
Repeat this for all the clips that you need.
Remixing your Video
Part 1 – Creating Your Project & Importing Your Clips
In this part, we cover how to start your project, import your clips, and organize your bin.
Part 2 – Creating a Sequence and Adding Footage
In this part, we cover how to create a sequence, bring in video and audio, unlink clips, create a still frame, and add in basic video and audio effects.
Part 3 – Adding Music and Sound Effects
In this part, we cover how to add music and sound effects, change speed duration of a clip to match your audio, and adjust the volume of your tracks.
Part 4 – Creating a VoiceOver
We’ve got a tutorial on how to turn text files into a recorded voiceover using Automator on your Mac computer! Check it out here.
Part 5 – Adding Captions, End Title Cards, and Exporting Your Clip
In this part, we cover how to add captions, title cards, and how to export your clip for YouTube!