


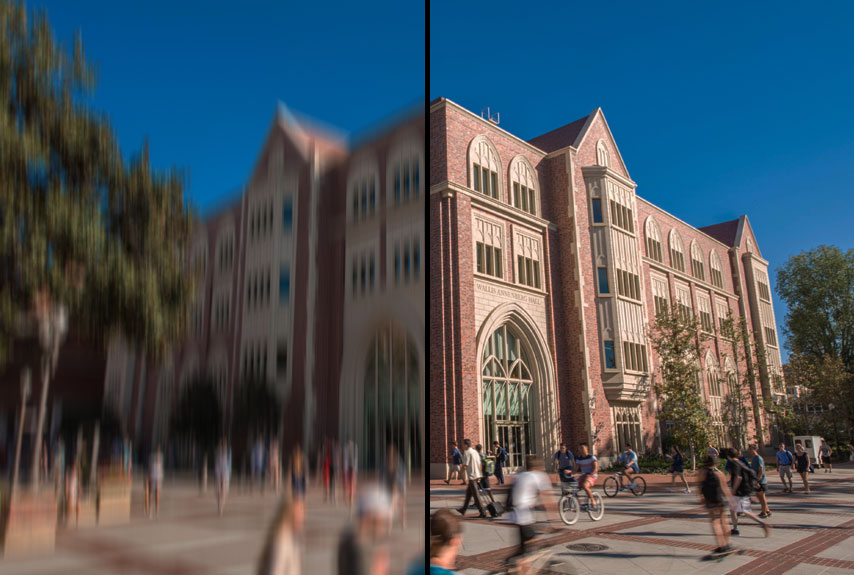
In truth, stabilizing footage in post-production should never be relied on. For best results, Warp Stabilizer in Premiere should only be used as an absolute last resort, and when the footage is not horribly shaky. Minor bumps here and there are fixable, while extreme shakes are nearly impossible for Warp Stabilizer to get rid of without severe and undesirable “warping” of the image. That said, getting the most stable footage in camera while shooting is always recommended.
But accidents happen and there are tools that help to mitigate them. The Warp Stabilizer in Premiere is a great tool for those unexpected problems. Let’s dig in!
In the Effects panel choose Distort > Warp Stabilizer. Drag the effect to the clip in the Timeline. Warp Stabilizer will analyze the clip and begin stabilizing.
Warp Stabilizer works best when its settings are tweaked. See the panel below to see what you can tweak to achieve the best results.
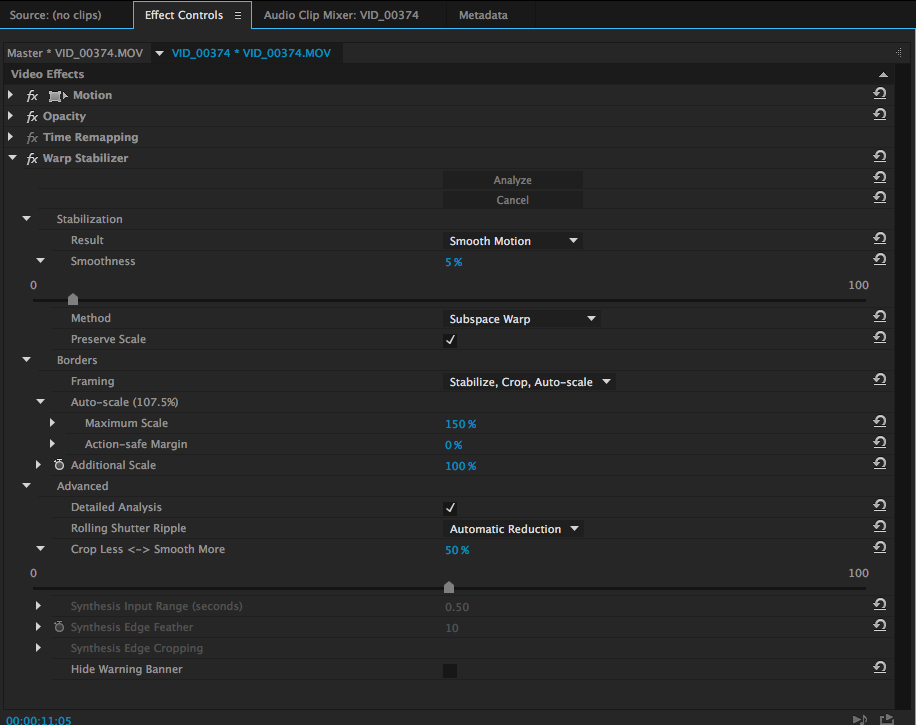
Warp Stabilizer settings
Result
- Smooth motion (default): Retains original camera movement but makes it smoother. Smoothness controls how smooth the camera movement becomes.
- No Motion: Attempts to remove all camera motion from the shot. When selected, the Crop Less Smooth More function is disabled in the Advanced section. This setting is used for footage where at least a portion of the main subject remains within the frame for the entire range being analyzed.
Smoothness
- Lower number is closer to the camera’s original motion. Higher number is smoother. Any number above 100 requires more cropping of the image.
Method
- Subspace Warp (default): Analyzes parts of the frame differently to stabilize the entire frame. Try this setting first. If there is too much warping, try the other two settings.
- Perspective: This setting analyzes the entire frame effectively corner-pinned. Try this if Subspace Warp is not doing the job.
- Position: Stabilization is based on position data only (position, scale and rotation) and is the most basic way footage can be stabilized. Sometimes this setting is enough.
Note: Subspace Warp can introduce a lot of unwanted warping, and Perspective can introduce unwanted “keystoning.” Choose Position when neither of these settings work.
Framing
- Stabilize, Crop, Auto-scale (default): Crops the moving edges and scales up the image to refill the frame.
Stabilize Only: Allows you to crop the footage using other methods. When selected, Auto-scale section and Crop Less Smooth More property are disabled.
- Stabilize, Crop: Crops moving edges without scaling.
- Stabilize, Synthesize Edges: Fills in the blank space created by the moving edges with content from frames earlier and later in time (controlled by Synthesizes Input Range in the Advanced section). With this option, the Auto-scale section and Crop Less Smooth More are disabled. This is the most advanced setting and takes the longest to render.
Stabilize Only: Allows you to crop the footage using other methods. When selected, Auto-scale section and Crop Less Smooth More property are disabled.
Auto-Scale
Maximum Scale: Limits the maximum amount a clip is scaled up for stabilization.
Action-Safe Margin: When non-zero, specifies a border around the edge of the image that you don’t expect to be visible. Thus, auto-scale does not try to fill it.
Additional Scale: Scales up the clip with the same result as scaling using the Scale property under Transform, but avoids an extra resampling of the image.
Advanced
Detailed Analysis: When set to on, makes the next Analysis phase do extra work to find elements to track. The resulting data is much larger and slower with this option enabled.
Rolling Shutter Ripple: The stabilizer automatically removes the rippling associated with stabilized rolling shutter footage. Automatic Reduction is the default. Use Enhanced Reduction if the footage contains larger ripples. To use either method, set the Method to Subspace Warp or Perspective.
Crop Less <-> Smooth More: When cropping, controls the trade-off between smoothness and scaling of the cropping rectangle as it moves over the stabilized image. Lower values are smooth; however, more of the image is viewed. At 100%, the result is the same as the Stabilize Only option with manual cropping.
Synthesis Input Range (seconds): Used by Stabilize, Synthesize Edges framing, controls how far backward and forward in time the synthesis process goes to fill in any missing pixels.
Synthesis Edge Feather: Selects the amount of feather for the synthesized pieces. It is enabled only when using the Stabilize, Synthesize Edges framing. Use the feather control to smooth over edges where the synthesized pixels join up with the original frame.
Synthesis Edge Cropping: Trims off the edges of each frame before it is used to combine with other frames when using the Stabilize, Synthesize Edges framing option. Use the cropping controls to crop off bad edges that are common in analog video capture, or low quality optics. By default, all edges are set to zero pixels.
Hide Warning Banner: Use when you don’t want to reanalyze footage even though there is a warning banner indicating that it must be reanalyzed.