


Topics
Introduction
The beauty of WordPress is that it can be used to build almost any website. Follow this tutorial to learn how to install WordPress on your website.
WordPress has a “famous five-minute install”. Most hosts offer automated versions of this, but they can often introduce problems with the install, which often won’t be noticed until it’s too late to fix them. We recommend a manual install since it’s pretty quick and gives you some information on where your actual content is in case you ever need to get back into the server.
Download WordPress
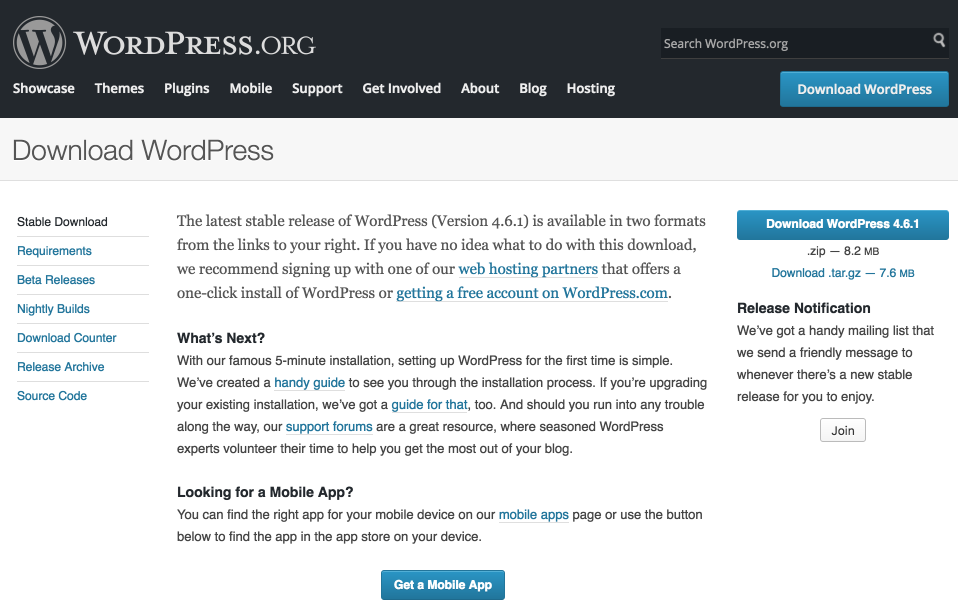
First, we will need to download WordPress from https://wordpress.org/download/. After clicking download we should receive a zipped folder with all the necessary WordPress files. DO NOT UNZIP THIS FOLDER BEFORE UPLOADING.
Upload WordPress
Now that we have downloaded WordPress we will need to upload it to our website. To do this we will be logging into our web host’s CPanel and using our web host’s file manager. In this tutorial, we are using Blue Host as our web host. If you are using a different web host, the same steps still apply, but the specifics and the layout of your host may differ from the ones shown here. It is worth noting that advanced users could instead use their favorite FTP client as opposed their host’s file manager to upload WordPress.
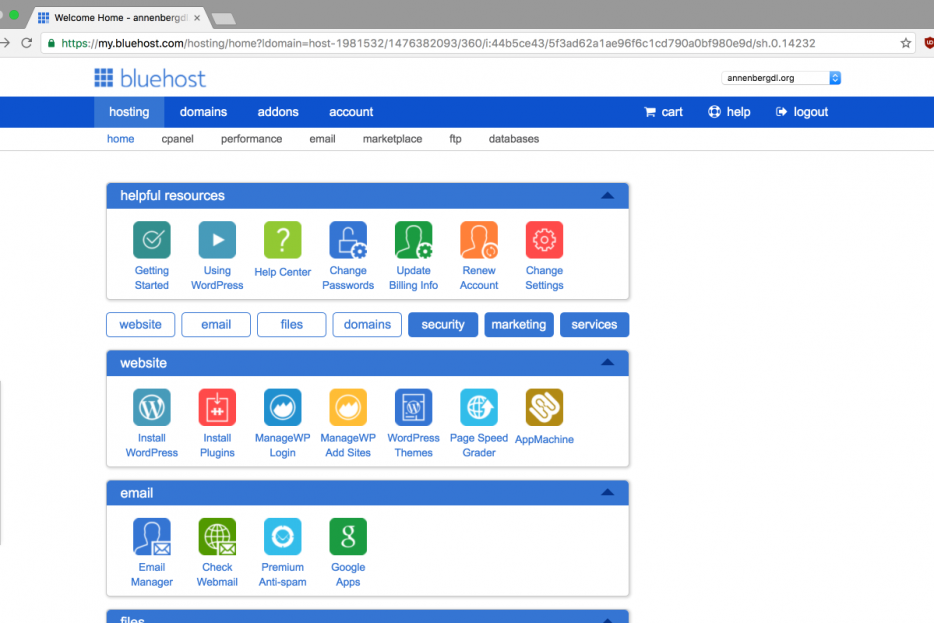
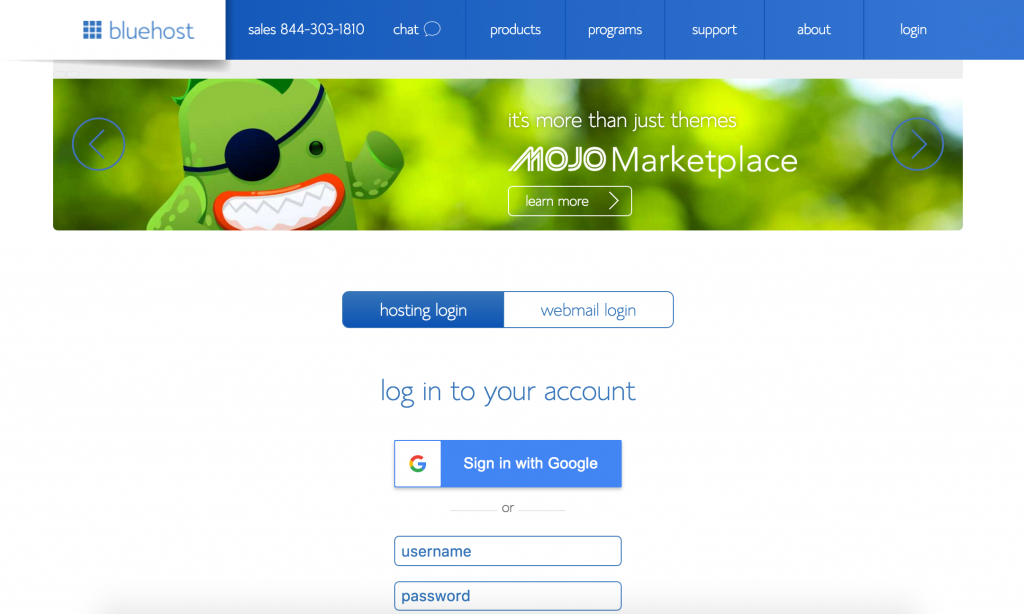
First lets log into our web host to access CPanel. We will need to access several different tools from CPanel.
Once we are logged, go to the file manager which can be found in the CPanel.
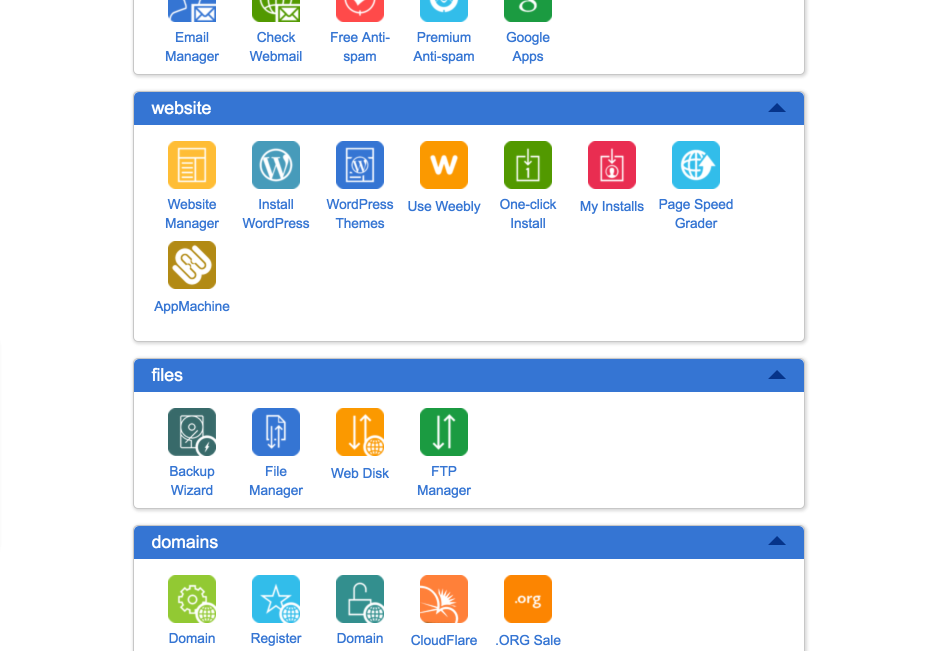
Click on the File Manager icon and it will take us to our host’s file management page. Once we are on the file management page we will upload the zipped WordPress folder and unzip it on the server.
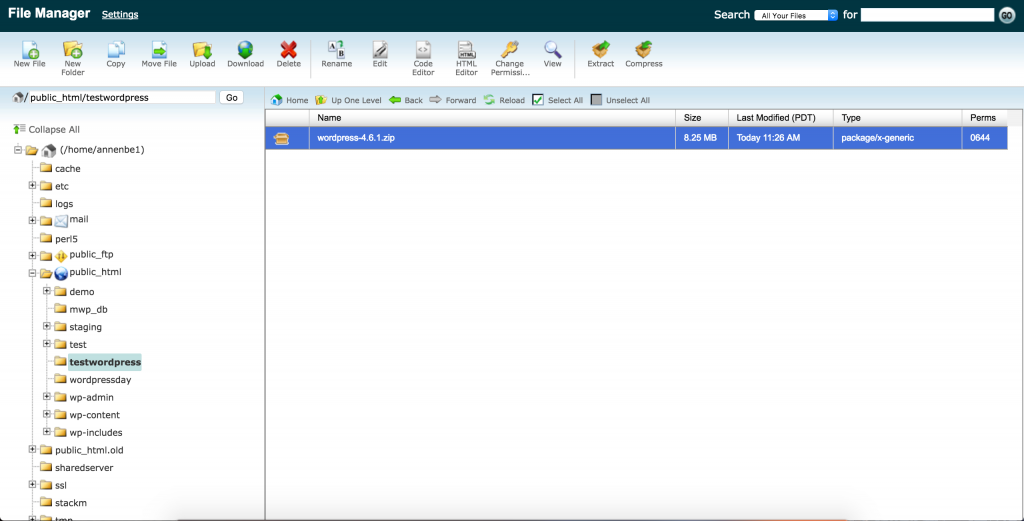
Unzipping this file should create a folder called “/wordpress/” that has all of WordPress’s files in it. You can move these files as needed. However, if this is the main site on the server, you should move all the files in the “wordpress” to the “public_html” folder. Once you have done this you should see a bunch of WordPress files and three folders starting with “wp-” in the “public_html” folder like shown below.

Once you have unzipped the WordPress zip file and moved the files to the desired folder, you can delete the original WordPress zip file. This file is no longer needed and will only take up space on your website.
Install WordPress
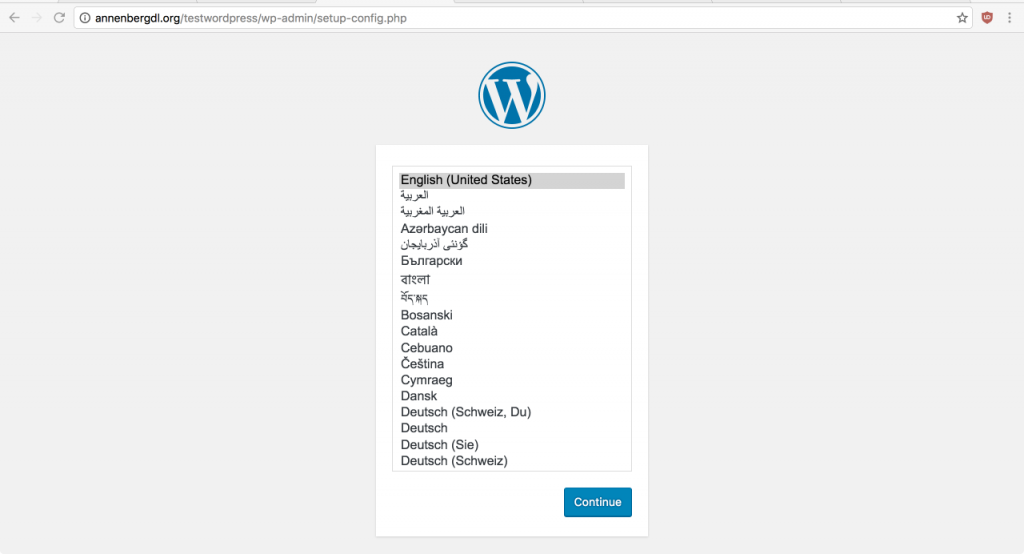
Now, go and visit your site URL; for example, http://annenbergdl.org/test/. On this page select your language; then we need to prepare the information requested on the next screen. Click past this screen so that you see the fields where you can enter the information.
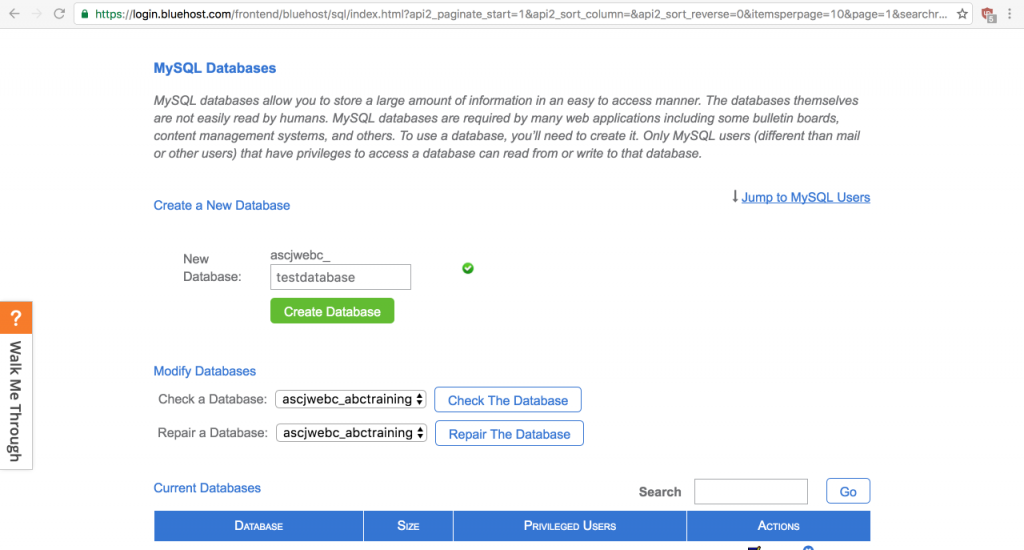
You should now be on another WordPress configuration page asking about database information. We will need to go back to our hosting’s CPanel(where we found the file manager) to setup a database and user for WordPress.
In another tab, go to databases in CPanel, and create a new (MySQL) database. Then enter the database name in the WordPress setup form.
Now that we have a database, we need to create a username and password for the database. Scroll down the page and create a MySQL username and password. You can just use a randomly generated password; you will not need to remember this and it needs to be very secure. Copy/paste the password directly into the form in the WordPress setup screen, and do not paste or save it anywhere else. You should never see this password again.
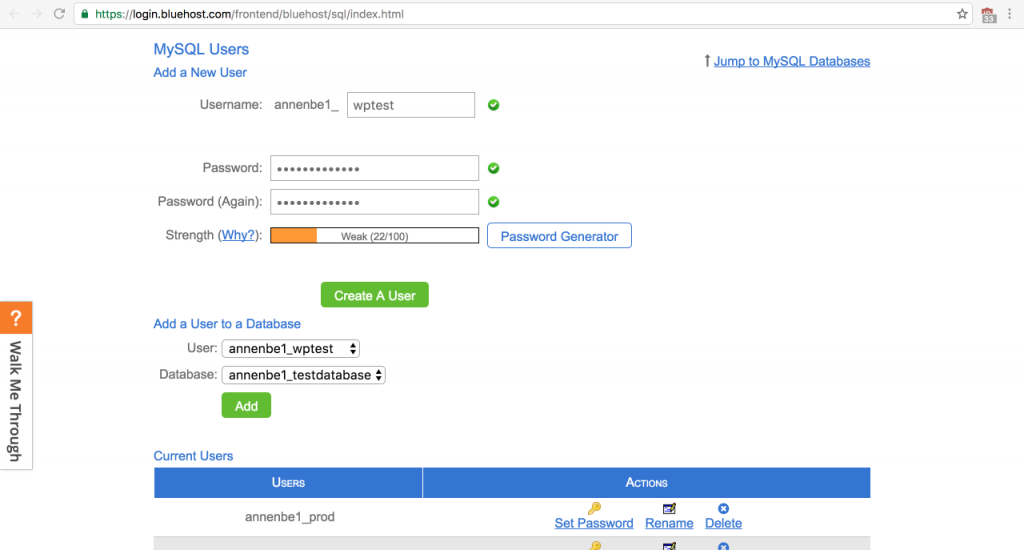
Add the new user to the database you created, with all privileges. Then, return to the WordPress setup tab. Make sure you’ve changed the first three fields in the WordPress setup form to match the new database and user. For most hosts, the host is localhost, and you should never change the database prefix option that’s set automatically. All of the fields should be filled in and look like the image below.
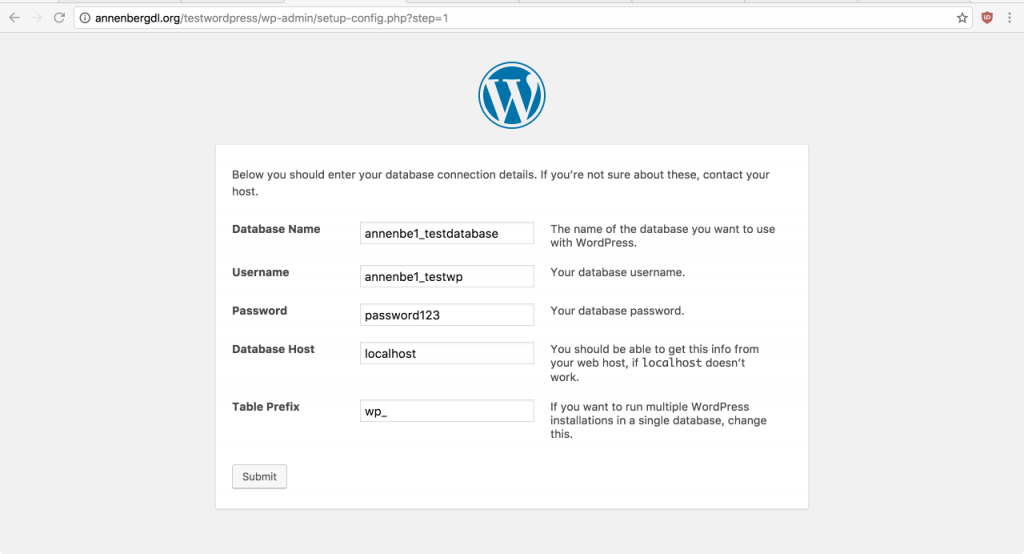
Once you have verified that all of these fields are correct click submit and run the WordPress install.
Setup and Configure WordPress
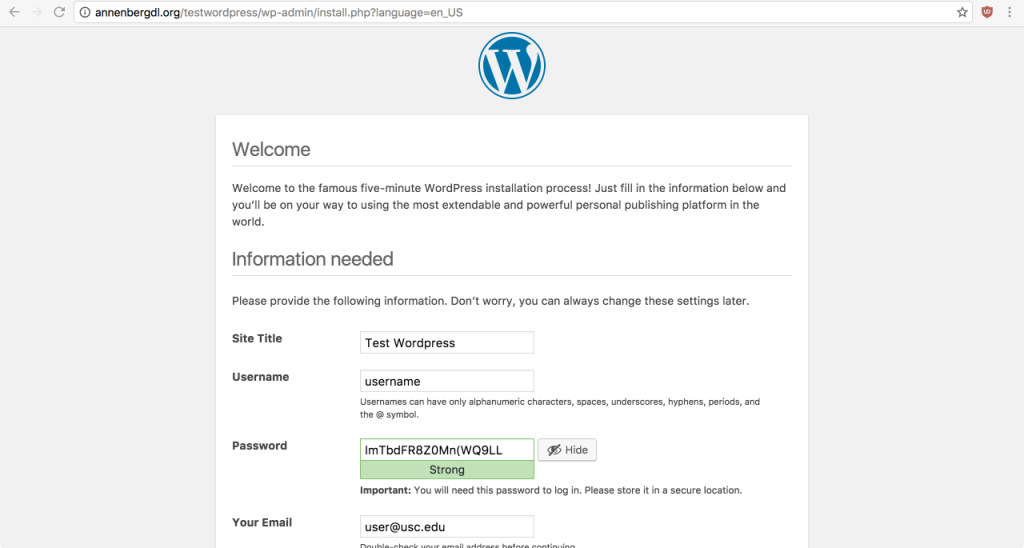
You should now be on another setup page: enter the information for your site. This username and password will be how you log in to manage your site. We recommend using your first name for the username; make sure it is NOT an email. Usernames are specific to your personal copy of WordPress, so your username can be anything you like.
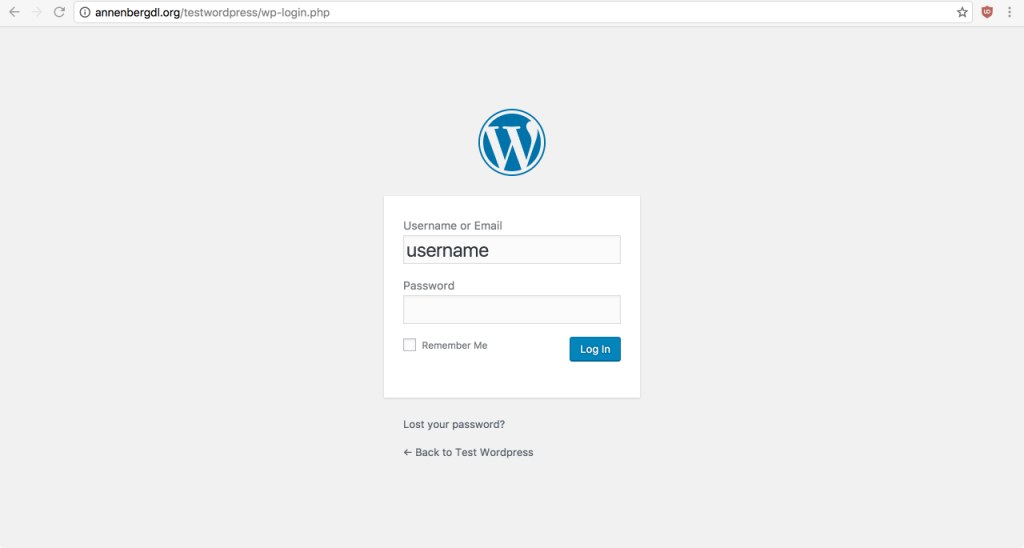
Once you have filled out all the fields, submit the form. Now you should be able to login to your WordPress site. The login URL should look something like this: http://yoursite.com/wp-login.php
Once you are logged in you should have access to the WordPress dashboard. Generally, it should look the the screenshot below.
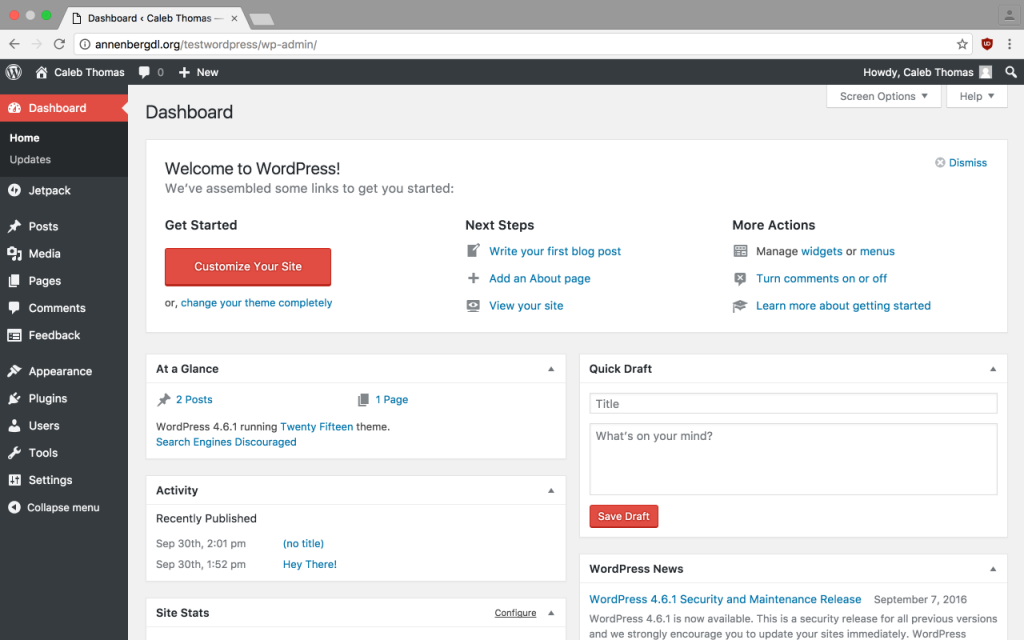
Congratulations you have manually installed WordPress on your website! From here you can customize WordPress and post to your heart’s desire. For those of you who are new to WordPress go watch the Getting Started with WordPress tutorial to learn the basics of customizing your site and creating new posts.