


Topics
As faculty, one of the main resources you use to communicate with your students is Blackboard. Blackboard is the university’s official e-learning platform where you can post syllabi, assignments, content, and much more! In this tutorial, we will go over some of the basic functions and tools you may find helpful.
Logging In
First go to blackboard.usc.edu and sign in using your USC NetID and password. Once logged in, you should be taken to your Blackboard home page where it should list all the classes you’re an instructor for:
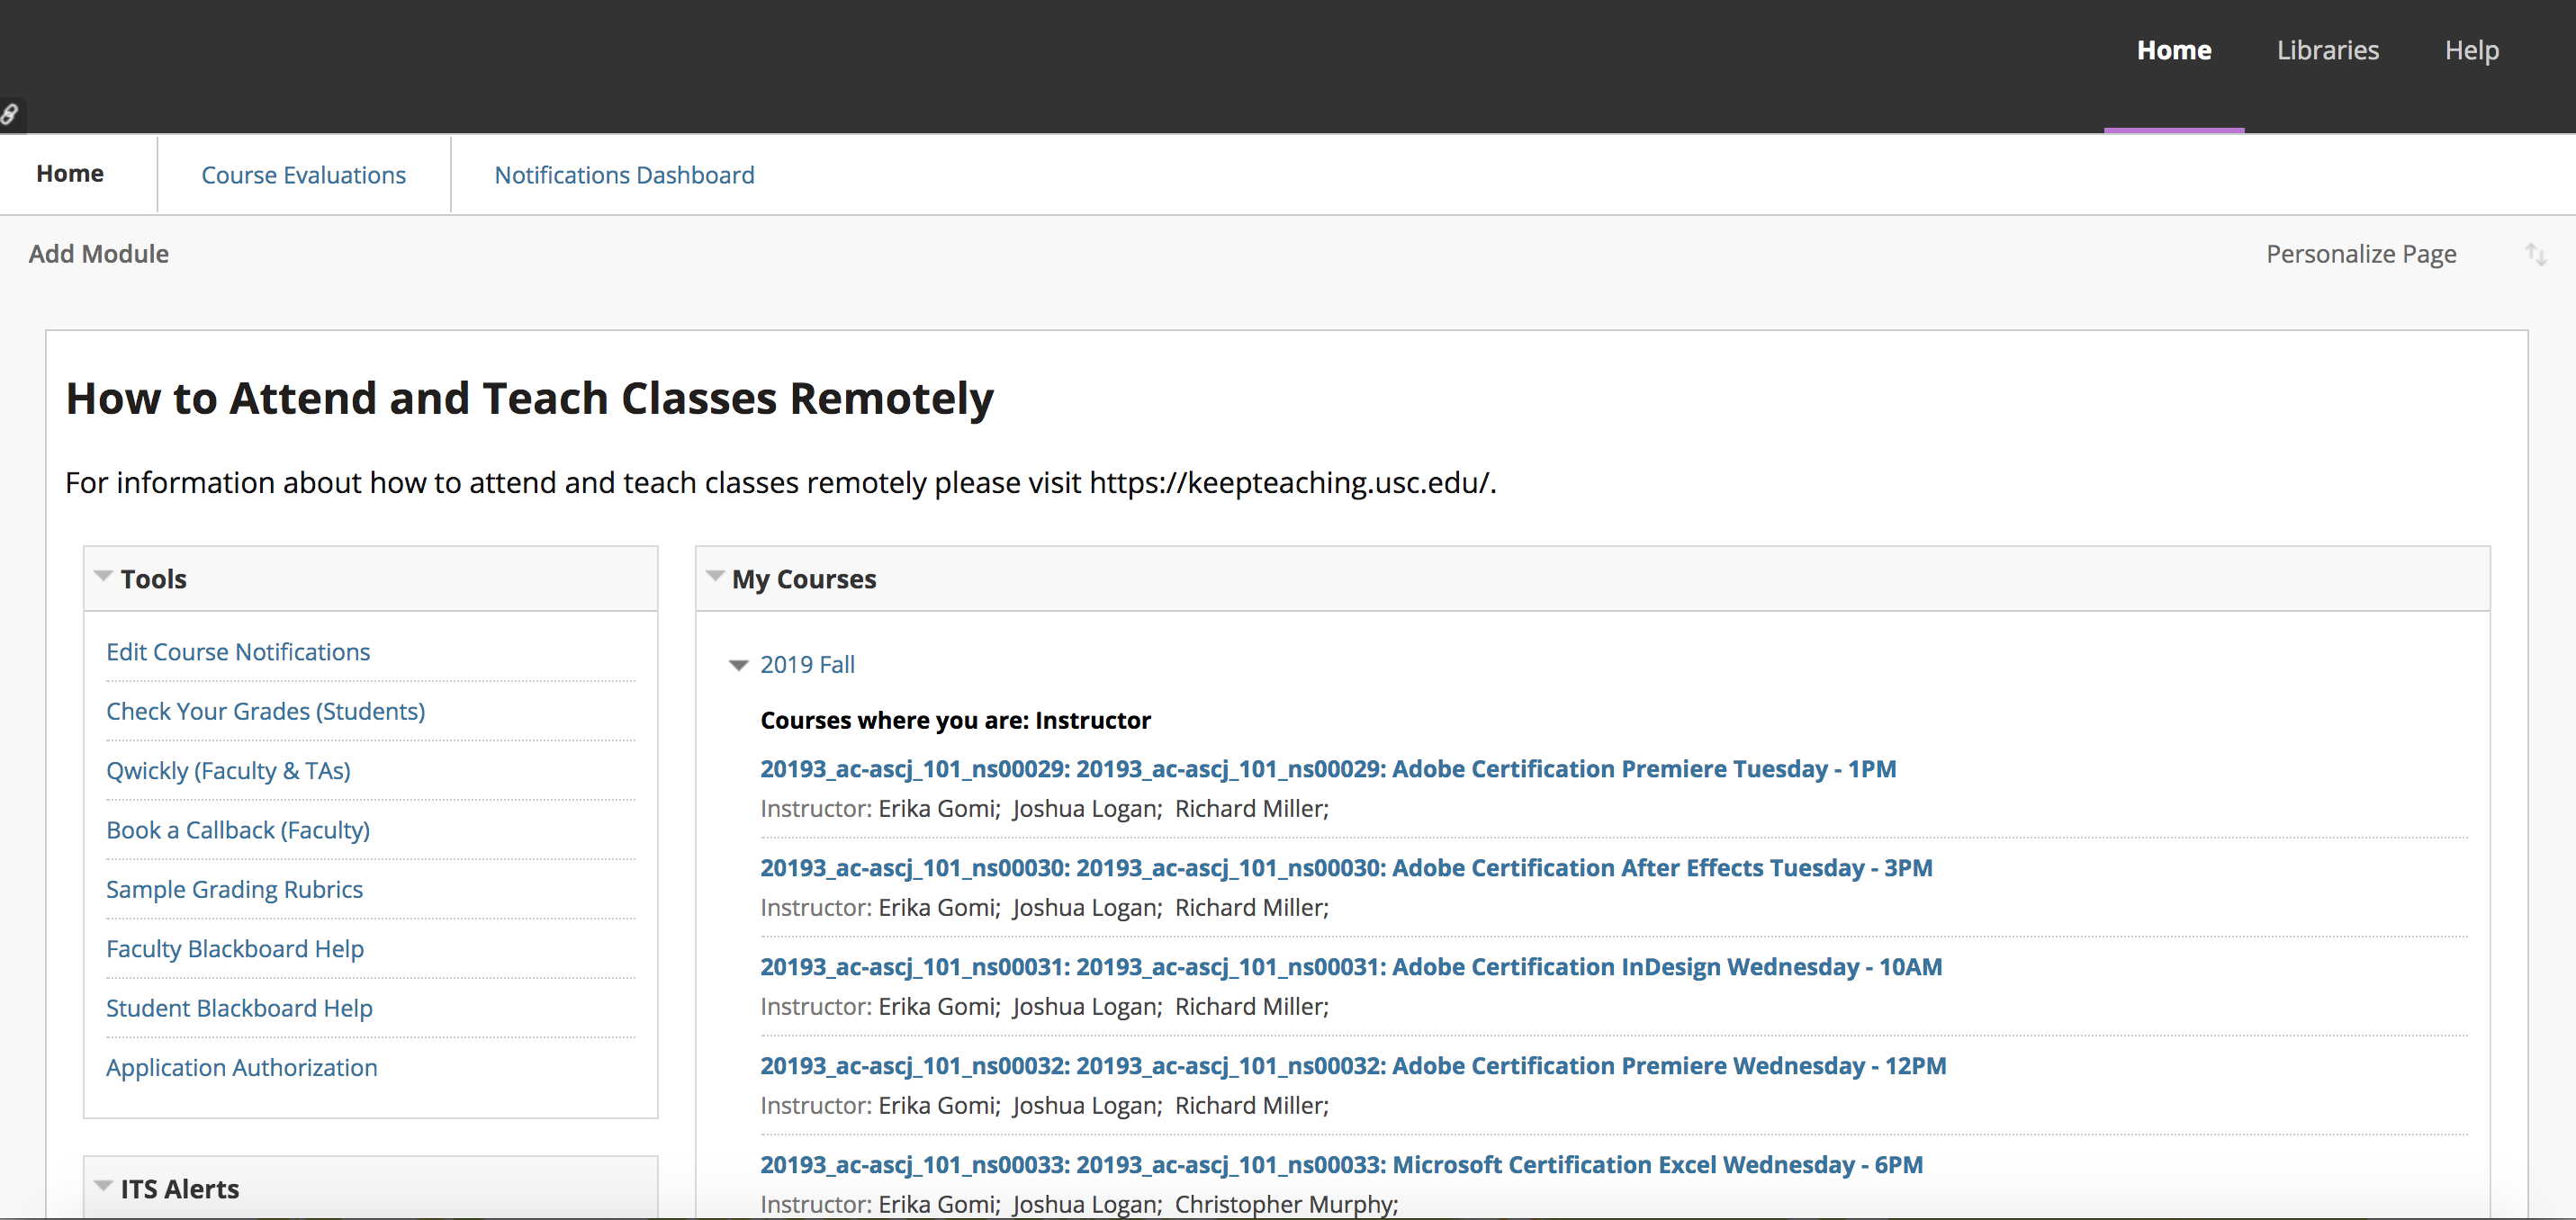
Home Page
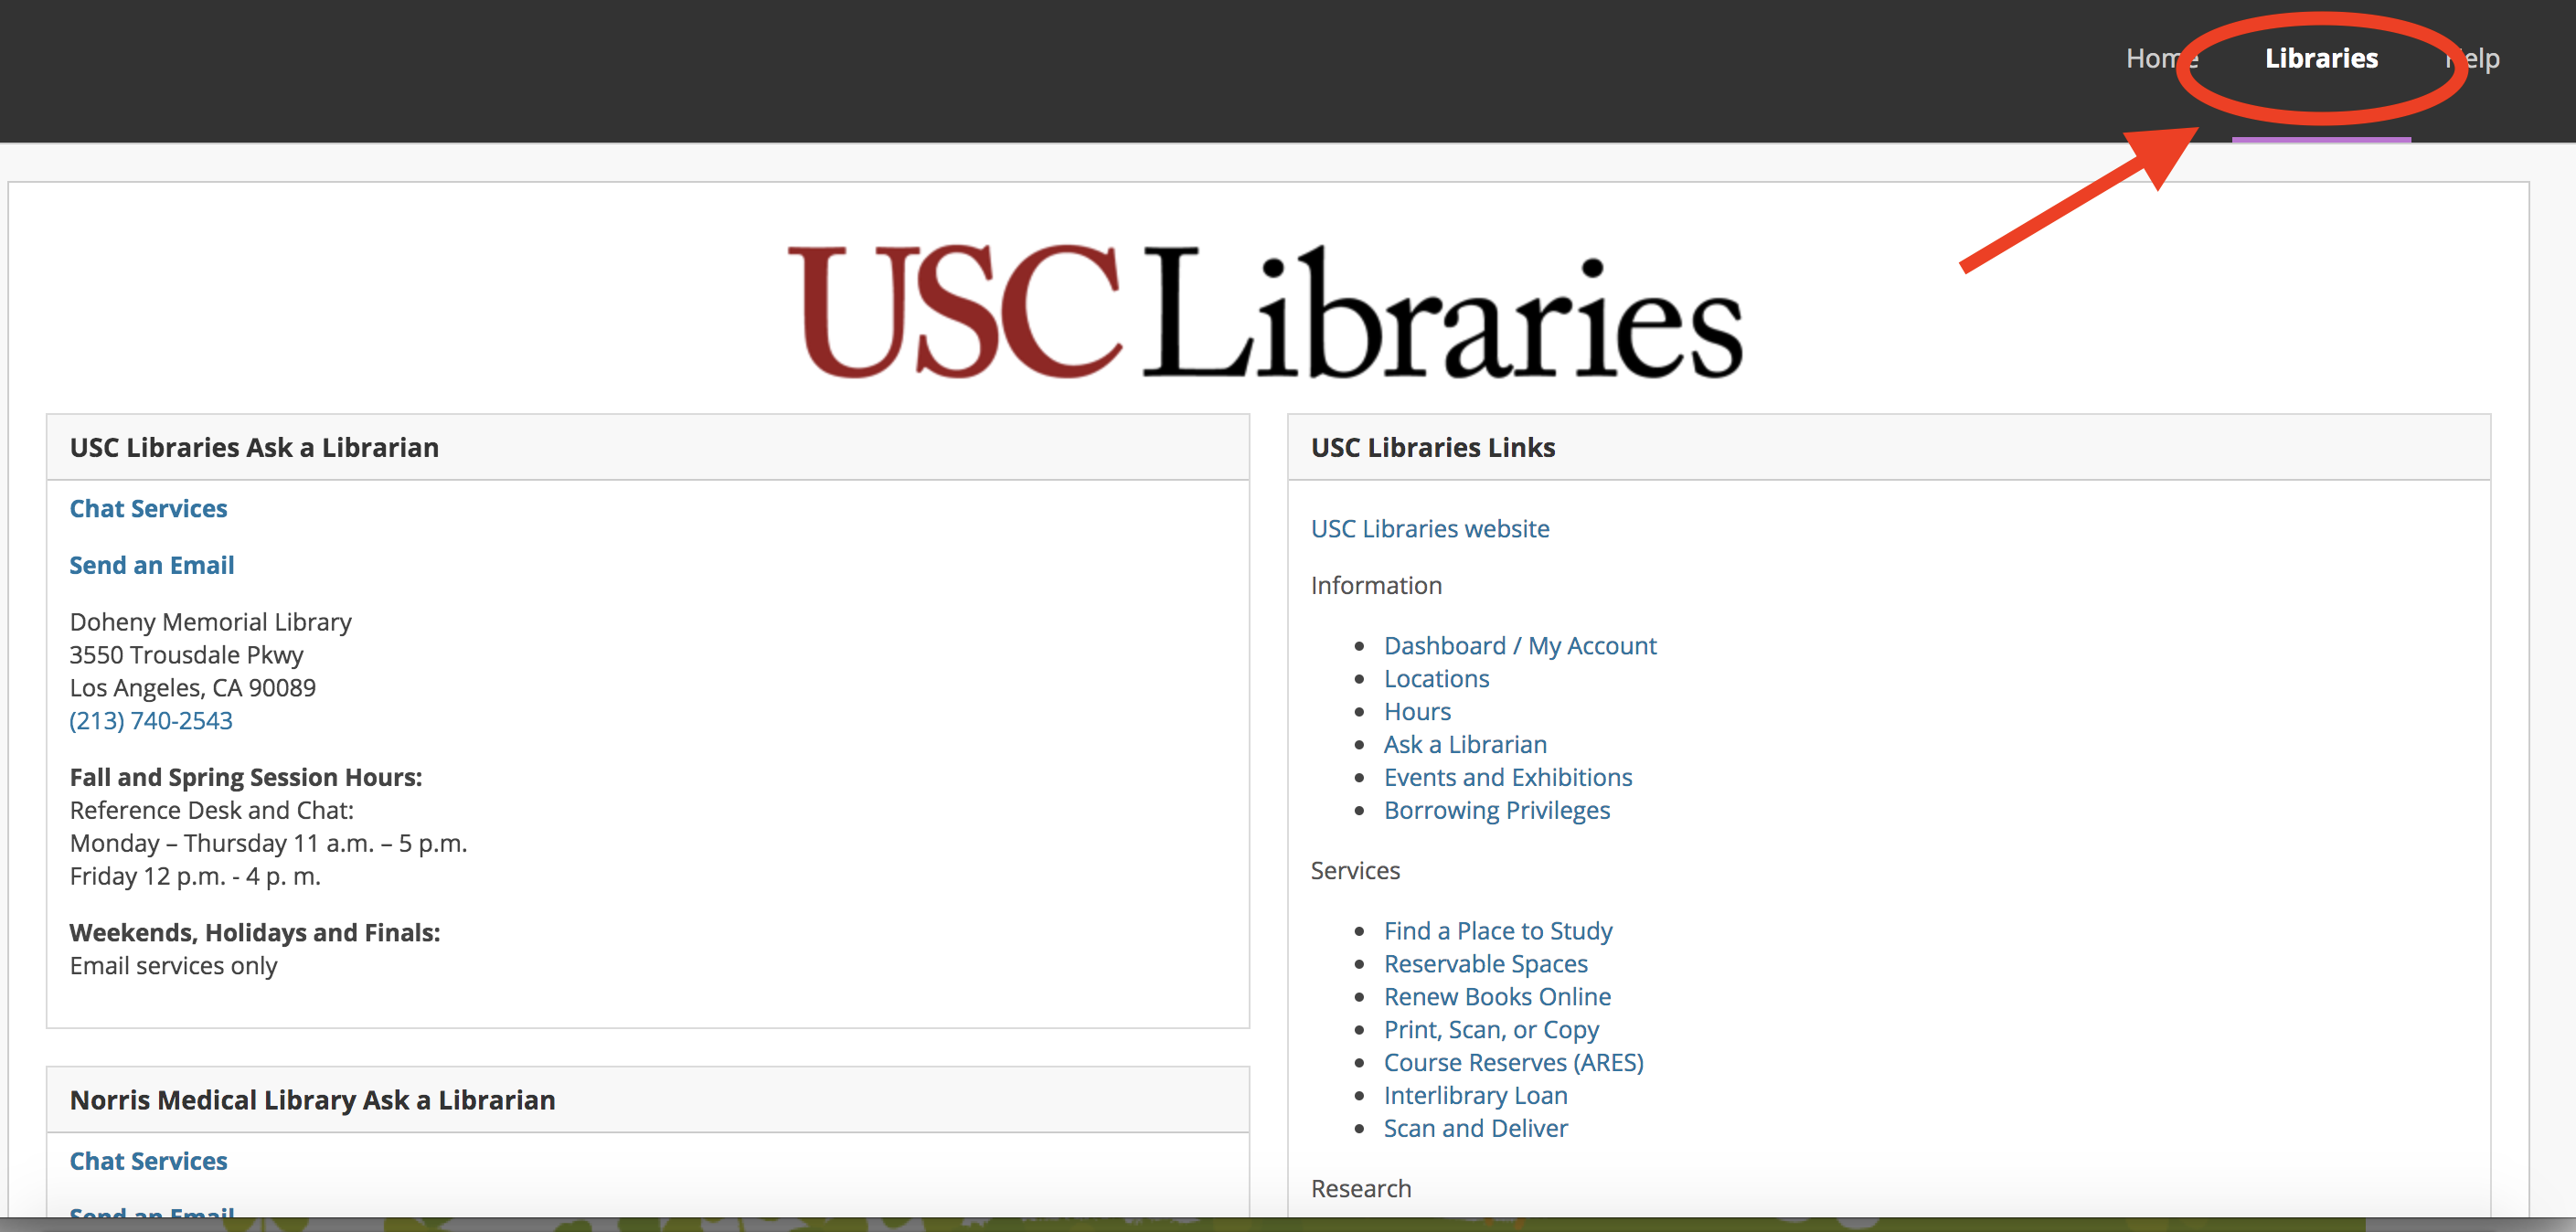
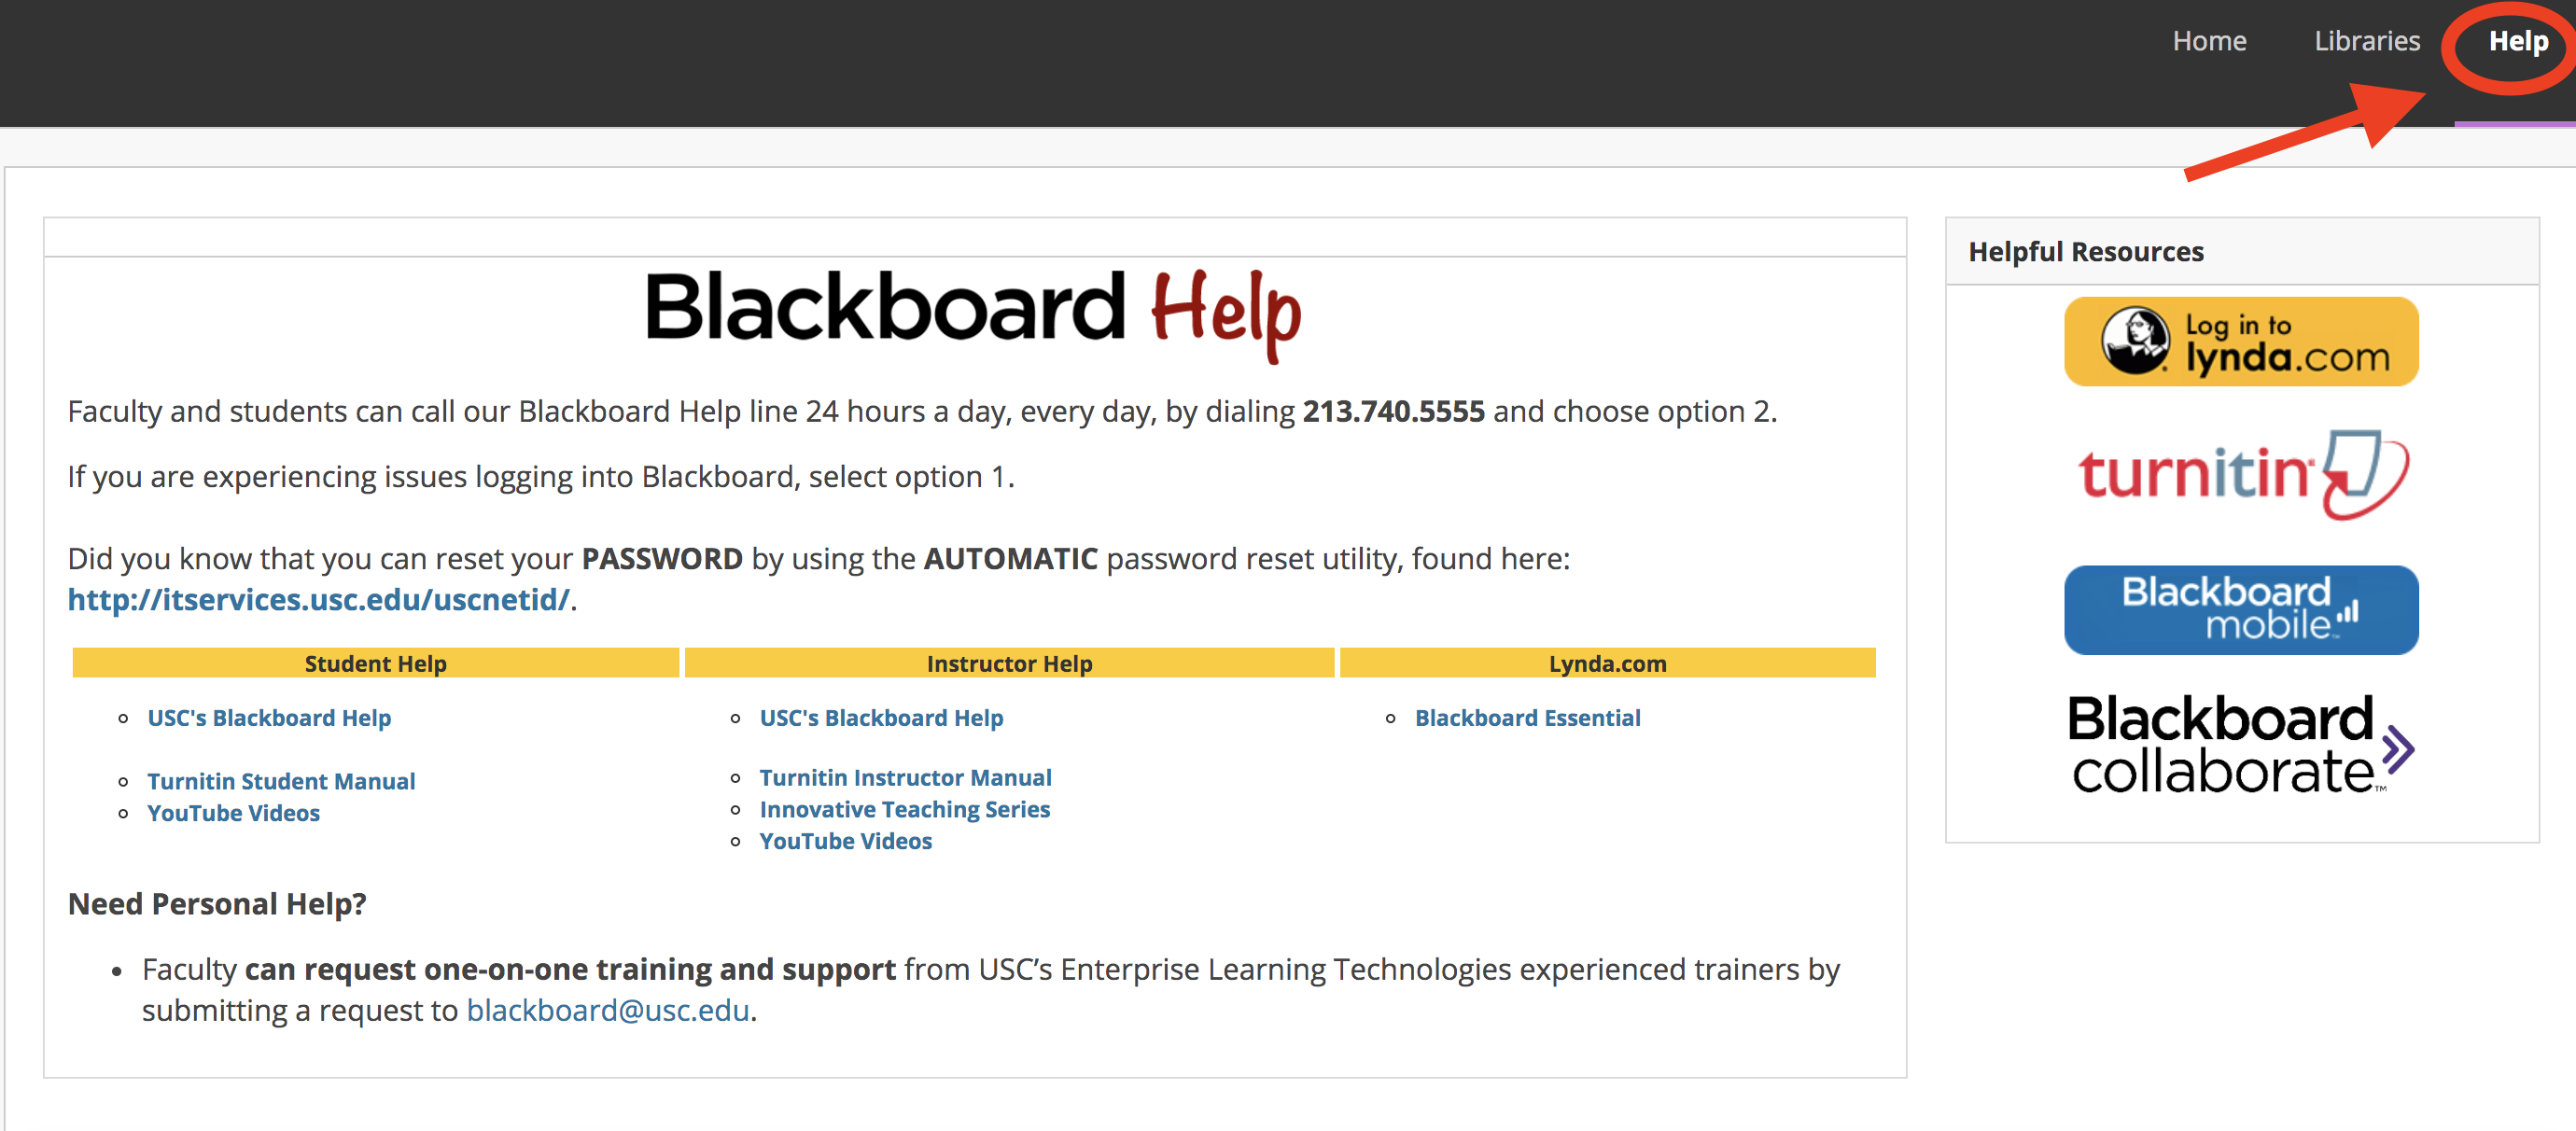
As mentioned above, your home page shows all the classes you’re in along with any school wide Blackboard announcements from the university. You can learn how to organize your classes here. You can also access any USC Library resources or Blackboard support with the tabs in the upper right-hand corner.
Preview and Edit Mode
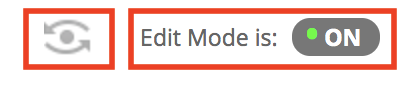
Once you’re in a course page, you will see the course title at the top, your main menu bar on the left, and any content in the center. In the upper right corner you will also see two icons. The first one is Student Preview. Select this when you would like to see what the course’s Blackboard looks like from the student’s perspective. The second is Edit Mode. This should automatically be on, which allows you to add any content and organize your class page.
Menu Bar
Now, let’s go over your menu bar. This will be a vertical menu that appears on the left. You will see all the main tabs you need, like Announcements, Syllabus, Content, and many other features.
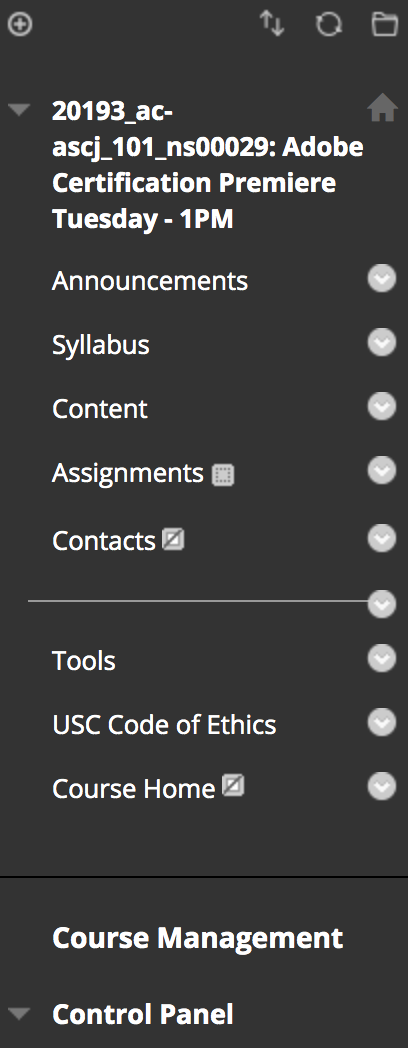
As you can see, there are two different square icons next to Assignments and Contacts. Let’s take a closer look.
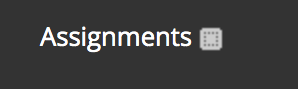
The icon next to Assignments means that section is empty and currently has no content in it. That means that the students will not be able to see the Assignments tab. Once you post something within Assignments, the tab will be made visible to your students.
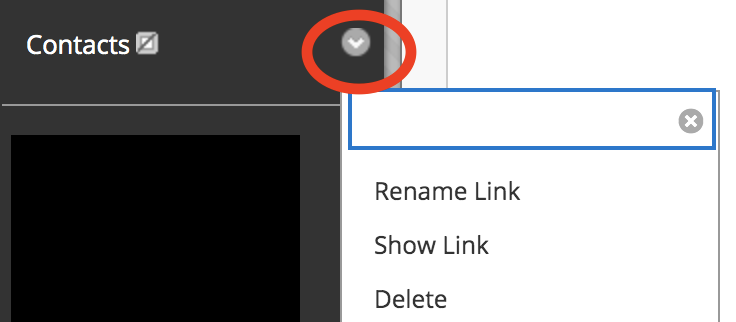
The icon next to Contacts is almost the same as Assignments except it has a slash through it. This means the Contact page is not visible to your students, even if you put content in that tab. To make is visible to everyone, select the dropdown arrow to the right and choose Show Link. You can also Delete or Rename it.
If you would like to add anything to your menu, select the plus icon (+) in the upper left above your course name. Select Tool Link and under Type, select the tool you would like to add. Most common ones are Discussion Board and USC Zoom Pro Meeting (you can also access these under the Tools section in your menu). Then make sure to check Available to Users. This will then add your desired tool to the menu to make it easier to find and for quicker access.
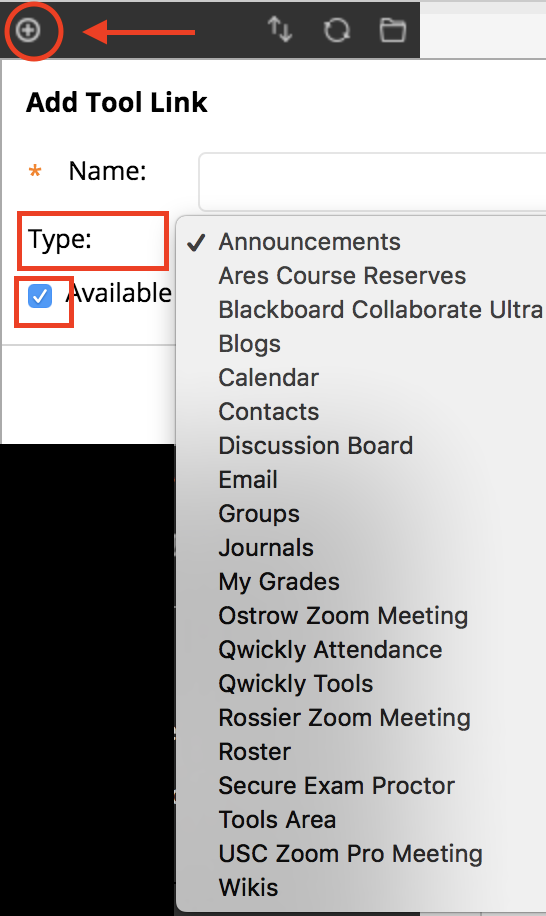
It will show up at the bottom of your menu, so if you would like to move it higher up, move your mouse to the empty space on the left of the section and drag it to your desired spot.
Announcements
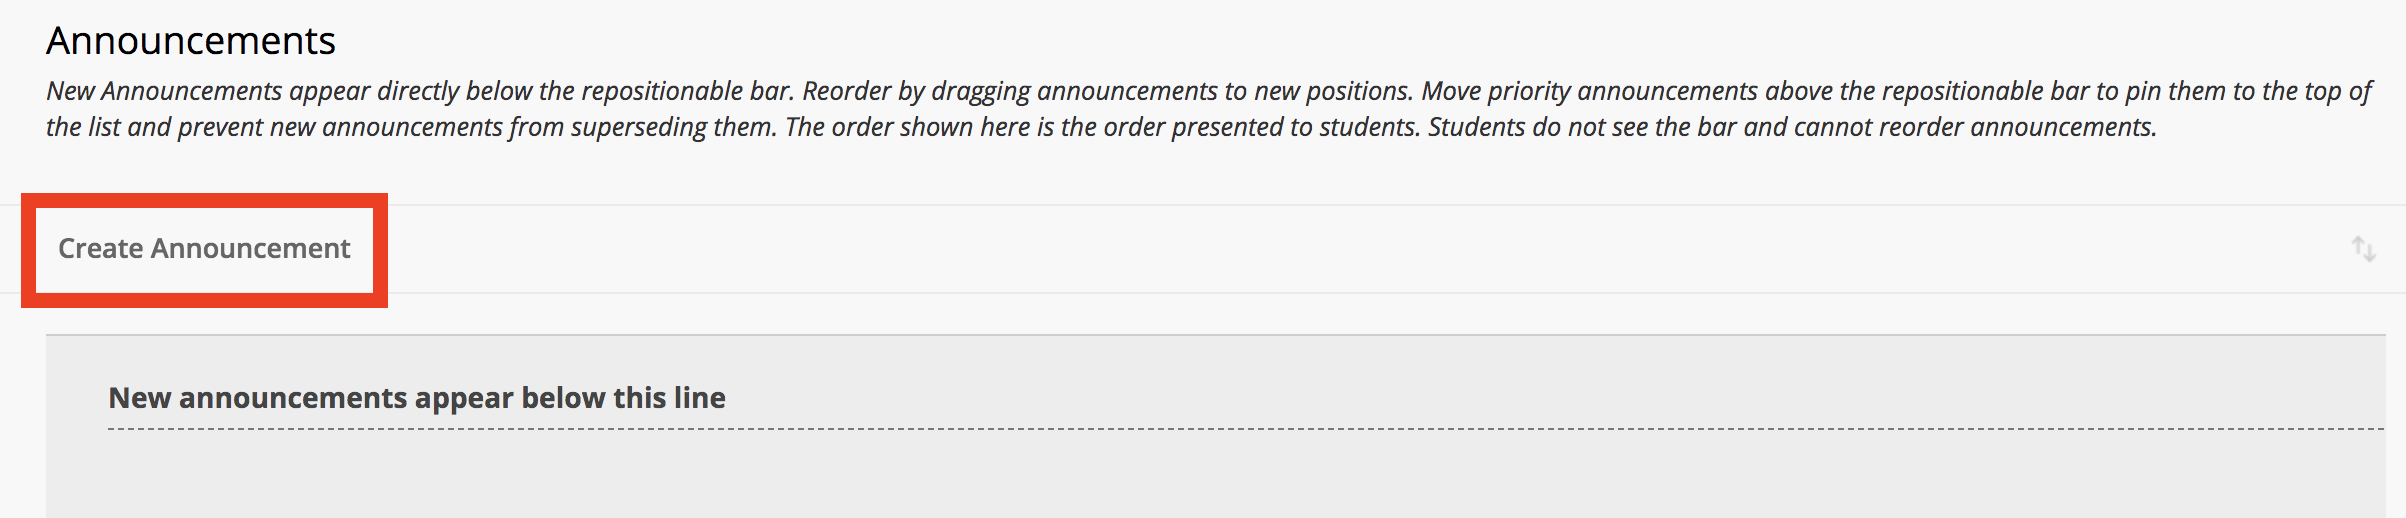
Each course page should automatically have Announcements, Syllabus, Content, Assignments, and Contacts in the left-hand menu. Usually Announcements is at the top, making it the default home page for the course Blackboard. This section is where you should post any relevant announcements for your students to keep them up-to-date with any changes or news happening with your class. To create a new announcement, click Create Announcement.
This will take you to a new page that looks like this:
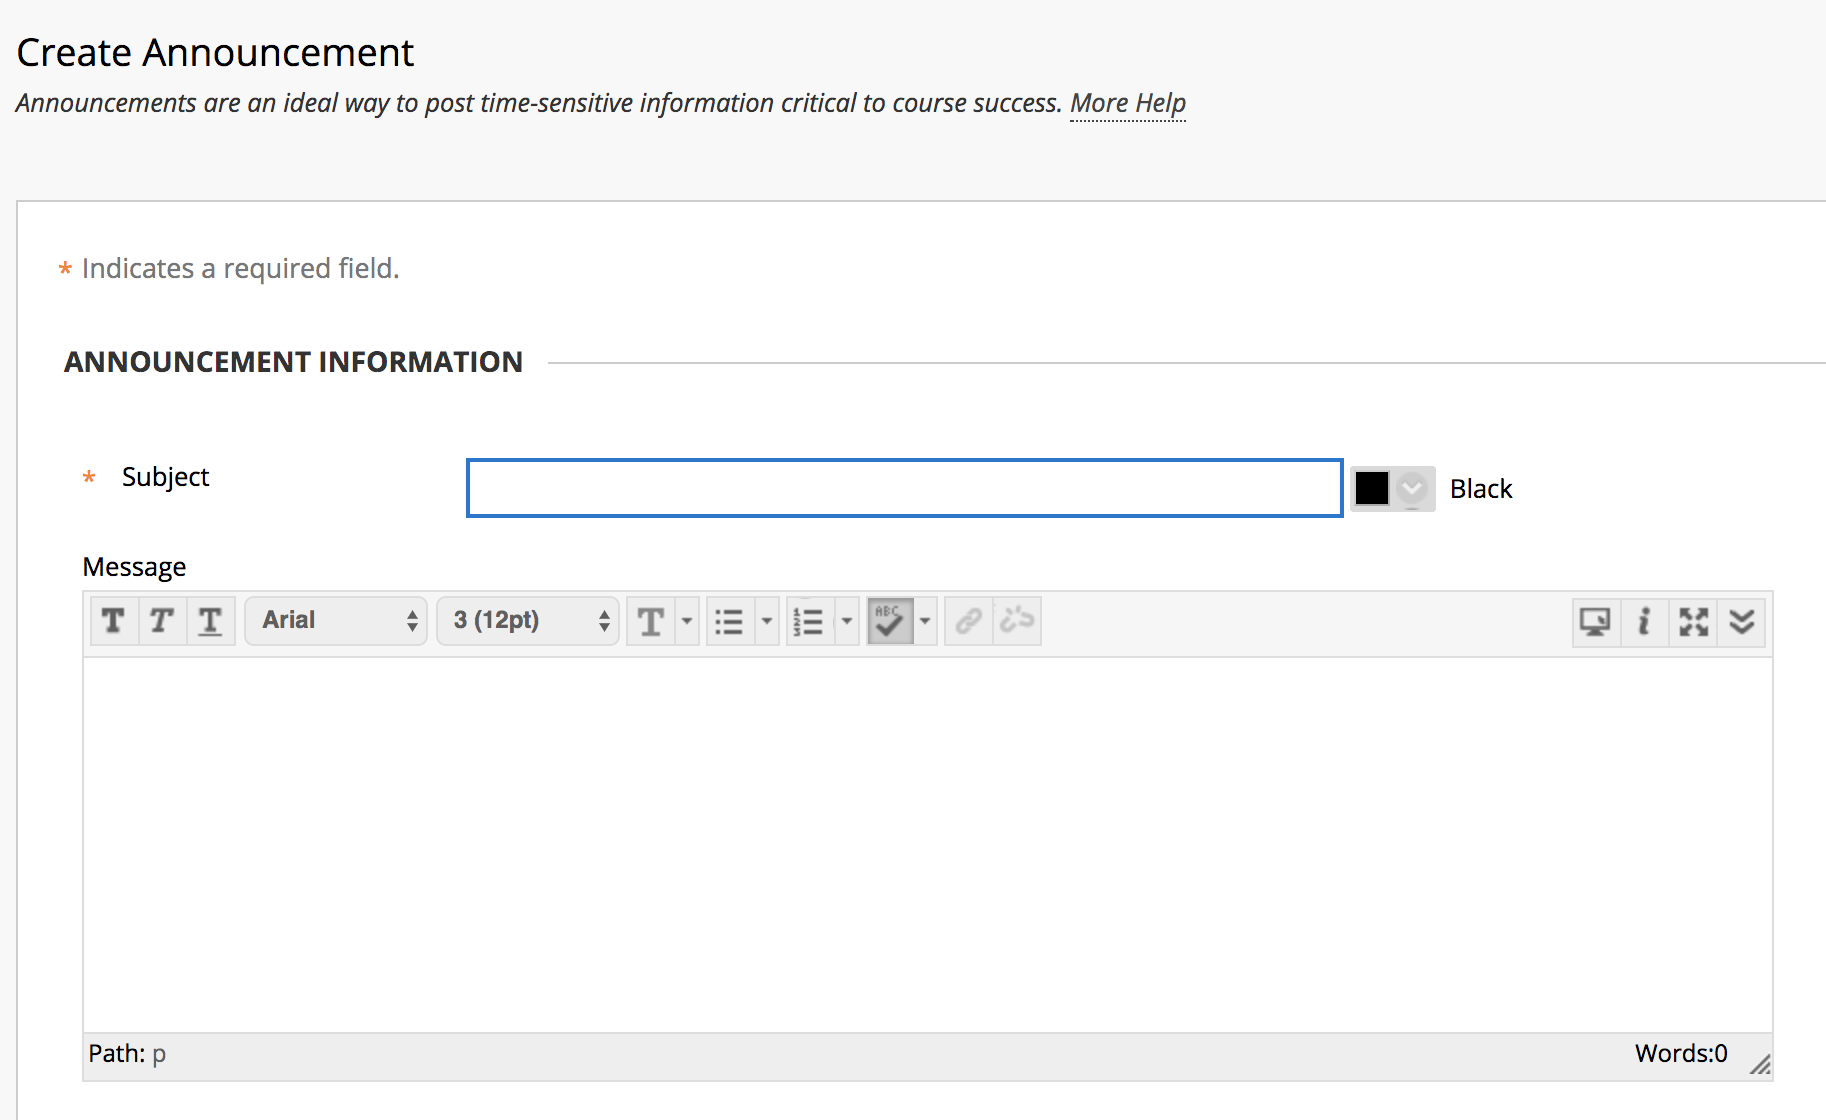
Input your Subject in the Subject line (ex. Thursday Class Taking Place on Zoom) and put the body of your message, with any relevant information, in the Message box. Underneath that, you will have the Web Announcement Options section. Make sure to check the box titled Send a copy of this announcement immediately. For students who don’t check Blackboard often, this ensures that they will also receive an email version of your announcement. Remember to hit Submit when you are done. 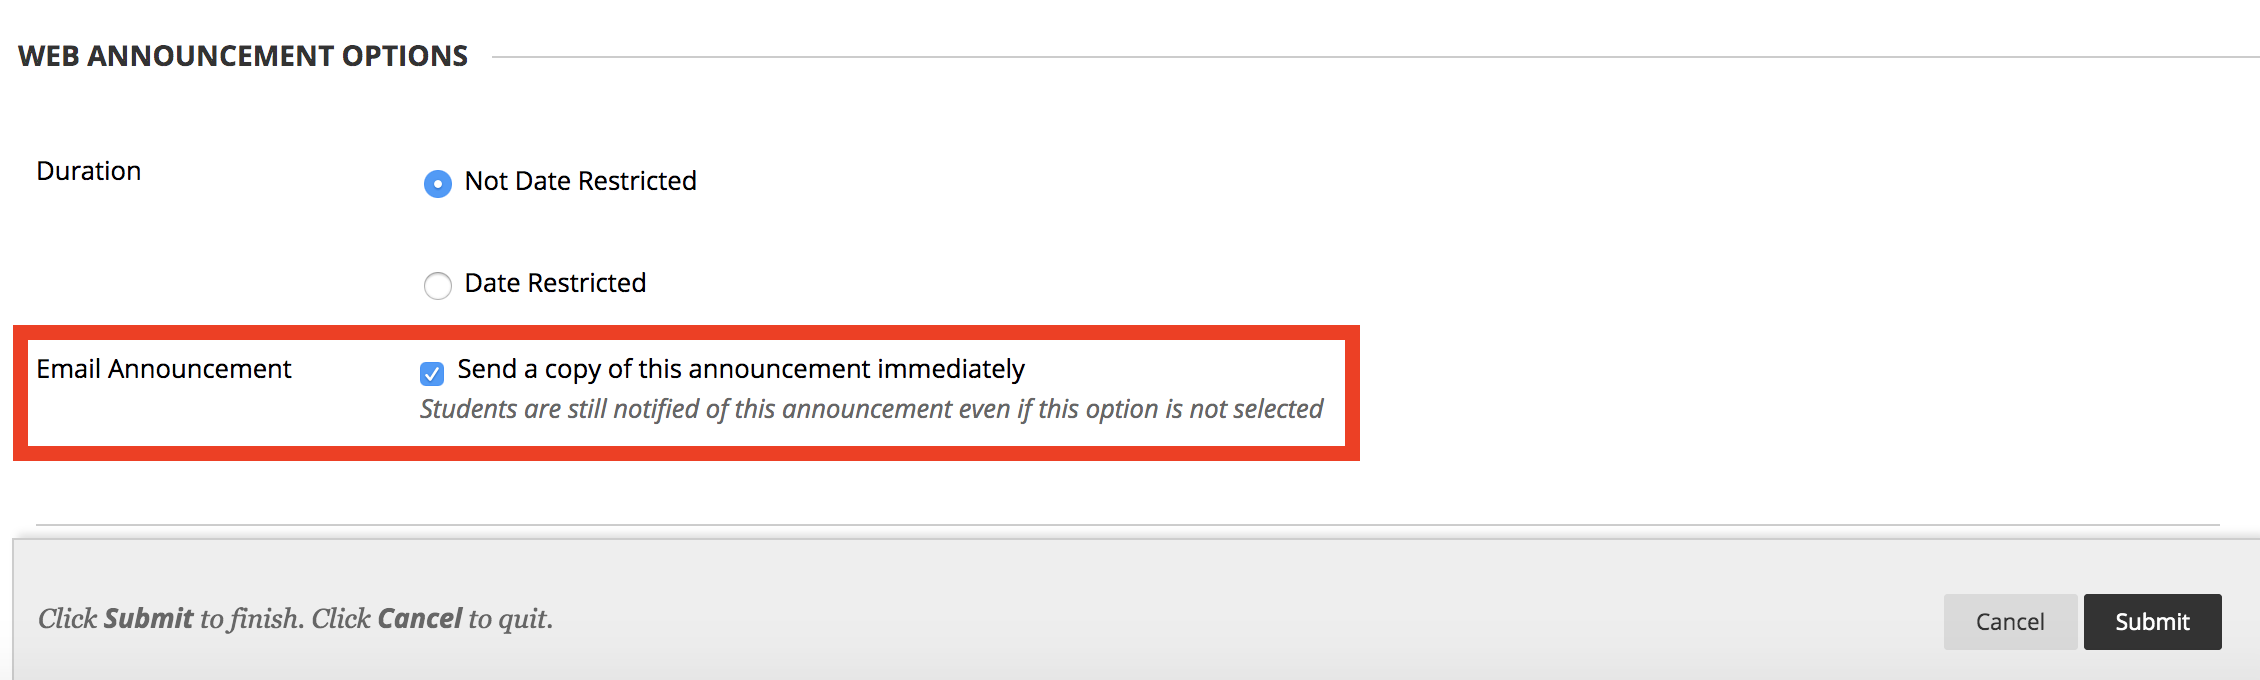
You will also have the option to Date Restrict the announcement. This isn’t recommended for any announcements, but you may want to use this feature for any tests or assignments. We will go over this is a later section.
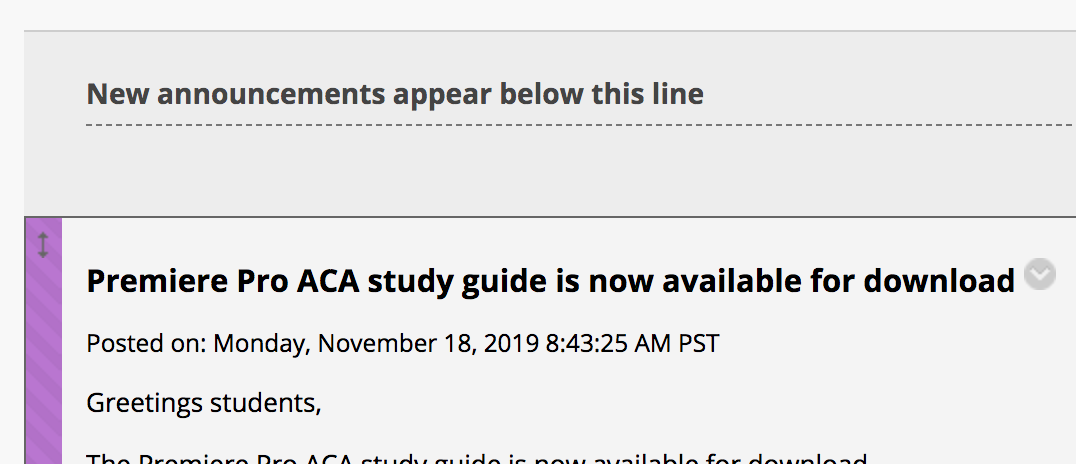
When your announcement is posted, it will appear with all other announcements in Announcements tab. The latest announcements should be posted to the top of the page, but you also have the ability to move around which assignment shows at the top by hovering your mouse over an announcement until you see the purple bar on the left. Click and drag the purple bar to move the announcement. You can also move the announcement above the “New announcements appear before this line” box to pin the announcement so it always stays at the very top.
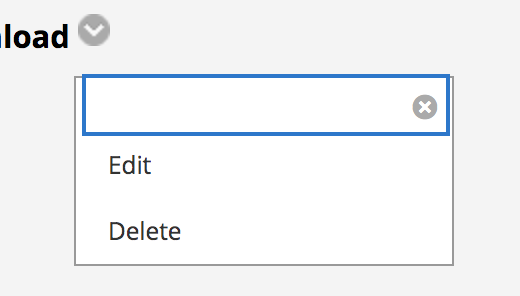
You may also edit or delete your announcement by selecting the dropdown arrow to the right of the title and selecting edit or delete.
Syllabus
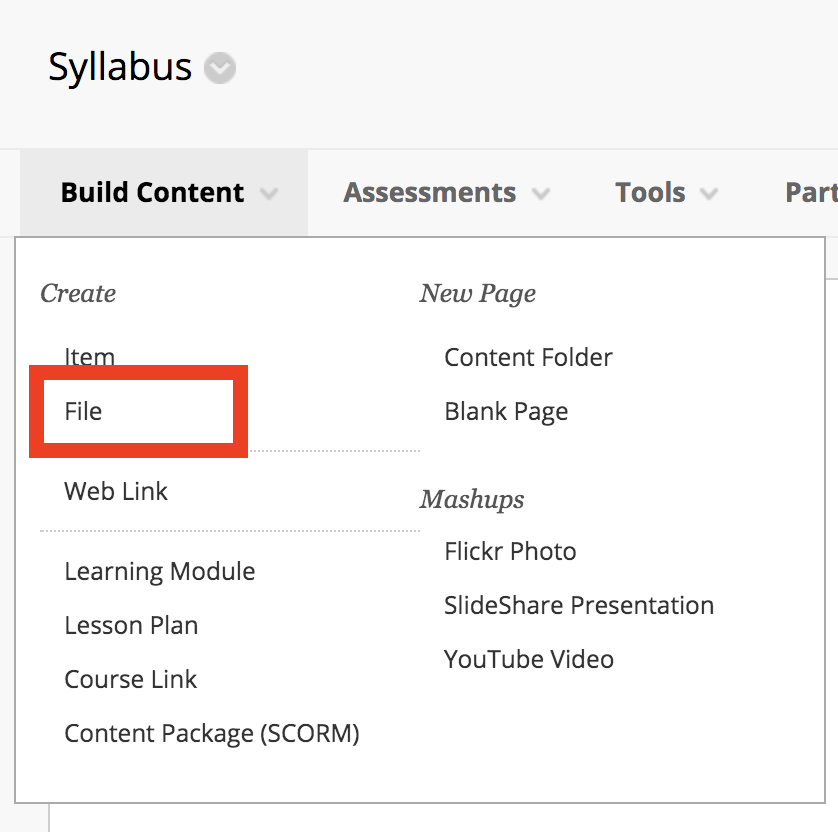
The Syllabus tab is for posting your syllabus so your students have easy access to it. To post your syllabus, select Build Content and under Create select File.
Then put in the Name of your file, which would be Syllabus in this case, and select Browse My Computer to upload the desired file.

Underneath that section, you will find two other sections labeled File Options and Standard Options. You can leave these settings on the default settings and select Submit in the bottom right when you are ready to post it.
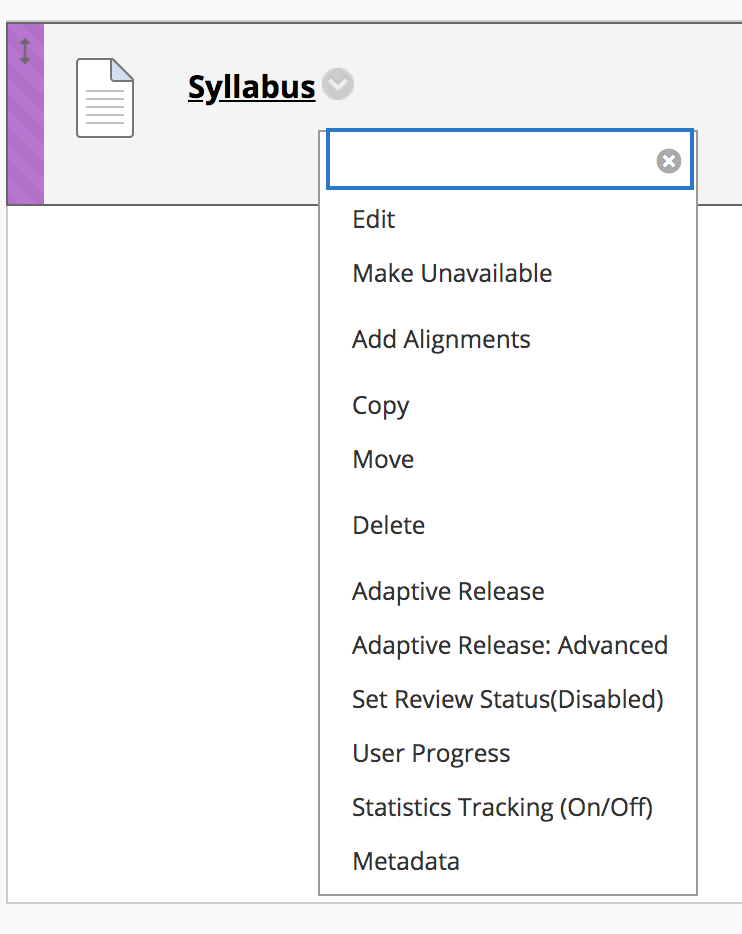
Your Syllabus should then show up in the content section of your Syllabus tab. Like for your announcements, if you hover your mouse over the file, you can move the order of any files in that section. You can also select the dropdown arrow on the right of the file to edit it.
Content
The Content section is for any files, course readings, web links, etc you may want to give your students access to. Depending on how you want to organize this section, you can upload direct links to individual files and webpages or you can create folders that hold these files within them. Look under the Syllabus section of this tutorial to see how to upload a file (like a course reading).
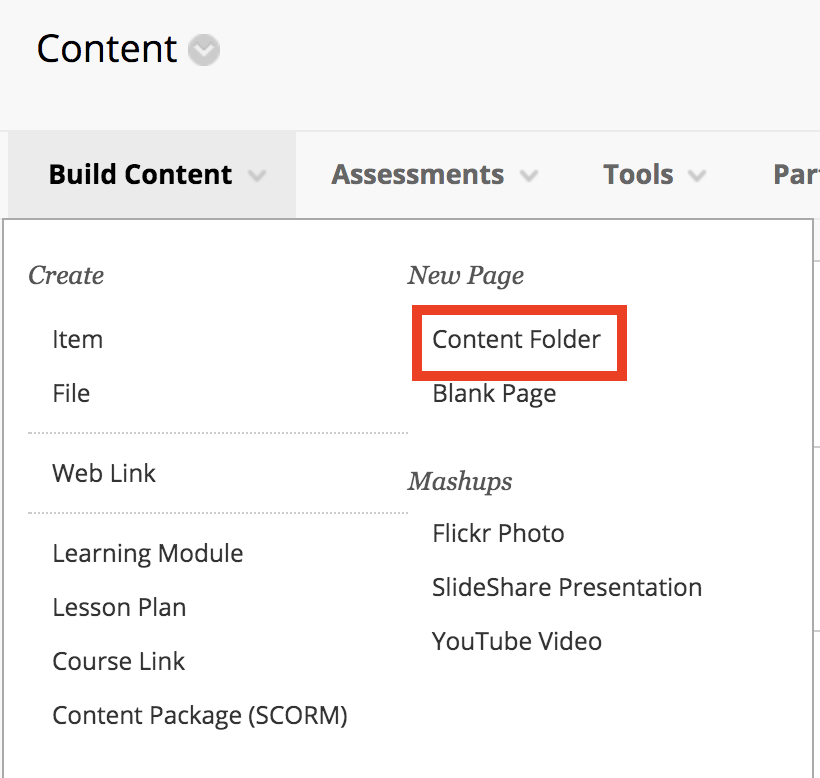
If you would like to organize your content, by week for example, you would need to create a folder. To do this, select Build Content and under New Page select Content Folder.
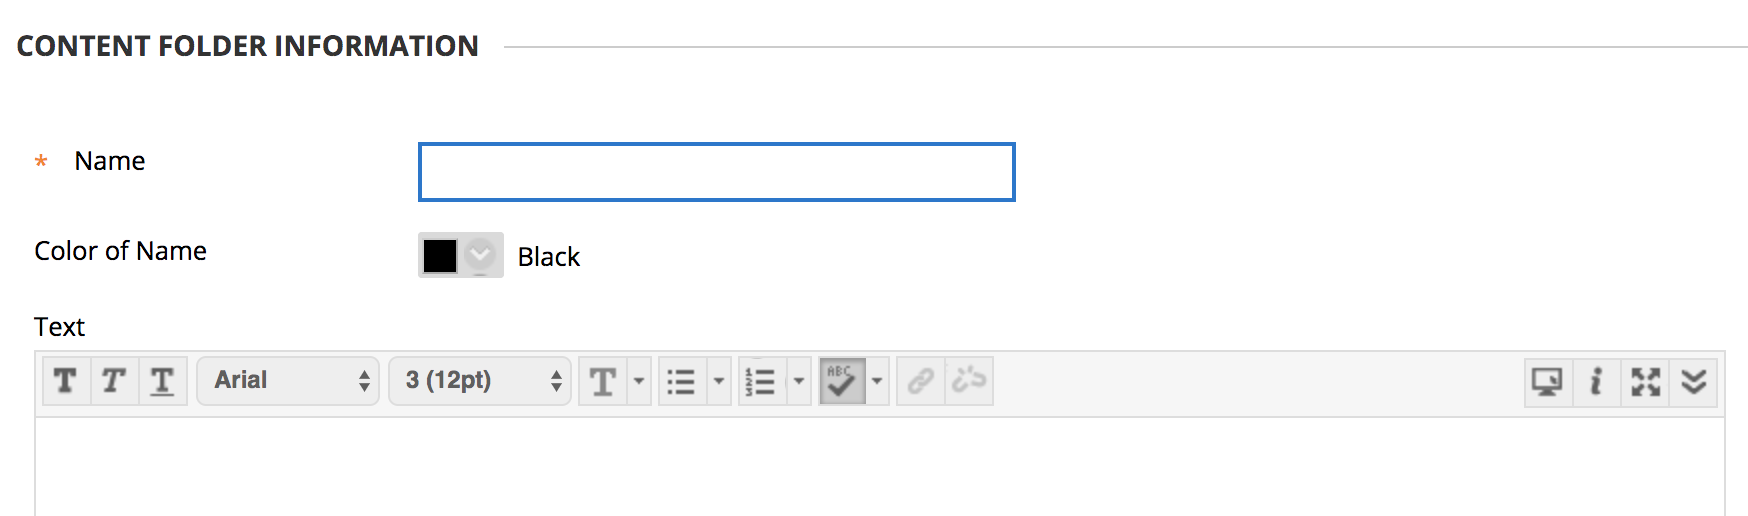
Then under Content Folder Information, input the Name of your folder (ex. Week 01). You can then put a description of the folder under Text, but it’s not necessary.
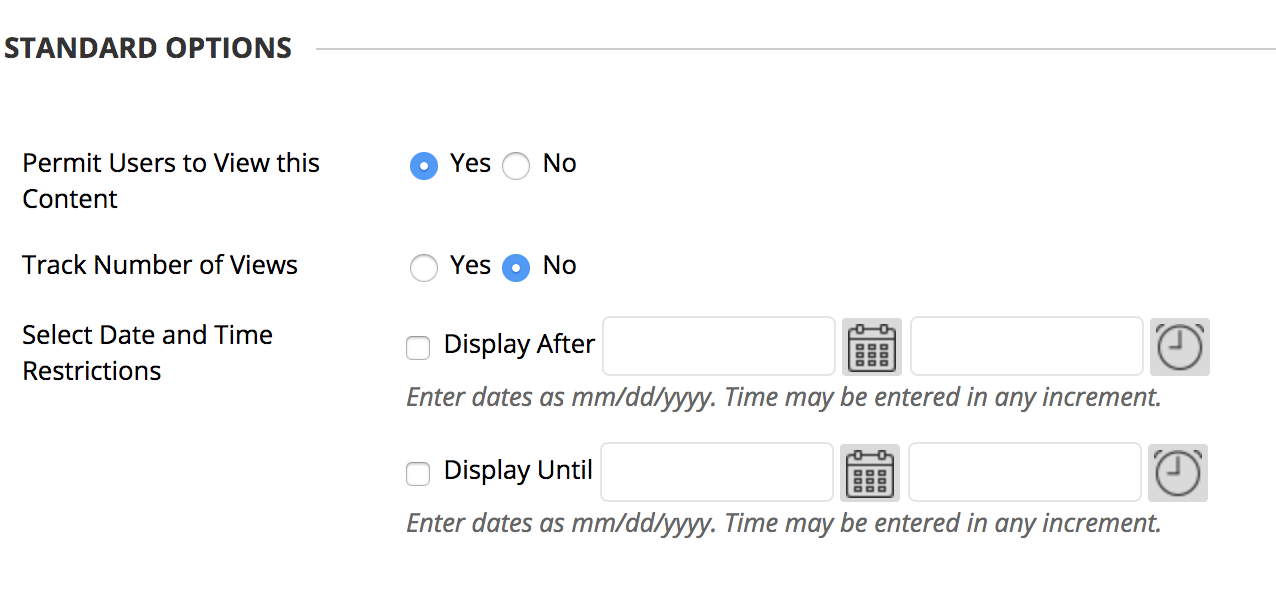
In the section underneath, you have options to control who sees this folder. Below are the default settings that you don’t need to change. However, let’s say you’re making content folders for every week of the course but don’t want to display future weeks yet. You can upload them all now and then under Permit Users to View this Content select No for any folders you don’t want your students to have access to yet.
Remember to hit Submit at the bottom right to save any changes.
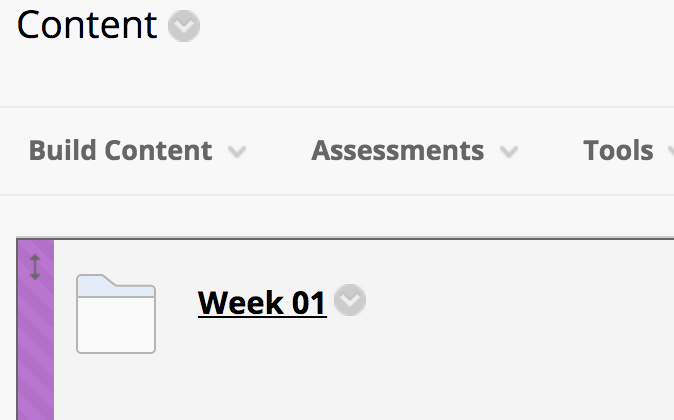
Whatever new item you create will be sent automatically to the bottom of the page. So if you already have a lot of files uploaded on your page, this folder will be found at the very bottom. Like in Announcements, you can hover over the folder until you see the purple bar on the left. Then you can drag your folder to the top of the page.
To put files into your folder, click your folder. This will take you inside the folder where there should be no content yet because it’s empty. You already know how to add a file (see the Syllabus section above) so now let’s go over how to add a weblink. Select Build Content and under Create select Web Link.
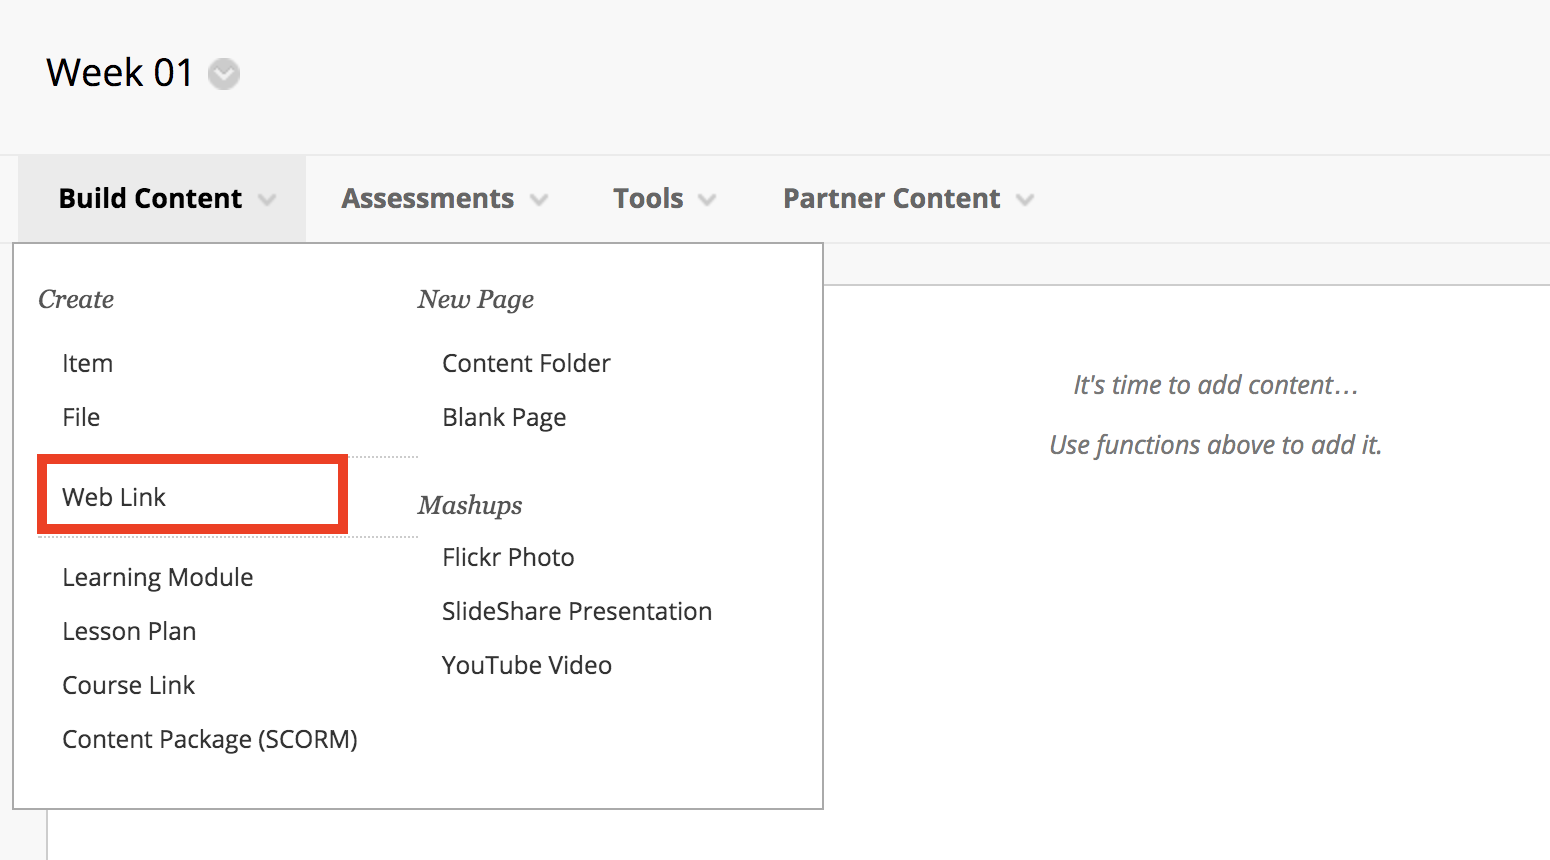
You will then be prompted to give your link a title and paste the url.
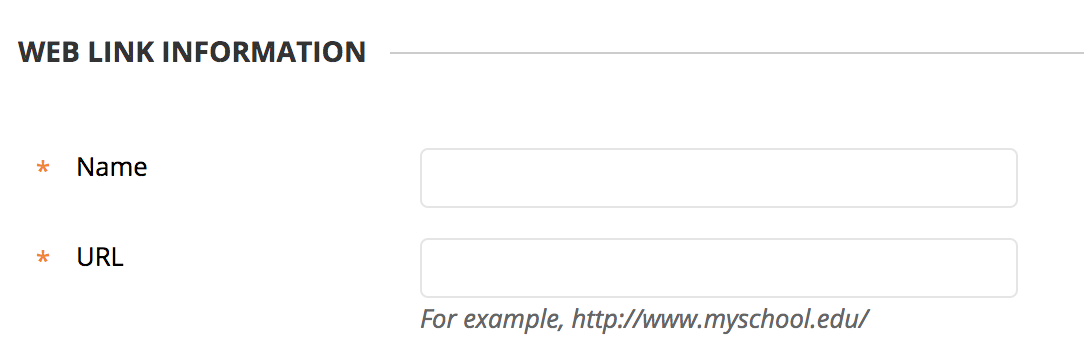
This is really all you need for a weblink but if you want, you can add an description or an attachment in the sections below. Remember to hit Submit to save.
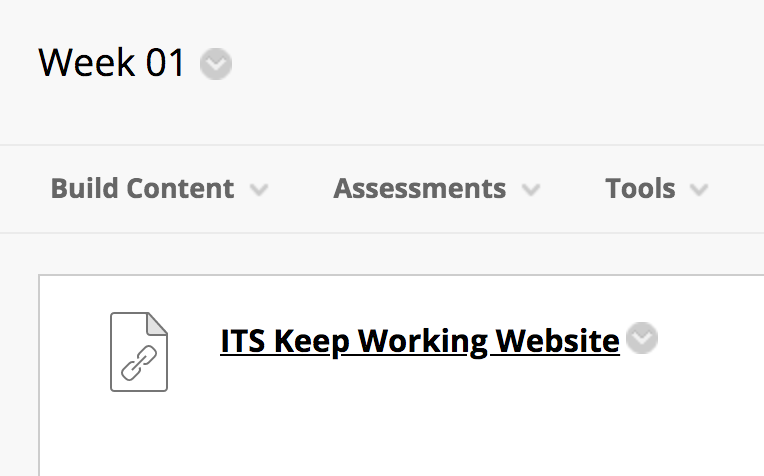
Then in the content section of the folder, you should see your new web link! When you click the link, it should take you to whatever webpage you input.
Assignments
The Assignments section should be for any assignments you’re giving your students. This includes any tests, quizzes, deliverables, etc. To add any of these, click on Assessments (next to Build Content) and you will get the option to create a Test, Survey, Assignment, Self and Peer Assessment, or a Turnitin Assignment (The Survey and Self and Peer Assessment are pretty self explanatory and are not commonly used).
The Test option is for creating any tests or quizzes you want to give your students within Blackboard.
Assignments are for any files you want your students turning in. For example, if you want them to turn in a paper or presentation, you would use Assignments.
Turnitin Assignment is only if you want to check your student’s papers for plagiarism. Otherwise, use Assignments.
The options for adding different assessments are pretty similar to each other. There is a separate tutorial here that walks you through how to add a Test and a tutorial here for adding in a Turnitin Assignment.
We hope this tutorial helps and if you have any other questions, let us know!