


Topics
Download this tutorial as a PDF here.
Introduction
Qualtrics is an online survey, polling, and research tool. This introduction will cover setting up a Qualtrics account, creating a survey, analyzing the results, and publishing those results.
Setting Up Your Account
1) Visit usc.qualtrics.com to get started. Follow the link that allows you to register for an account.
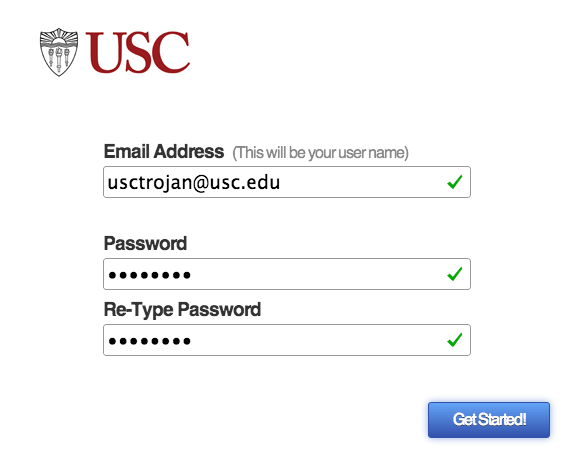
2) Input your USC email address and create a password. Then click “Get Started!’
3) The following screen will ask for some personal information that is optional. After you click next, you’ll be prompted with a screen that requires an access code. Enter the code HpL5x and you will receive an email to activate your account.
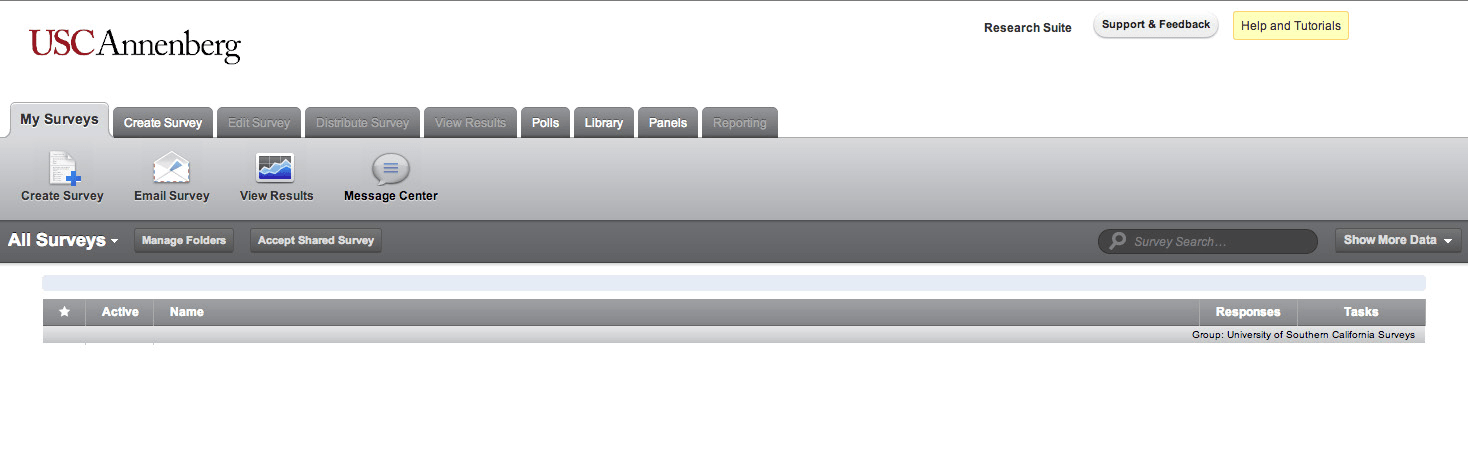
4) Once you’ve logged into your Qualtrics acount, you will be taken to the Qualtrics dashboard as pictured above.
Creating a Survey
1) At the top of your Dashboard, click on the “Create Survey” tab.

2) Choose the Quick Survey Builder option.
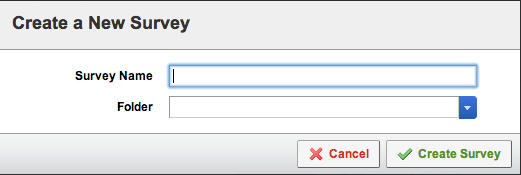
3) Name your survey and create a folder name to keep your surveys or-ganized. Then Click “Create Survey”.
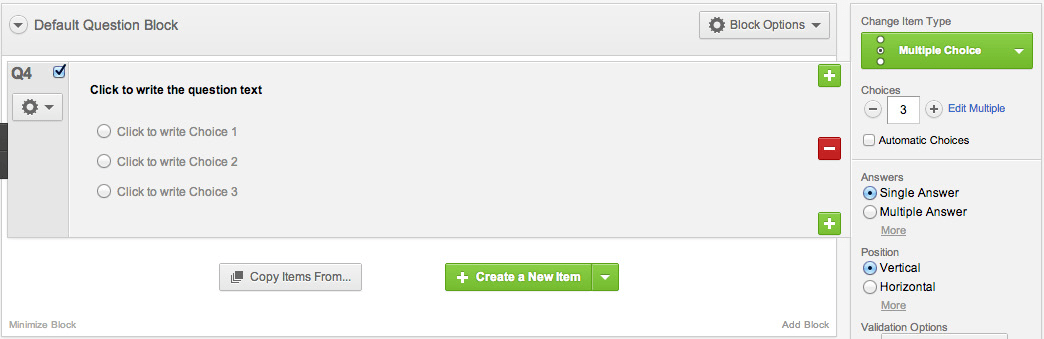
4) Now, you can start creating your questions. Click on “Create a New Item” to start building your survey.

5) By default, it sets it as a Multiple Choice question. Click on the text “Create a New Question” to start typing in a question. Next type in the appropriate responses next to the check boxes.
Survey Question Options
6) On the right hand sidebar, there are several different options to edit your survey question. You can change the Item Type (Rank Order, Slider, Matrix Table, etc.) by clicking on the green button.
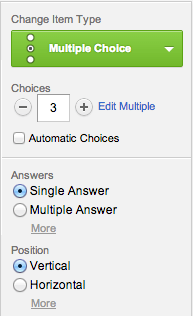
7) You can also change the number of answer choices by clicking on the -/+ button. In addition, there are options to allow Multiple Answers or to make the option choices vertical or horizontal.
8) If you check “Automatic Choices”, Qualtrics has some preset answers such as Unlikely to Likely.
9) To change the question order, hover over a question until arrows appear on the left hand side. From there, you can click the up and down arrows to move it accordingly.
![]()
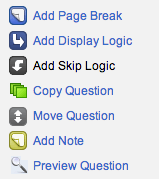
10) To continue adding questions, click on the green plus button. ![]() To remove a question, click the red minus button.
To remove a question, click the red minus button. ![]()
11) Skip/Display Logic (found at the bottom of the sidebar) is another useful tool to use while building your survey.
Display Logic
Display Logic allows you to designate a certain question to appear after a previous question based on the person’s response.
Skip Logic
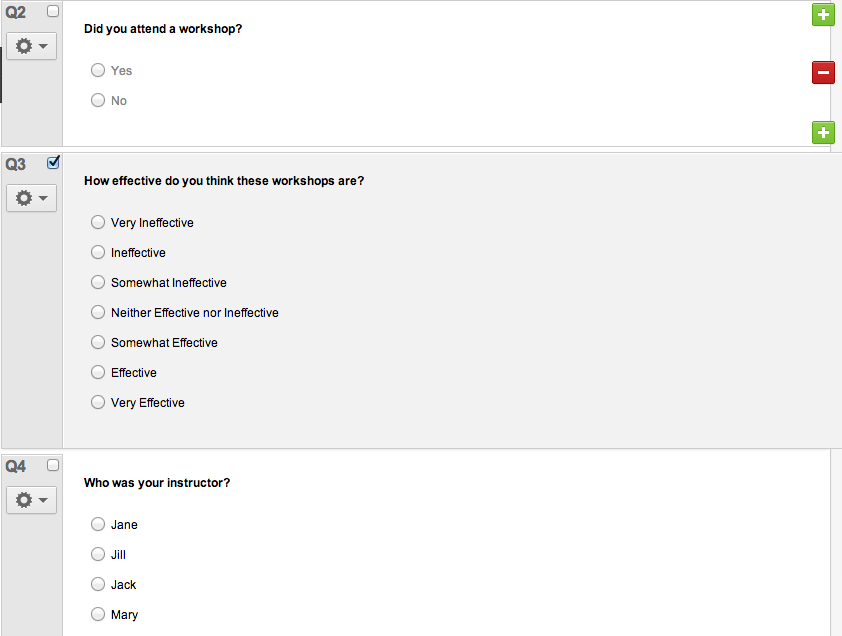
Skip Logic is helpful when there are a series of questions related to your previous question. For example, if you asked “Did you attend a work-shop?”, if the person answered yes, you would want them to answer a series of questions about it, but if their answer was “no” you would want the survey to skip the irrelevant questions.
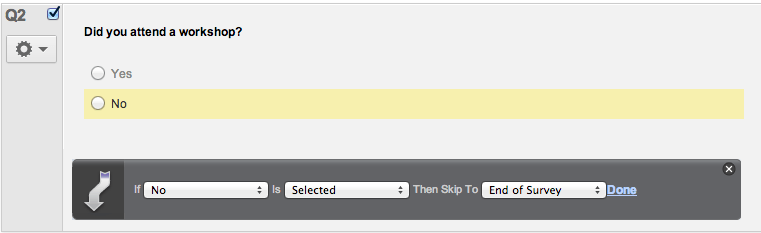
12) For example, I have these three questions. I want the participant to answer the question about the effectiveness of the workshop and answer who their instructor was ONLY if they answered that they attended a workshop. Therefore, Skip Logic will be useful here. I will simply click on Q2, where I want the Skip Logic to happen. Then, go over to the sidebar and click on “Skip Logic.”
13) A black section will now appear under the question, where you can select what happens based on their response. In thise case, I’ve selected that if the participant says No, it will Skip to the End of the Survey. There are also options for the survey to skip to a certain question.
Additional Tools
1) “Look & Feel” allows you to change the colors / template / fonts of your survey. You can also customize the header and footer with your own image.
2) “Survey Option” gives you options to change permissions, edit where a user is directed once they have completed your survey, an option to allow users to go back and fix their responses, etc. Be sure to go over Survey Options before sending your survey out.
3) “Spell Check” can help correct spelling and grammar.
4) “Preview Survey” allows you to see how your survey will look before sending it out.
5) “Launch Survey”: Once you have all of your questions completed and have the look and feel of your survey the way you want it, then it is time to launch your survey by clicking on this button. You will then be directed to a new page with an activation link for your survey.
Analyzing Your Results
Once people have started to complete your survey, you will be able to look at the results from your Qualtrics dashboard.
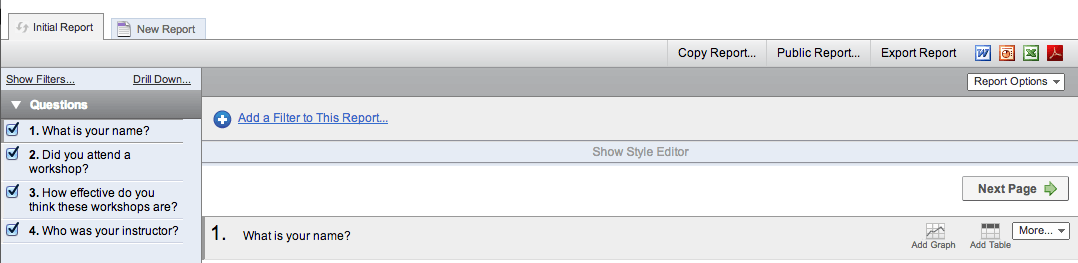
1) Click on the tab View Results at the top of the dashboard and then click on “View Reports”.

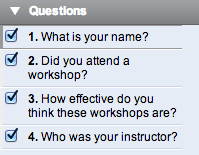
2) Click on Initial Report. This will take you to an interactive results page where you can see the responses to each question by clicking on the question number on the left hand side.

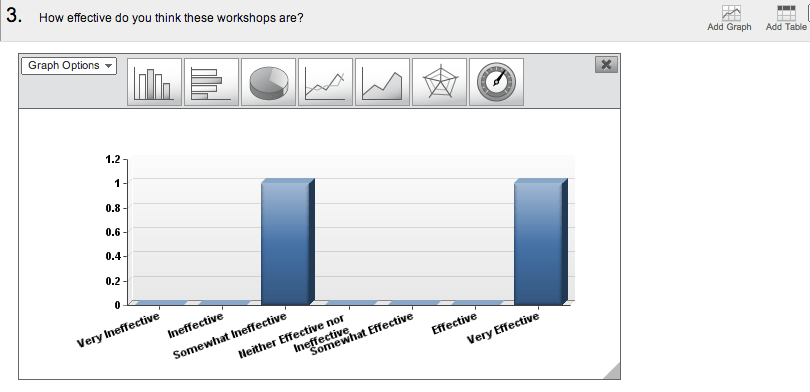
Let’s take a look at question #3. Once you’ve selected a question, you can Add Graphs and Tables to analyze and illustrate your results.
3) You can also export your data into Excel, Word, Powerpoint or PDF format.
![]()
4) Lastly, you can also make your results Public. This will give you a link where you can access the report. In addition, the report will update as survey responses come in.