Topics
Download this tutorial as a PDF here.
Introduction
SimplyMap is a web-based mapping application that enables non-technical and advanced users to quickly create professional thematic maps and reports using powerful demographic, business, and marketing data. Through USC, students get free access to the service.
Accessing SimplyMap
1) Navigate to the USC Libraries page, www.usc.edu/libraries. Ensure that you are on the USC Wireless Plus internet (the log-in credentials is your myUSC log-in).
2) Above the search field, select “Databases.”
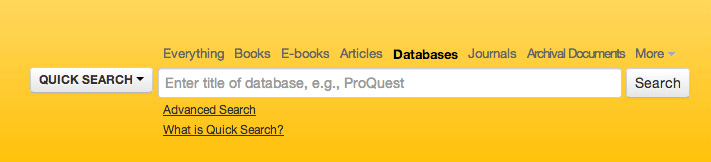
3) In the search field, type in “SimplyMap.” It should show up as you type it in or click the Search button and you should be able to select a link that says SimplyMap.
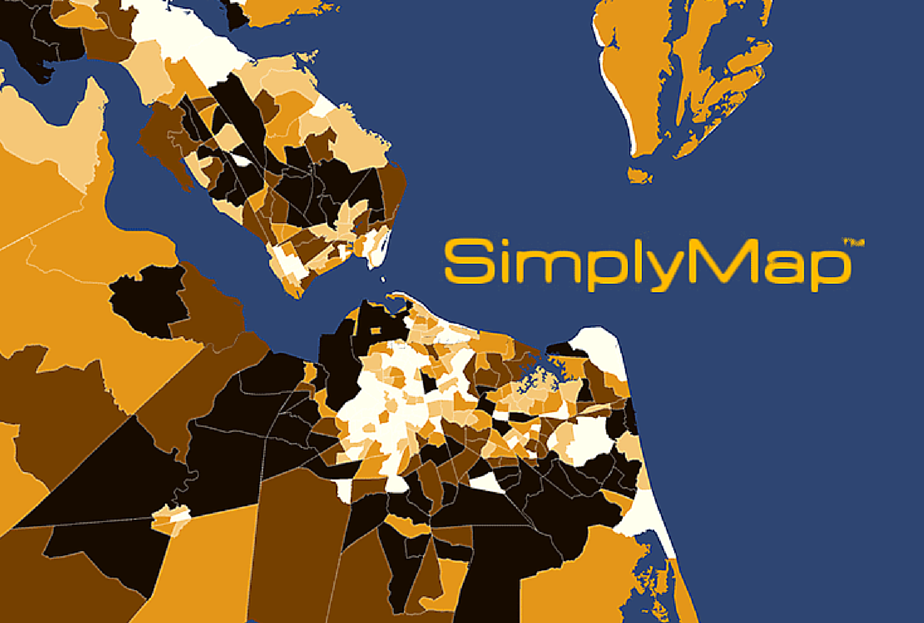
4) You will be redirected to the SimplyMap website. In the corner, it should say University of Southern California.
Creating an Account
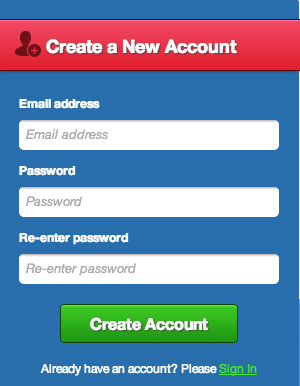
1) Now, Click on the “Create an Account” button.
![]()
2) Fill out your information in the fields and click on “Create Account.”
3) Check your email inbox. You will be sent an email to activate your account.
Creating a Map – Choosing a Variable
Now, you should be able to sign into your account. Once you’ve signed in, you’ll be taken to your dashboard, where you can create both maps and reports.
1) To start creating a map, we need to select a variable that we want to analyze. Go to the Variables tab.
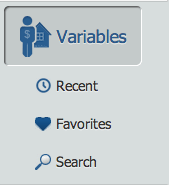
SimplyMap aggregates a large range of data that is organized by categories. Each categories includes data for both the years 2000 and 2010. It will keep track of your recent and favorite variable. You can also use the Search feature to find a variable.
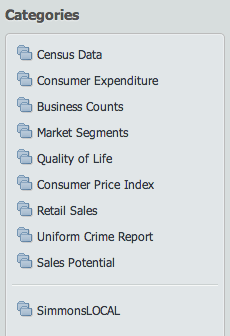
2) In this tutorial, let’s select “Quality of Life.”
3) Let’s first look at in 2010 Geographies data sets.
4) A list of variables will appear for you to choose from. Let’s select “Earthquake Movements (Land Movement Probability) Index” as our variable.

5) To look at your map, click the small x in the top right corner.
Choosing a Location
Now that you’ve selected a variable, we need to select a location.
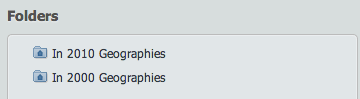
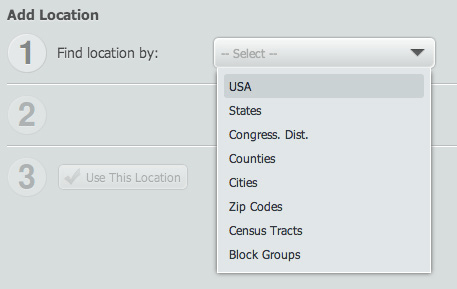
1) Go to the Location tab.
SimplyMap gives you many differ-ent ways to find location depending on what level you want to investigate (city-level, state-level, etc.)
2) For this tutorial, let’s look at All of the USA. Select “USA.”
3) Now, you’ll see that in Step 2 it says “All of USA.”

4) Now click on the “Use This Location” button.

5) Exit out of Locations by clicking on the small x in the top right corner.
Viewing Your Map
Now that you’ve made all your selections, you can start analyzing your map. You’ll notice that the map now has zoomed to just show USA and uses a yellow outline to show you the full location that you’re looking at. Use the top toolbar to zoom in and move around your map.
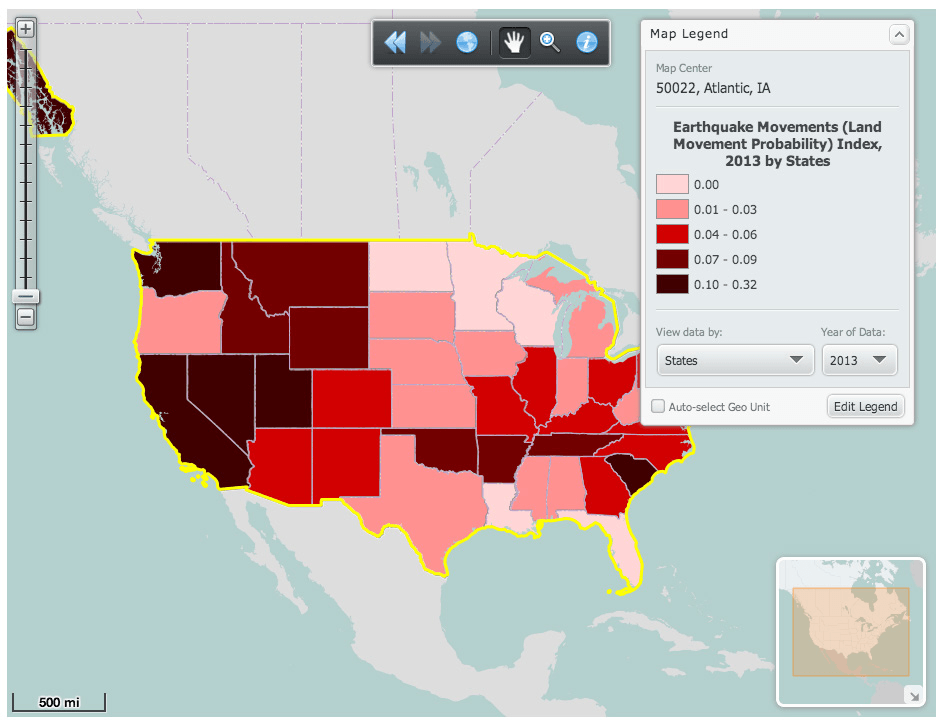
Use the Map Legend to parse the data further. You’ll notice that you can view the data in different ways.
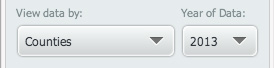
In this case, I can the View the Data by States, Congressional Districts, and Counties. If I select “Counties,” I’ll see a more in-depth representation of the map. Notice that you can also select different years for the data.
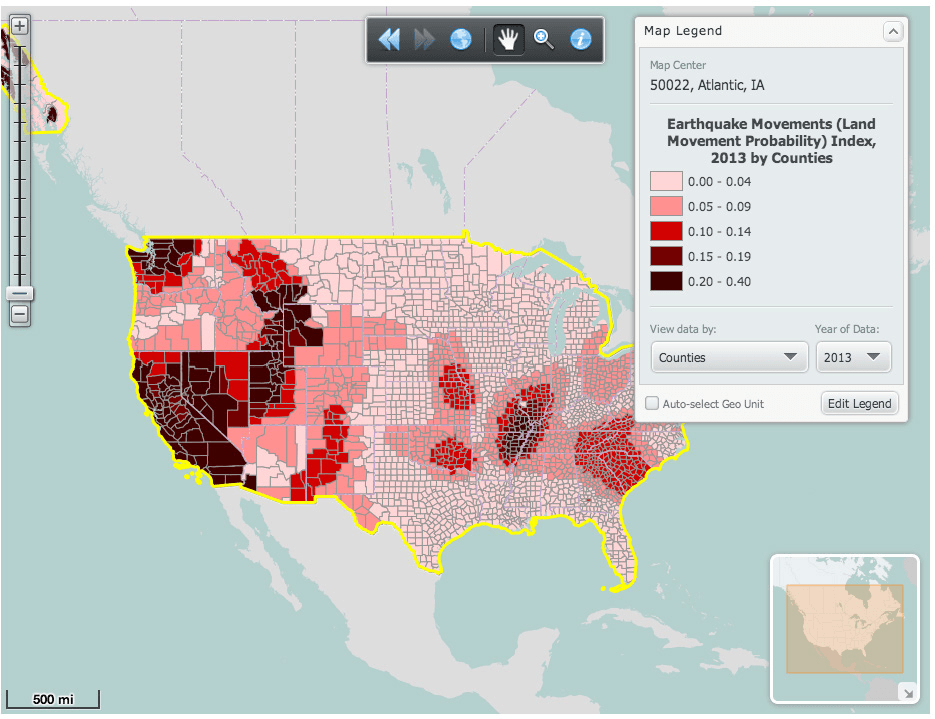
For instance, let’s select “Counties”
My map will now change to show the lines of each county in each state.
Note: You can also create multiple maps at a time.
Simply, click on the “New Map” button at the top. You’ll notice tabs at the top with your maps.
![]()
Saving/Re-Naming Your Maps
SimplyMap will keep any maps that you don’t close as “saved.” Therefore, if I don’t delete my map, when I sign back in, these map tabs will still exist on my account. You can name your maps to keep them organized.
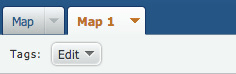
1) Go to your Map tabs and click on the little arrow next to the Map name.
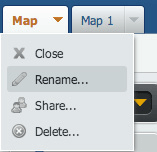
2) Click on Rename.
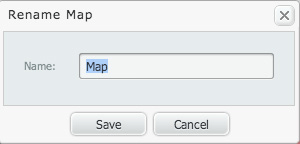
3) Type in a new name and click “Save.”
Exporting Your Map
With SimplyMap, you can export and share your maps.
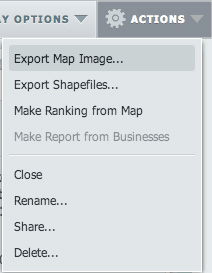
1) To export, click on the “Actions” tab.
![]()
2) Select “Export Map Image…”
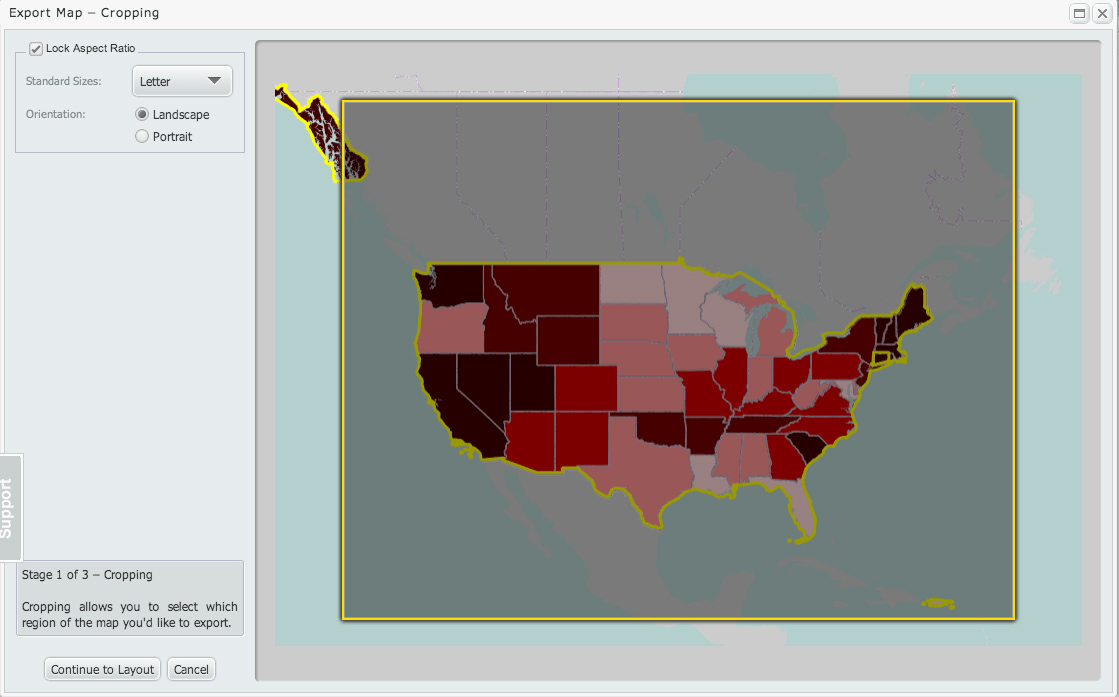
3) A new dialog box wil appear. First you need to crop your image. You can choose a size that you want to export it as and the orientation. You can move around the box to encompass what you want to export. Drag the corners to increase or decrease the size of your image.
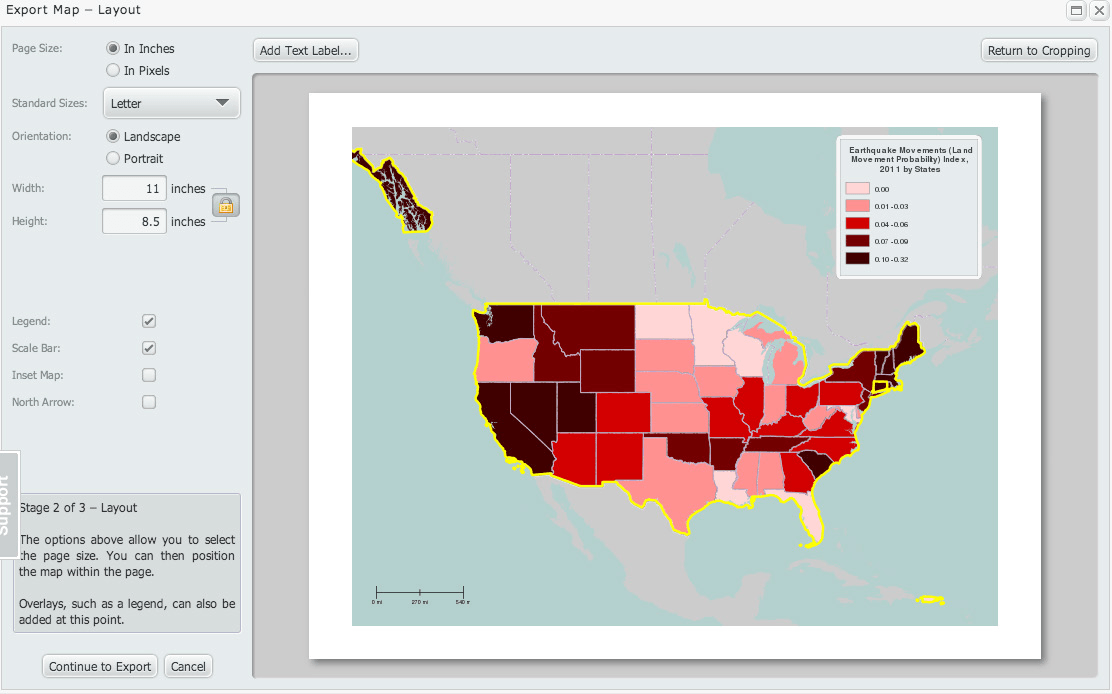
4) Click on the Continue to Layout button. On this next screen, you can still edit the size/orientation as well as choos-ing if the Legend, Scale Bar, Inset Map, or North Compass arrow appear. Once you’ve made all your selections, click on Continue to Export button.
5) Now, you’ll be able to choose a File Format and Delivery Method.

6) Once you’ve made your selections, click the “Finished” button.
Sharing Your Map
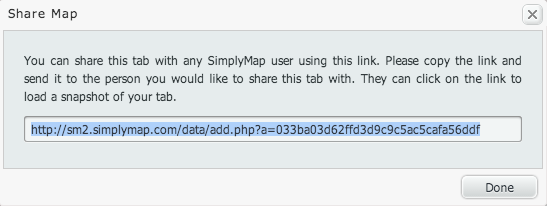
1) Again, go to Actions, but this time select “Share…”
2) A new dialog box window will appear with a link that you can copy and send to people. They will be able to see a snapshot of your map. Once you’ve copied the link, click Done to close the box.