


Topics
- Introduction
- Accessing Your Site (For The First Time)
- Using the Default Twenty Seventeen Theme
- Building Your Site
Introduction
This tutorial is for students who have received a fully-hosted and installed WordPress.org site for their course. If you received an FTP site, please see our ASCJCapstone FTP Site Tutorial here.
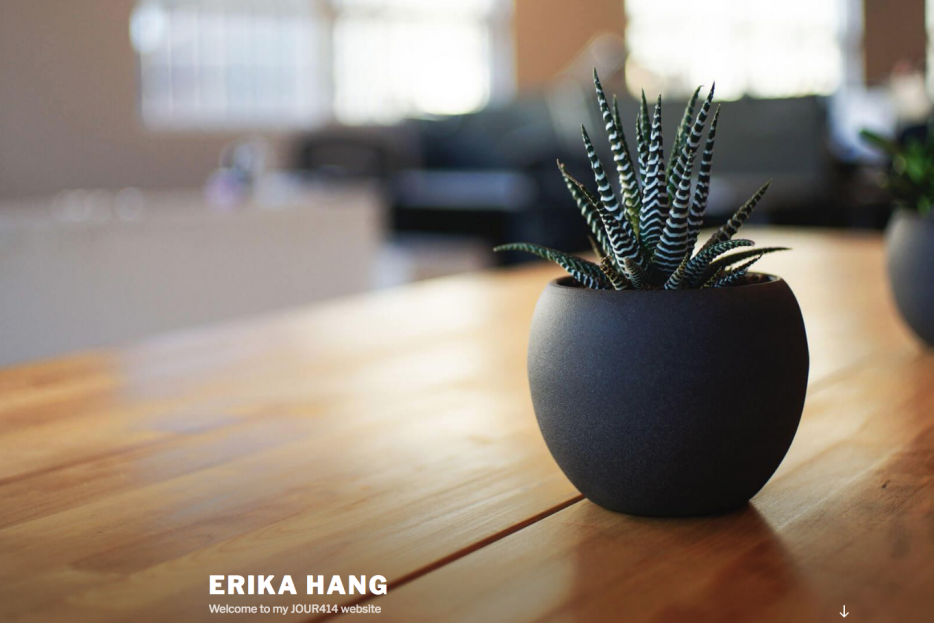
The site is hosted on USC Annenberg’s subdomain, ASCJCapstone.com. Students’ final projects will be created on these websites. Since the site is managed and owned by USC Annenberg, you do not need to add any security plugins and the server is backed up weekly. Sites will be kept to a 200MB storage limit. Please ensure that your images and videos are compressed to an appropriate size before uploading them to the site.
This tutorial will guide you through accessing your website and setting up your website.
Accessing Your Site (For The First Time)
Depending on the timing of your course, you will receive an email from support@ascjcapstone.com sometime during the semester with your account credentials to access your site.
If you did not receive an email, please contact us at support@ascjcapstone.com (using your USC email address) with the course you’re enrolled in and your professor’s name.
Logging In
The email (discussed above) will provide you the site URL.
The email will provide a username and password as well as links to your site and the backend. We recommend bookmarking your site URL and the link to access the WP Admin Dashboard for easy access.
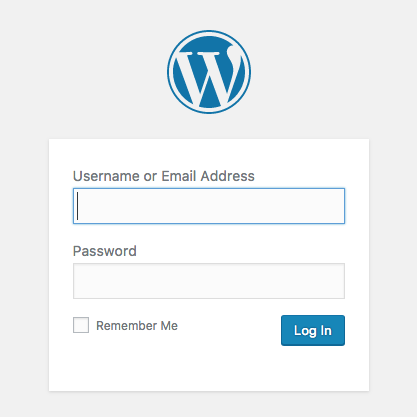
When you visit the /wp-admin URL, you’ll see a screen like the one below. Input the username and password provided in the email and click Log In.
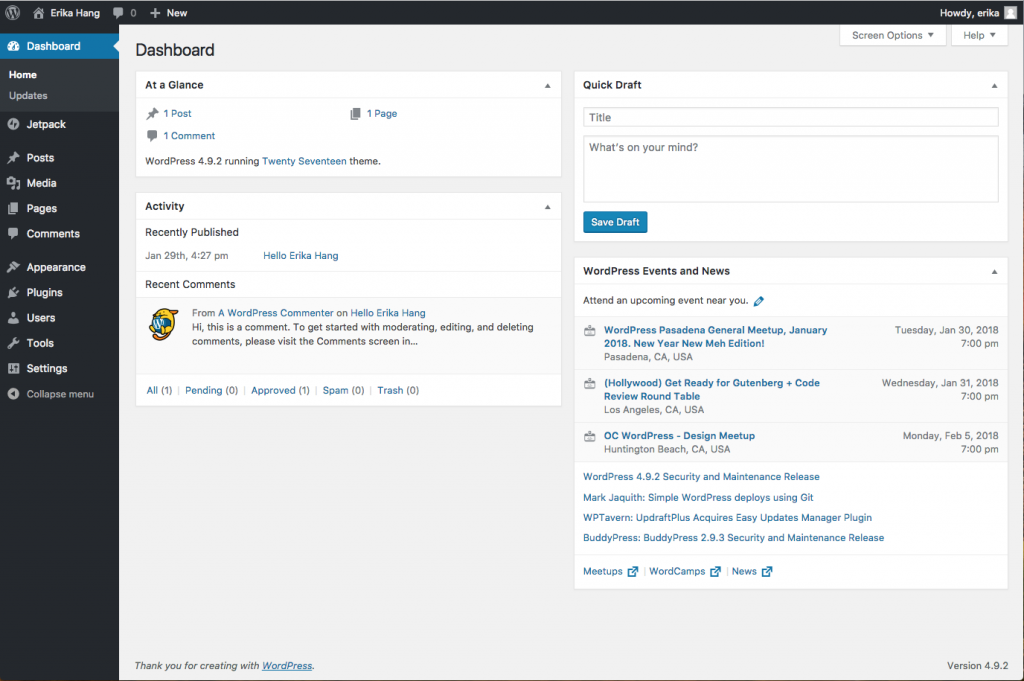
The WP Admin Dashboard
Your dashboard will look like this once you’ve logged into your site. This is where you will create all of your content, change its appearance, and install plugins to give your site more functionality.
Using the Default Twenty Seventeen Theme
Your site will be given a default WordPress Theme. All sites will have WordPress’ Twenty Seventeen theme installed. This is the ONLY theme supported for ASCJ Capstone and the recommended theme. If you’d like to explore other themes, you can, but our team does not support it at the helpdesk or provide a tutorial.
Building Your Site
Let’s start adding some content. We’ll show you how to change the header image, get a single-column layout, add interactive multimedia, and do some minor CSS changes.
Change Site Title
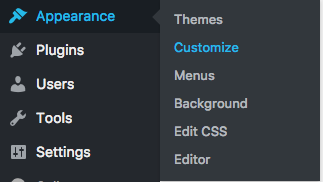
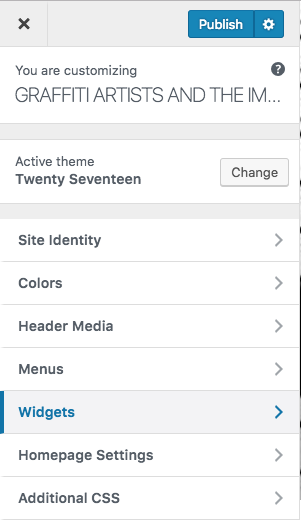
1) On your dashboard sidebar, you’re going to go to Appearance > Customize.
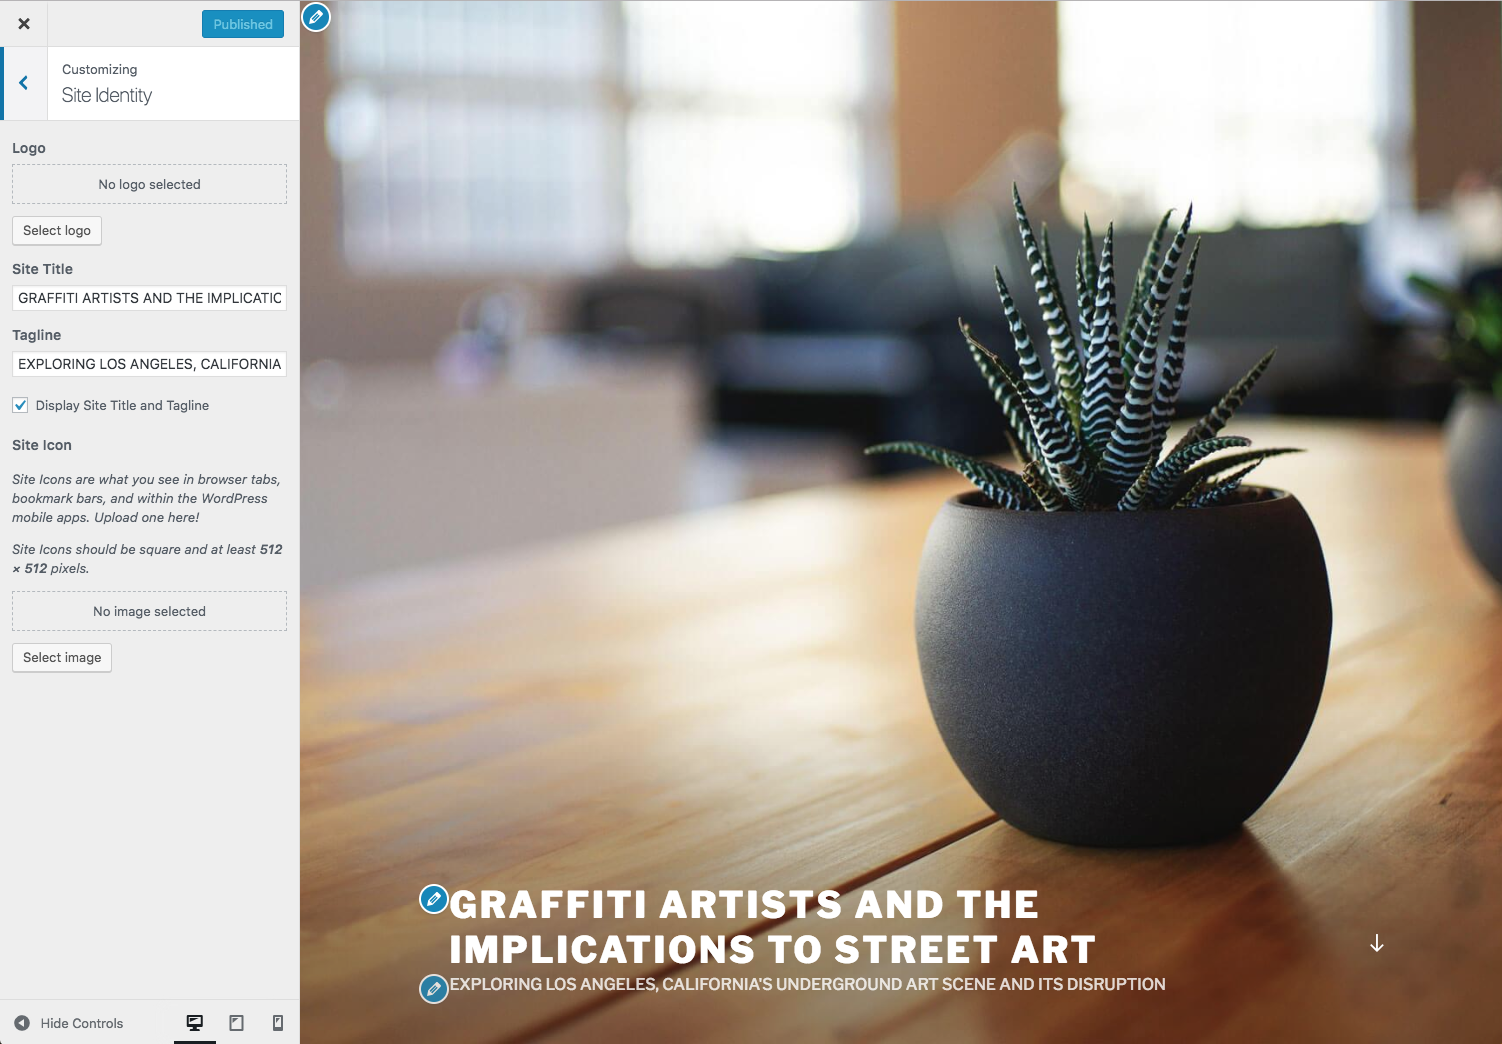
2) First, we’ll change our Site Title and Tagline on the front of the site. Click on Site Identity.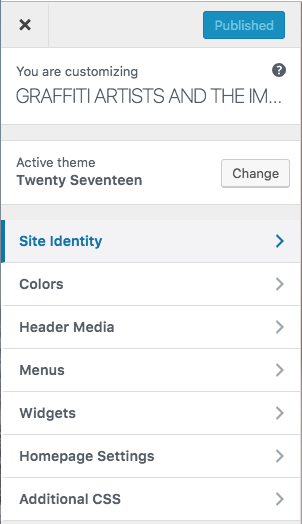
3) Here you can see the title and subtitle change as you type them in. Notice, you can also uncheck “Display Site Title and Tagline” if you wish.
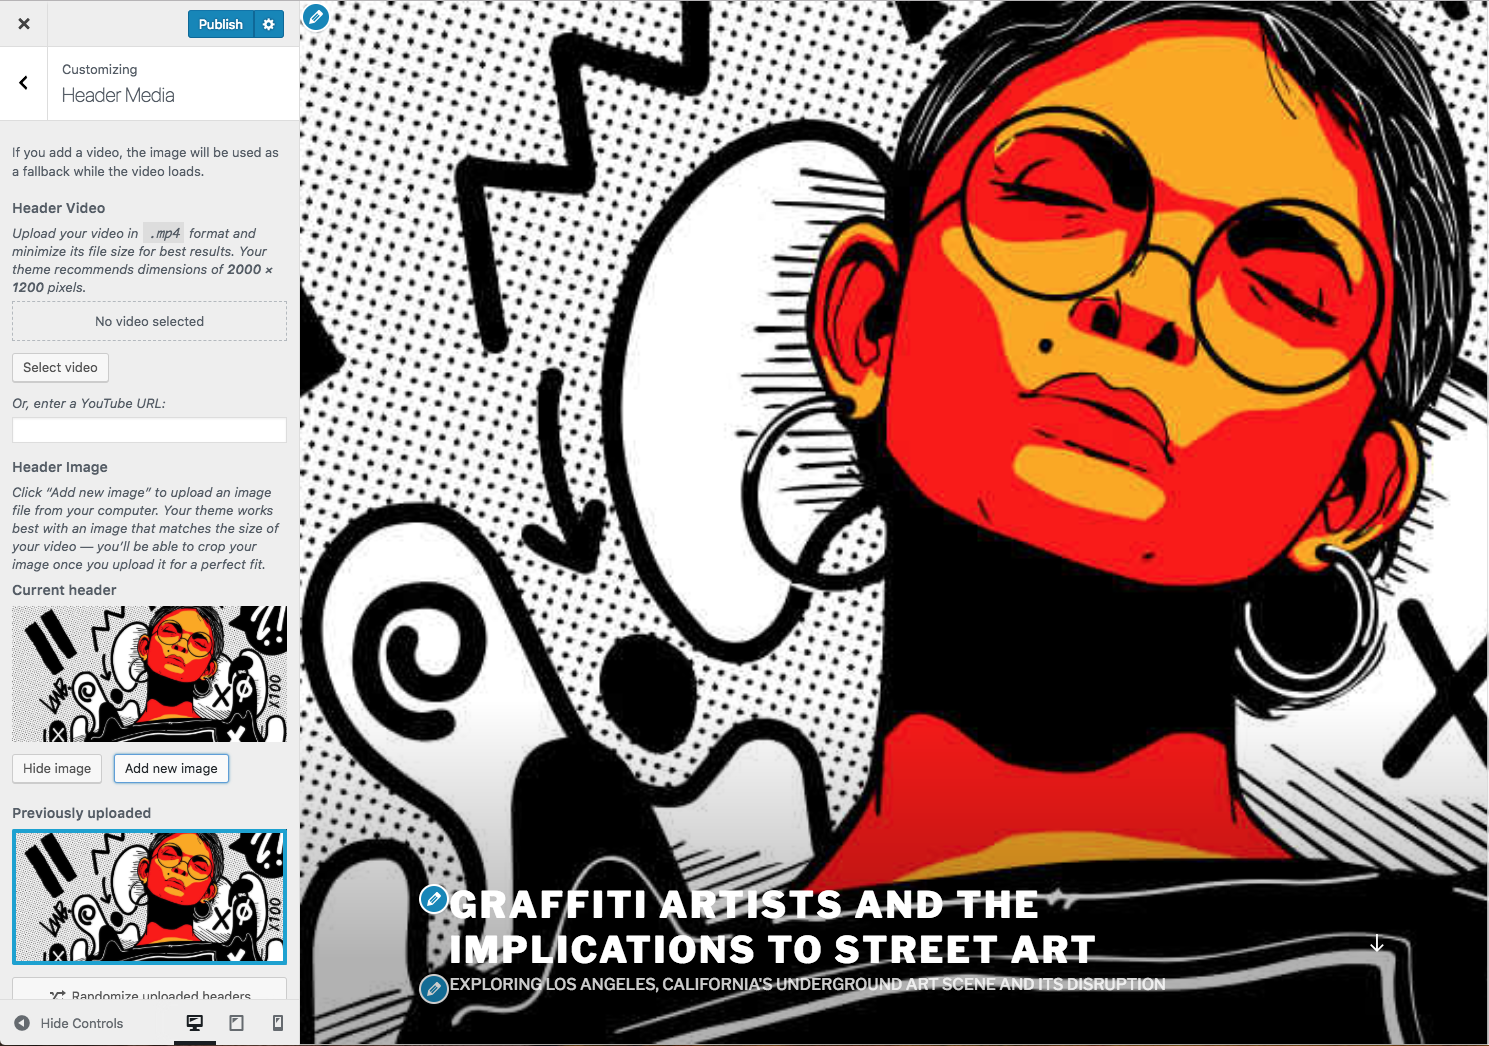
Change Header Image
Next, we’ll change the featured header image. You can also make this a short looped video as well. The video must be less than 8MB and uploaded in an .mp4 format.
1) Click the back arrow and go to Header Media.

2) Notice the two different options: Header Video and Header Image. First, let’s try an image. You’ll click on Add New Image to drag and drop a photo to upload or pick an already existing image in your Media Library. The change will live preview on the right hand side.
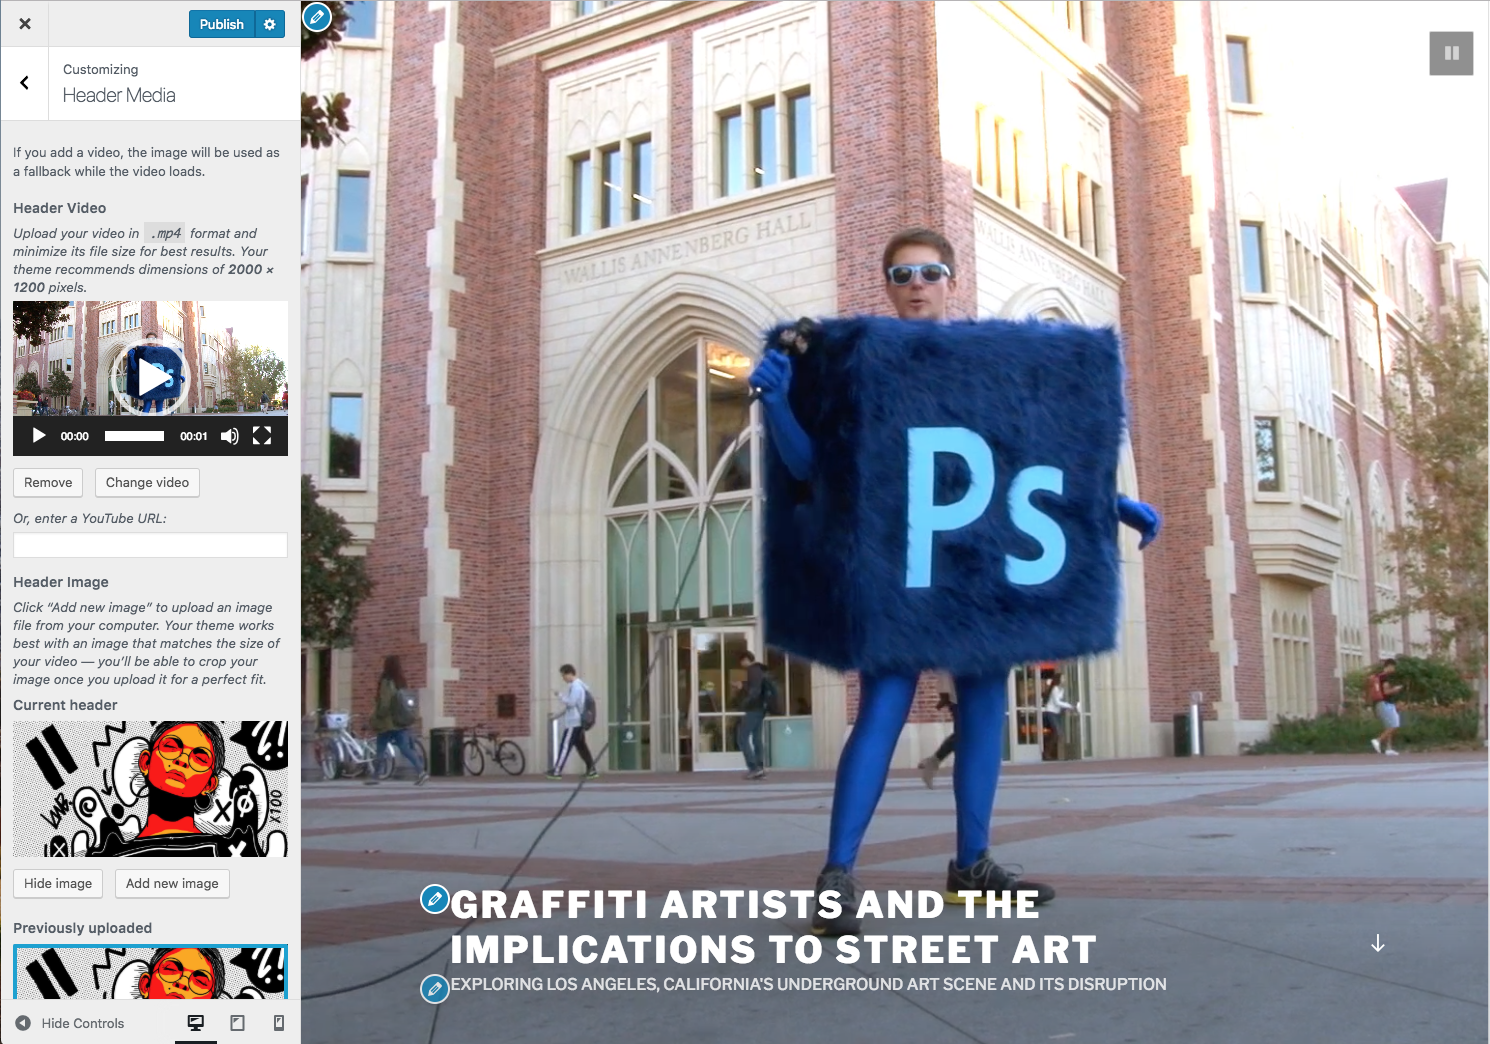
3) Next, let’s try a Header video. You’ll click on Select Video. From there you can drag and drop a video file to upload. The video will appear and continuously loop. Note: The sound DOES NOT play. If you want to add background sound, you’ll need to find find and install a plug-in.
Make Site One-Column
Next, we’re going to edit the article portion to be a single column. Click the back arrow to get back to the main menu. You can skip this step if you do want to create a sidebar next to your article.
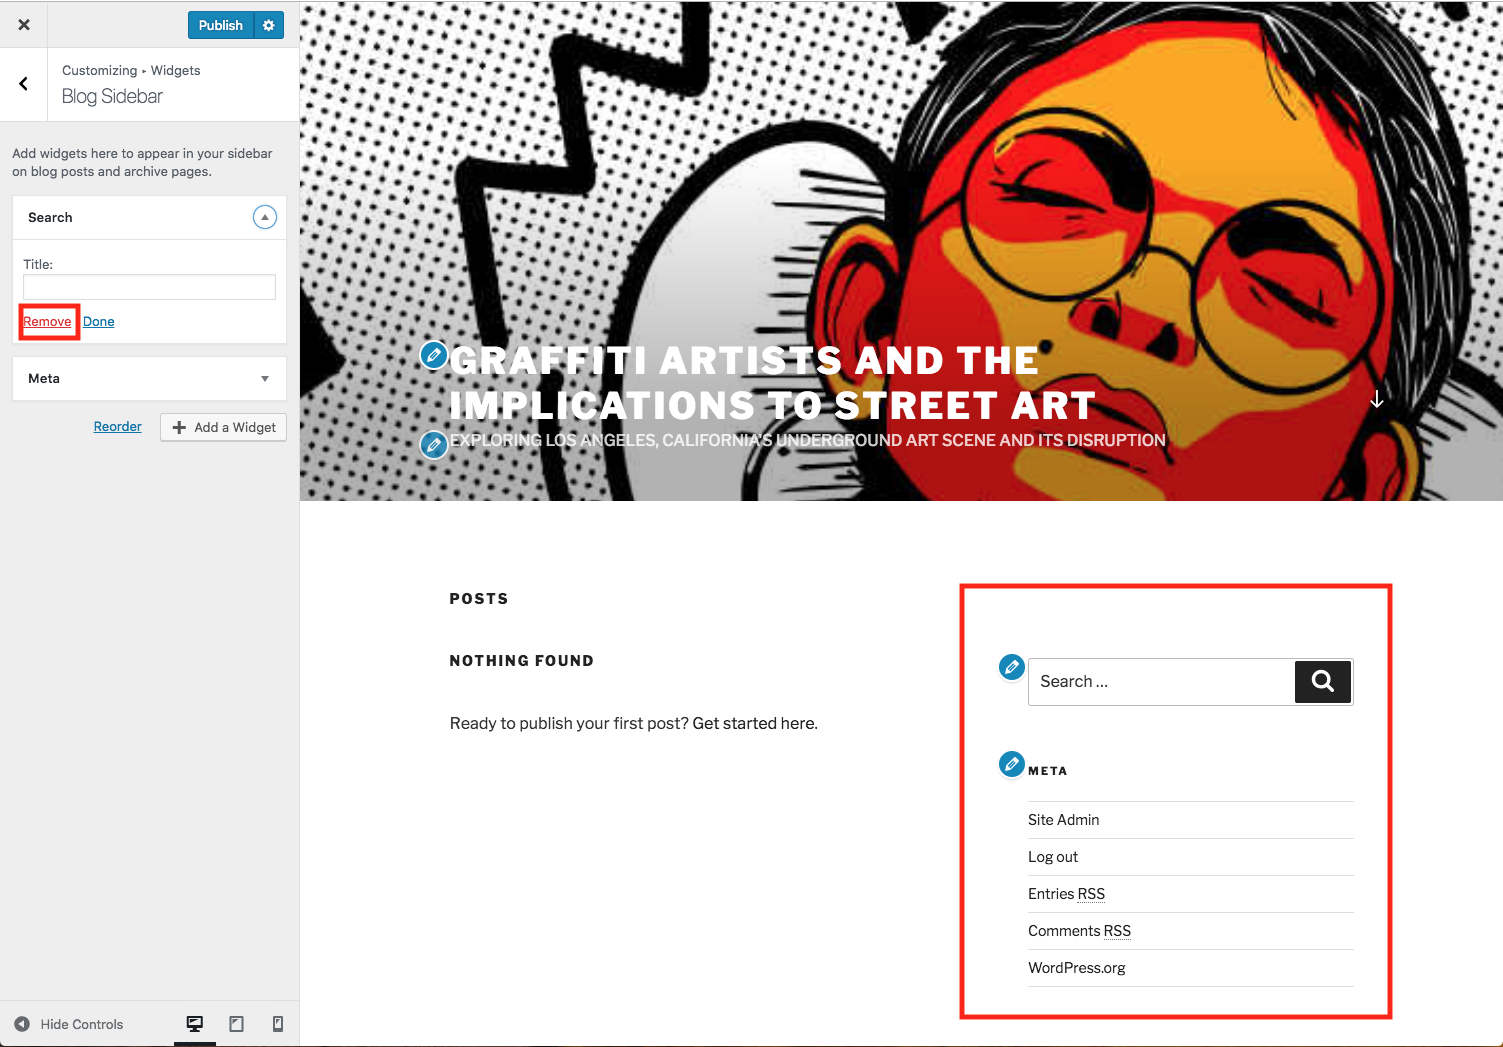
1) Click on Widgets > Blog Sidebar.

2) Next, well remove every single item that’s currently in the Blog Sidebar by clicking on the arrow next to the item and selecting Remove. After you’re done, click Publish. If you want to keep the sidebar, look at the next section. Otherwise, click on the x to return to the Dashboard.
Adding Multimedia to Sidebar or Footer
Alternatively, you can use widgets to add additional content to your sidebar. Feel free to experiment.
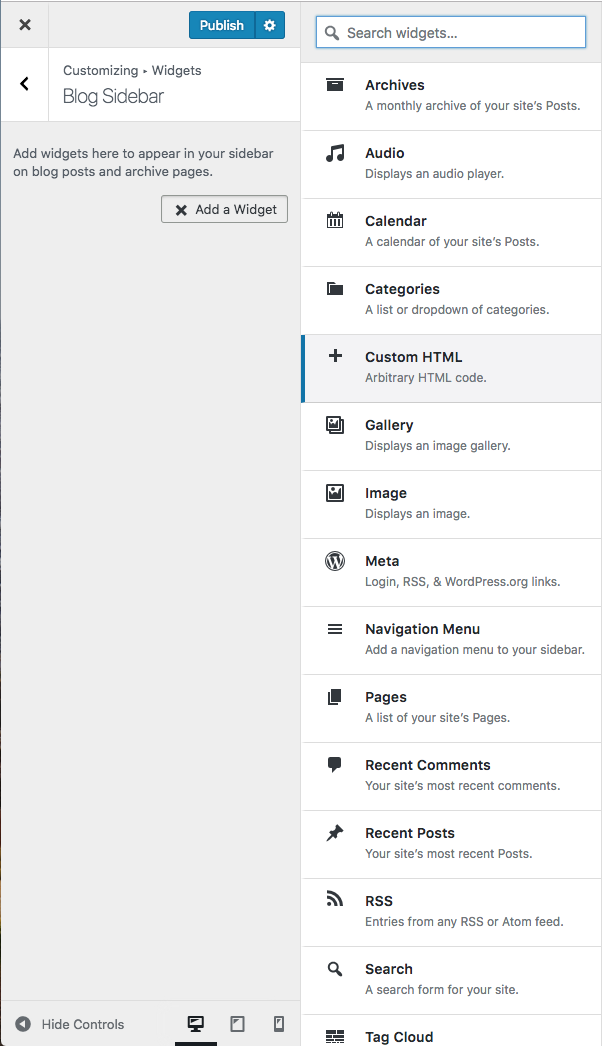
1) Choose either Blog Sidebar, Footer 1, or Footer 2.
2) Click on + Add a New Widget and look through all the options. Explore all the options. Once you’re done click Publish and then the x to go back to your Dashboard.
Create Article
Next, we’re going to create our article and add some content.
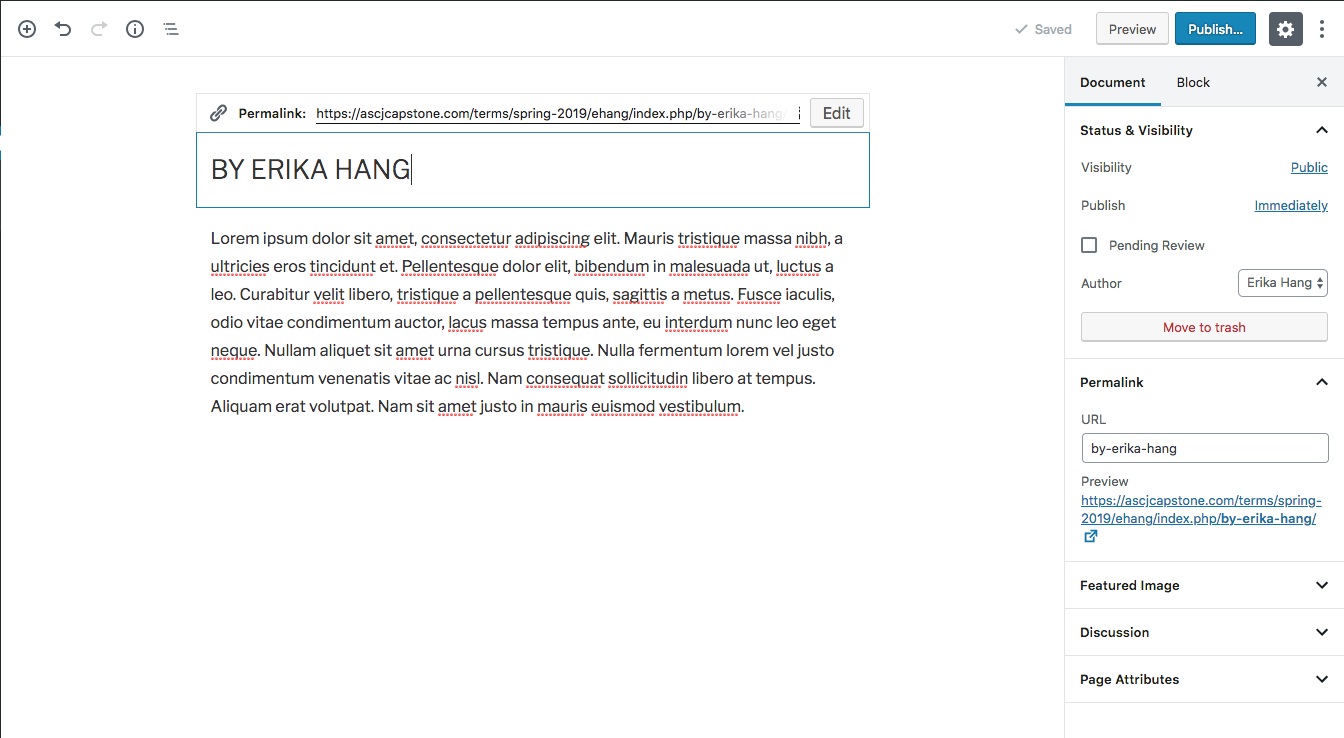
1) Go to Pages > Add New.

2) For the title, you’re going to type BY {STUDENT NAME HERE}. This will appear as your byline once we set this page to the front of your site. Start typing some text or fill in some Lorem Ipum filler from this site generator here, just to get some content in there.
Adding Multimedia
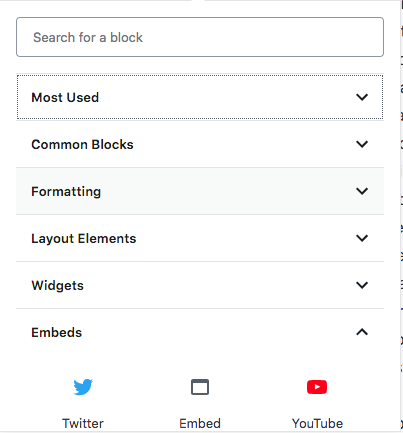
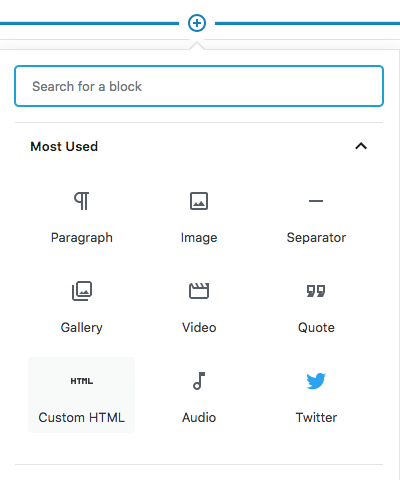
To start adding multimedia, click on the + button at the top or if you hover over a “block” you should see additional + buttons appear. If they don’t appear, you may just need to hit enter to go to the next line.
Every time you want to add a multimedia piece, you’ll click on the + sign to get the Add block item. We’ll cover the basics, but each one works relatively the same. You can the element, upload the content, and then on the right hand side, you can change the available settings.
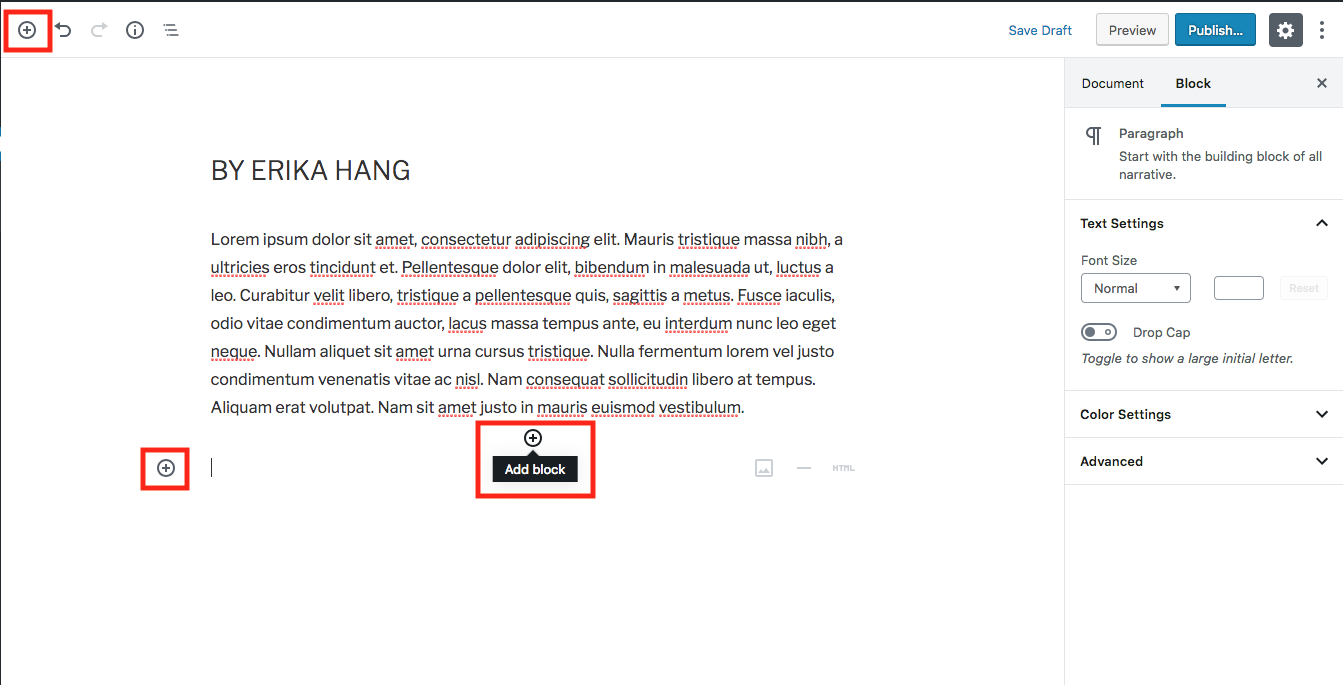
Explore all the different block options. You can embed tweets, Spotify playlists, and more.
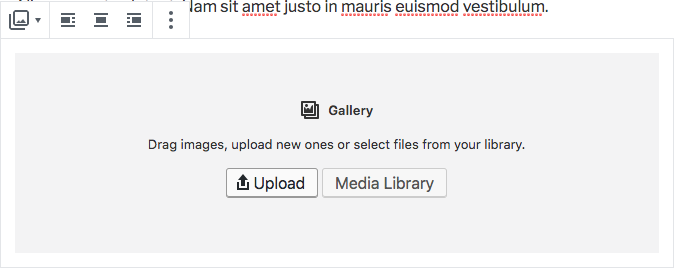
Adding Gallery or Image
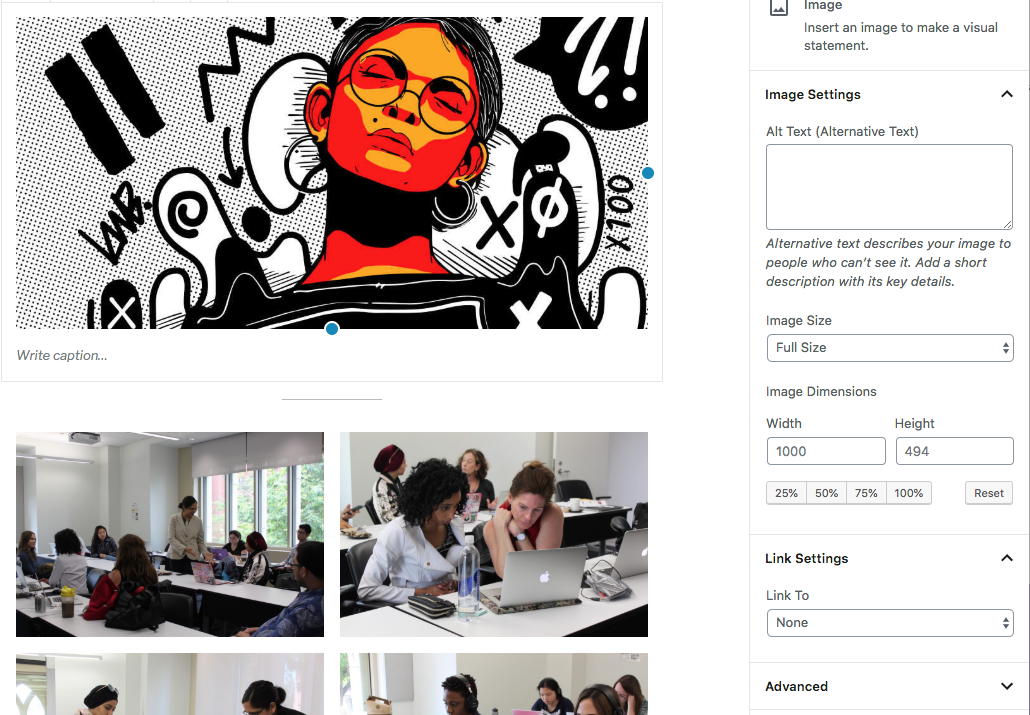
1) Once you click on the + sign, you’ll see a ton of options of multimedia you can add. Click on Gallery or Image.

2) Click on Upload to drag and drop your photos in.
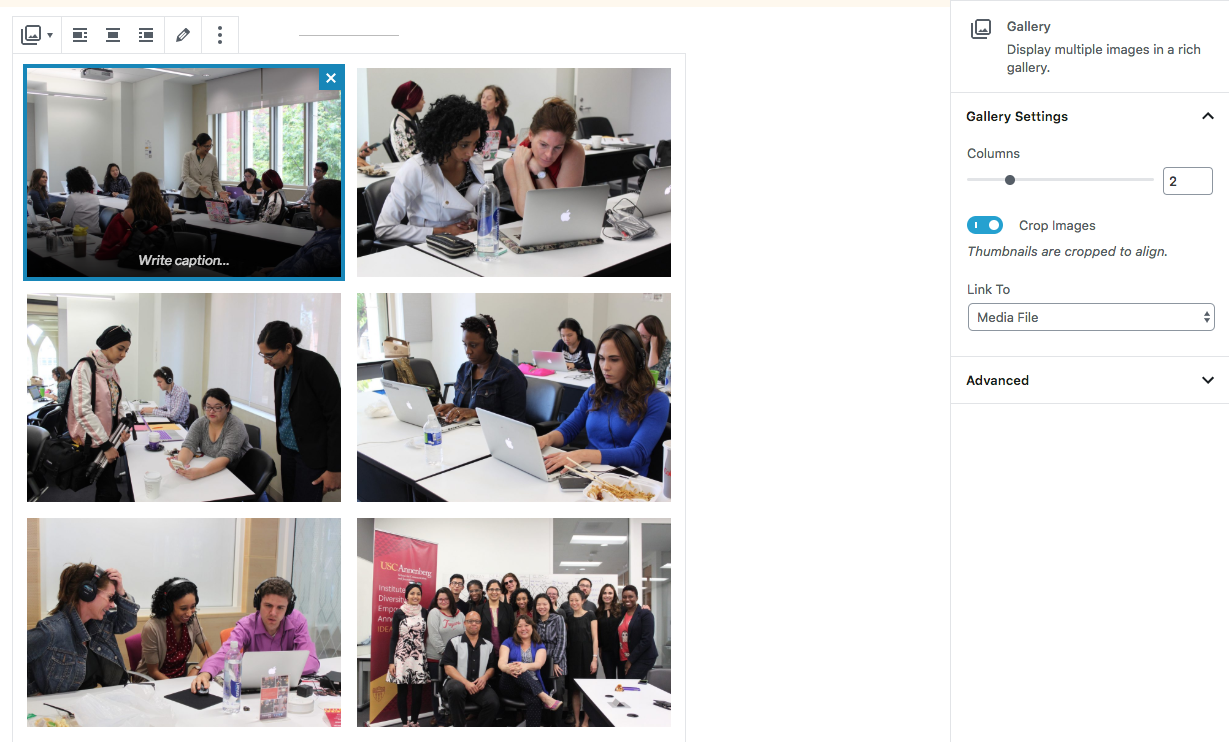
3) If you hover over each photo, you can click on where it says Write caption… to add a caption to each photo. On the right hand side, you’ll also be able to change how many columns that your photos appear in.
If you added an Image, you can see how the right side changes to allow you to adjust the Image Size, dimensions, and link your image to something.
Adding Video
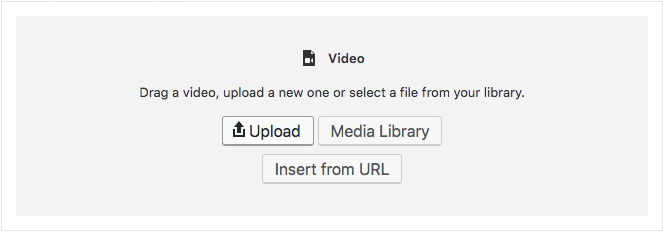
1) To add a video, click on the + button again. If an option doesn’t show up, you can type in the search to find it. See below. Then click on Video.

2) Upload your video file directly to WordPress. Do not Insert from URL. We need video files uploaded directly to your site for us to archive the content.
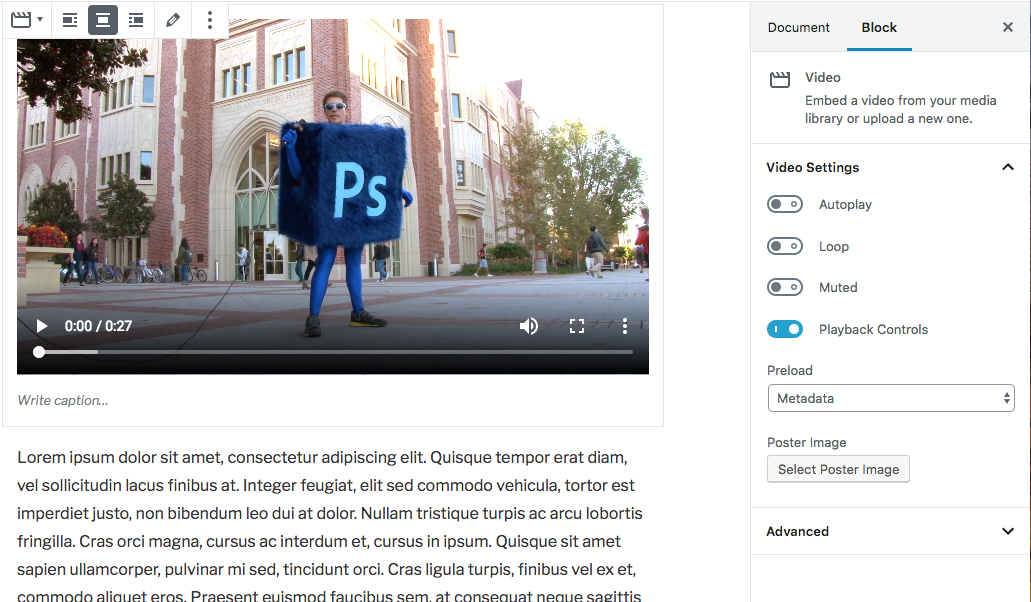
3) On the right hand side, you’ll see options for Autoplay, Loop, Muted, Playback Controls, and setting a Poster Image.
Adding Separator
You can also add a line separator between items if you want.
1) Click on the + button and select Separator.
2) It will look like this:
Adding Custom HTML: Timeline JS
KnightLab provides a tool to create interactive timelines. See their easy to follow instructions on their website here.
1) Once you’ve made your Timeline, you’ll go back to your page and click on the + button and select Custom HTML.
2) Paste in the iframe embed code into the box.
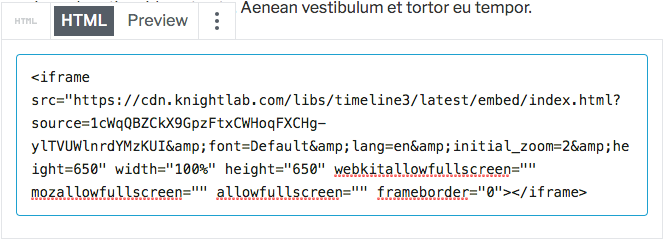
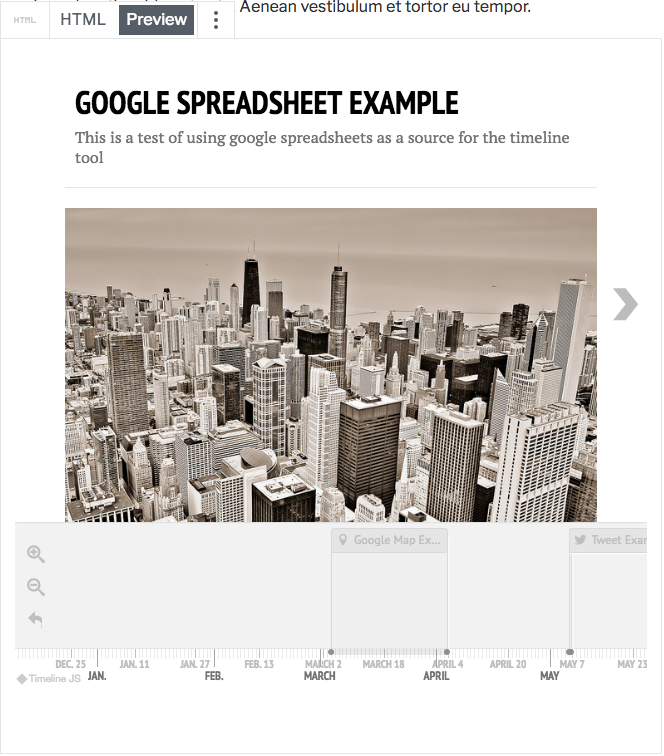
3) Click on Preview to see how it will look when you Publish.
Adding Custom HTML: Soundcite JS
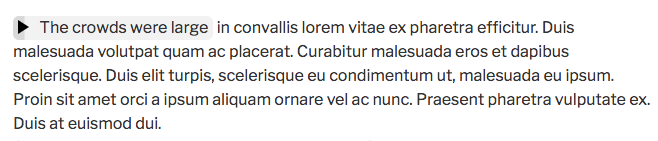
Knightlab also provides a tool that allows you to insert sound clips into your story. See the screenshot below to see how they appear in stories.
1) Follow the instructions on their website to create a clip.
2) Once you’ve created the clips, the instructions tell you to paste some code at the top of your post. Grab that code and add a “Custom HTML” block at the top of your article as shown here:

3) Now you can start adding your sound clips anywhere into the article as shown here. Note: Preview will not work in this case. You will need to save your draft or publish and then preview the entire post to see it in effect.
HTML will look like this:
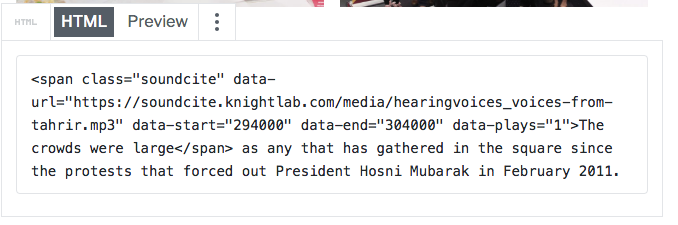
It will appear on the site like this:

Now viewers will be able to click on the arrow and hear the audio clip as they read.
Set Article as Front Page
Now that you’ve compiled your article, you can make it your front page.
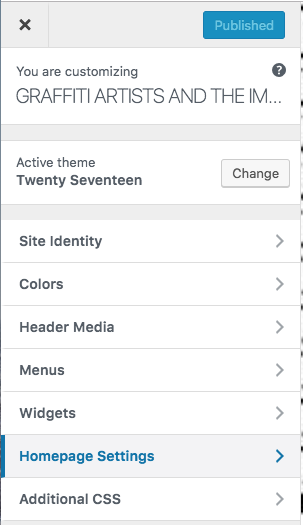
1) Go back to Appearance > Customize.
2) Select Homepage Settings.
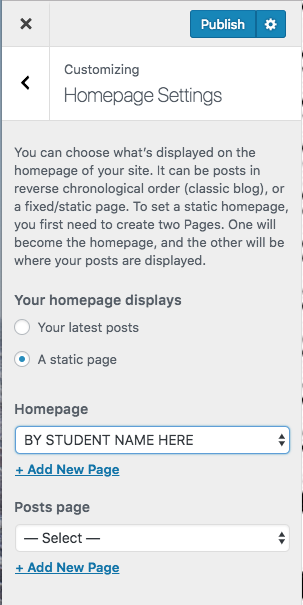
3) Change “Your homepage displays” to A static page. Then, under the Homepage dropdown, choose your page titled BY {STUDENT NAME HERE}. You should now see your article on the right hand side preview.
Adjusting Fonts and Colors Using Custom CSS
WordPress allows you to add Additional CSS to your site to customize fonts and colors. We’ll give a brief overview on how to add the CSS.
1) Go to Appearance > Customize on the right hand side.
2) Select Additional CSS.

3) See the example below to see what code we typed in to change different portions of the site including the font used, font size, line height and color. Please see the following information about usable font families.

Plugins for Additional Features
Another way to add additional customization to the site is to install plugins. WordPress has thousands of plugins created by the community that allow you to do things like add background music or create interactive images.
1) Go to Plugins > Add New on the right hand side and explore the plugins available by searching or looking popular ones used.

Here is a list of a few popular plugins you can use to create interactive elements on your site. Simply search for these in the Plugins section of your WordPress Dashboard to install, and you can find more information about using each at the links below:
Timelines:
Timeline and History Slider, Timeline Express
Interactive Photos:
Draw Attention, Twenty20 Image Before-After
Interactive Maps:
Google Maps/Maps Maker Pro, Leaflet, Google Trends
Photos with Audio: