Topics
Xchange is a media asset management system for uploading, sharing, and analyzing clips. Think of it as Blackboard for media content. Faculty can upload course video material to their courses for students to watch on campus or from home. Once you’ve digitized your content, you can upload it to Xchange easily and start sharing it with your students! Follow the steps below.
Logging In at USC (through Secure Wireless)
1) Make sure you are connected to Secure Wireless.
Note: If you are running Windows 7, you may experience issues connecting to USC Secure Wireless. Please see our Windows 7 Secure Wireless Fix Handout.
2) Visit mcweb.usc.edu
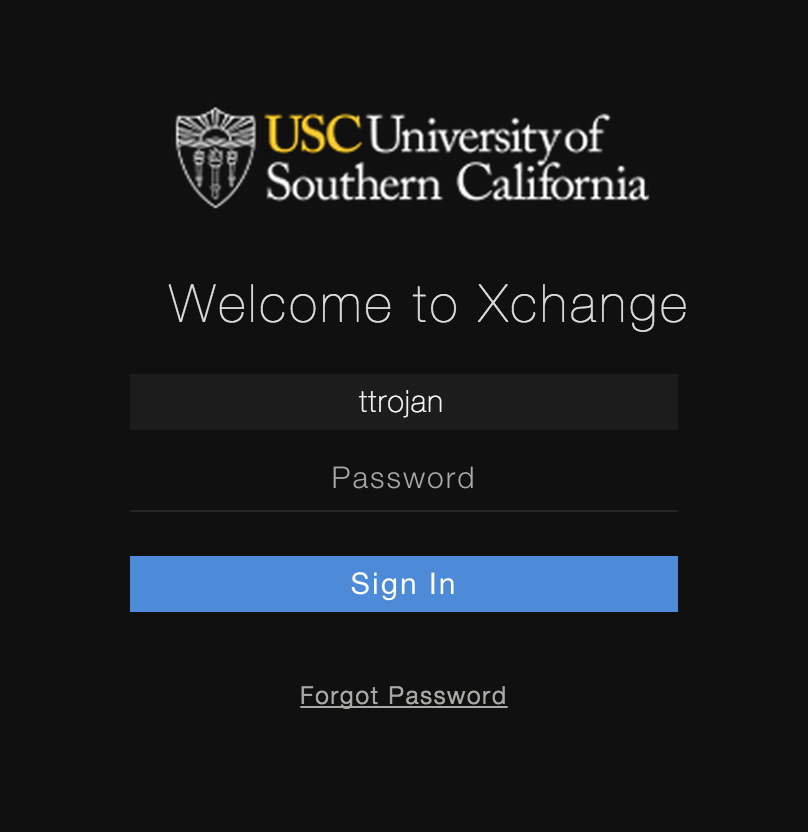
3) Enter in your username and password and click “Login.”
Logging In Remotely (outside of USC)
When you are not at USC or not using USC Secure Wireless, you must use VPN to get into the network and access mcweb.usc.edu. To download VPN and connect to Secure Wireless remotely, see our instructions here.
Logging In (First Time Users)
If you are a new user to Xchange, you will need to set your password for the first time.
1) Visit mcweb.usc.edu (Make sure you are on Secure Wireless if on campus or using VPN if at home, see instructions above)
2) In the username field, type in the first part of your USC email (i.e. if your email is ttrojan@usc.edu, enter in ttrojan)
3) Click Forgot Password – a pop up window will ask if you are sure you want to reset your password? Click OK.
4) Another pop up with show up saying that an email has been sent. This may take a couple of minutes. Check your USC inbox for a link to set your password. When you click the link, you’ll be able to set your password and then log into Xchange! If you experience any issues, please email asctech@usc.edu.
Uploading Media to your Course
Xchange allows you to upload a variety of media and supports most common file types. However, Xchange is primarily and best leveraged for audio and video based content. If you want to confirm your file will be supported by Xchange, look through the full list of supported file types and extensions here.
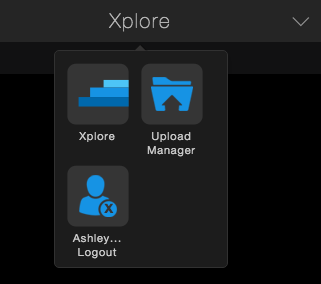
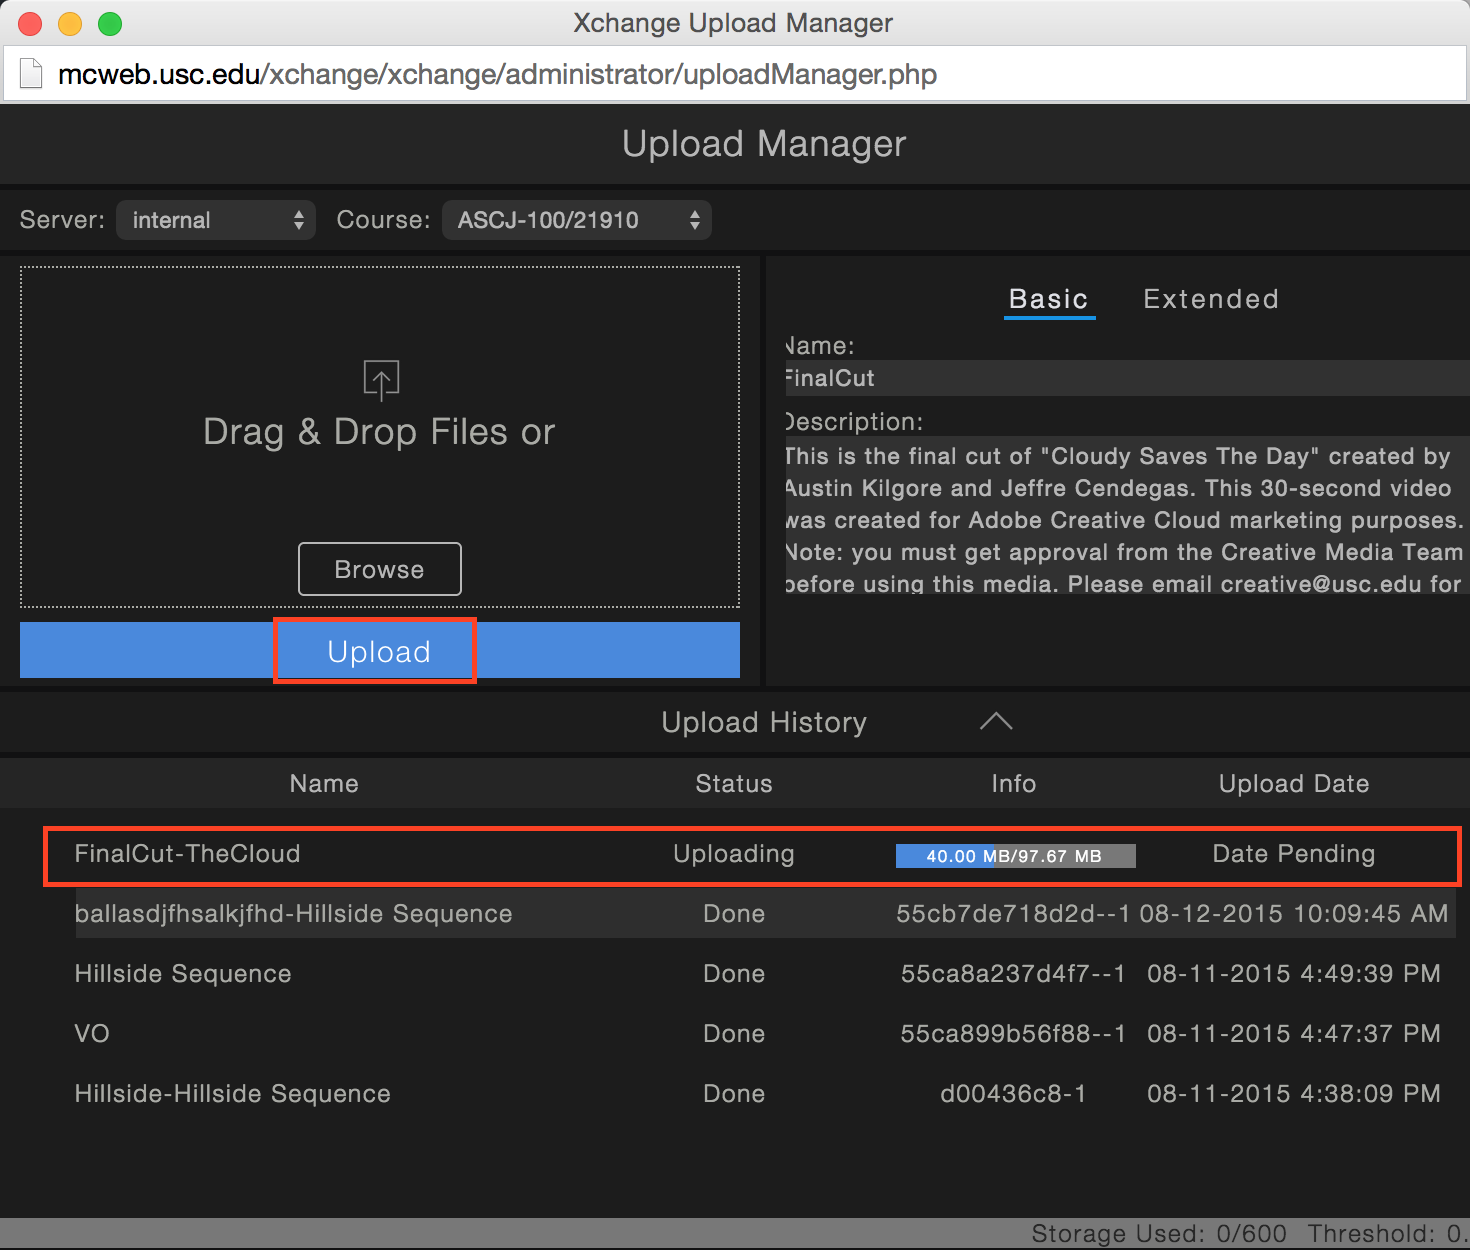
1) Click on Xplore at the top of the window and choose “Upload Manager.”
2) The Upload Manager will open a new dialog box. The Select Destination field defaults to internal, which allows you to upload to one of your courses. If the server is selected as “Media Center”, please change it to Internal.
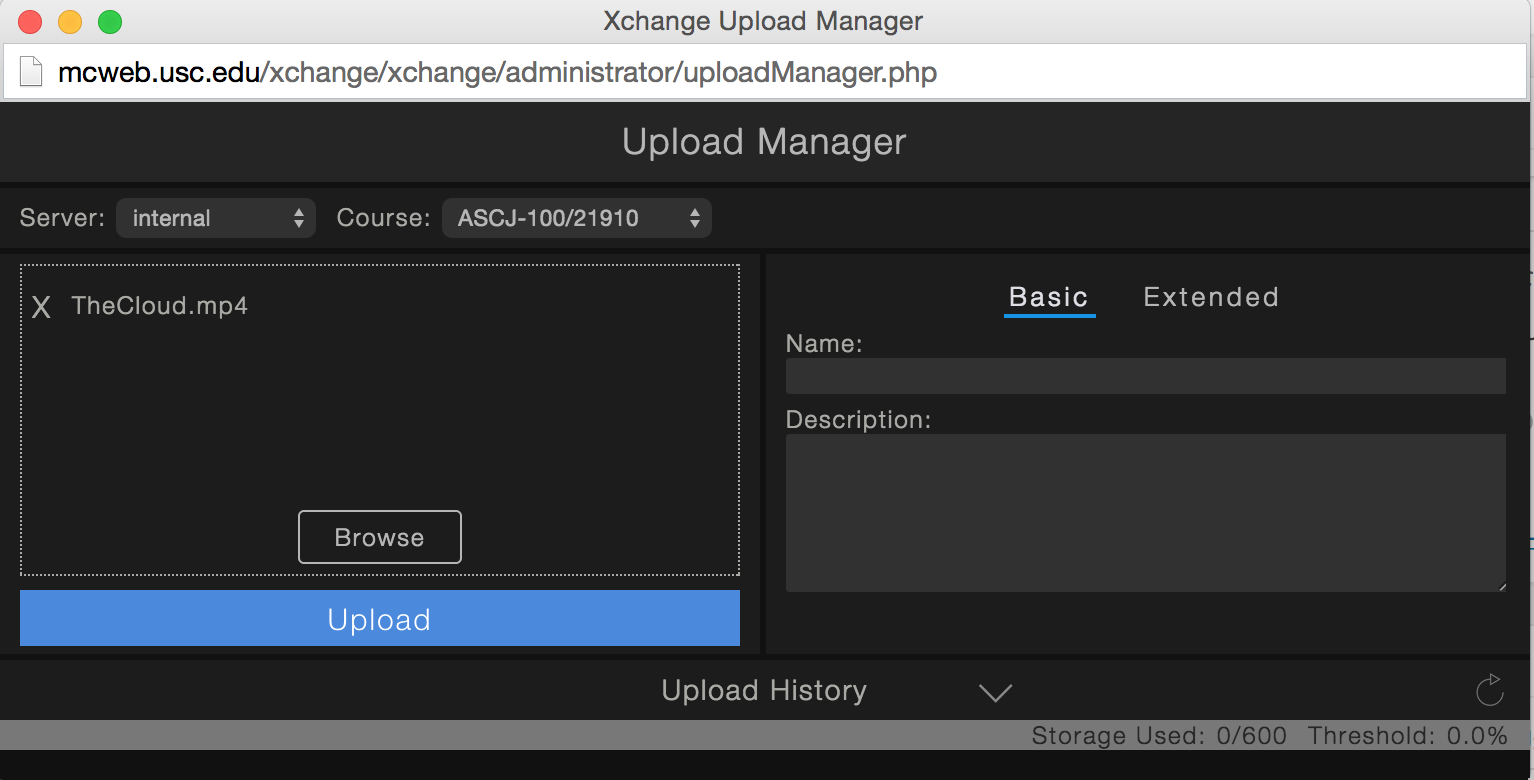
3) Select the Course your file belongs to. You will see a list of Annenberg courses that you’re teaching this semester. You will see the course number followed by the section number.

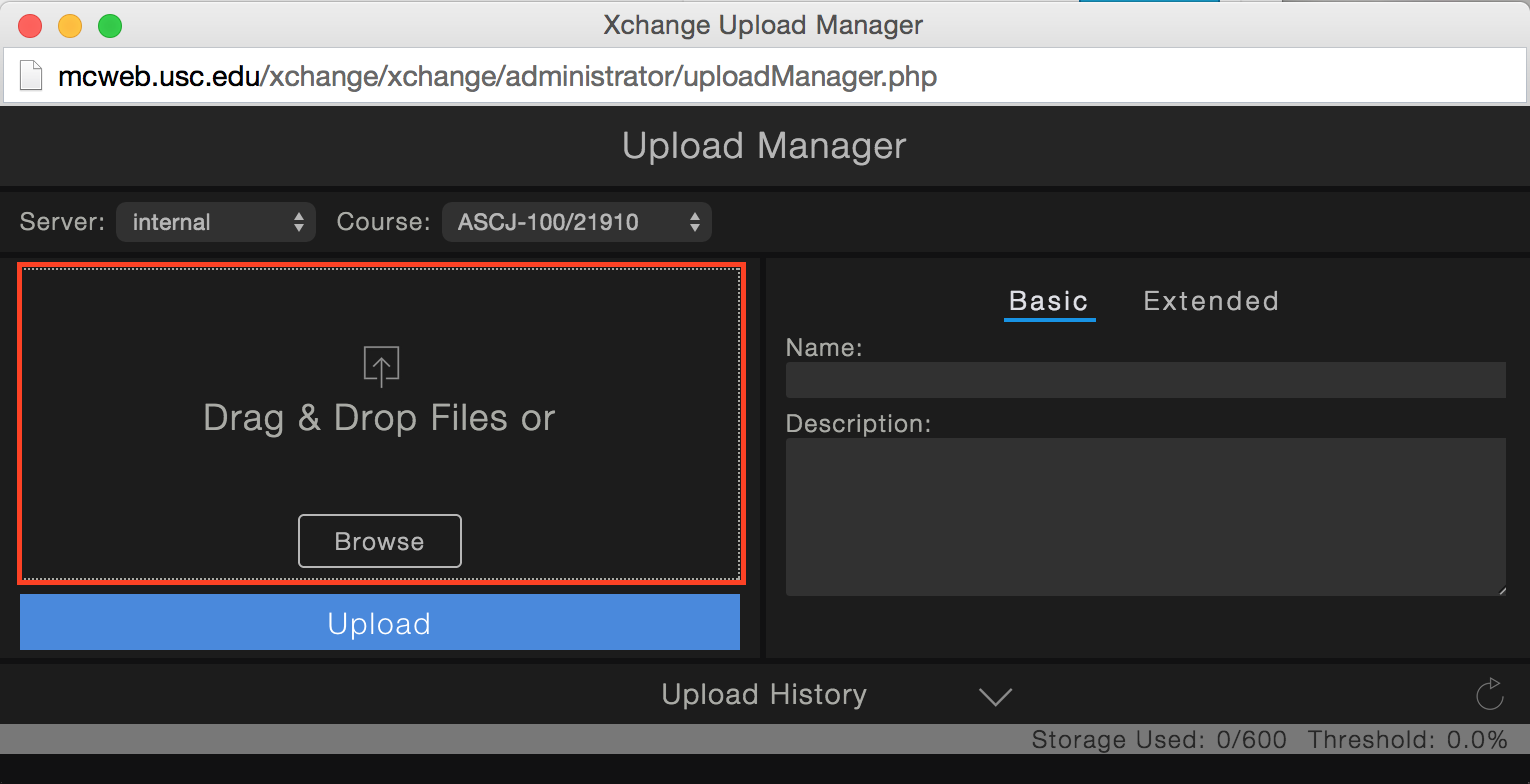
4) Next, you will either Drag and Drop a file or Browse for your file(s). You can upload multiple files at a time. Ensure that your file is named how you want your students to see the file.
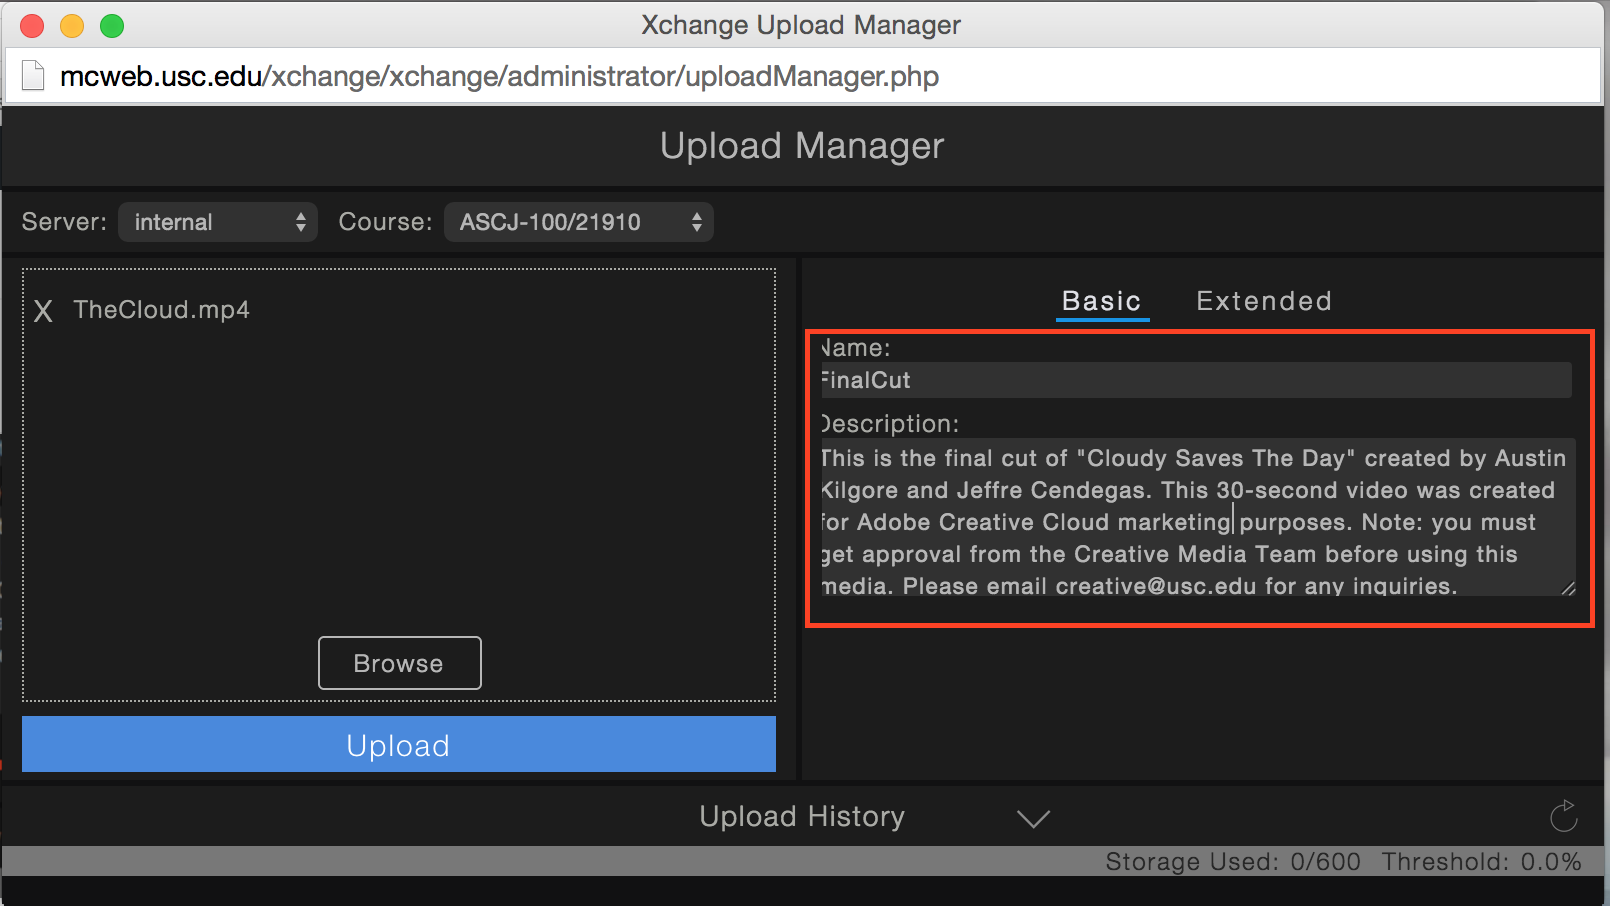
5) Leave the Name field blank, unless you want to add any additional names to your file. For instance, if your file is named “Zoot Suit” and you want to add “Chapter 1” to the name, you would type “Chapter 1” in the Name field. Once you upload it in Xchange, the file will be renamed “Zoo Suit Chapter 1”.
Description: Add in as many details as possible in the description. This will come in handy if you ever need to search for your file and it will also help you organize your files. In addition, you can leave a note for your students when they view the file.
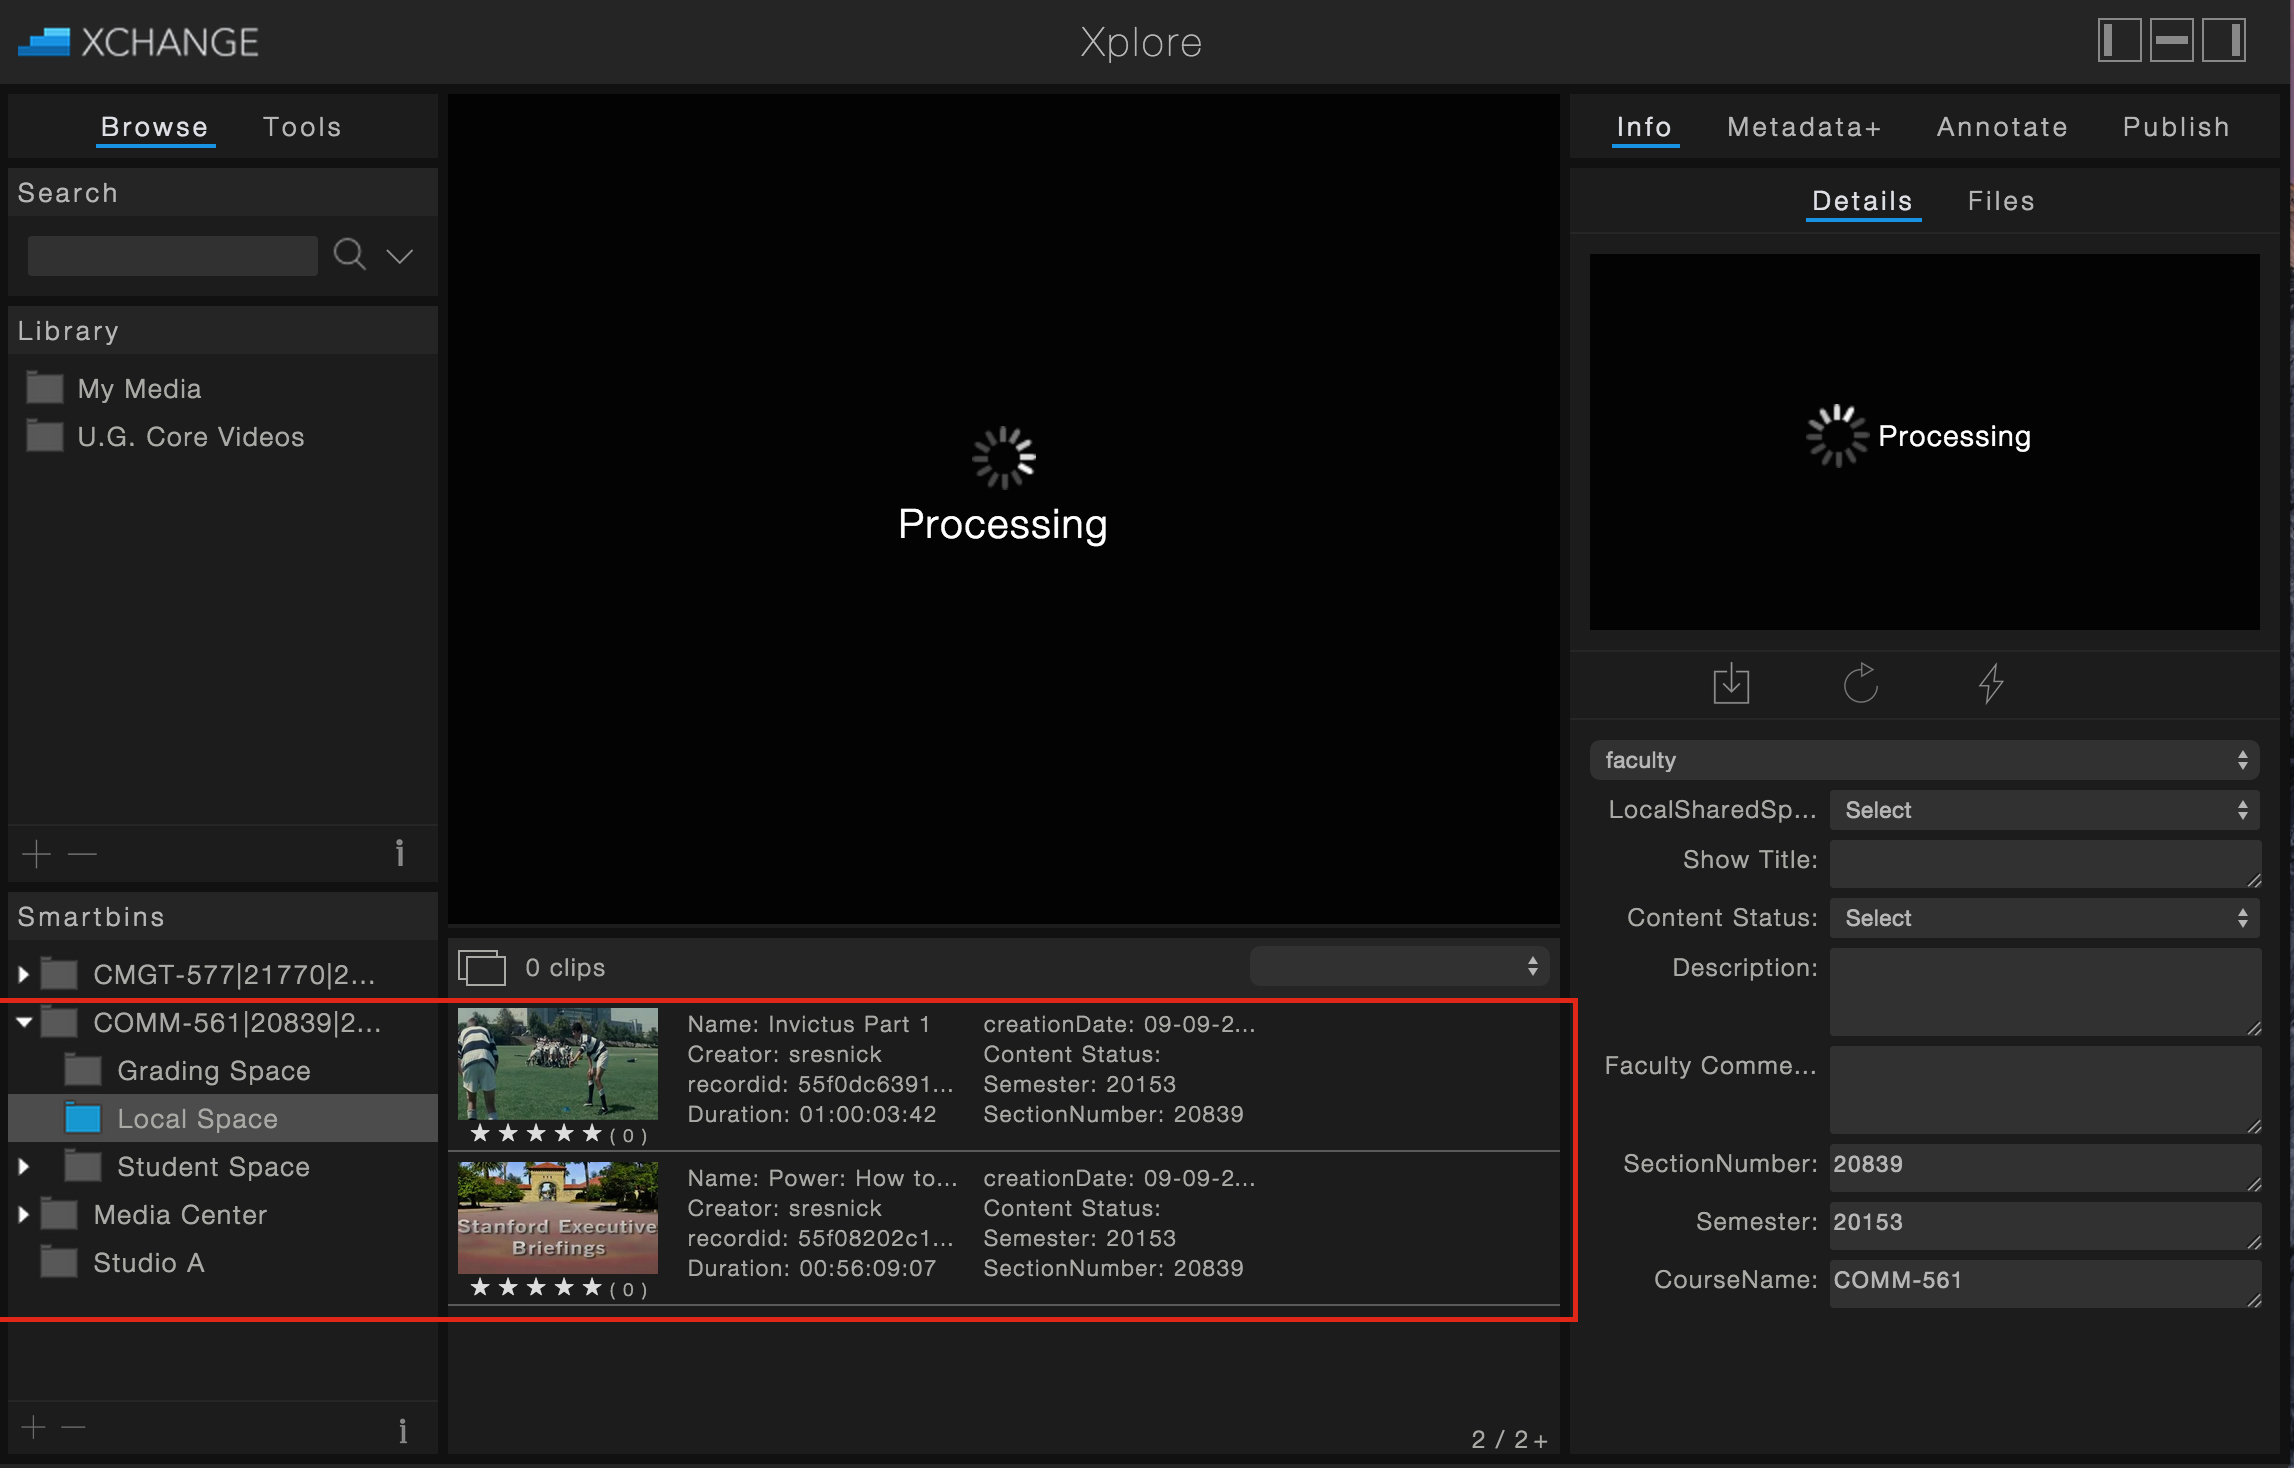
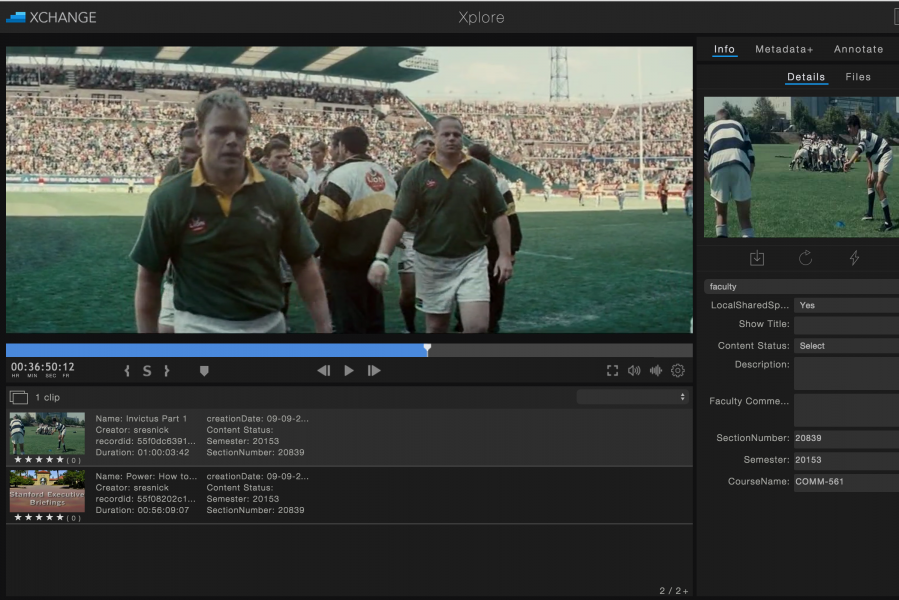
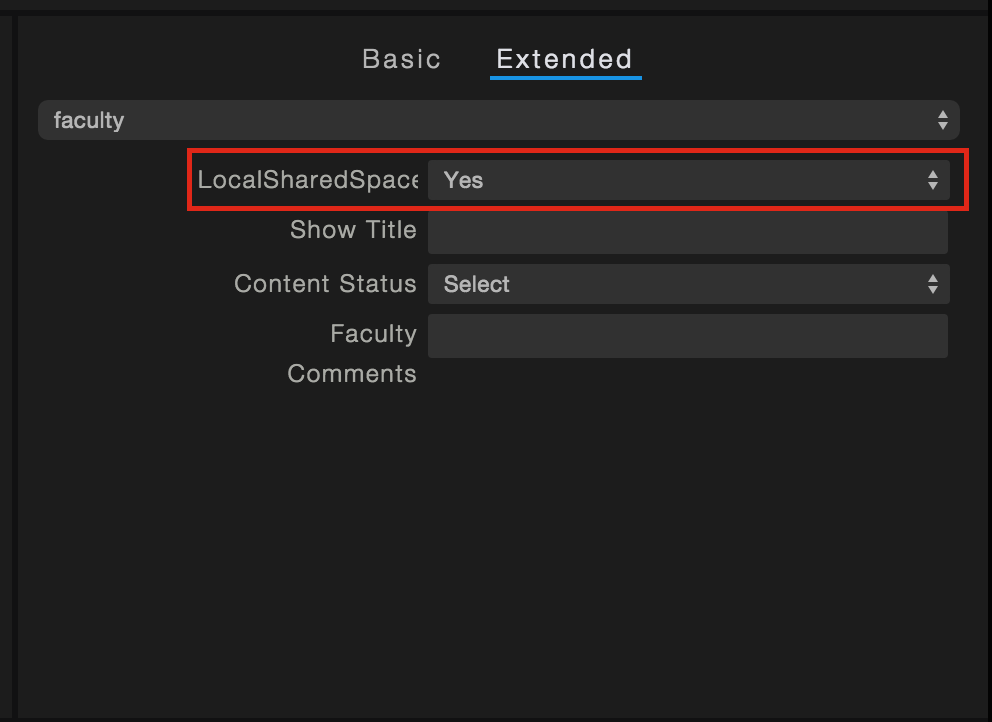
6) Next, click on Extended. Under the LocalSharedSpace dropdown, select Yes.
7) To start uploading your file, click Upload. Under Upload History, you will see your file progress as it uploads to Xchange. Do not close Upload Manager until the status says Registering File. Depending on the lengh of your clip, the video clip will show as Processing until it’s completed going through the system.
8) Now, both you and your students can see the video file in the Local Space of your class bin.