


Topics
Your Drawing and Photoshop
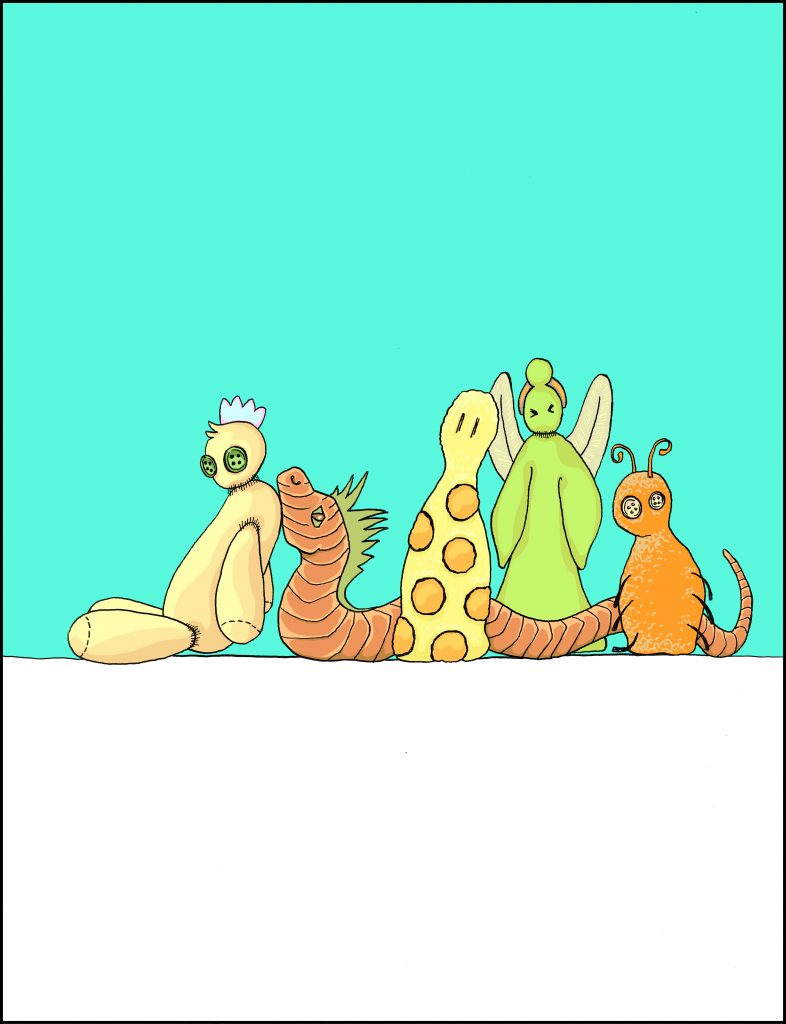
Did you draw something and want to see what it looks like colored? Whether it’s a quick logo doodle or a really involved ink drawing, Photoshop is the easiest program for coloring digitally. It will work well for pencil sketches too, but unless you are trying to preserve shading, you may want ink over it for cleaner lines and easier scanning. There are many methods to add color to your art, but we will walk you through a couple different quick methods that are fast, easy, and give you a nice final product.
Scanning
To start, erase any stray pencil marks and scan your image. (Yes, you can take a photo, but it’s always better to scan. Photos tend to have shadows on the page; scans are clean and precise.) Scan the file with a decent resolution – at least 200 dpi. If you are scanning from the Xerox in ANN 301, you can select grayscale, black-and-white, or color as well as up to 600 dpi and email the file to yourself.
Coloring
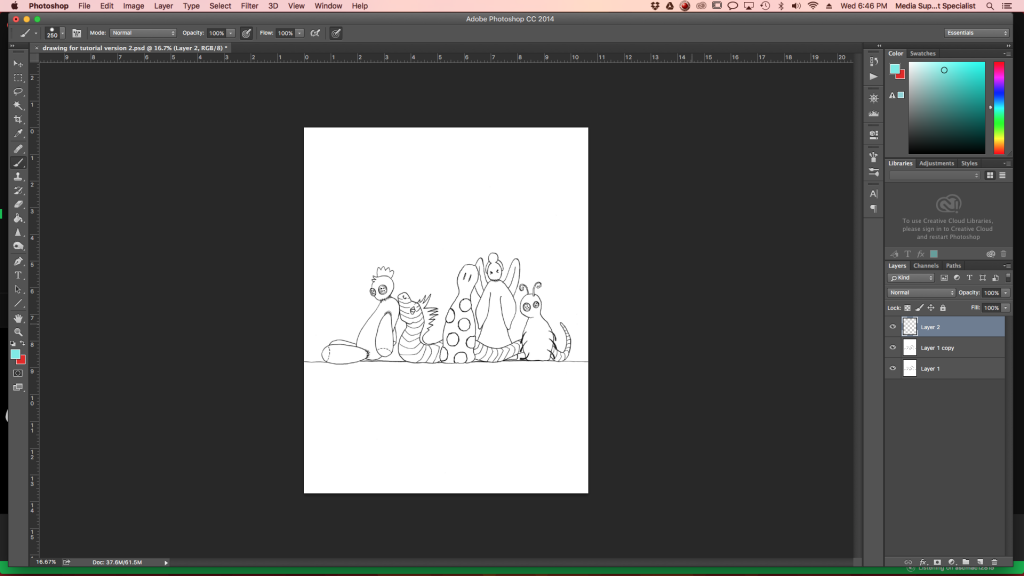
Set Up
Now that you’ve scanned a digital copy to work from, open the file in Photoshop. First, duplicate your original image layer and lock the lower layer to preserve the original picture. Crop the picture to whatever size and shape you want.
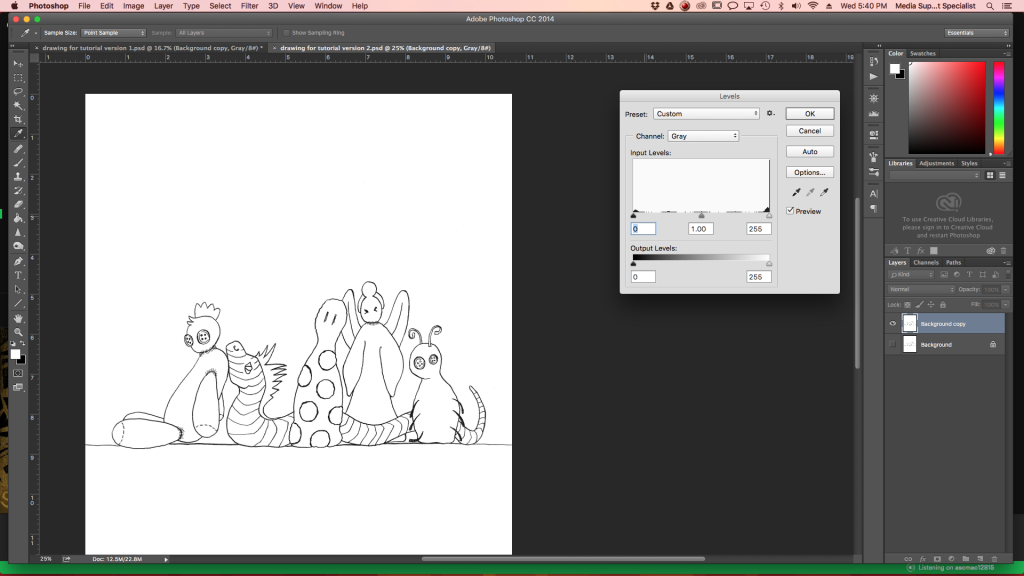
You may need to do some clean up before coloring. If there are any smudges or dots you need to remove, use the Brush Tool (B) to paint white over them so they are the same color as the background. If you need to darken the lines or lighten the paper, use Levels. You can go to Levels (Image > Adjustments > Levels) and slide the selectors to make the blacks darker so your lines stand out more or the paper is all the same shade of white.
The Paint Bucket Tool
The Paint Bucket (G) is best if you are in a hurry and want to block in large shapes only. This is a very fast method that will only work if your document is inked and all the lines close completely. It doesn’t give you lots of detail, and may require you to click to fill lots of little tiny shapes, so use at your own risk.
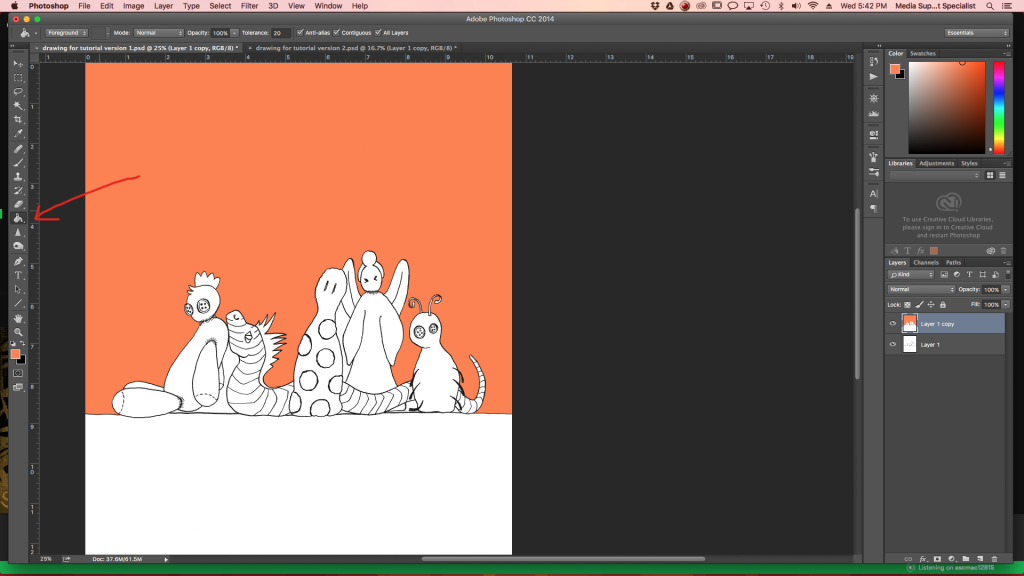
Select the Paint Bucket Tool (G) and add colors to your picture with reckless abandon.If a shape is not fully closed off, use the Brush Tool (B) to complete the line with black before filling. Be careful not to paint the black outlines. Note that changing the color too many times may degrade the black lines. (If this happens, set the Blending Mode of the colored layer to Multiply and the black lines from your original copy will shot through.)
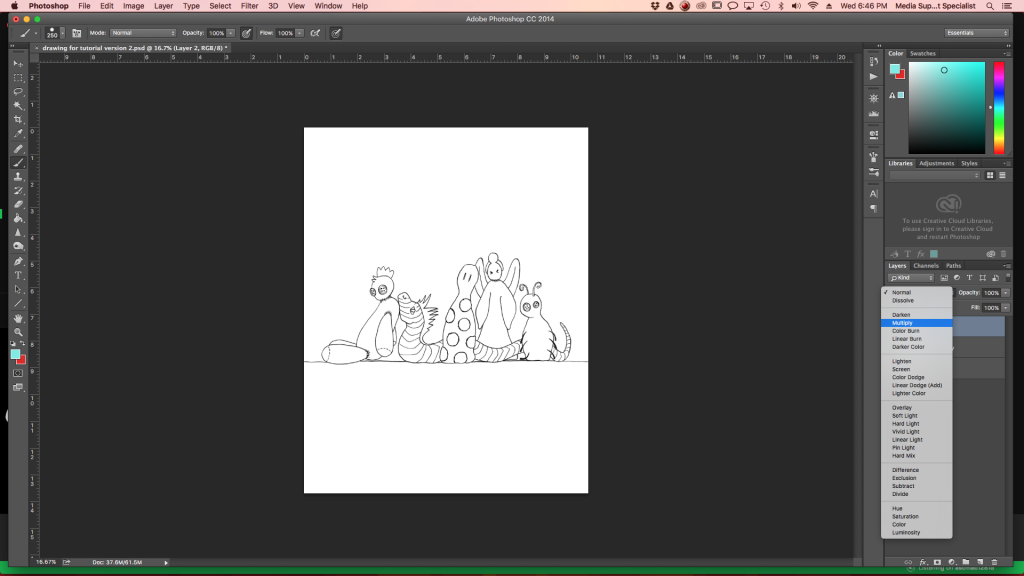
Blending Mode: Multiply
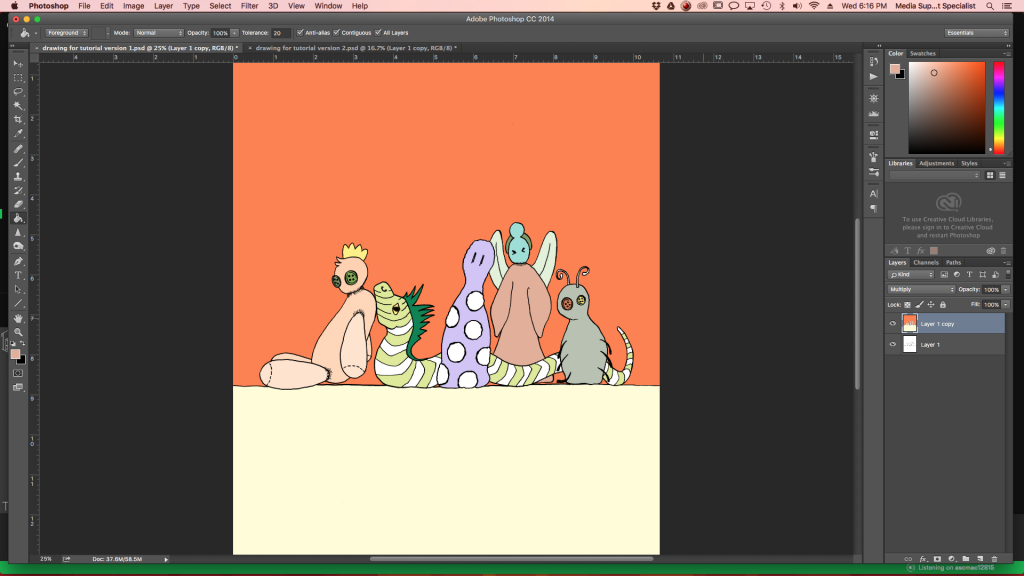
This method works if all your lines do not connect or you want to get a lot more detailed than just blocking in simple shapes (like with the Paint Bucket). Start by creating a new layer above the cleaned-up image layer. Go to Blending Options and set it to Multiply.
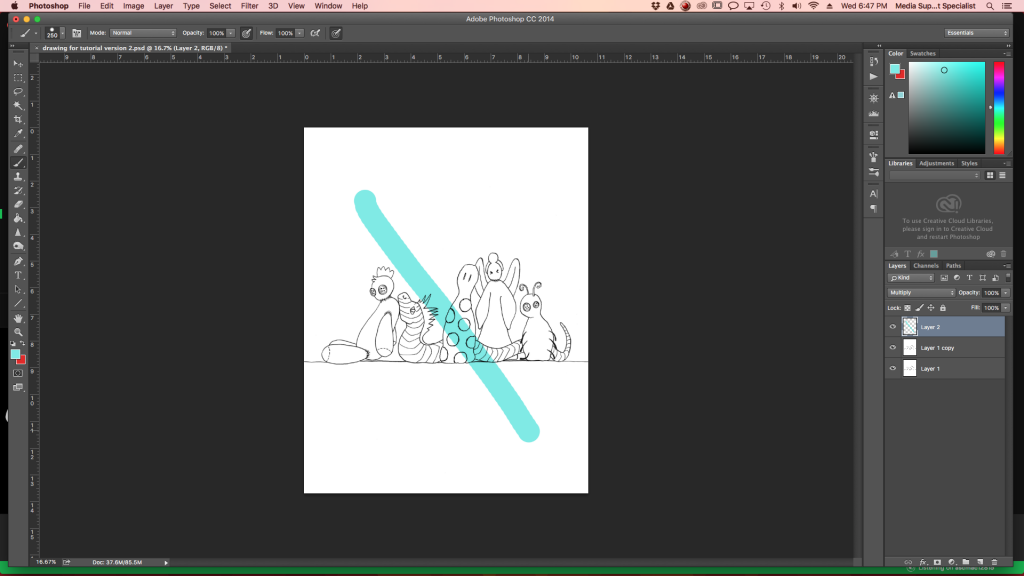
Now start painting with the Brush Tool (B) and watch as your lines remain above neatly the color. You can also use the Paint Bucket Tool (G) on the image layer if you want to block in any big areas, but anything you put directly above it on the top layer will alter its color. Have fun with it and paint to your heart’s content. If you use a lot of colors in a small space, you may want to put some of them on another layer set to Multiply.
Tips
If you are going to put the image online, you should have the color (Image > Mode > RGB) set to RGB. If you are planning to print the image out, set it to CMYK (Image > Mode > CMYK). Do this before you start coloring, ideally as soon as you open Photoshop.
Save the file as both a Photoshop document (in case you want to edit it later) and a JPEG for use.