Topics
How To: Compress a PDF
Compressing a PDF – making the file smaller by eliminating unnecessary data – is an easy and handy trick. Whether you are uploading an application with a file size limit or just trying to attach your .pdf to an email without slowing Gmail to a crawl, sometimes a document is just too big. So, in case you have a project due in 5 minutes and LabPrint says “File Size is Incompatible”, here’s how to shrink down your PDF.
The Acrobat Version (Mac or PC)
Step 1
Open your file in Adobe Acrobat. Easy!
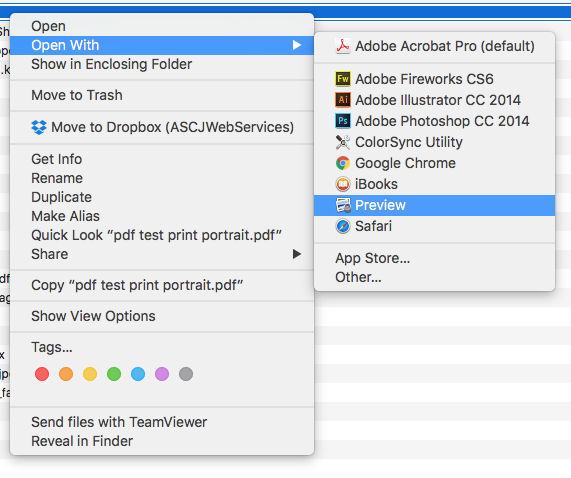
*Note: Depending on your settings, pdfs will either automatically open in Acrobat when you double click it, or you can right click/control click on the document and choose to Open With > Adobe Acrobat.

Step 2
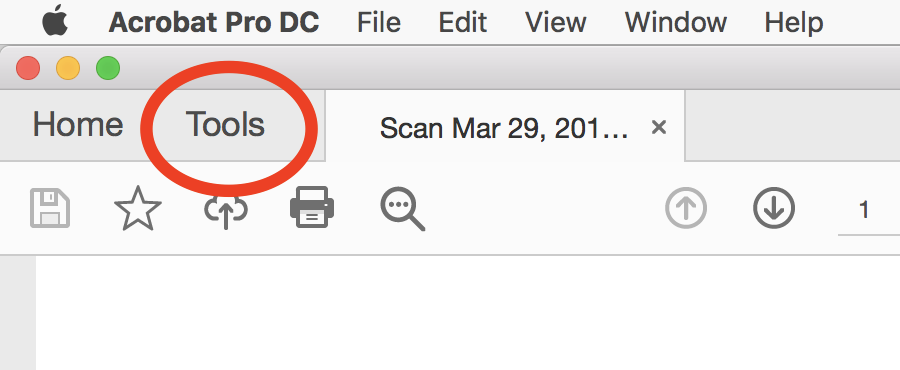
In the upper left corner, you will see that there are now tabs. The first tab will be Home, the second is Tools, and the third will be your open document. Select Tools.
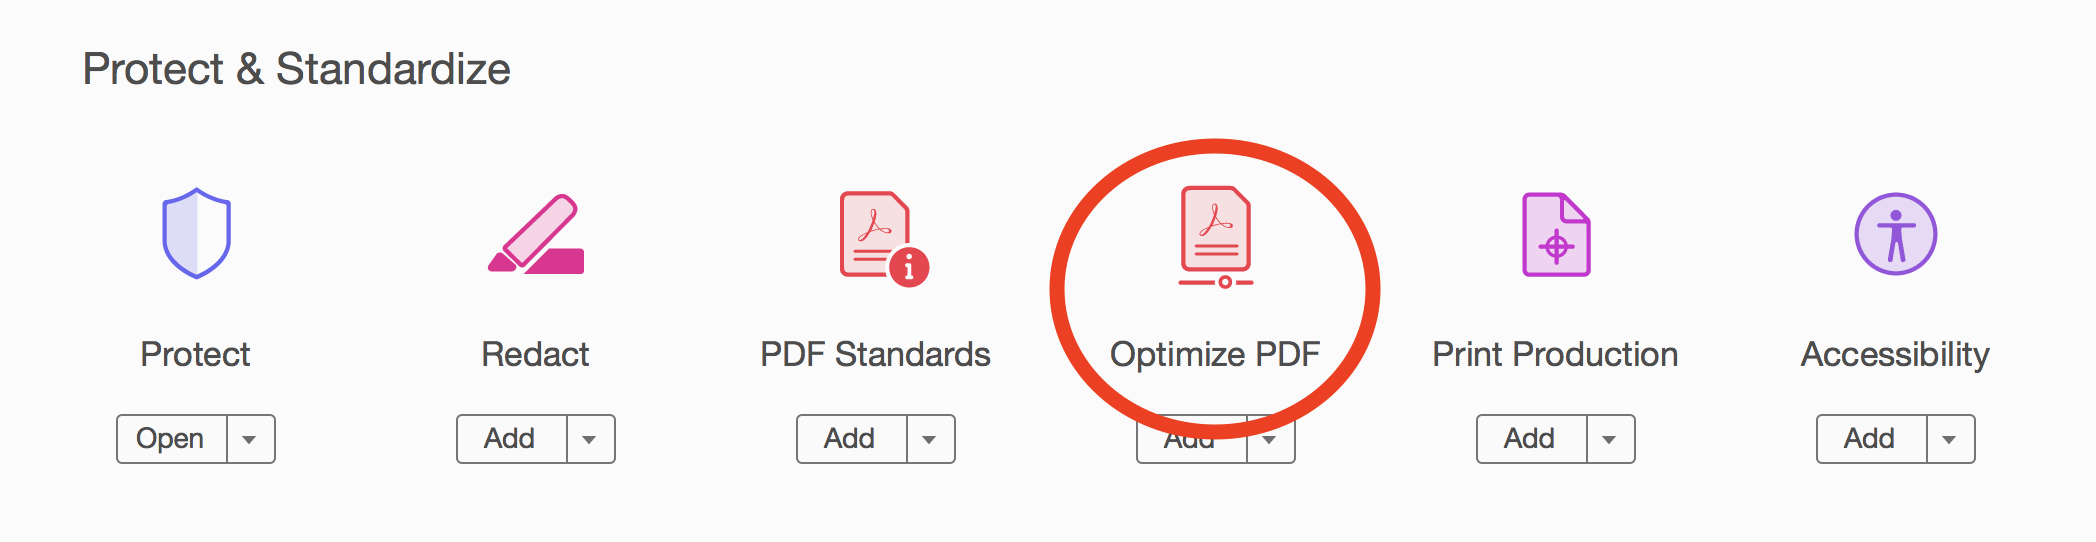
Scroll down until you find the “Protect and Standardize” section. Click the Optimize PDF button.
Step 3
In the toolbar you will now see new options underneath your toolbar at the top. Select Reduce File Size.

Acrobat will then ask you where you want to save your file and if you want to rename it. Select Save and now you have a newly compressed file!
Still not a small enough PDF? Try Preview (Mac OS)
Step 1
Go to Finder and locate you document. Open With > Preview (or just double click the file, depending on your settings).
Step 2
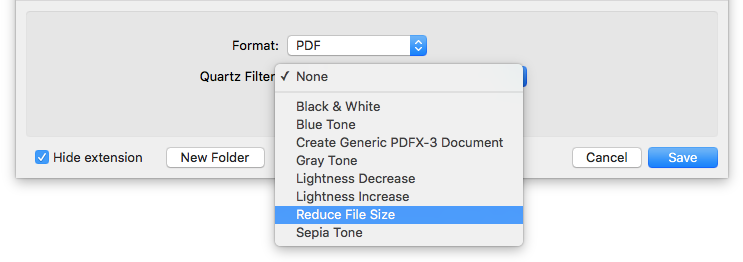
Now select File > Export.
Rename your file and choose to Reduce File Size and Save. Done!