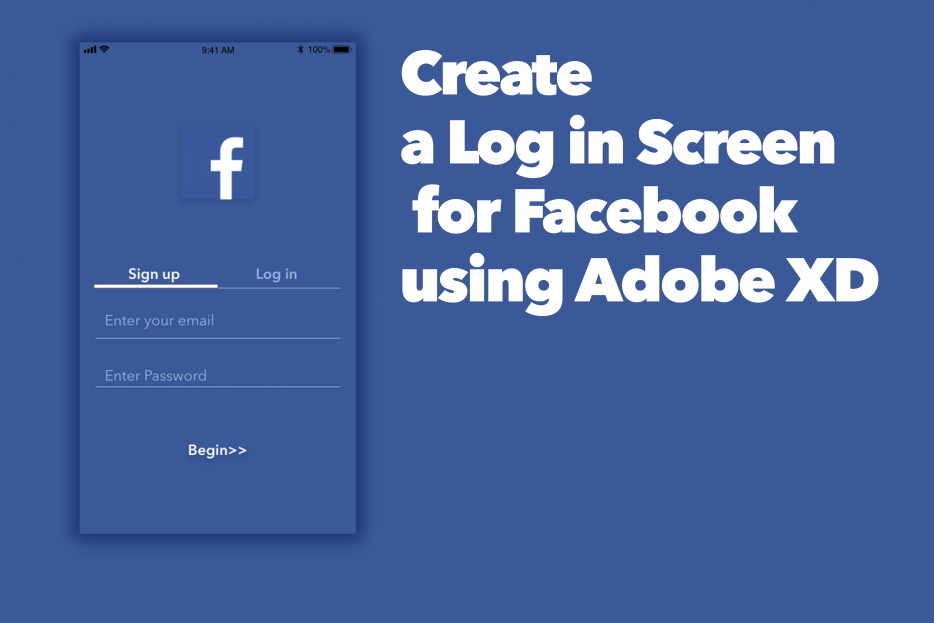
Adobe Xd is a relatively new tool that is very simple and light in comparison with Photoshop/Illustrator. It is the perfect tool for creating UI for mobile/web.
In this tutorial we will walk through how to create a login screen for…Facebook. This is not what the actual Facebook App looks like but it will give you a brief good idea of how UI can be created using Adobe XD.
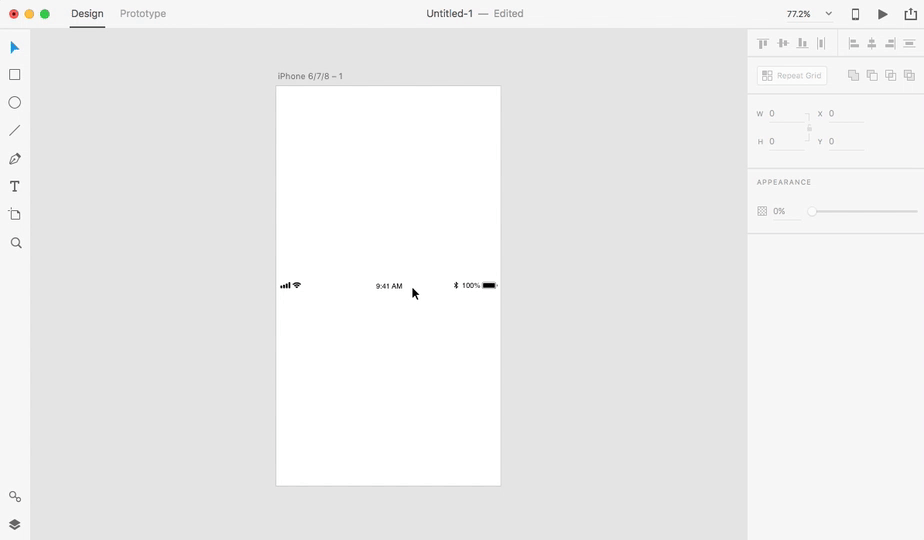
- Open Adobe XD.
- Under “Start a new design” Click on iPhone 6/7/8.

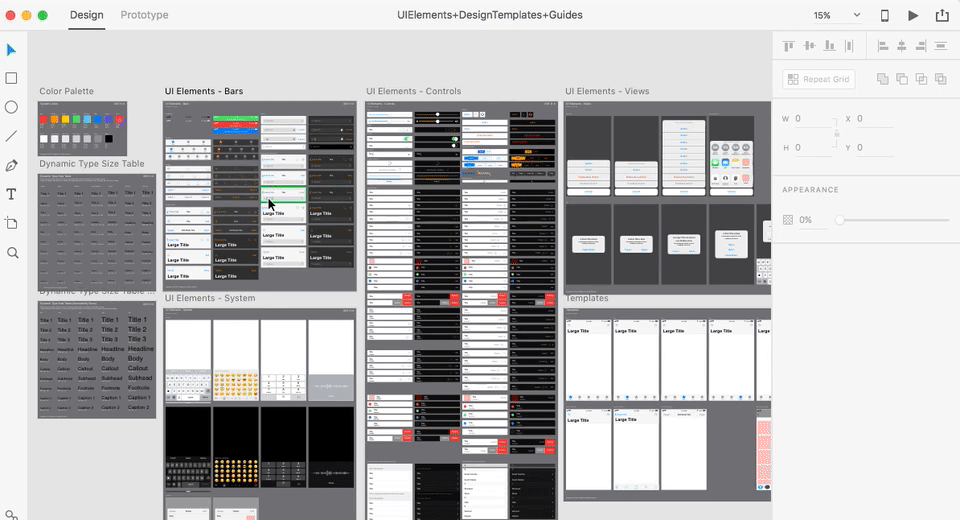
3. Open https://developer.apple.com/design/resources/#ios-apps and click “Download for Adobe XD”.
![]()
4. Double click on the iOS-11-AdobeXD.dmg you just downloaded, and in the folder, open “UIElements+DesignTemplates+Guides.xd”

5. In the opened xd file, press Command+ to zoom in, and Space-click to navigate to UI Elements – Bars.
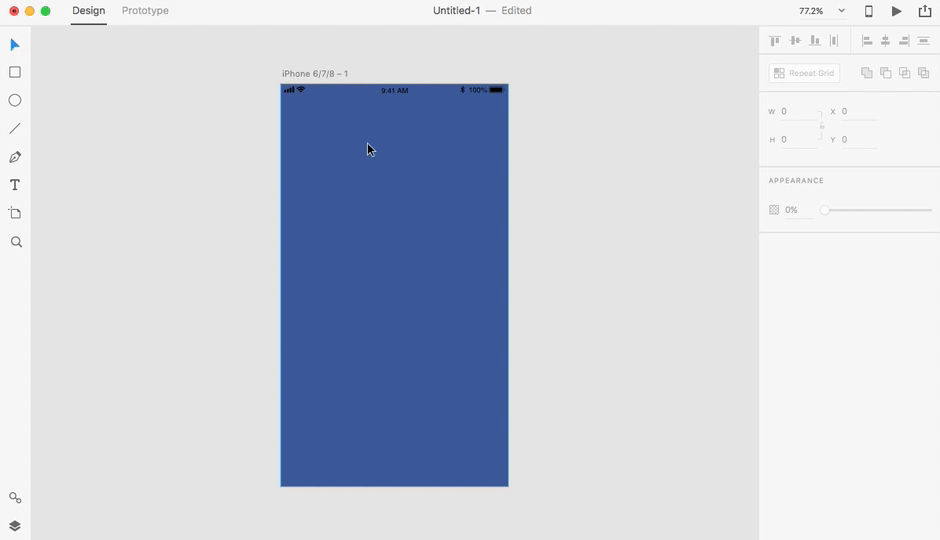
6. Select the dark Status Bar and press CMD-C.
7. Back in the Untitled-1 xd file you created, CMD-V to paste the dark Status Bar.
8. Click and press shift-drag the status bar to the top of the screen.
9. Select the rectangle tool from the toolbar on the left. Drag a rectangle that cover the full white screen.

10. On the right side, uncheck the border box and change the fill of the rectangle to #3B5998.
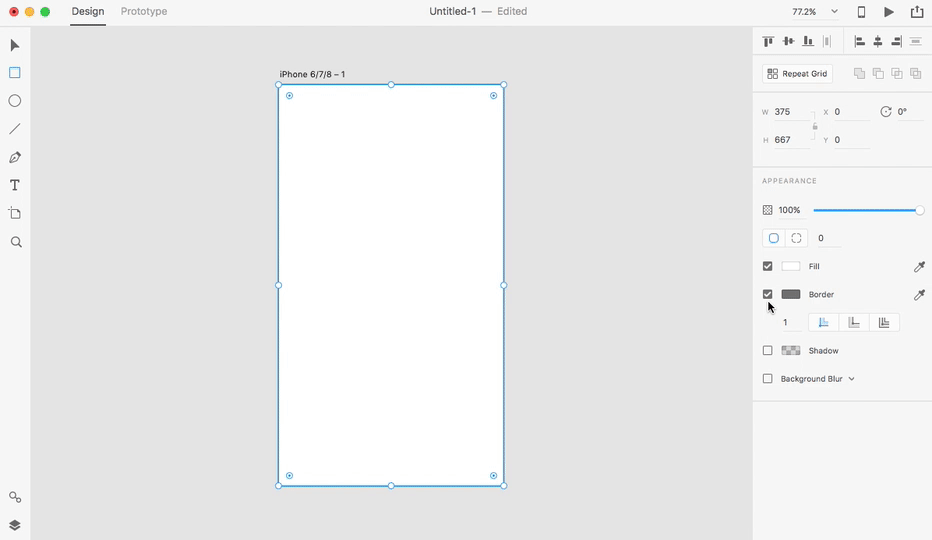
11. Right click on the rectangle and select “send to back”
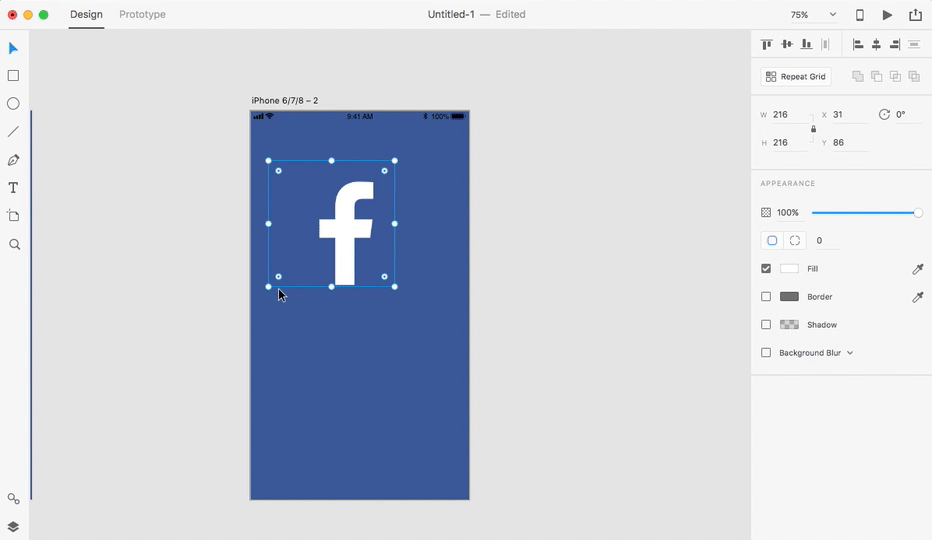
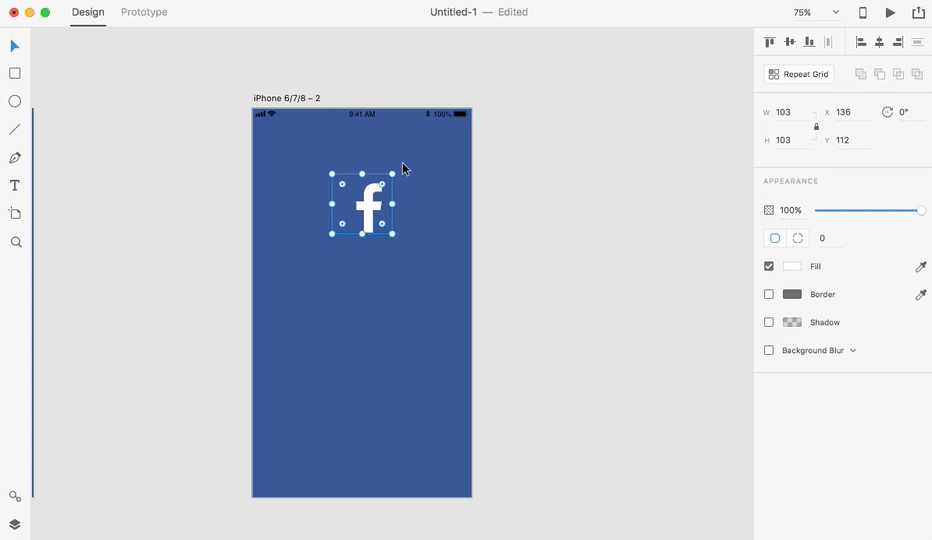
12. Go to https://upload.wikimedia.org/wikipedia/commons/thumb/c/c2/F_icon.svg/2000px-F_icon.svg.png
Right click and copy the image.
Paste the image back in Xd.
13. Scale and place it in the top middle of the screen.
14. On the right side of the screen, check the Shadow feature.
15. Draw a line (hold down shift to make sure it is straight) and a give it a lighter blue color.
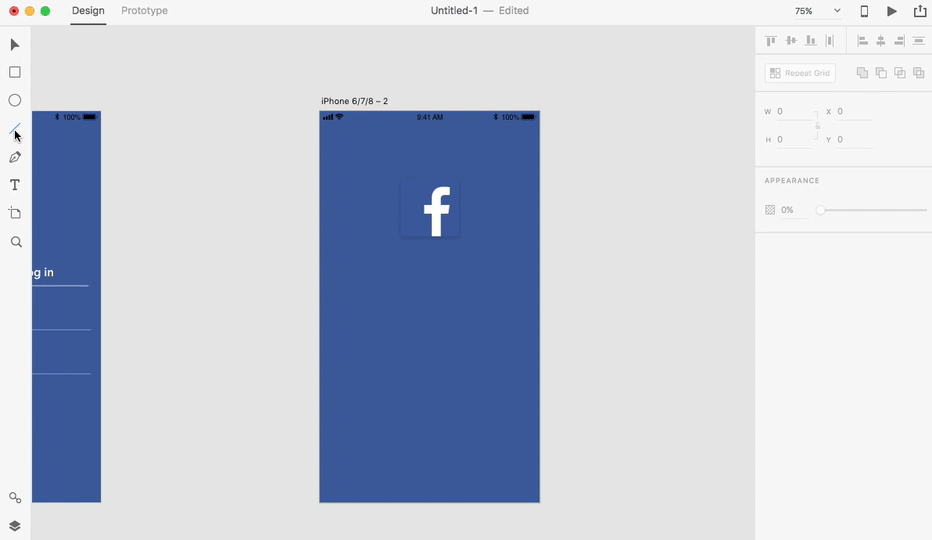
16. Switch back to the pointer icon and center the line on the screen.
17. Create a rectangle using the rectangle tool that extends to the middle of the screen.
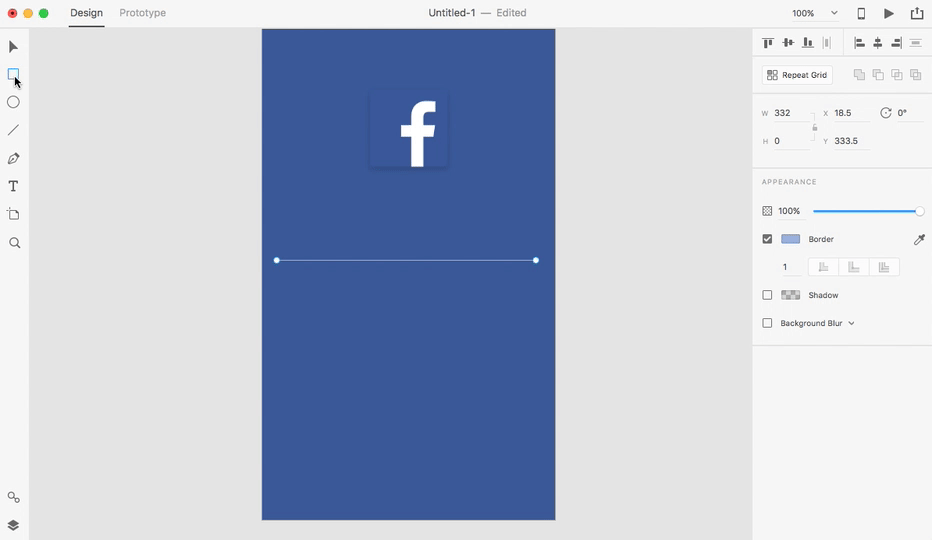
18. Adjust the size of the rectangle so that it ends up looking like this:

19. Draw another two lines (when dragging the lines remember to hold down shift).
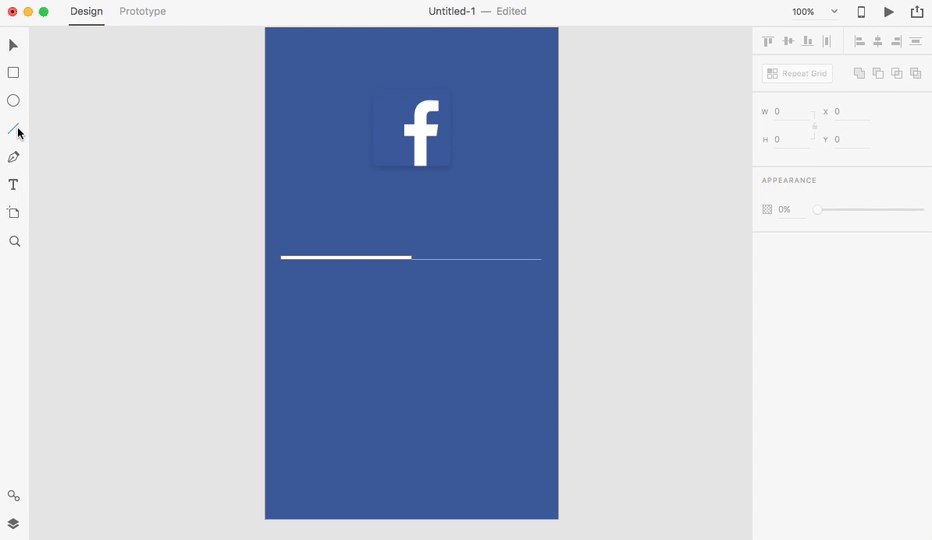
20. Switch back to the pointer tool (the shortcut is to press press v). Select the two lines and change the color of the lines to the same lighter blue color of the top line.
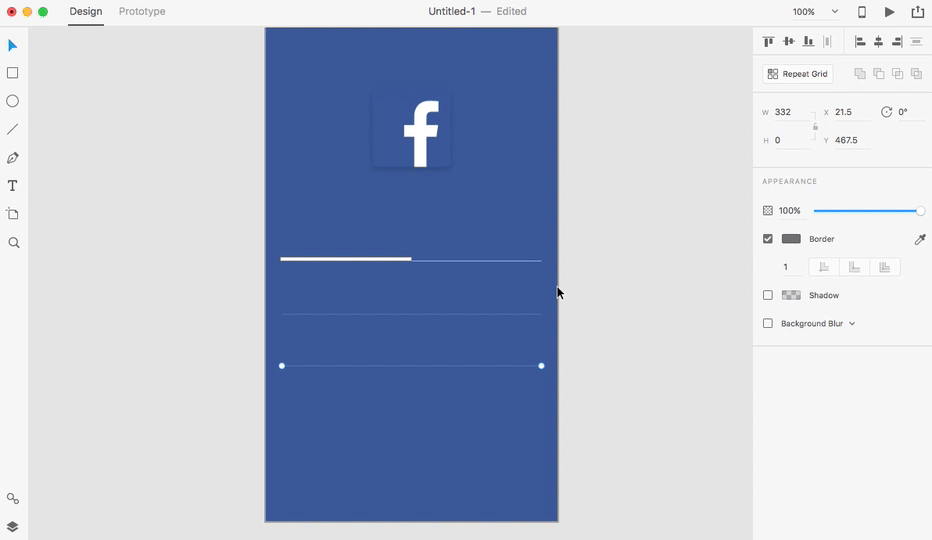
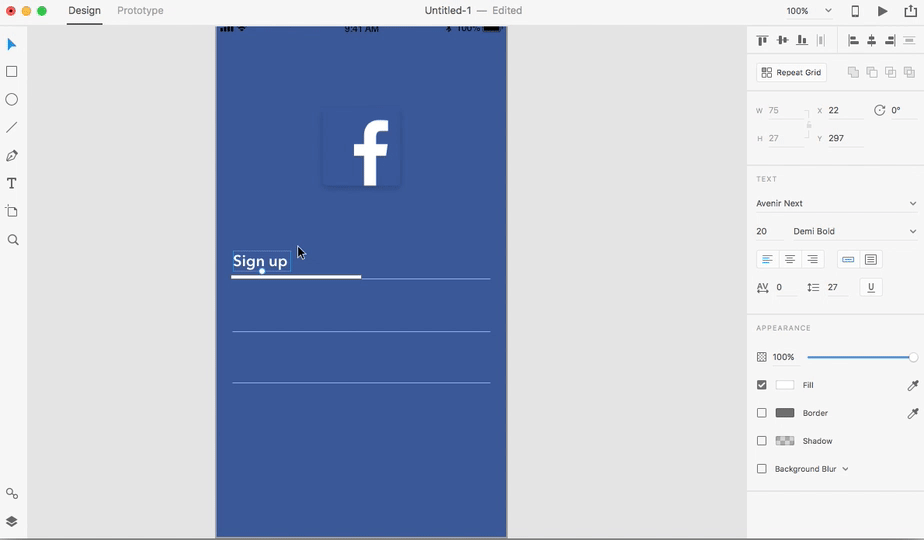
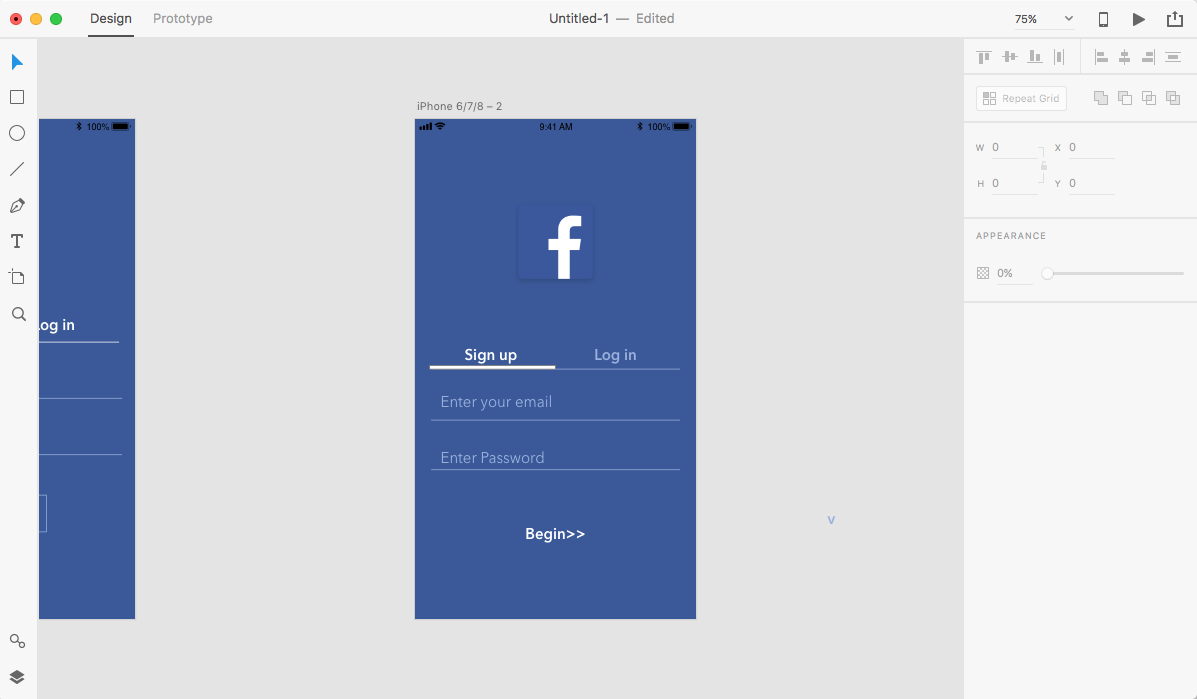
21. Press T (or select the T icon on the left tool bar). Click on the area where you want text to be, in this case, on top of the white bar, and tyle “Sign up”.

22. Press v to switch back to the select tool. Drag the text to align with the center of the white box.
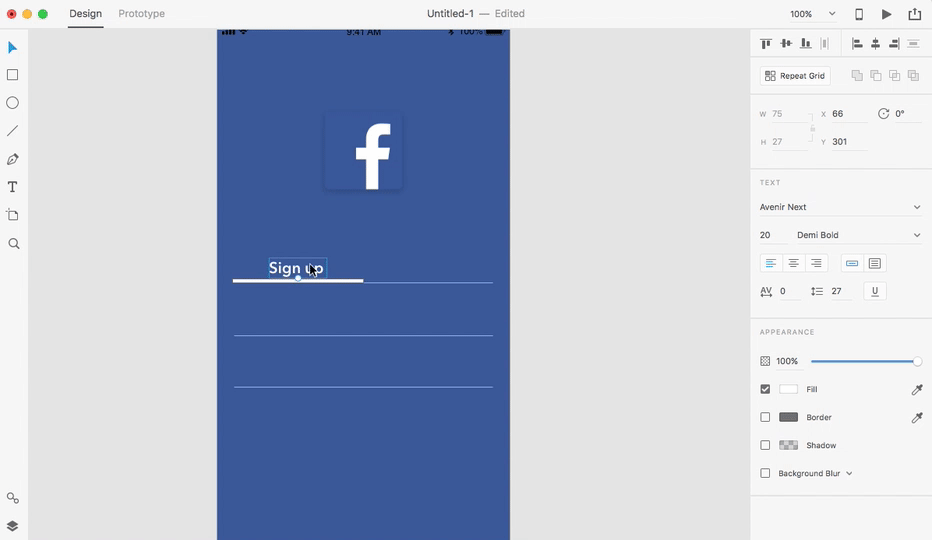
23. Hold Option key and select the textbox, hold shift(so that it is moved in a straight line) and drag it to the right.
By doing this, you make a copy of the text that aligns with the original copy.
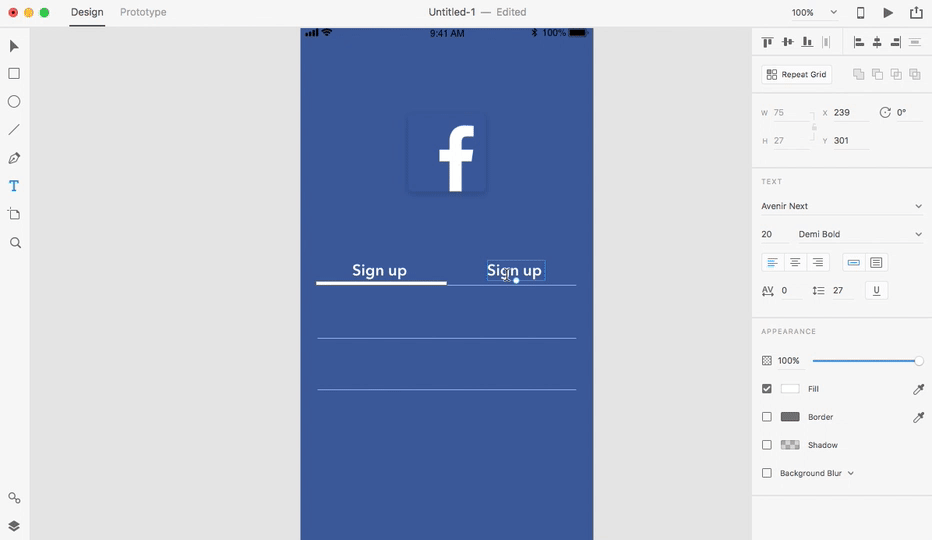
24. Change the text to “Log in”. Adjust the color of the text if you like.
25. Create similar text boxes on top of the bottom two lines. So that they look like this.
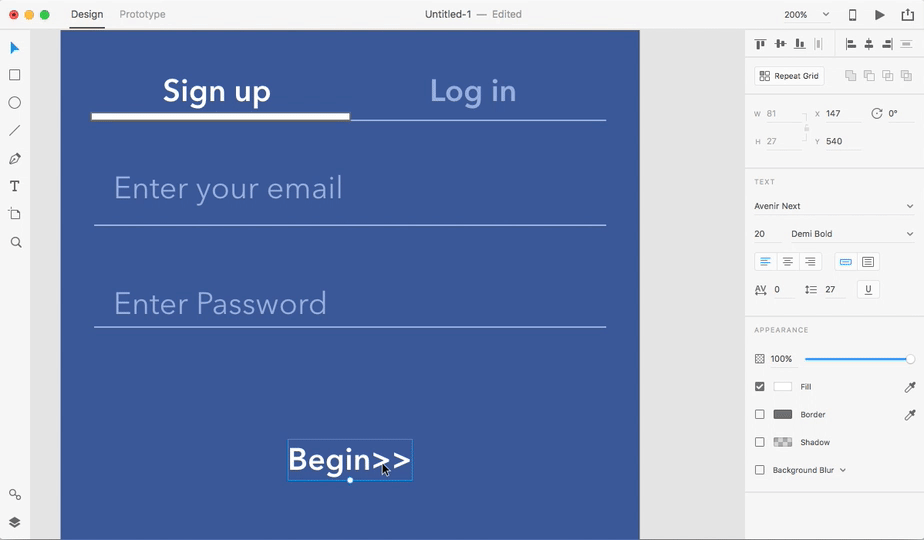
26. Create a text that says “Begin>>” and place it as follows:
27. Add shadow to the text:
28. Yay! Almost done. Choose the select tool and select the title of the screen, and export it by clicking File-Export – Export selected.
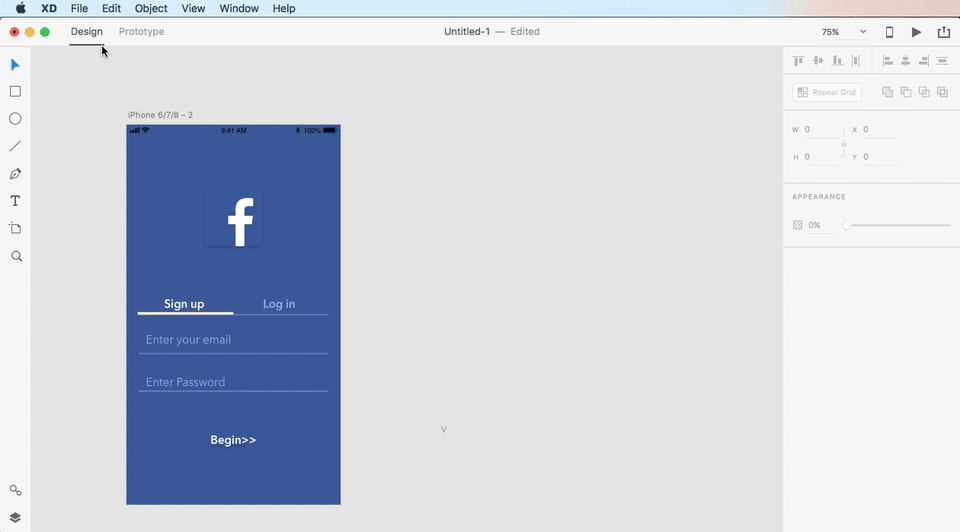
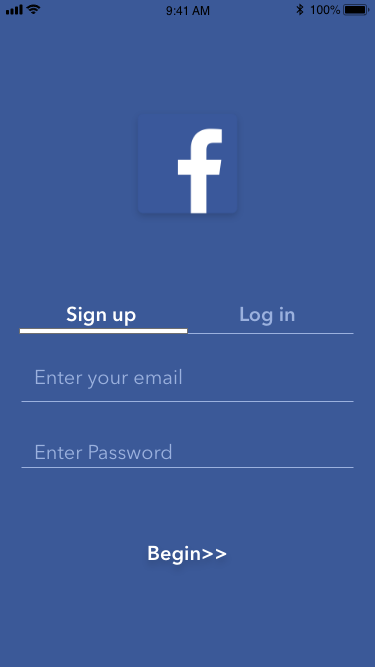
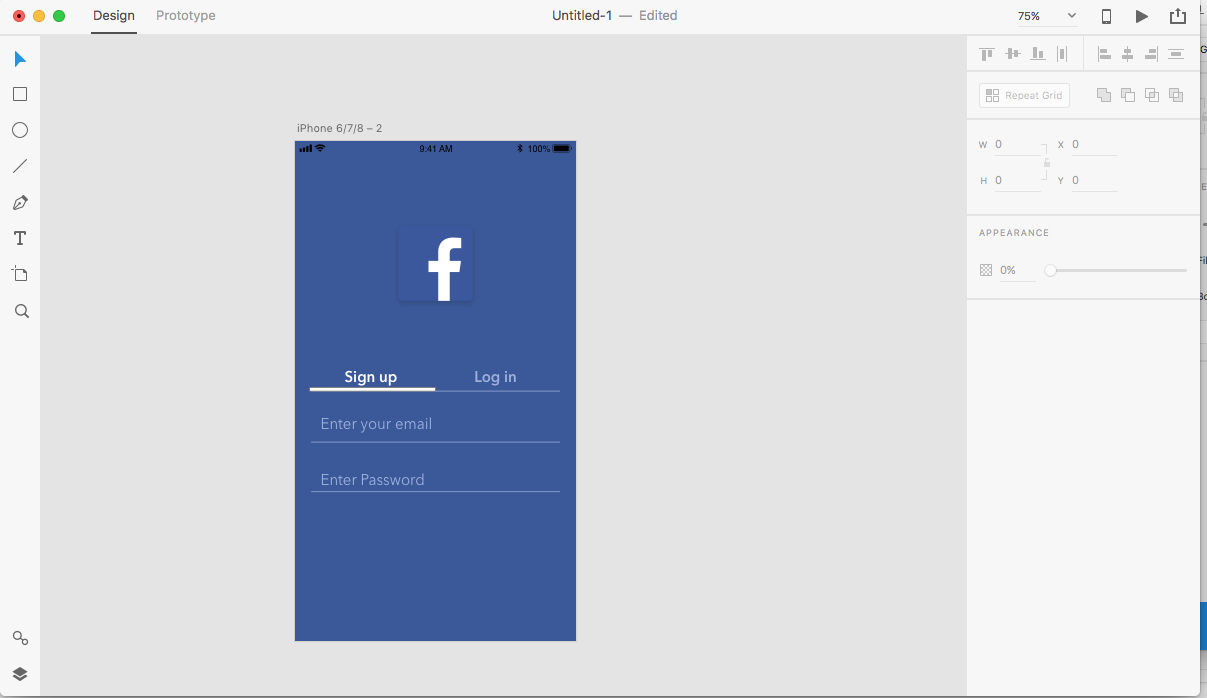
29. Here is what your end product should look like!