
Create a Slideshow in Photoshop
Here’s how to create a simple slideshow in Photoshop. For anything more advanced than this, we recommend using Premiere Pro!
Load Your Images Into a Stack
Open Photoshop.
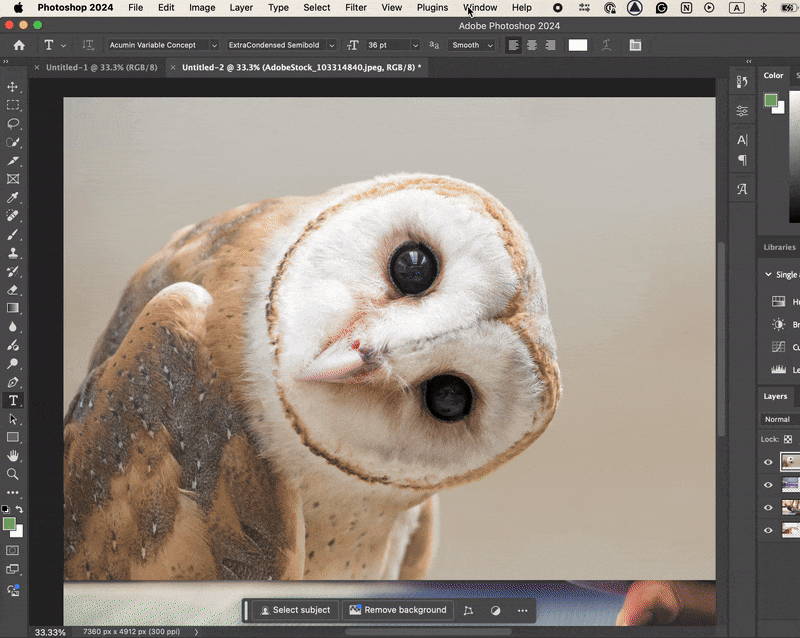
Let’s use a script to load our images into layers. Navigate to File > Scripts > Load Files Into Stack. This brings up a Load Layers window to navigate to your photos.
Select Browse and find your images. Select multiple images by holding Command (Control on a PC) while selecting them. When they are selected, choose Open and then hit OK to exit the Load Layers window.
Create a Video Timeline
Now your images load into a new file as layers. If you don’t see your Layers panel, navigate to Windows > Layers to open it.
Navigate to Window > Timeline to open the Timeline panel. Click Create Video Timeline.
Create a Video Group
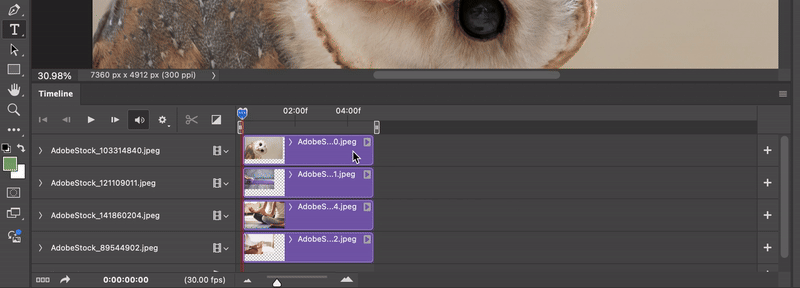
Now that we have a video timeline, we need to make our images show up in a sequence rather than as layers. To do this, we’ll create a Video Group.
Select all of the image layers in the Timeline panel.
Click the Film Strip icon and select New Video Group From Clips.
This lines up your images one after another. You may need to zoom out to see them. Use the slider in the Zoom tool at the bottom of the timeline to zoom in and out.
The Timeline Toolbar
The Timeline toolbar at the top lets you play back the show, turn audio on/off, and choose transitions.

Adjust Slide Length and Rearrange Order
By default your slides will be 5 seconds each. You can adjust the duration of a slide by dragging it from the ends of the clip. As you hover of the end of a clip, your cursor will change.
You can also click and drag slides to the left and right to change the order in which they play.
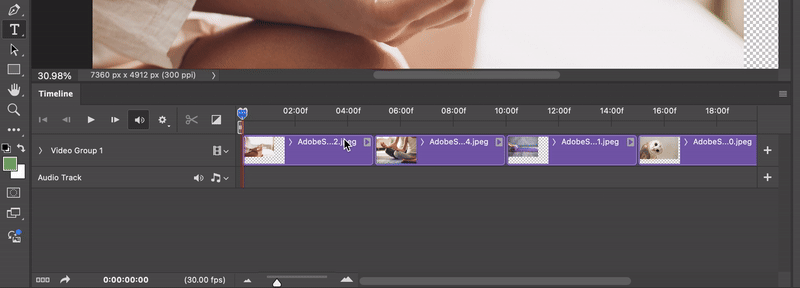
Add Transitions
Click the Transitions tool to add transitions to your slideshow. Drag a transition between slides to apply it.
You can adjust the duration of transitions by hovering your mouse over the ends of the transition, just like you can with slides.
Add Audio Tracks and Adjust The Volume
Click the Musical Notes icon and select Add Audio to choose an audio track. Browse to your file and hit Open.

If you want to add more audio tracks, click the Musical Notes icon on the Audio Track and select New Audio Track.
To adjust the volume of an Audio Track, click on the Audio Options Tab at the end of the audio clip. It looks like a right-facing triangle. You’ll find Volume in there, as all as Fade In/Out.
Render and Export Video
When you’re happy with your slideshow, you’ll need to render and export it. Use File > Export > Render Video to get started.

This opens a new window with rendering options. Change the export option from Photoshop Image Sequence to Adobe Media Encoder.
Now make sure the Format is H.264, a great format that retains quality but keeps the file size small.
Next, change the size to HDTV 1080P.
Uncheck the Create New Subfolder option and export your file to the Desktop to find your file easily.
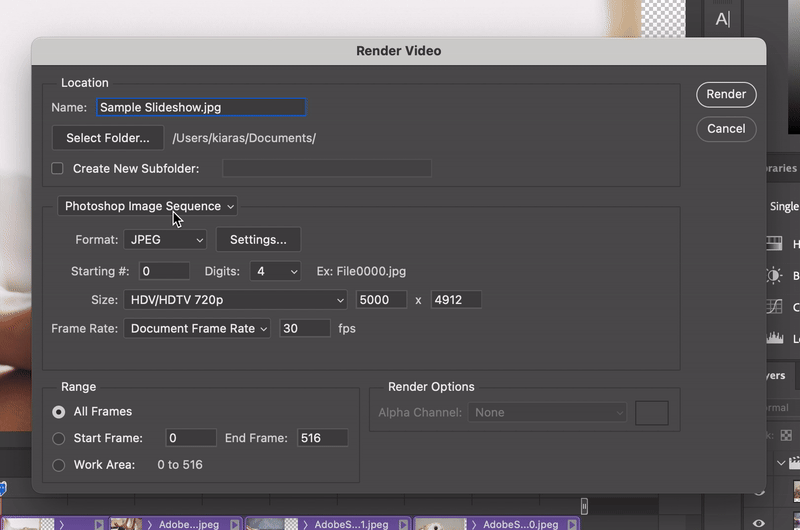
Hit Render and let Photoshop do its thing. It may take a few minutes.
Congratulations, you made a slideshow in Photoshop!
If you found this a little complicated or annoying to do exactly what you wanted, know that it can be a much simpler process in Premiere Pro once you get the hang of the timeline and media management there.
To get acquainted with Premiere Pro, try our Intro to Premiere Pro tutorial here!