


Topics
This tutorial will teach you the steps to creating a simple business card. We’ll start with our designs in Adobe Illustrator, and then move into InDesign to format the card.
Step 1: Create your design elements
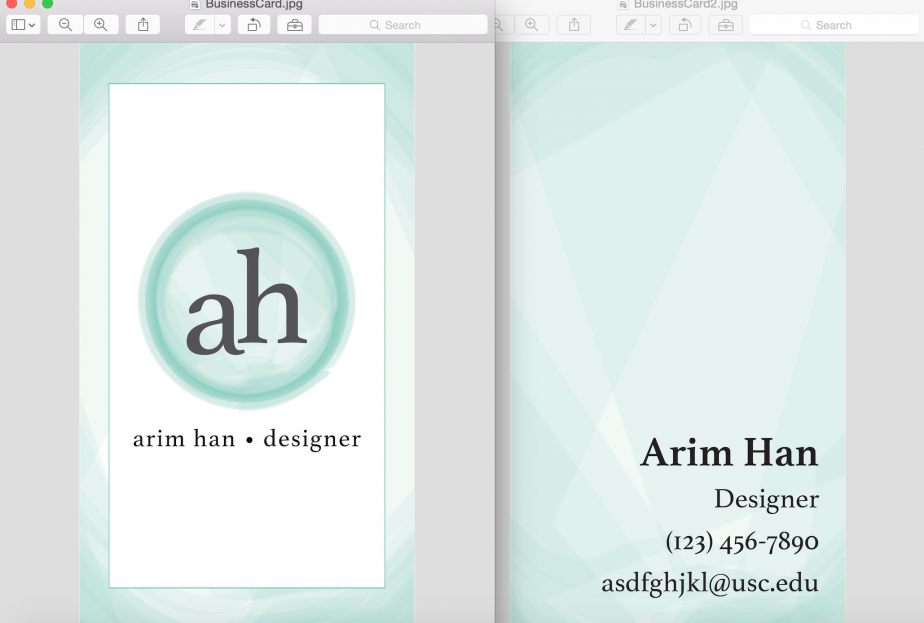
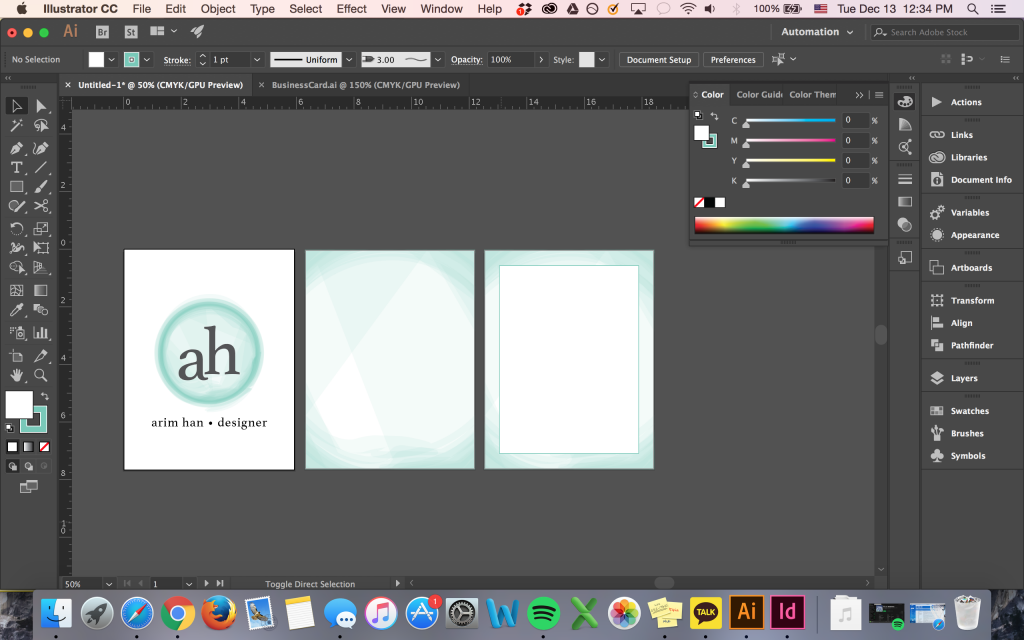
The designs that you want on the front/back of your card, and your logo are all elements that should be made in Illustrator before being brought into InDesign. Shown below is a sample design of a logo, frame for the front, and background for the back. Save your designs in .png so they have a transparent background. If you have multiple artboards, select Use Artboards when exporting.
Step 2: Creating Your InDesign Document
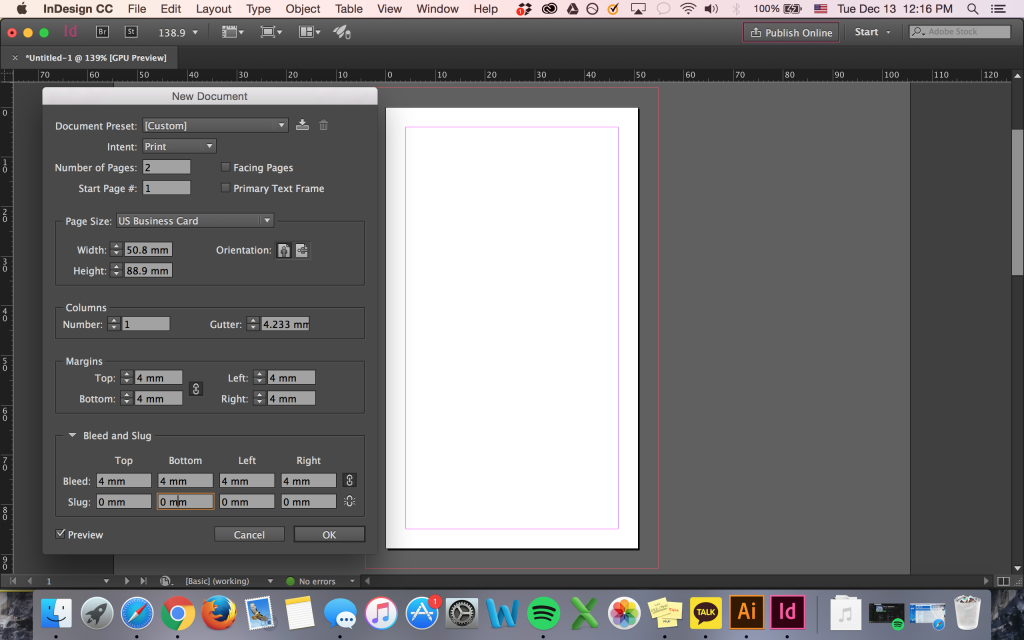
Open InDesign and create a new document. Set the intent to print and number of pages to 2. Deselect facing pages. Under Page Size select US Business Card, or enter your desired dimensions. Set your orientation to portrait or landscape according to your design. For this particular design, we’ll use a portrait orientation. Give yourself 5 mm margins for now, and go to Bleed and Slug and give yourself a 5mm bleed on all sides. Select OK to open your document.
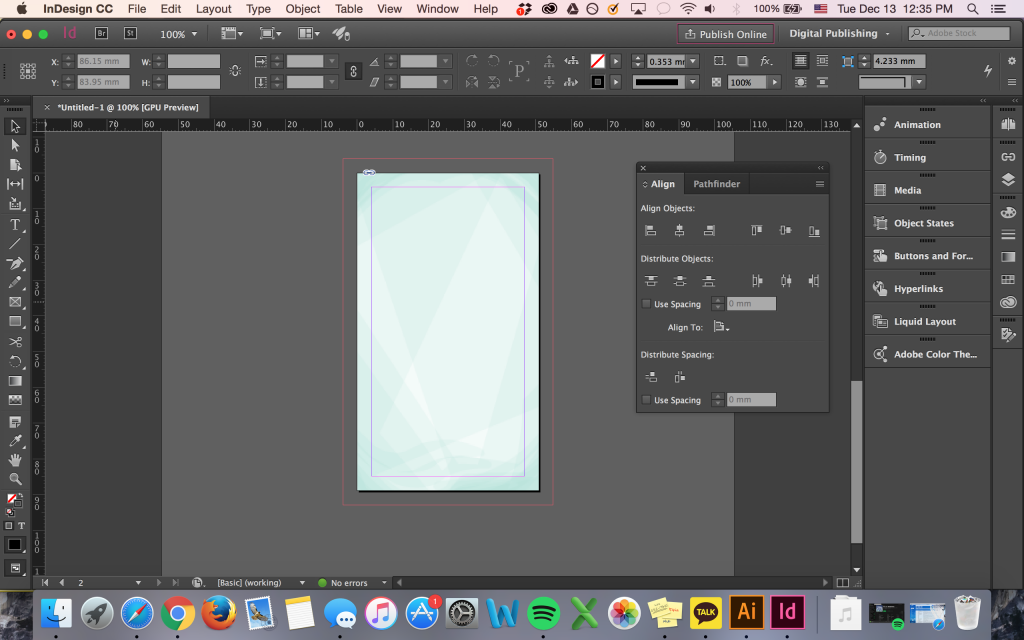
Step 3: Place Your Designs Into The Document
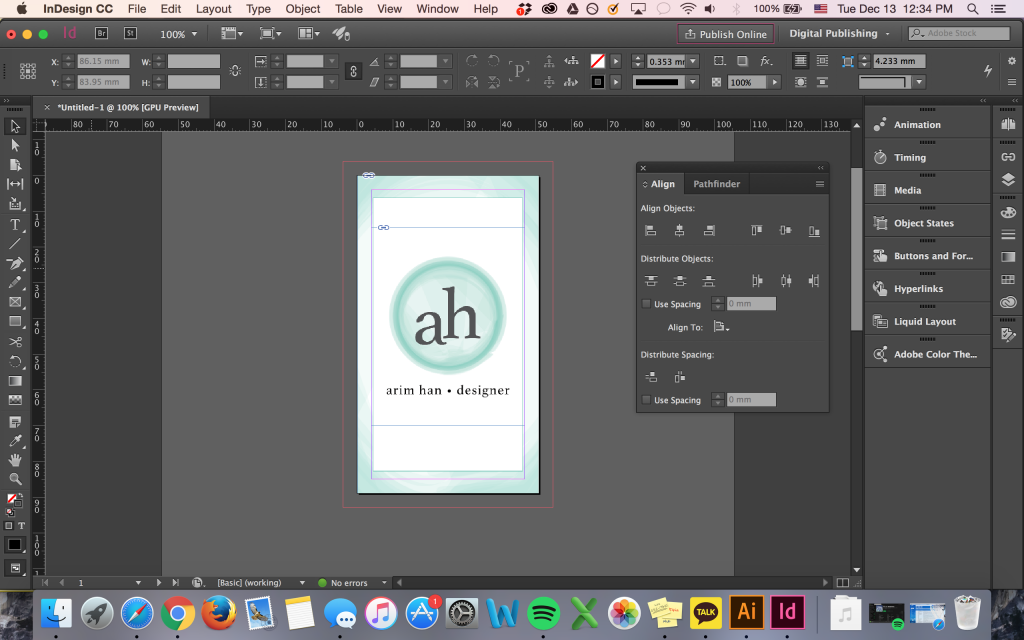
Begin with the front of your business card. Go to File > Place, and select your logo. Click and drag to place your logo onto the first page of your card. If needed, go to Window > Object & Layout > Align, select Align to Page, and center the logo. To see what your card would look like without guides, you can press W.
Repeat step 3 and place your background on the back.
Step 4: Input Your Information
Think about what information you want to put on the back. Your title, phone number, and email are standard. You can add portfolio and website links, too. Select the Type tool in the left toolbar (6th icon from the top). Click and drag to create a textbox where you want your information to be. Adjust your font size in the upper left hand side of the top toolbar. 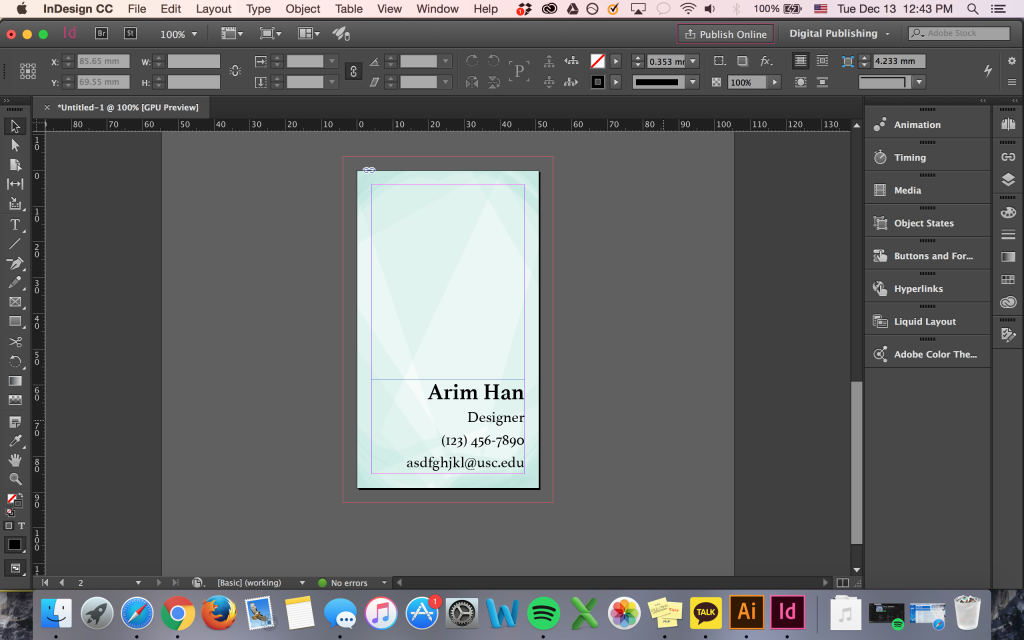
Step 5: Set Up for Printing & Export
Prepare your document for export. Go to File > Export, name your document, and make sure Adobe PDF Print is selected. Click save, and an Export PDF window should open. In the Adobe PDF Preset dropdown, select Press Quality. In the left hand menu, select Marks and Bleeds. Under Marks, select All Printer’s Marks. Under Bleeds and Slug, select Use Document Bleed Settings. Click Export, and you’re now ready to send your business card to get printed!
