


This tutorial will teach you how to add the classic “Ken Burns” effect to add dynamic movement to your photos in Adobe Premiere in four easy steps.
Step 1: Add picture
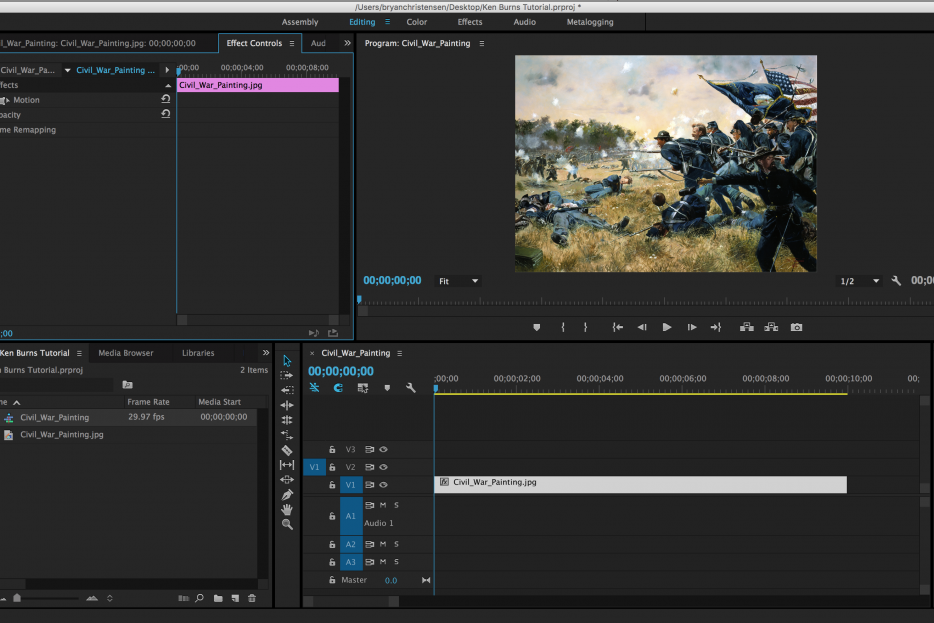
First, add a picture to the timeline.
Step 2: Open Effect Controls
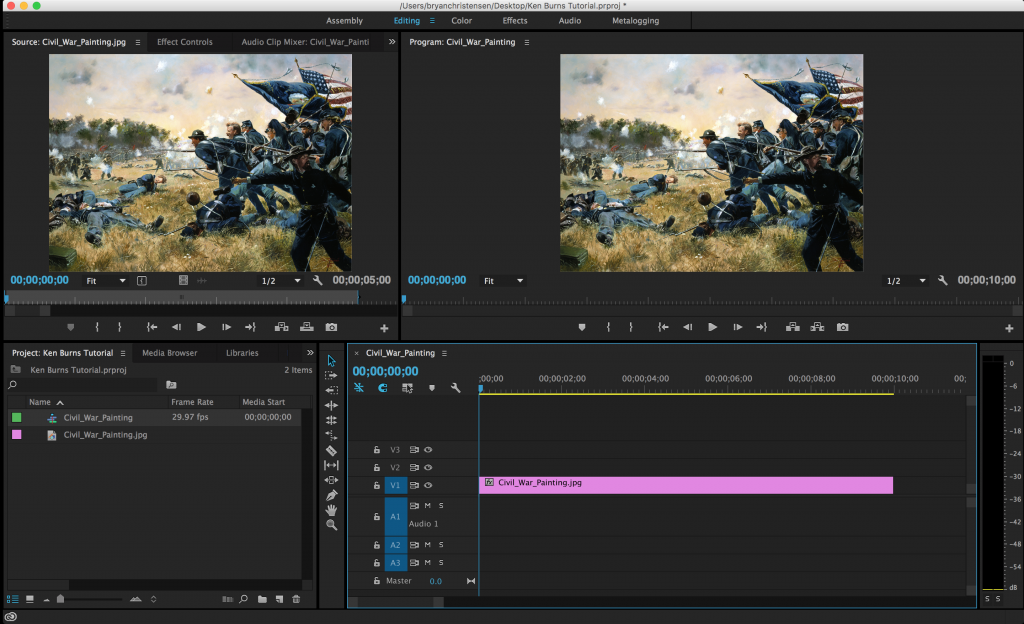
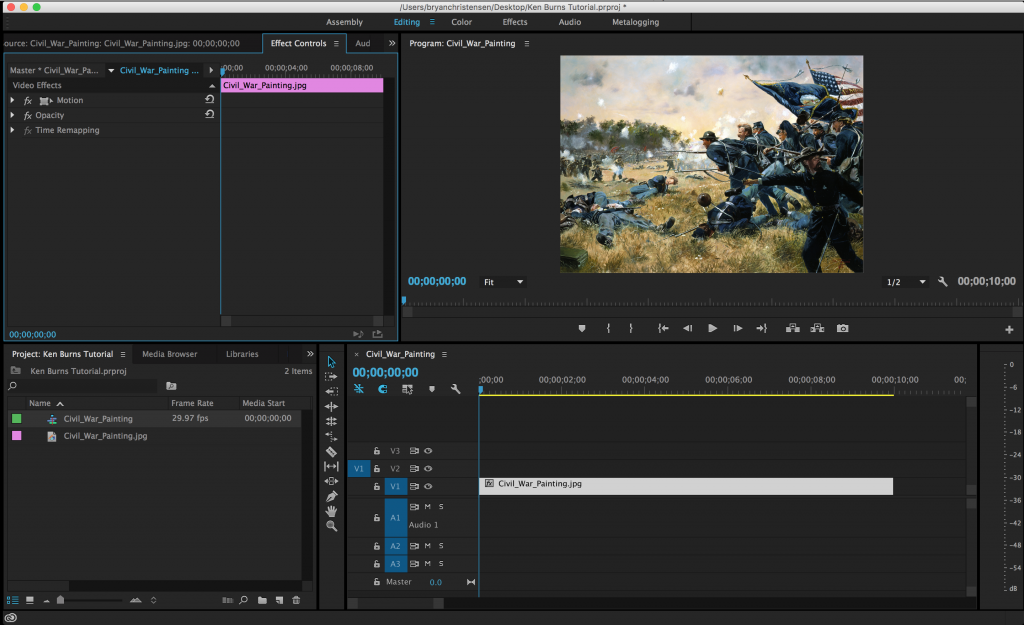
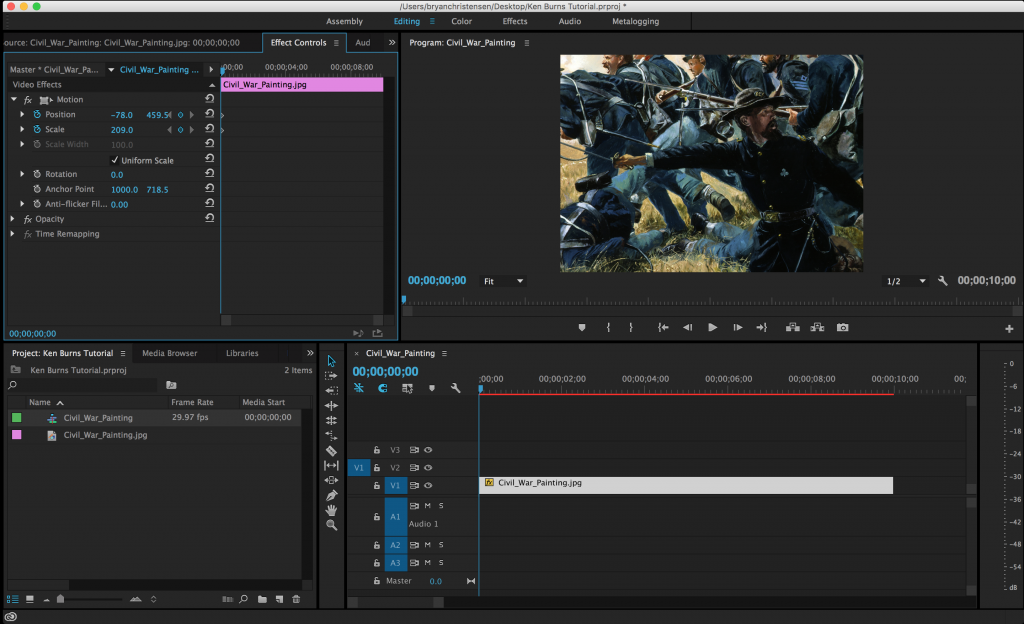
Once the photo is on the timeline, double click it and open the “EffectsControls” tab in the source preview window.
Step 3: Enable Keyframes under Motion
Open the menu “Motion”
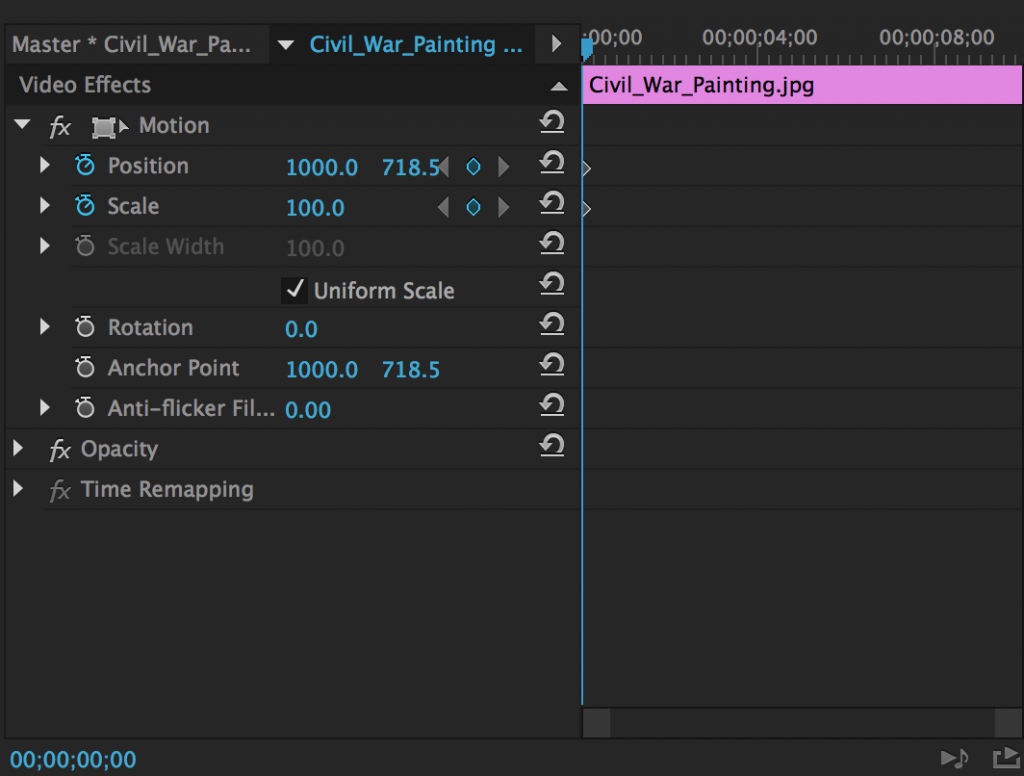
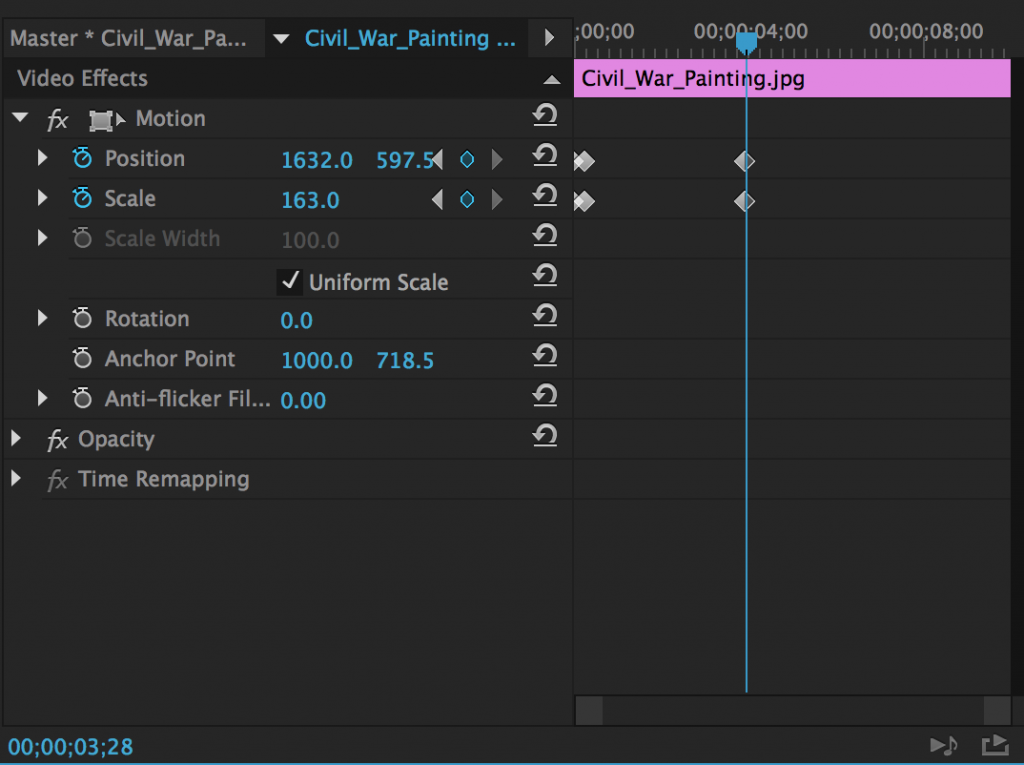
Enable Keyframes for both “Position” and “Scale”
Step 4: Enter Values for Position and Scale
Adjust the values for Position and Scale for where you want the photo to begin.
Changing the values of Position and Scale will automatically add a keyframe to wherever the playhead is on the clip.
Premiere will automatically set the values for Position and Scale between any two keyframes. That is to say, if the first keyframe value is 0 and the second keyframe value is 20, the value will be 10 when the playhead is halfway between the two keyframes.
Use any combinations of keyframes using Position and Scale to make a perfect ‘Ken Burns’ effect!To create a movement that doesn’t move smoothly but is sharp or ramps up in speed, use a keyframe configuration like the one below:
Having two keyframes with the same values at the beginning make sure the photo doesn’t move until the after second keyframe, where it will begin shifting the values to our third keyframe.
Using this technique, you should be able to animate any photo within Premiere and give your projects a new, dynamic look!
Watch the Ken Burns effect in action here: