


Adobe Spark has replaced Adobe Slate, Post, and Voice as a free, all-in-one content creator. The program provides a plethora of formatting and editing options – all you need is pictures and text.
Creating a new Spark project
Within Spark, there are three different content formats for different presentation needs.
- Spark Posts optimizes images and text for social media
- Spark Videos creates a narrated movie from voice recordings, images, and video clips
- Spark Pages builds image-based webpages (and auto-generates their layouts)
To create any of the above, simply click the blue “add” button and select a format from the drop-down.

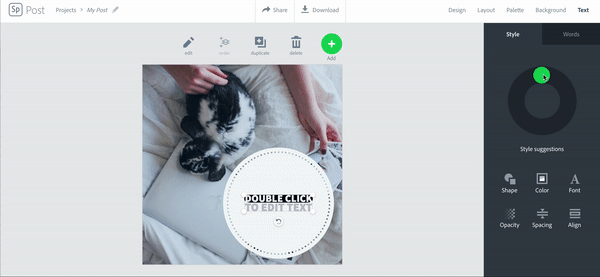
Spark Posts
- Create a Post
- you can start from scratch, which will create a blank canvas
- or you can choose from one of the many premade templates
- Play around with the option tabs!
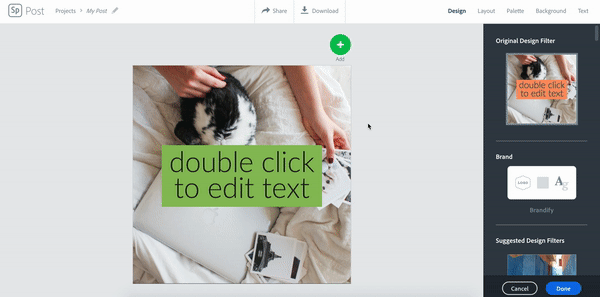
- Design – apply premade photo filters and text effects
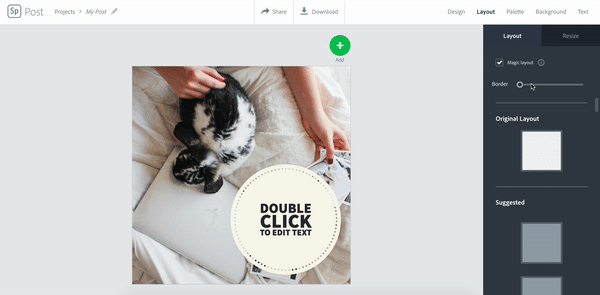
- Layout – apply borders and create different grid layouts (tip: click on any cell to delete it or replace it with an image)
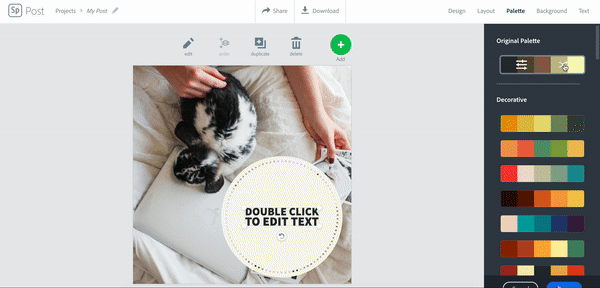
- Palette – change the color combination of the post (including text and shape elements)
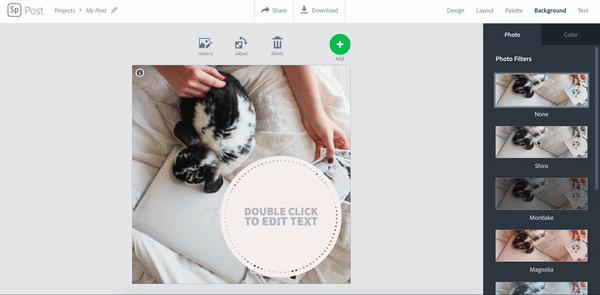
- Background – add/change photo filters (if background is an image) or add solid background colors (tip: click on the settings button that appears on hover to choose custom colors)
- Text: Edit textbox shapes, color, spacing, alignment, etc (tip: the circle spinner is a sort of style randomizer – drag the button around or click the center to generate new text style combinations)
- Some additional tips:
- double click on text fields to edit
- some options will have a shuffle button appear when you hover over them – click shuffle to show different layout/color/text combinations on your post
- there is currently no Undo button, so you may want to duplicate your work when making large changes!
- under the text tab, use styles for blocks of text and words for individual words
- you can start from scratch, which will create a blank canvas
- or you can choose from one of the many premade templates
- Design – apply premade photo filters and text effects
- Layout – apply borders and create different grid layouts (tip: click on any cell to delete it or replace it with an image)
- Palette – change the color combination of the post (including text and shape elements)
- Background – add/change photo filters (if background is an image) or add solid background colors (tip: click on the settings button that appears on hover to choose custom colors)
- Text: Edit textbox shapes, color, spacing, alignment, etc (tip: the circle spinner is a sort of style randomizer – drag the button around or click the center to generate new text style combinations)
- double click on text fields to edit
- some options will have a shuffle button appear when you hover over them – click shuffle to show different layout/color/text combinations on your post
- there is currently no Undo button, so you may want to duplicate your work when making large changes!
- under the text tab, use styles for blocks of text and words for individual words

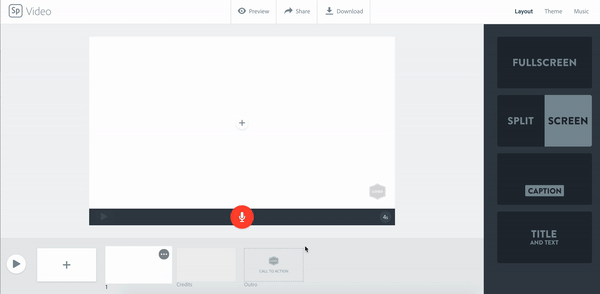
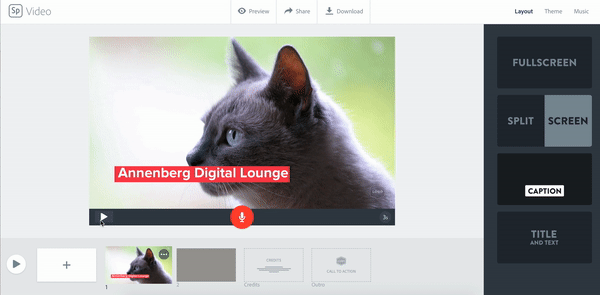
Spark Videos
- Create a Video
- follow the on-screen prompts to create a video from a template or from scratch
- Change the layout of each slide or the theme of the whole video
- Add music
- Click the “+” button in each slide to add video elements
- Video: Upload a video from your computer
- Text: Add/format words
- Photo: Add images
- Icon: Add decorative icons
- On each slide:
- Click the red microphone button to record audio
- Click the white play button on the left to preview the slide
- Click the time button on the right to change the length of the slide (tip: if you have audio, the slide length will be determined by the length of the audio recording)
- Click the gray play button In the bottom slideshow timeline to view your video
- follow the on-screen prompts to create a video from a template or from scratch
- Video: Upload a video from your computer
- Text: Add/format words
- Photo: Add images
- Icon: Add decorative icons
- Click the red microphone button to record audio
- Click the white play button on the left to preview the slide
- Click the time button on the right to change the length of the slide (tip: if you have audio, the slide length will be determined by the length of the audio recording)
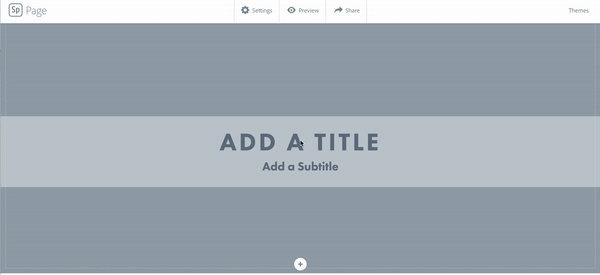
Spark Pages
- Create a Page
- all Pages start as a default template, but this can be changed under themes
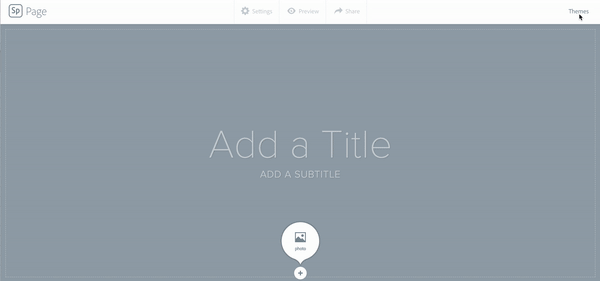
- Scroll and hover the the “+” button that appears to add page elements
- Glideshows: Full-page scrolling slideshows that you can add captions to
- Photo Grid: Generates grid layouts for a selection of images
- Buttons: Use to link to other websites/pages
- Videos: Supports video embed from YouTube, Vimeo, and Spark Videos
- Text: Create/format words – both headers (H1 and H2) and paragraph blocks
- all Pages start as a default template, but this can be changed under themes
- Glideshows: Full-page scrolling slideshows that you can add captions to
- Photo Grid: Generates grid layouts for a selection of images
- Buttons: Use to link to other websites/pages
- Videos: Supports video embed from YouTube, Vimeo, and Spark Videos
- Text: Create/format words – both headers (H1 and H2) and paragraph blocks
And that’s it – you’re now well on your way to making streamlined posts, pages, and videos with Adobe Spark!