Topics
Whether you’re making a poster or an infographic, a nice background makes it all the more eye-catching. This tutorial will give you a few ideas for designing bright, textured, and patterned backgrounds to support your graphics.
To Start
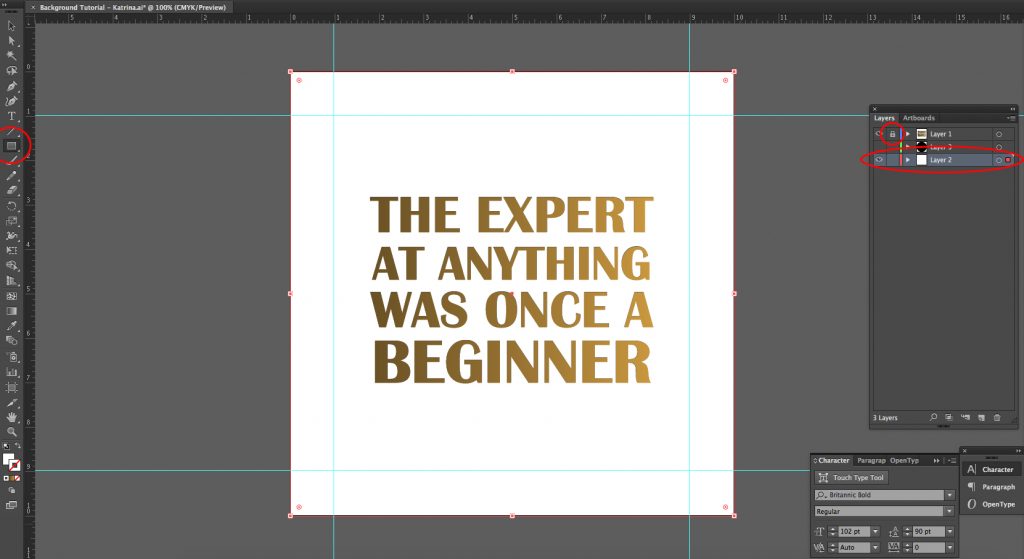
The first step is opening your document and making a new layer – this will be your background. Place it below all other visible layers. Lock the above layers so you do not accidentally move their contents. Now use the Rectangle Tool to make a shape that is the full size of the artboard.
A Little Value Goes a Long Way
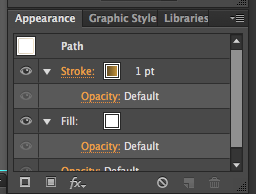
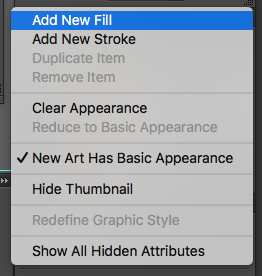
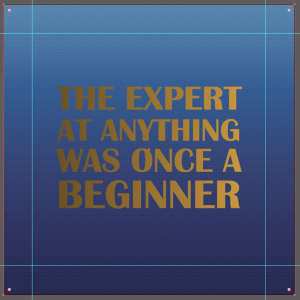
Select the shape with the direct Selection Tool. Use the Appearance tab (can be brought up under Windows > Appearance), click the drop-down arrow, and make a New Fill.
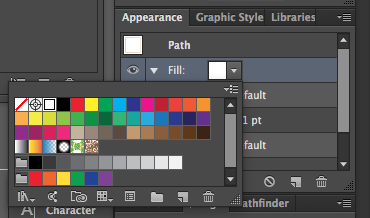
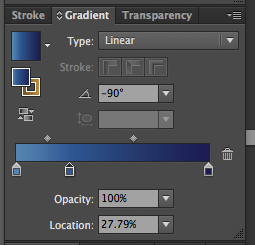
Make the fill a Gradient, and then change the colors to suit your graphic. Experiment with the slider! I’ve set mine to a Linear Fade, but Radial can look nice too.


Add Some Texture
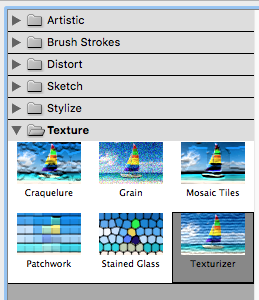
Go to Effect > Effect Gallery. Look around and test out different effects, see what you like. I tried one with Sponge paint.
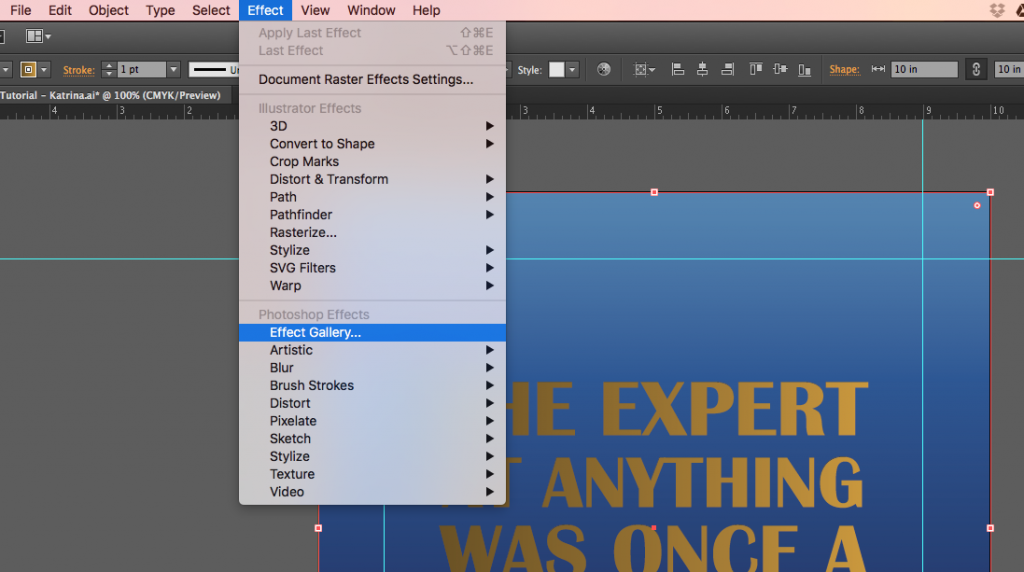
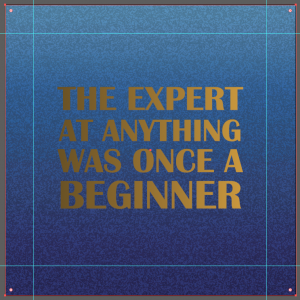
All of these will show up in your Appearance Panel, so you can turn it on and off or even try a few together.
Patterns Already In Illustrator
Don’t like the texture? No problem, Illustrator offers about a thousand more options!
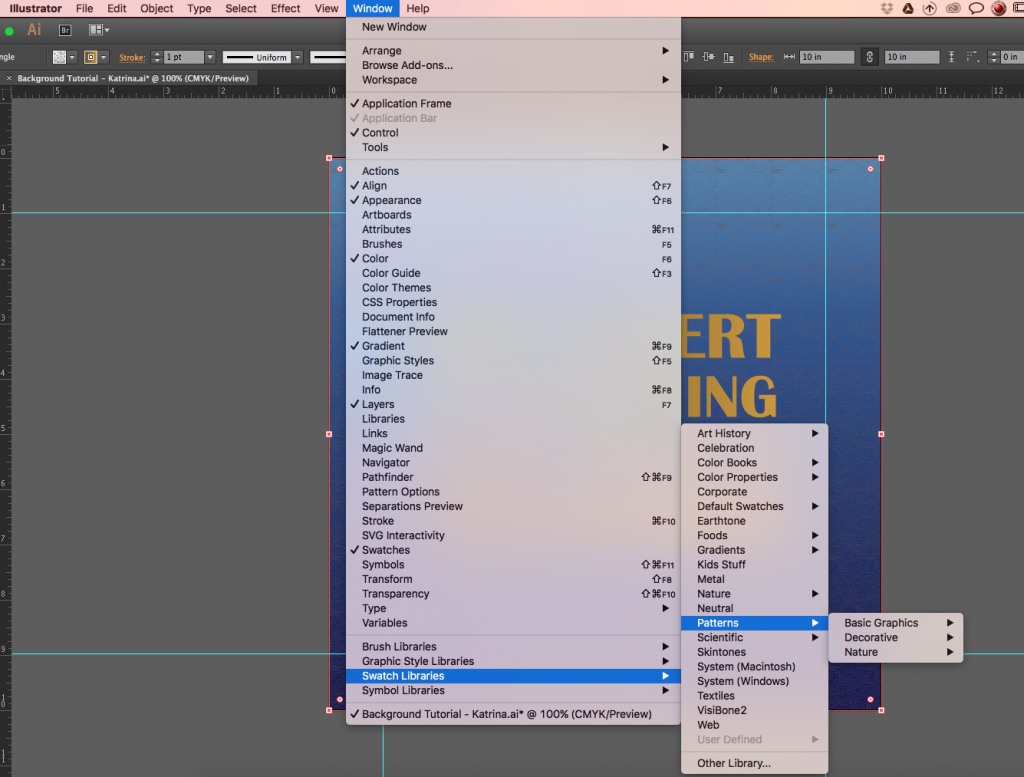
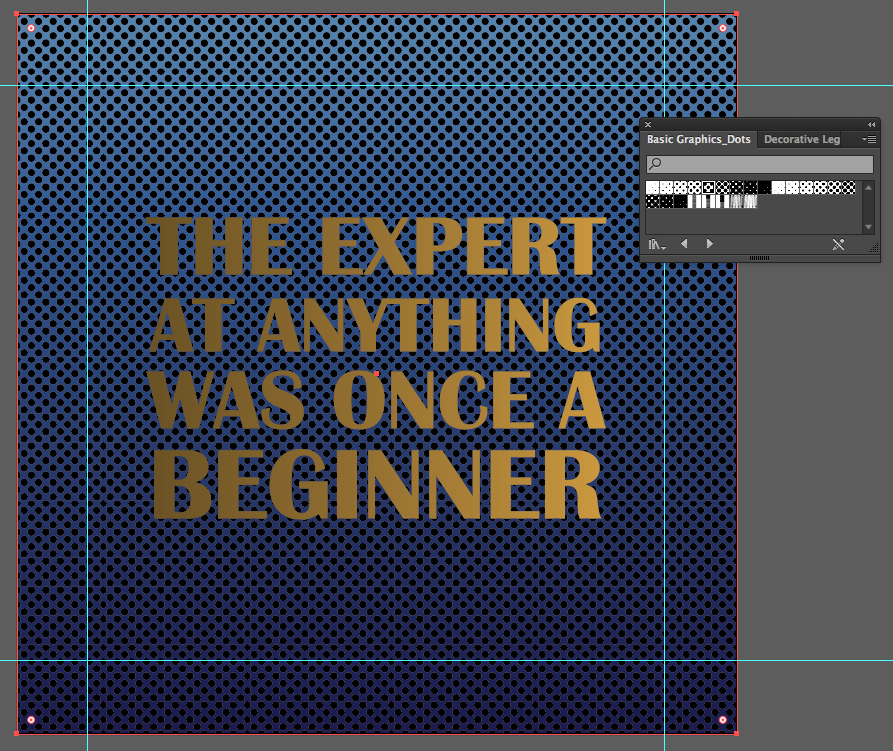
Just click the eye icon under Appearance to hide them. Now make a New Fill and get ready for even more background options. Go to Window > Swatch Libraries > Patterns and choose a section to scroll through. You can see what they look like and switch between sections with the arrows. I chose one of the Dots graphics.
Repeating an Icon You’ve Made
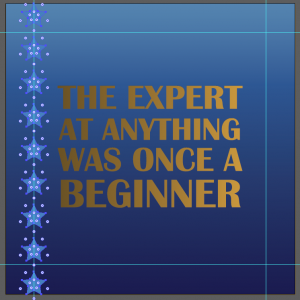
Want something simpler or more personalized? If you’ve got a shape or an icon you want to repeat to make a background, put it on its own layer. I’ve got a star I’m using, but it could be as simple or complicated as you want.
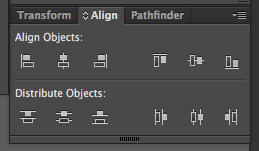
Open the Align tab (Windows > Align). Make sure it’s set to Align To: Artboard. Select the shape and Copy Paste it a few times. (Use Command + Shift + V or Ctrl + Shift + V to paste-in-place.) Select all the shapes by clicking and dragging the mouse over them.
Use the Horizontal Align Left button to arrange them evenly on the left side of the artboard, and the Vertical Distribute button in the tab to spread them out vertically. Now copy and paste-in-place and drag over the column a few times to fill the background. It’s fine if they aren’t evenly spaced; once you’ve got it filled, use the selection tool to select each row and click the Horizontal Distribute Center button in the Align tab to spread the row evenly. Repeat for each row.


Final Note
Make sure your background doesn’t swallow up your foreground. In other words, don’t let the pattern or texture overwhelm the words. (I thought mine was fading a little, so I threw a stroke on the text.) Good luck on your background designing!