


Adobe InDesign is a great tool for layout and design of multi-page documents. In this tutorial, we’re going to learn how to make a table of contents (sometimes abbreviated to ToC) for this example document, a booklet about cats:
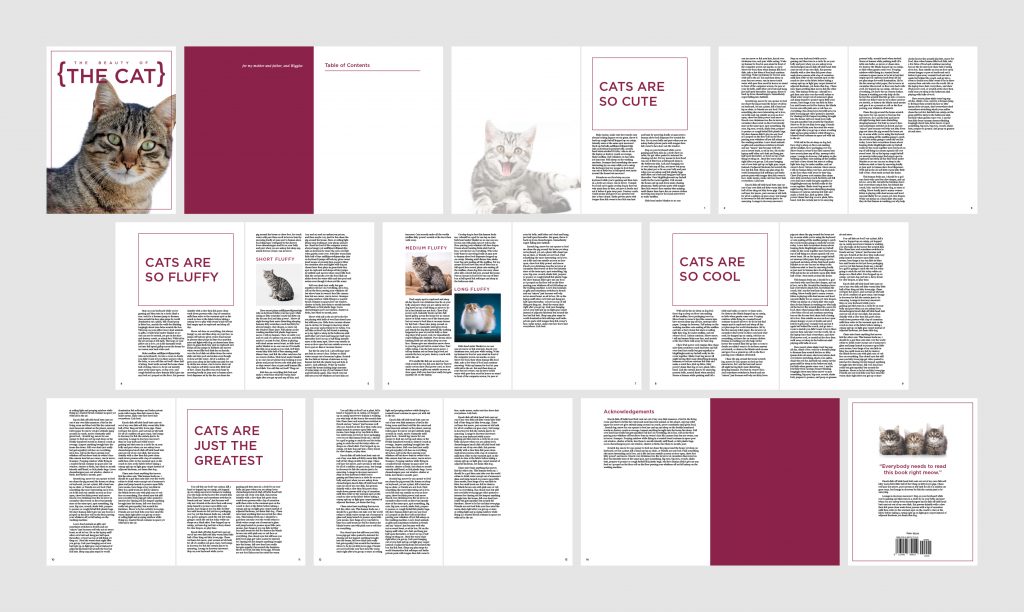
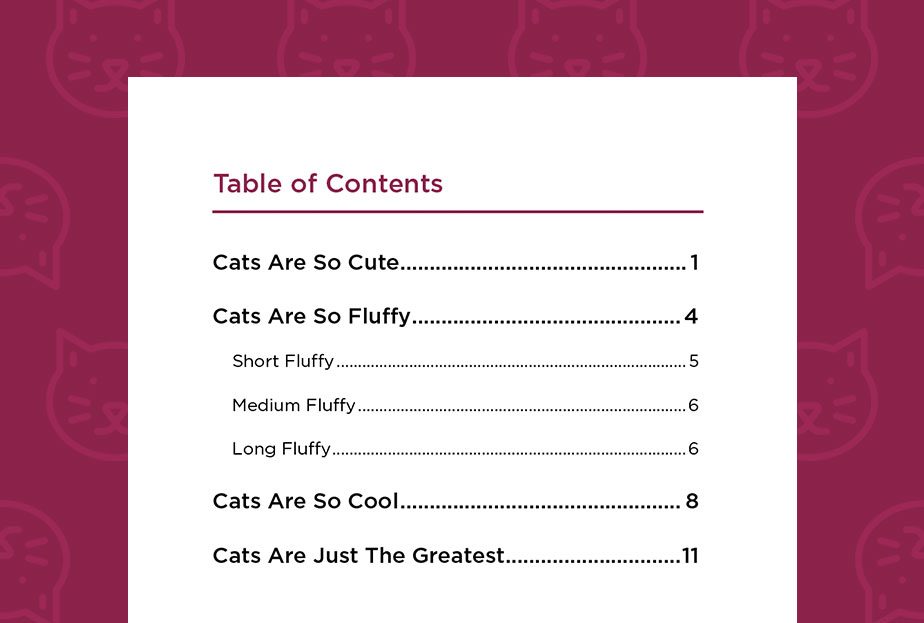
This booklet has four sections. Notice that Section Two, “Cats Are So Fluffy,” also has three sub-sections, “Short Fluffy,” “Medium Fluffy,” and “Long Fluffy.” At the front I’ve set aside a blank page for the table of contents. The rest of the pages are front and back covers, the insides of the covers, and acknowledgements.
Creating your table of contents
Our table of contents will list the sections and sub-sections along with the page numbers they appear on. There are two ways you can get this information:
1. Manually entering your information

For short documents, such as this example, it’s easiest to just type in your chapter or section titles and scroll through your document to find the page number (pro tip – scroll through the ‘Pages’ navigation pane to see the page number rather than scrolling through your document).
Type out the page number next to the section title with just a space in between. Scroll to the next section of this tutorial to learn how to format and add dot leaders (the “…” between section titles and page numbers in a table of contents).
2. Automatically generating your table of contents
If you’re working on a long, complex document, it’s possible to set up your document so that InDesign finds and enters your section titles and page numbers for you.
Setting up your document with Paragraph Styles
InDesign creates a table of contents using Paragraph Styles, which are formatting templates for text and also allow InDesign to keep track of where text is in the document. Open the Paragraph Styles menu by going to Window > Styles > Paragraph Styles.
Creating a Paragraph Style
I created a new Paragraph Style by highlighting my section title, and clicking the ‘New Style’ button in the bottom right corner of the Paragraph Styles menu. I double clicked ‘Paragraph Style 1’ to rename it ‘Section Title.’
Using a Paragraph Style
Now, if I select other text in the document and click ‘Section Title’ in the Paragraph Styles menu, that style will be applied. The text will be formatted in the same way as the text that I originally created the style from. Additionally, InDesign now knows that text is a ‘Section Title’ and can look up which page it is on.
Note: you can change the formatting of text with a Paragraph Style applied to it, and a ‘+’ sign will appear next to the style. InDesign will still recognize this text as having that style even if it looks completely different.
Formatting your document
In order to create my table of contents, I’ve applied the ‘Section Title’ Paragraph Style to all of my section titles. Since they are already all formatted the same way, nothing looks any different, but now InDesign knows where they are. I also created a Paragraph Style for the sub-section titles and did the same.
Generating the table of contents
Now that my document’s set up, I can ask InDesign to find the Section Titles and Sub-Section Titles and put down their page numbers for me. I’ve created a text box to place my table of contents in on the page at the beginning of the document set aside for this purpose.
In the top menu bar, find Layout > Table of Contents. A menu like this one should open:

The box labeled ‘Styles in Table of Contents’ is where I tell InDesign what to look for. To do this, I selected the ‘Section Title’ style in the box labeled ‘Other Styles’ on the right, and moved it to the box labeled ‘Include Paragraph Styles’ on the left by clicking the ‘Add’ button in between them. This tells InDesign to include all text styled as a ‘Section Title’ in the table of contents. I also moved the ‘Sub Section Title’ style in the included box in the same way – notice how it was automatically nested underneath ‘Section Title.’ After this, I clicked the ‘OK’ button on the right.
The titles and page numbers magically appear! Unfortunately they’re formatted to their original paragraph styles, so I cleaned up the font, size, and color of the text. [Pro tip: at the top of the Table of Contents dialog box that we just used, there’s a drop-down menu labeled ‘Style:’ that lets you style your table of contents so that this doesn’t happen – I was just lazy.]
Formatting a table of contents
Dot leaders
Dot leaders are the series of dots that lead from a left-aligned section title to a right-aligned page number in a table of contents. Here’s how to set dot leaders so that they automatically adjust to the length of your text:
To set things up, delete the space between your section title and page number and enter a tab (tab key on your keyboard) in its place. If your table of contents was generated using the ToC dialog box, it should already be set this way.
Next, highlight the section title, tab, and page number. In the menu bar, navigate to Type > Tabs (or use the shortcut Command-Shift-T on Mac or Control-Shift-T on Windows). A ruler will appear over the text box. If it’s not aligned to the top of your text box or if you accidentally move it, click the magnet icon on the right side to snap it back in place (make sure the text box is selected while you do this or it won’t work).
In the top left corner of the ruler window, select the third arrow from the left to set a right-justified tab. Set the tab at the end of the text box by clicking on the thin bar just above the ruler and dragging the tab all the way to the right, where the end of the text box is marked by a small triangle. The page number should align to wherever you drag the tab.
Finally, to add dot leaders, type ‘.’ into the box labeled ‘Leader’ in the dialog box and hit enter. Dot leaders will appear in the tab space. If nothing happens, make sure the tab is selected – the arrow that you placed on the ruler should be highlighted.
(pro tip: you can highlight your whole ToC and do it all in one go instead of line by line.)
Final details
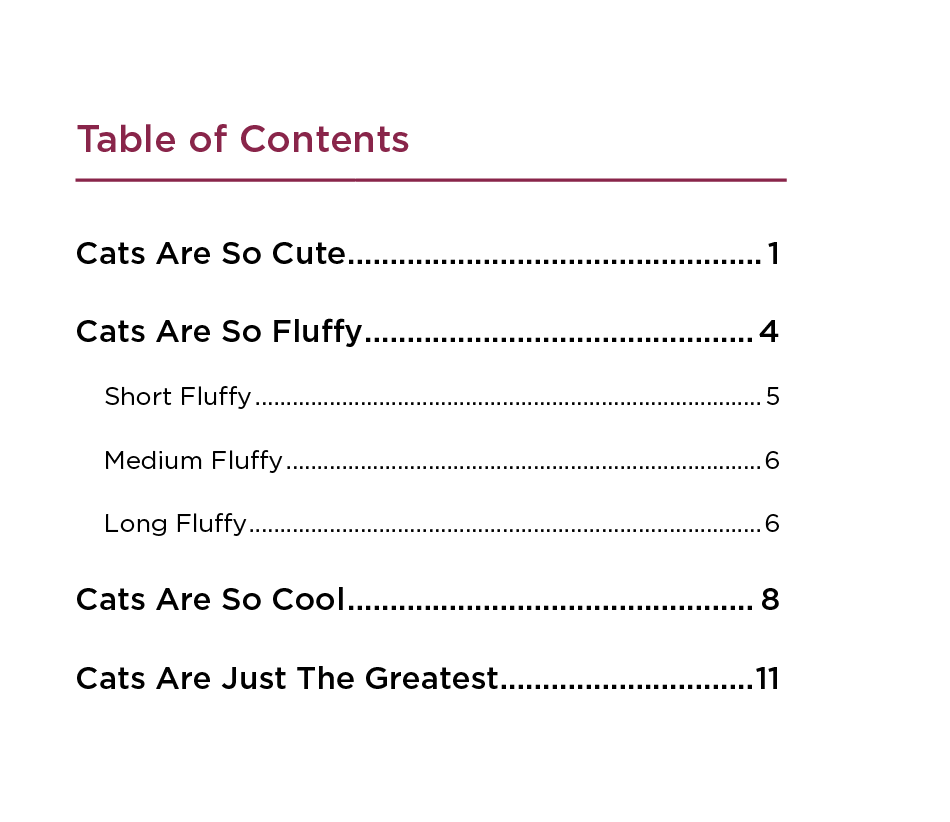
To make it clear that the sub-section titles appeared under section 2, I indented them and made them a smaller, lighter font. This is my final table of contents:
And that’s how you make a table of contents! Thanks for following along.