Topics
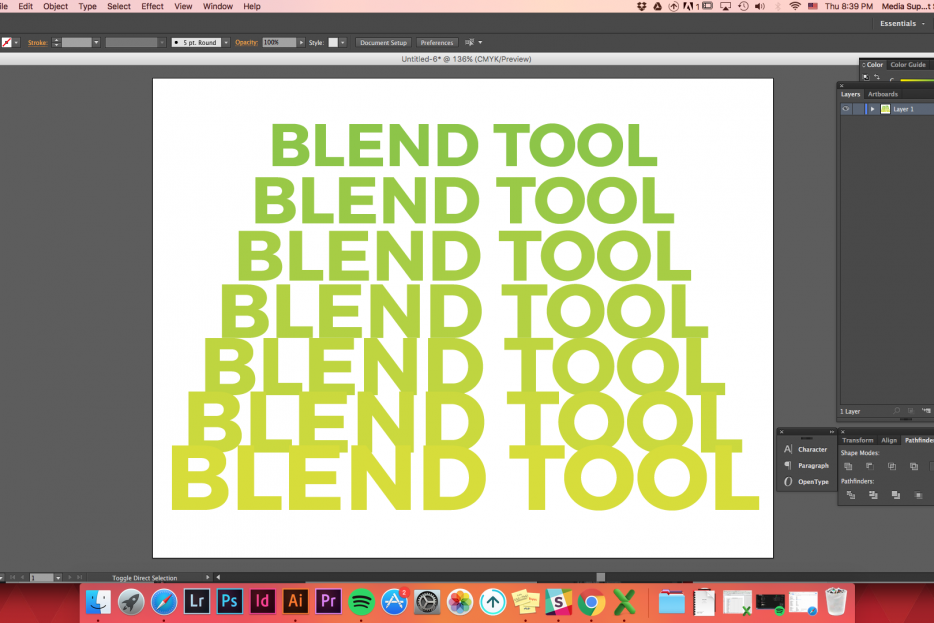
This tutorial will teach you the multiple use of blend tool in Adobe Illustrator. The tutorial is broken down into 6 different uses of blend tool options.
Selecting the Blend Tool
There are three ways to select the blend tool.
- Keyboard Shortcut for Blend Tool: W
- Object->Blend->Make
- Click on Blend Tool on the tools palette. (It looks like a circle with a square tucked behind it.)


Blending Various Shapes
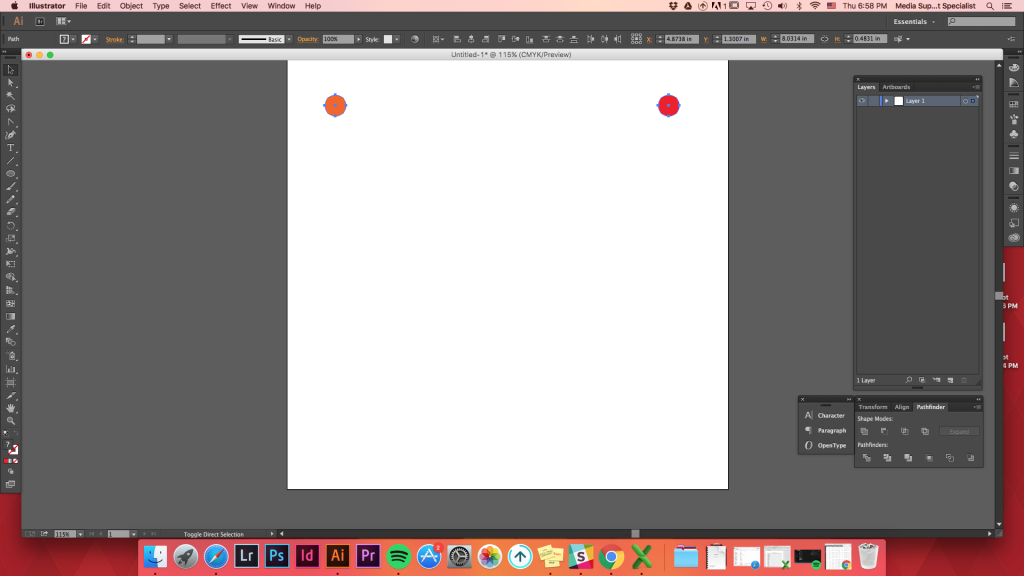
Blending 2 shapes
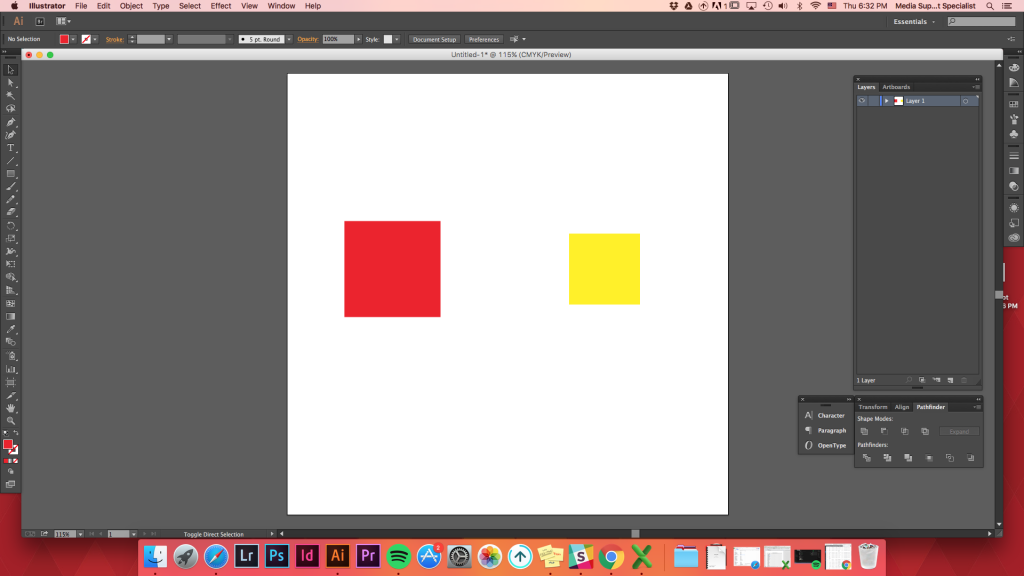
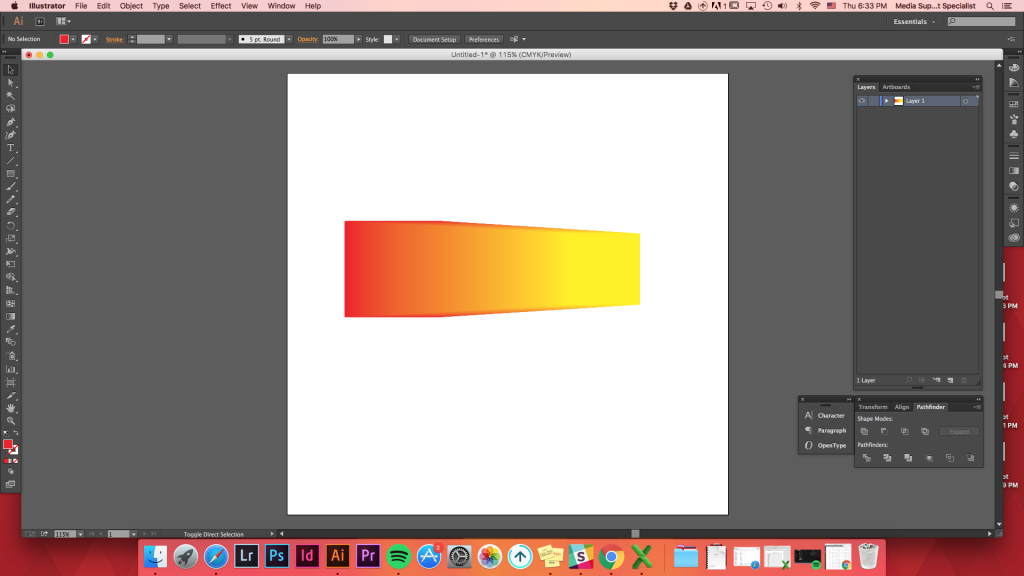
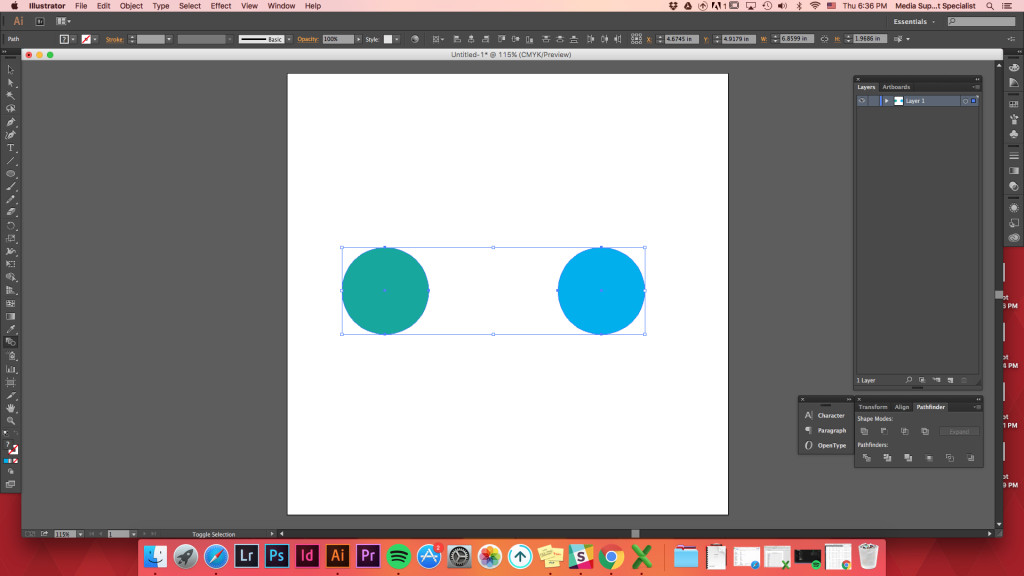
You can make 2 shapes blend together regardless of size and shapes.
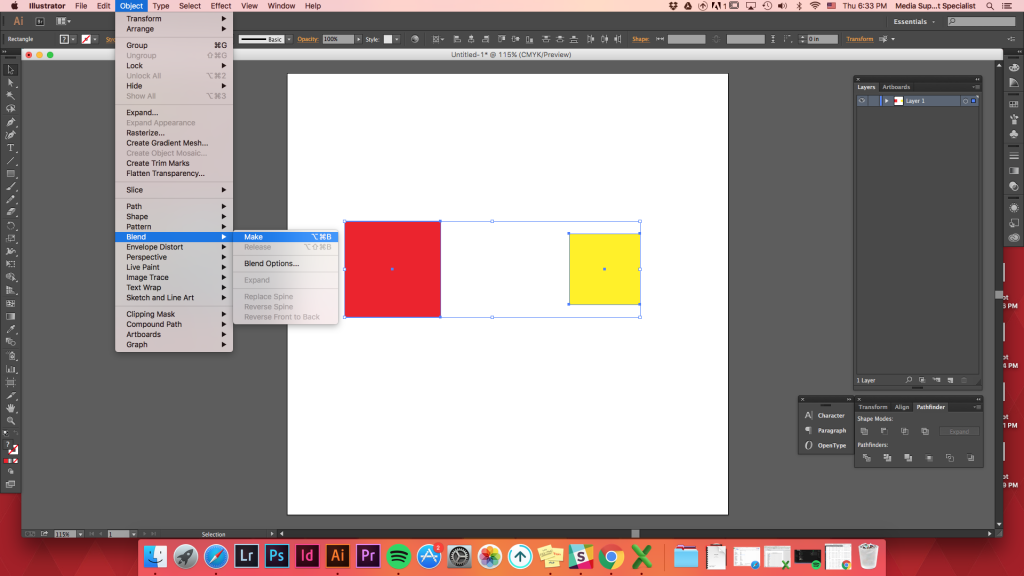
Make any two shapes -> select both shapes -> Object -> Blend -> Make
To make it easier and faster, use the keyboard shortcut: W. Holding down Option (or alt) and clicking on a shape will bring up a Blend Options. Click on one shape and then click on another one. When trying to click the second shape, the mouse cursor will turn into a Blend Tool with a plus sign (+).

Using Keyboard Shortcut (w)
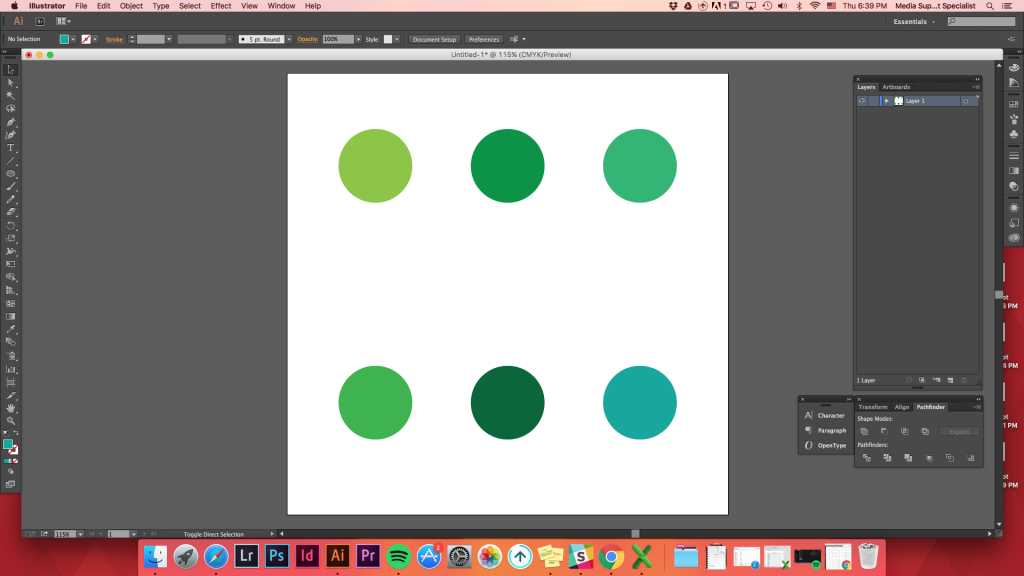
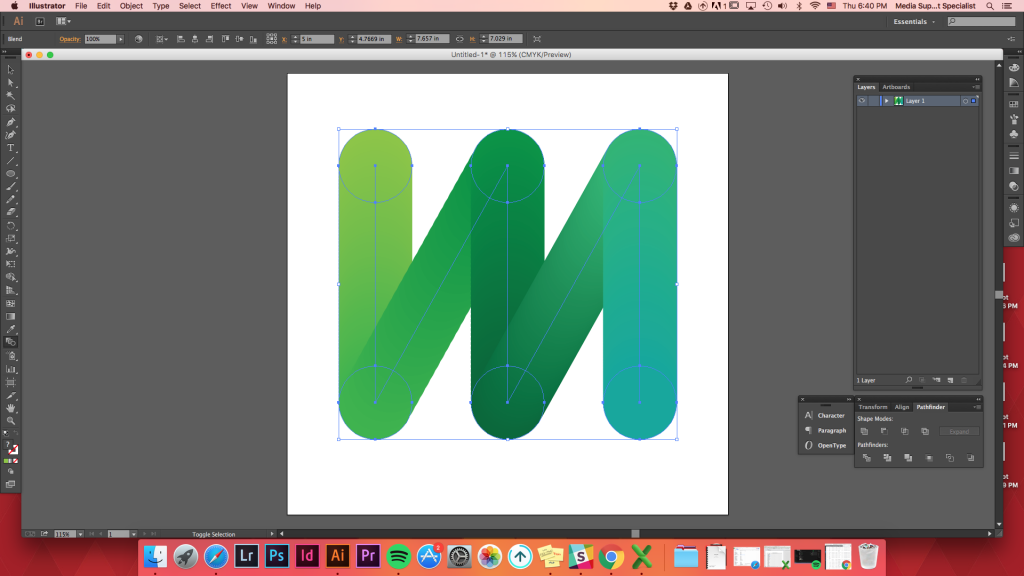
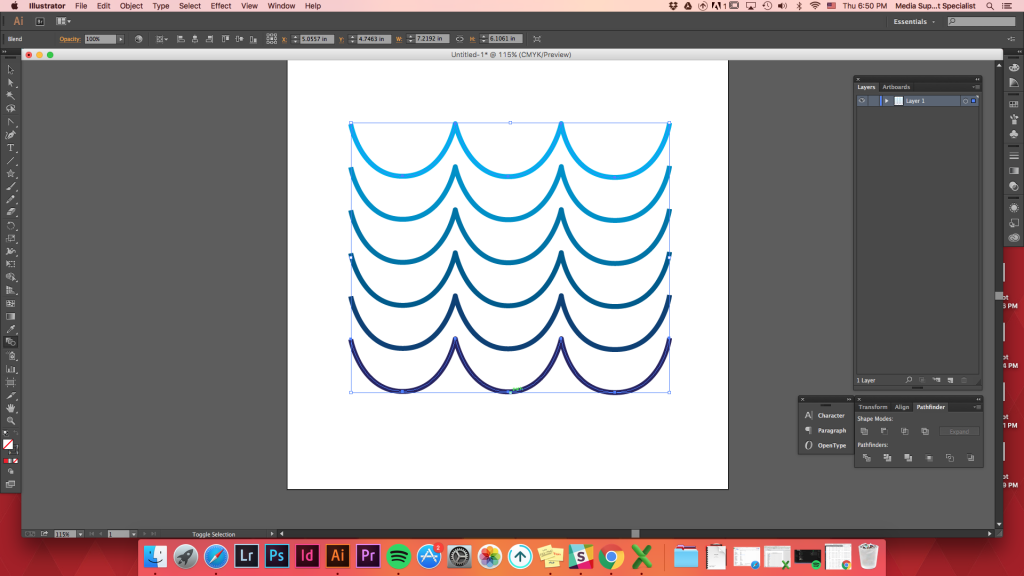
Blending Multiple Shapes
Blending multiple shapes is as easy as blending just two shapes.
Create multiple shapes (quick tip: create one shape and hold option key and move the shape. Command D can duplicate your action to create multiple shapes quick!) -> lay them out -> select Blend Tool (short cut: w) -> click on the top left circle -> click in the circle below it -> click on the second left circle on top -> repeat
Blend Tool will remain active unless you choose another tool (so anything else you click will be included in the blend.)
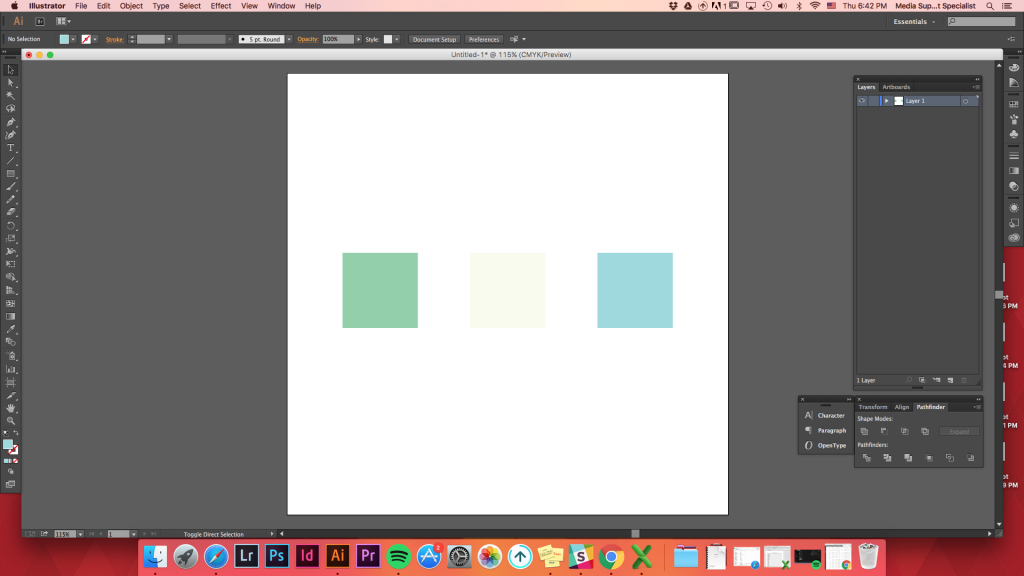
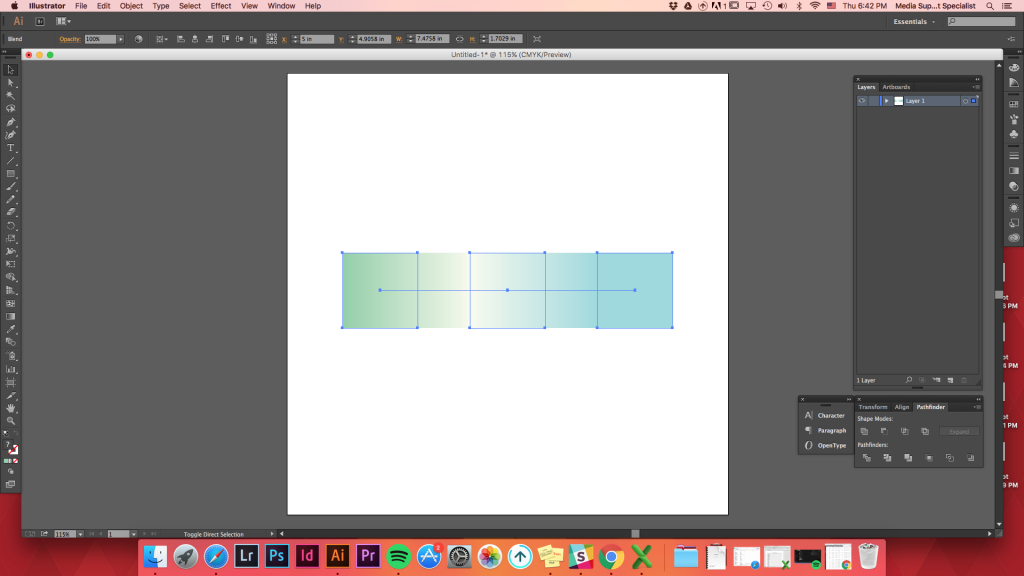
Blending 3 shapes
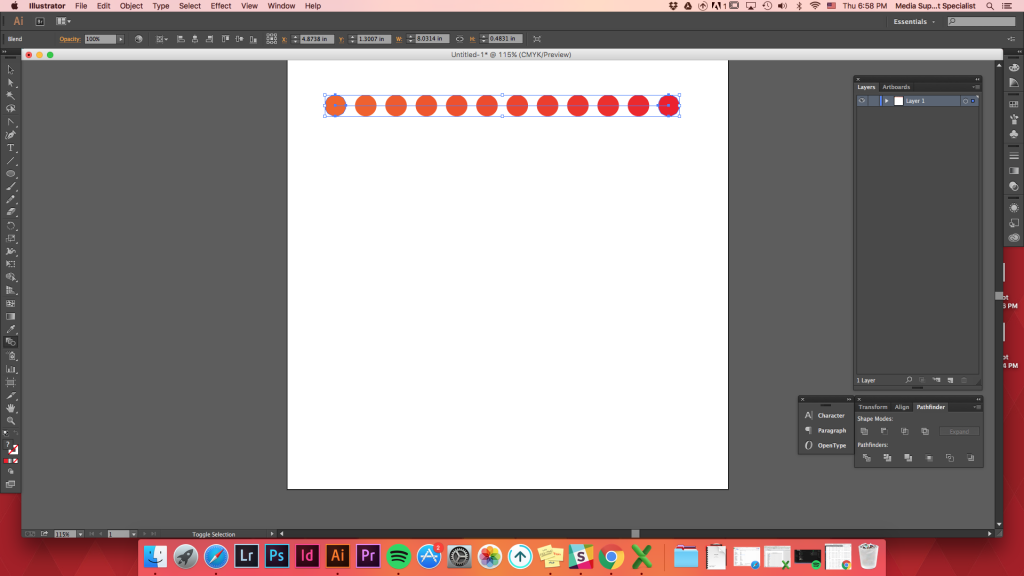
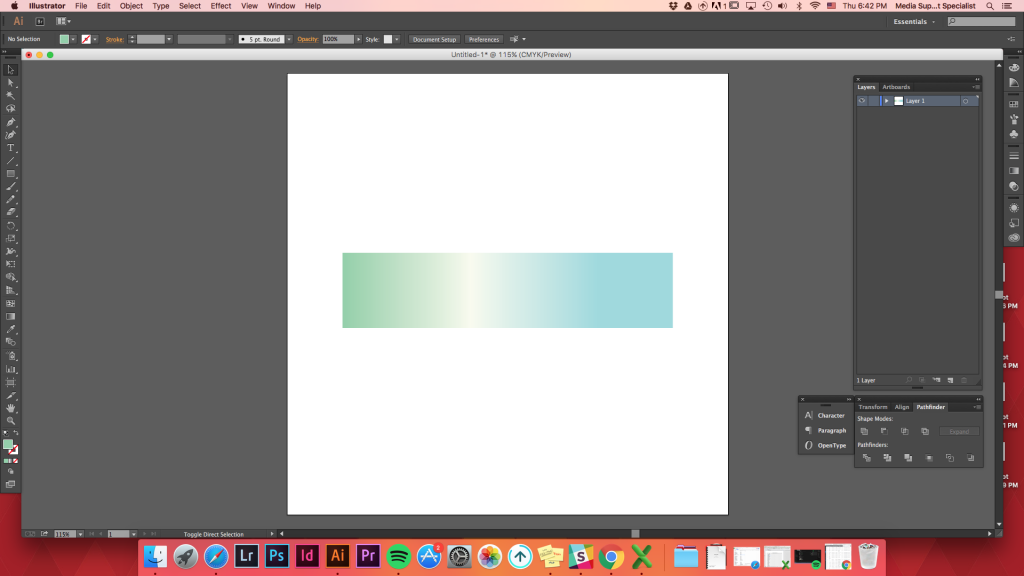
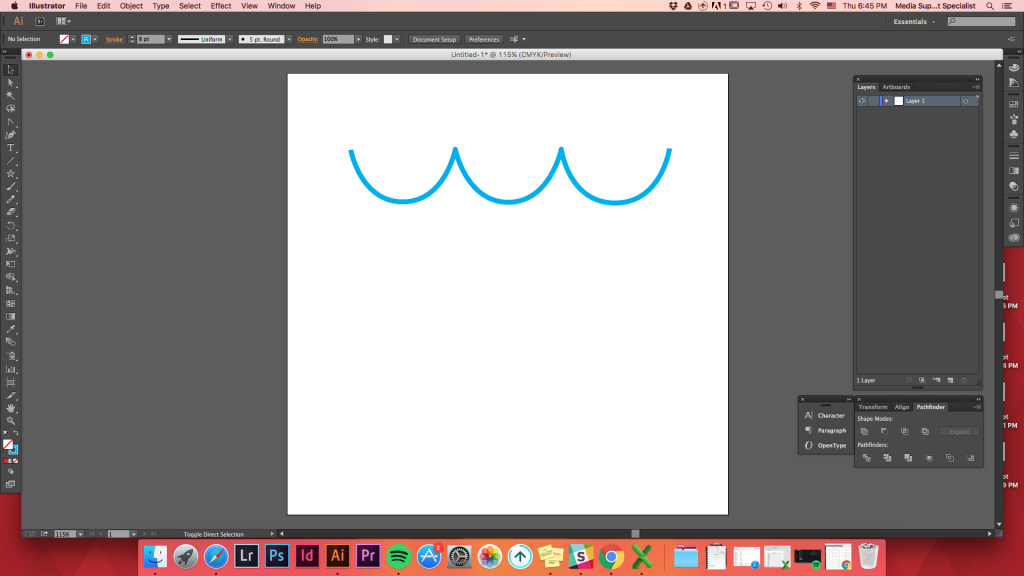
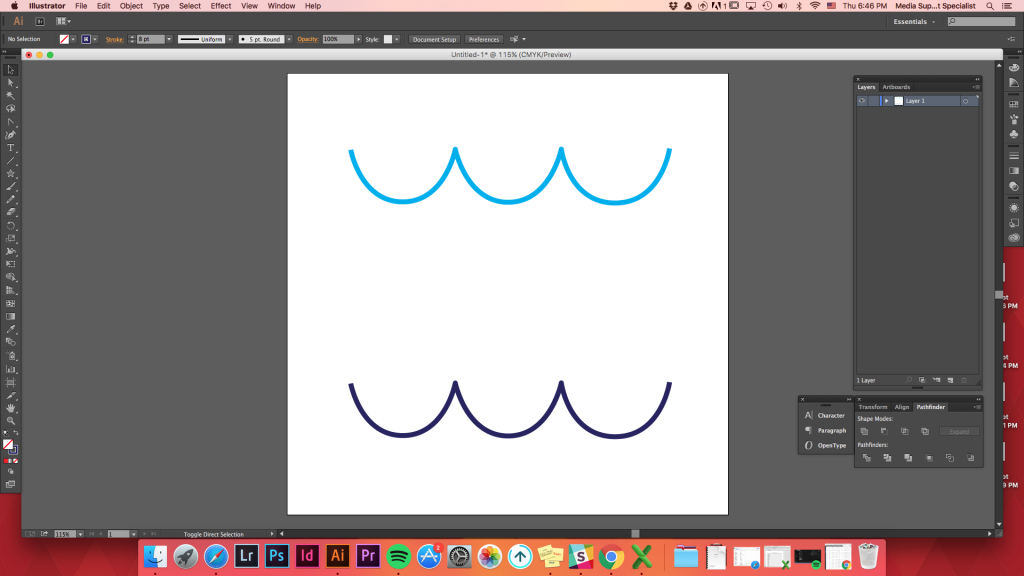
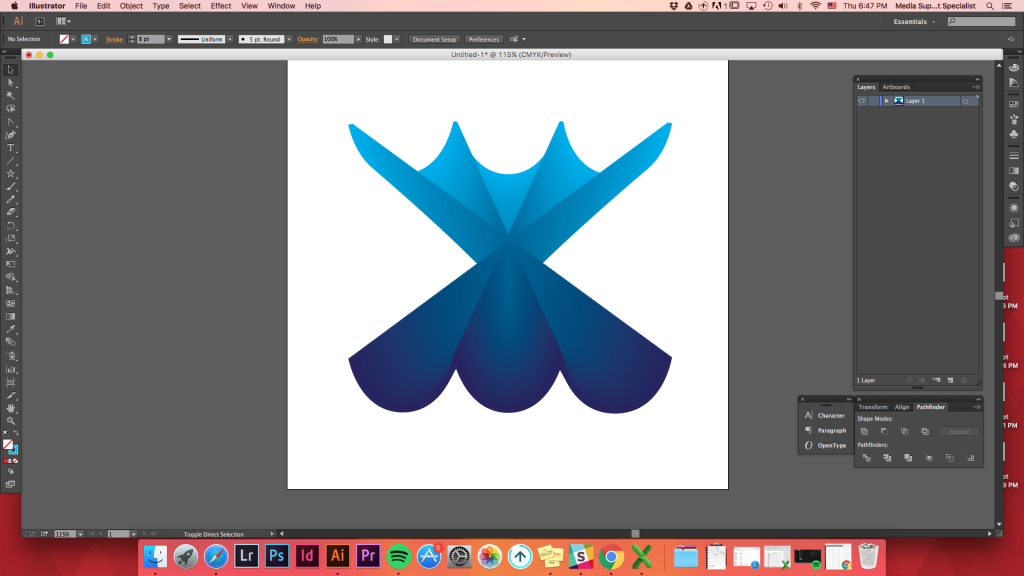
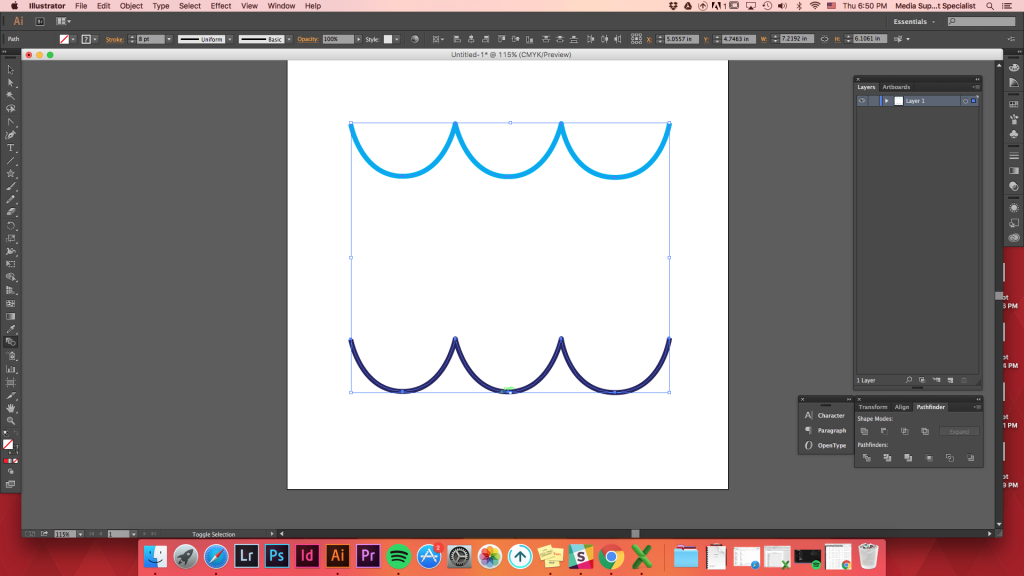
Blending 3 shapes that are in a row can create a beautiful gradient of colors transitioning between multiple shapes.
Create 3 shapes of different colors -> align them -> blend tool -> click on the first shape -> click on the second shape -> click on the third shape
Depending on which shape you click first/ what order you click, colors being blended will change.
Blending a shape within a shape
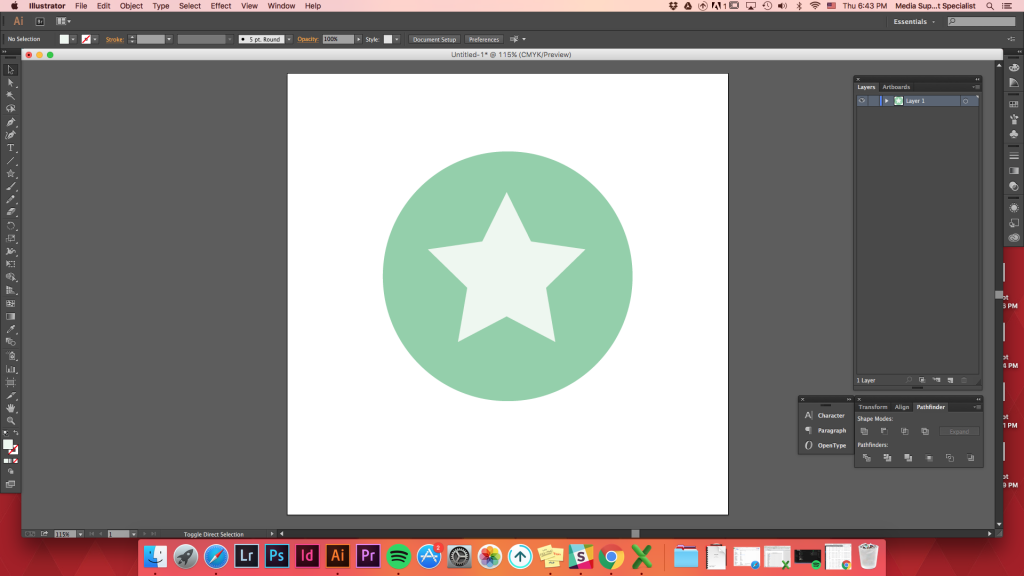
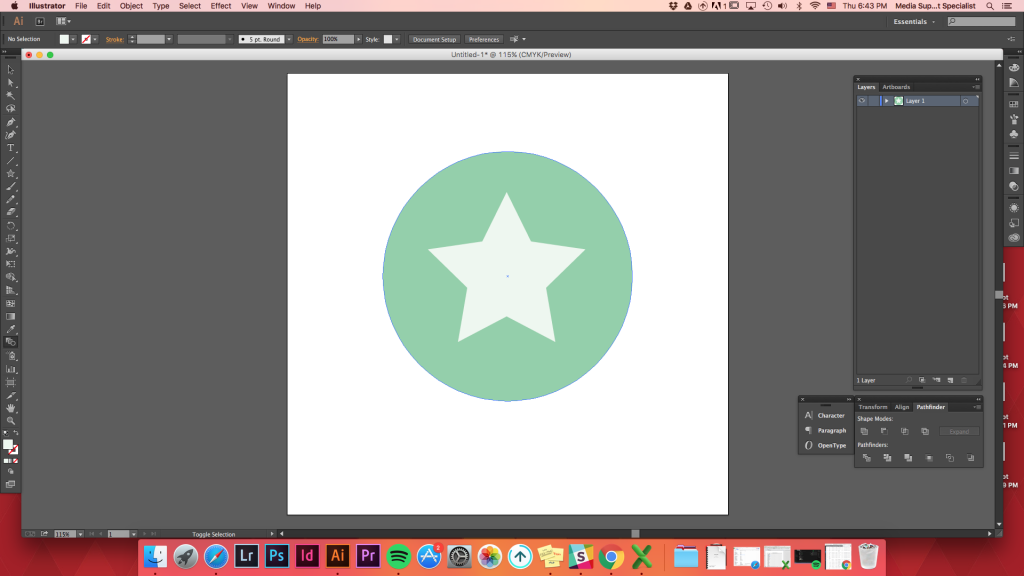
Using the blend tool to transition between several colors, shapes can create an illusion of depth.
You can also use this tool to make a shape look 3D depending on where you locate another shape on top of the other.
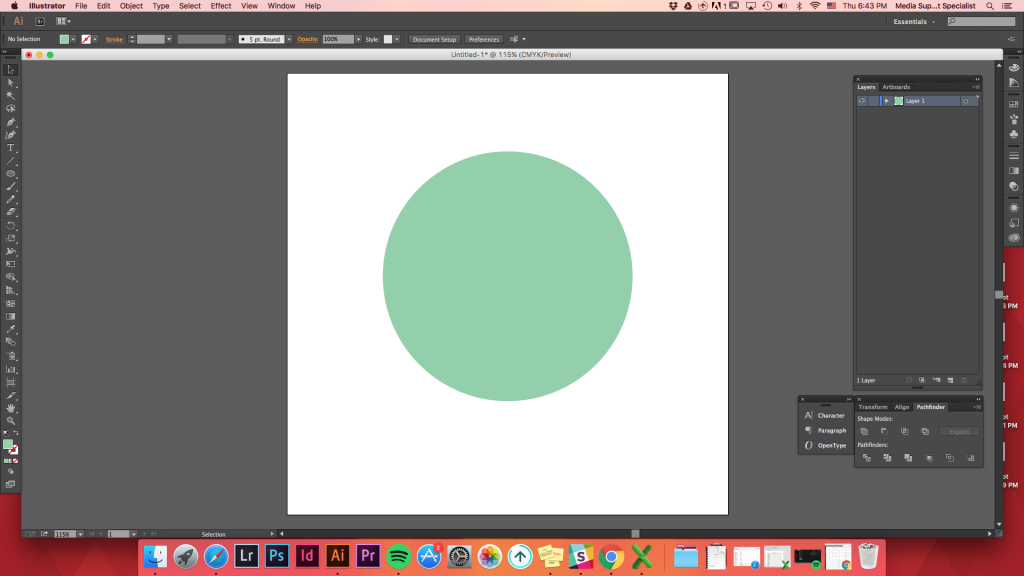
Create any shape -> create another shape on top of the first one -> blend tool -> click on the top shape -> click on the background shape


Blending Options
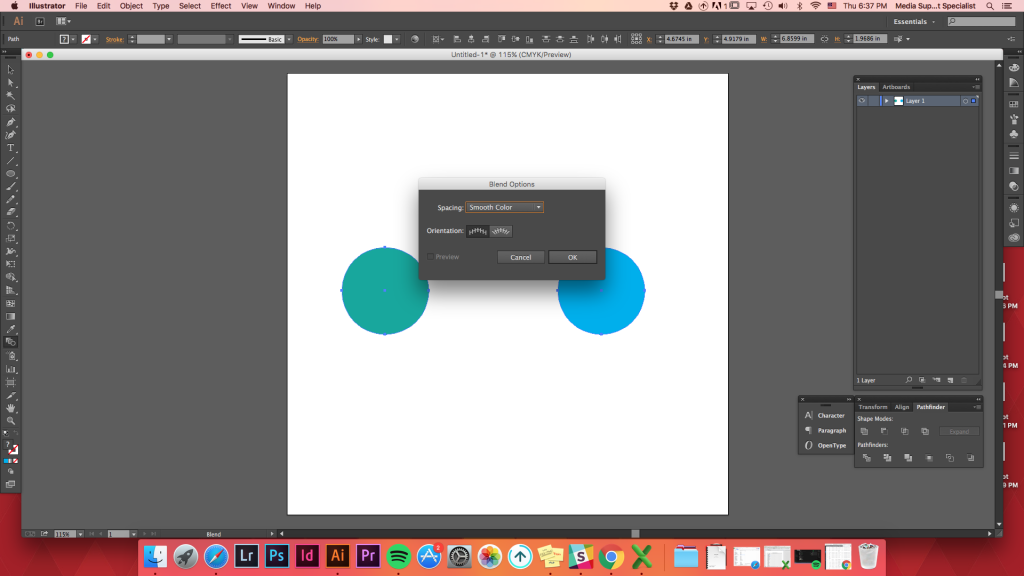
When clicking on the Blend Options (Objects -> Blend -> Blend Options), there will be different options to blend the shapes.
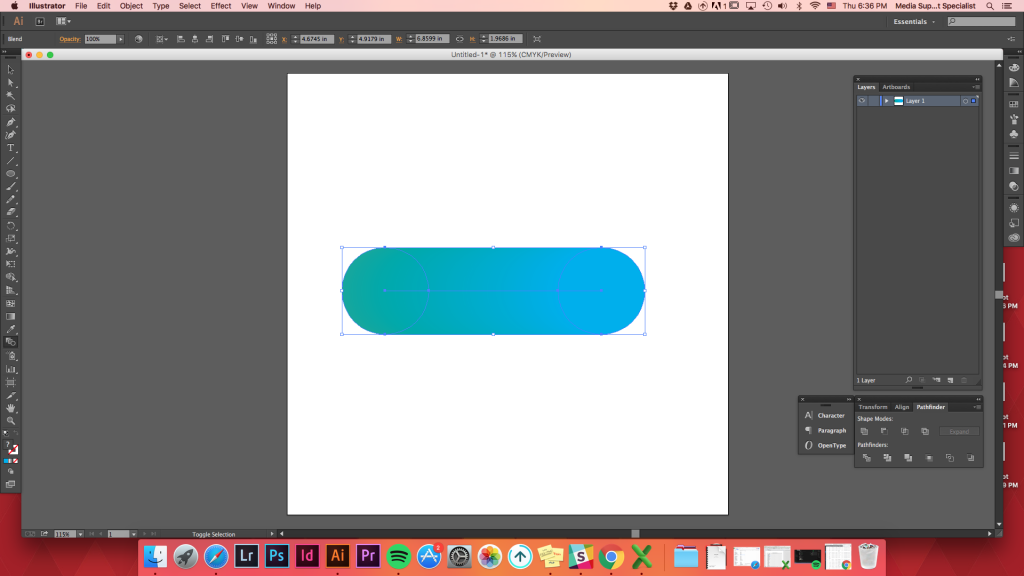
Smooth Color: Illustrator automatically calculates the number of steps for the blends.
Specified Steps: Controls the number of steps between the start and end of the blend.
Specified Distance: Controls the distance between the steps in the blend.
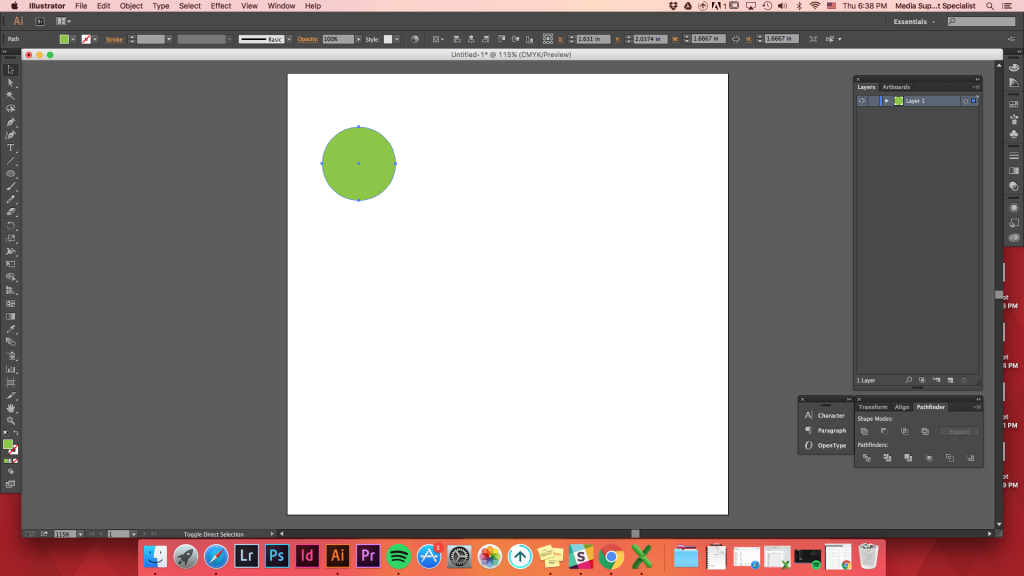
Make two shapes (does not have to be filled/lines are okay) -> separate them from one another -> blend (w)
Just trying to blend two shapes without controlling the Blend Options, will result the blend to be like this.
We want to distribute shapes evenly between two shapes.
Objects-> Blend -> Blend Options -> Specified Distance -> set it as 1 inch -> Ok
or use keyboard shortcut
blend (w) -> hold down Option key (or alt) -> click on one of the shape -> Specified Distance -> set it as 1inch -> Ok

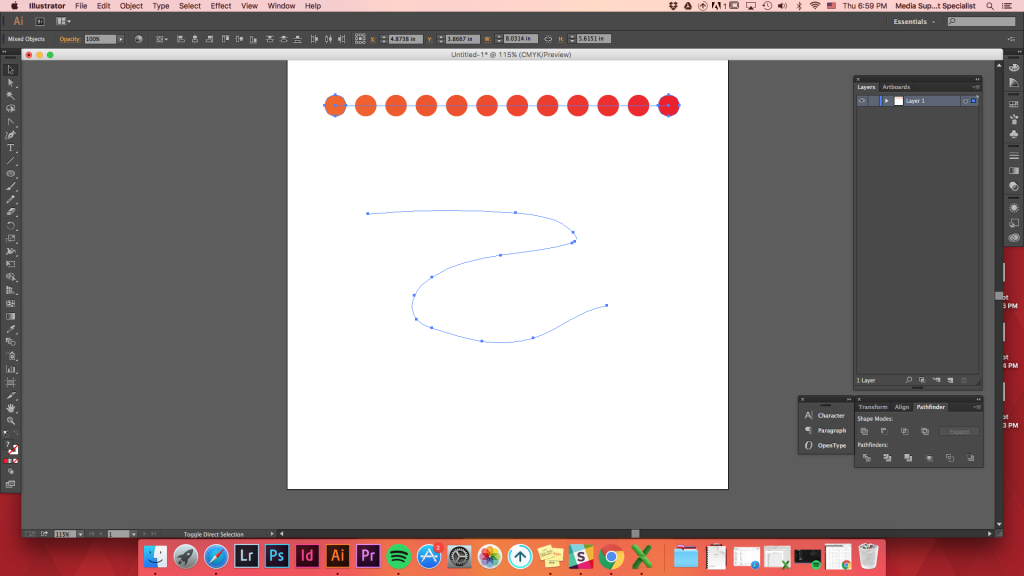
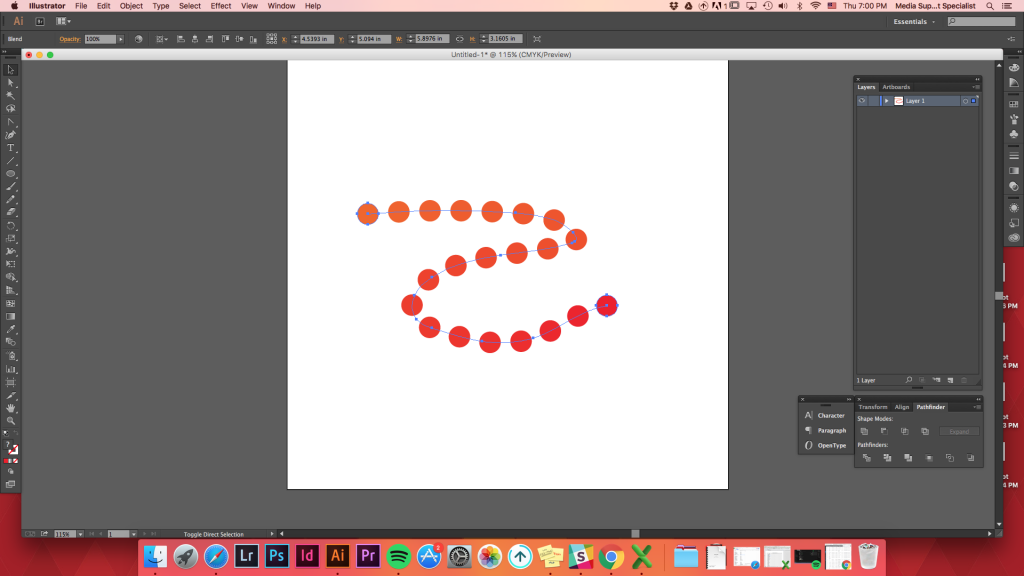
Replace Spine Option
After creating any blend, you can change the path it went along to blend.
Create any path you want -> select both the path and the blended shapes -> Option -> Blend -> Replace Spine (before clicking Blend Options, it is under Expand)