Topics
Introduction
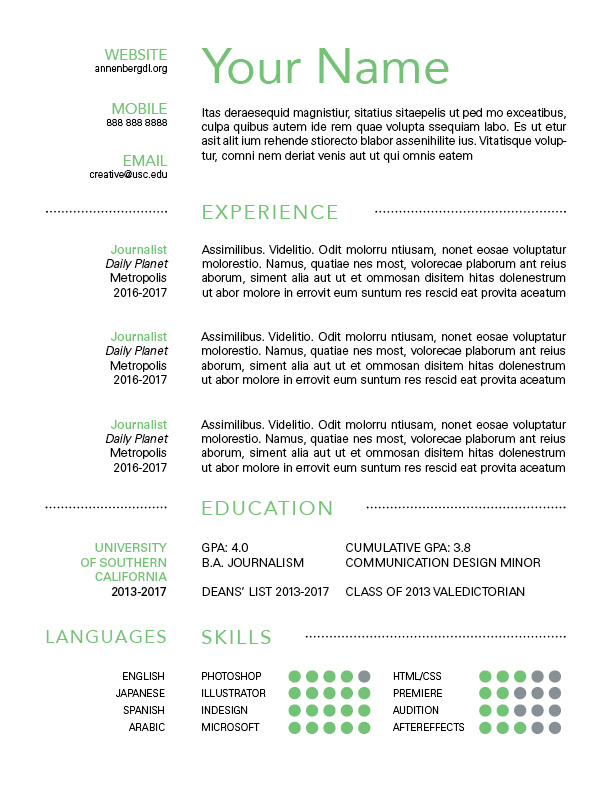
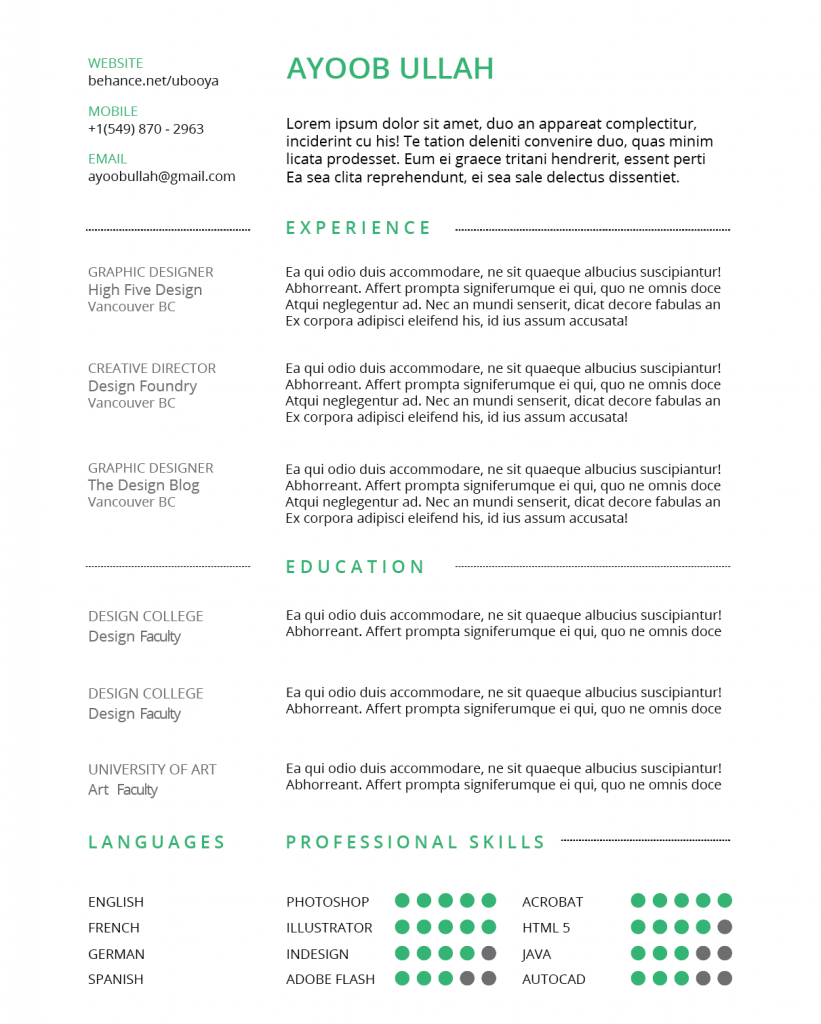
This tutorial will teach you how to create a clean and simple resume using InDesign. We will be recreating this resume, which was created by designer Ayoob Ullah. Check out his Behance page to see more of his work.
Creating a New Document
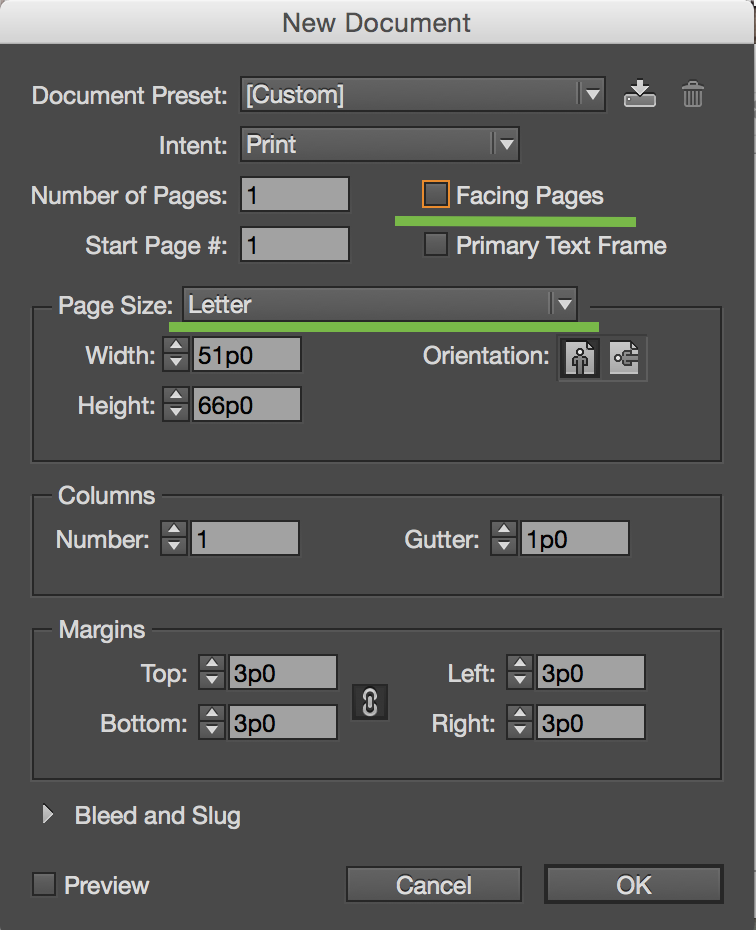
Let’s start by opening up InDesign. Hit File > New document (cmd+N). When the ‘New Document’ dialogue box pops up, uncheck ‘Facing Pages.’ Also, be sure to have a page size of ‘Letter’ or 8.5in x 11in.
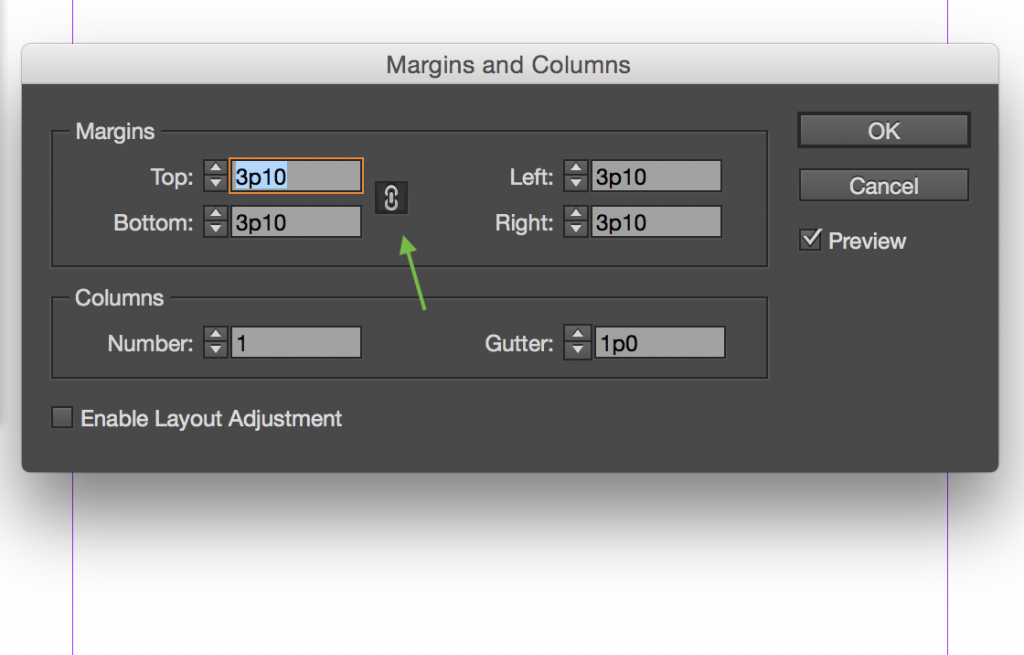
Now that we have our page, we want to increase the margin spaces. At the top bar, click Layout > Margins and Columns. A dialogue box will pop up. Make sure that the chain link icon is clicked on and start increasing the margins to 3p10.
Grids & Guides
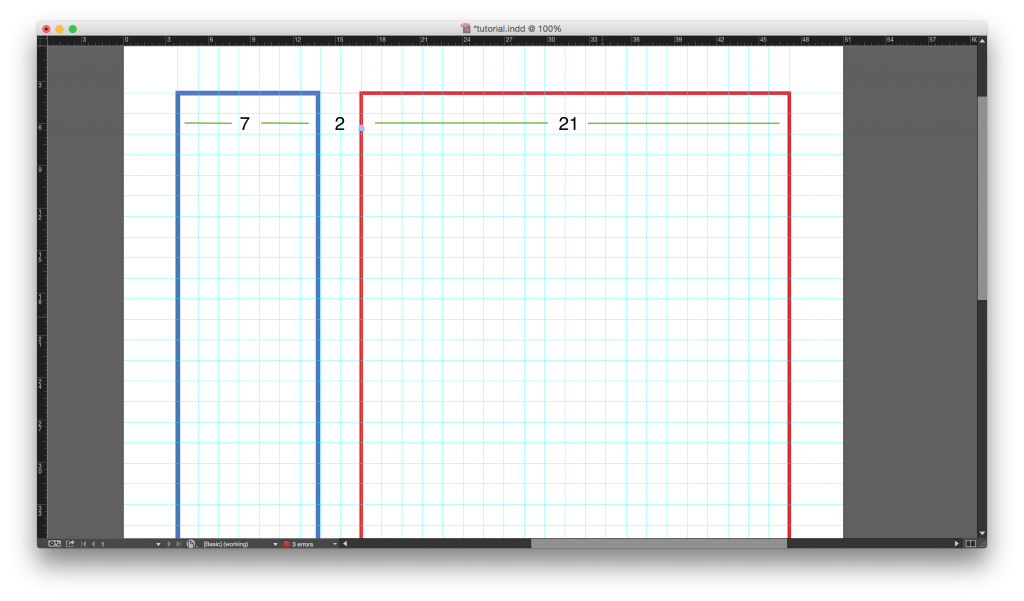
Now, let’s add in a grid. Hit Layout > Create Guides. Create 40 rows and 30 columns, gutters 0. Click the checkbox to fit guides to margins and hit ‘OK.’ Currently, our guides are movable so we need to lock them. Go to View > Grids & Guides > Lock Guides.
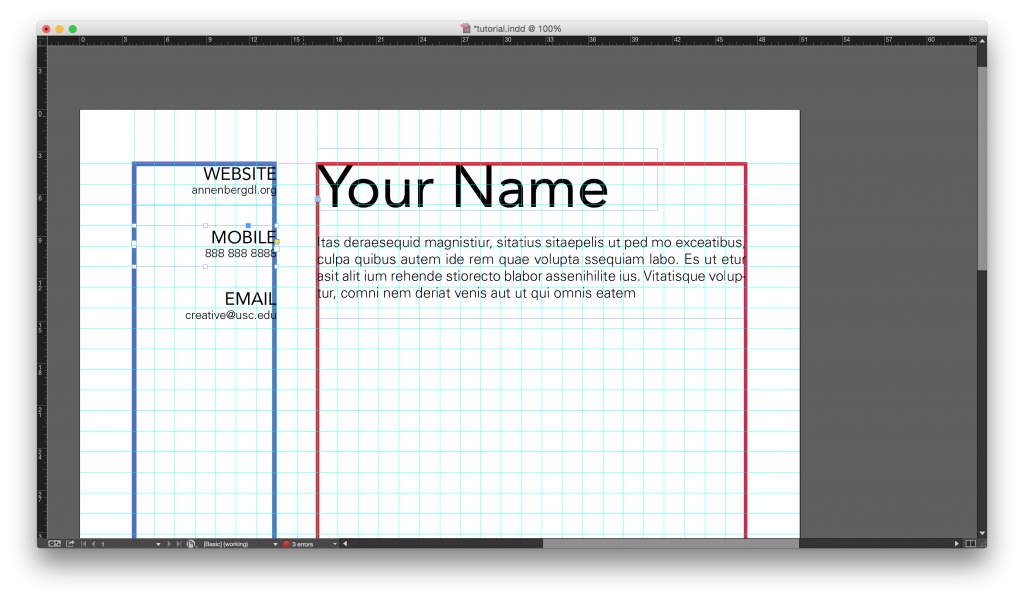
Next, we’ll divide our page into two parts – the left side, which will contain titles and contact information, and the right side, which will contain aspects that require more text, such as work experience.


Every square we’ve created with our grid is called a unit and will be used to measure our components. Use the Rectangle Tool (M) to create 2 boxes. The left box will be 7 units wide and the right box will be 21 units wide. Make sure to have 2 units in between the two boxes.
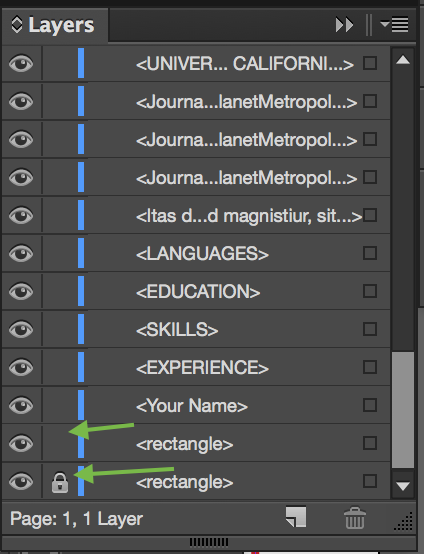
Next, select both boxes and increase the weight of stroke size by going to Window > Stroke. You may also change the color of the boxes if it helps you to divide the page. Select both boxes and go into your layers panel (Window > Layers) and lock the two rectangle layers by clicking on the empty box next to the eye icon.
Entering Text
We’ll be using fonts Avenir (Style: Roman) and Univers LT Std (Style: 45 Light), but for now, don’t worry about font and color. We need to have a solid composition before finessing.
“About Me”
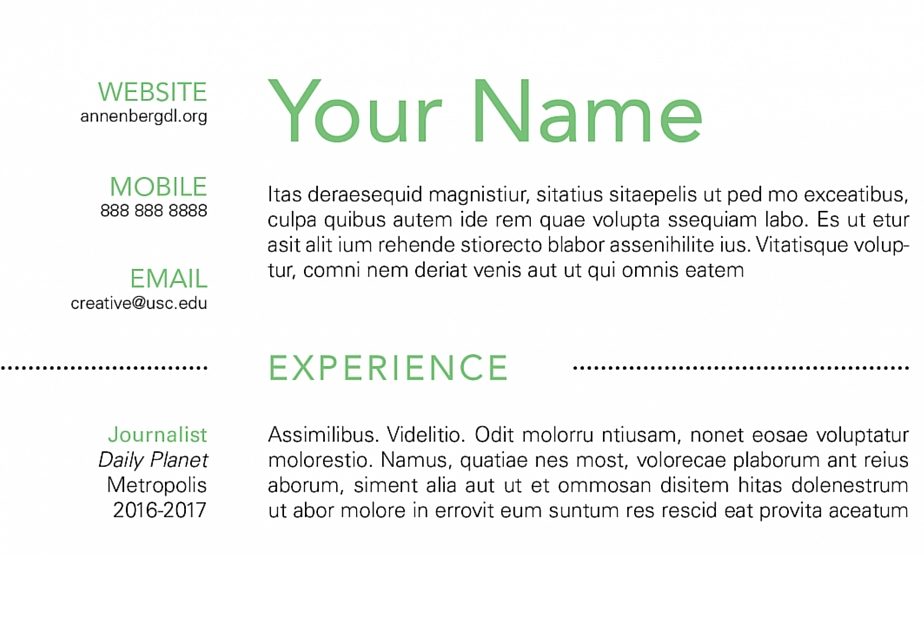
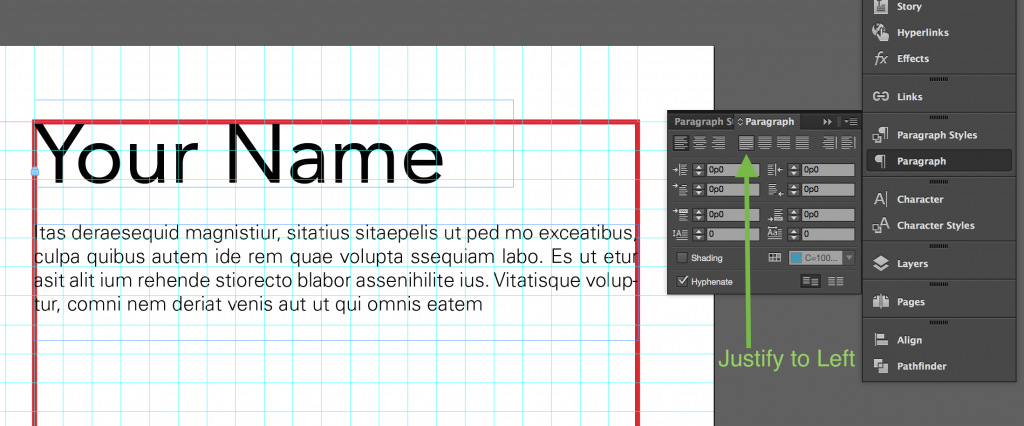
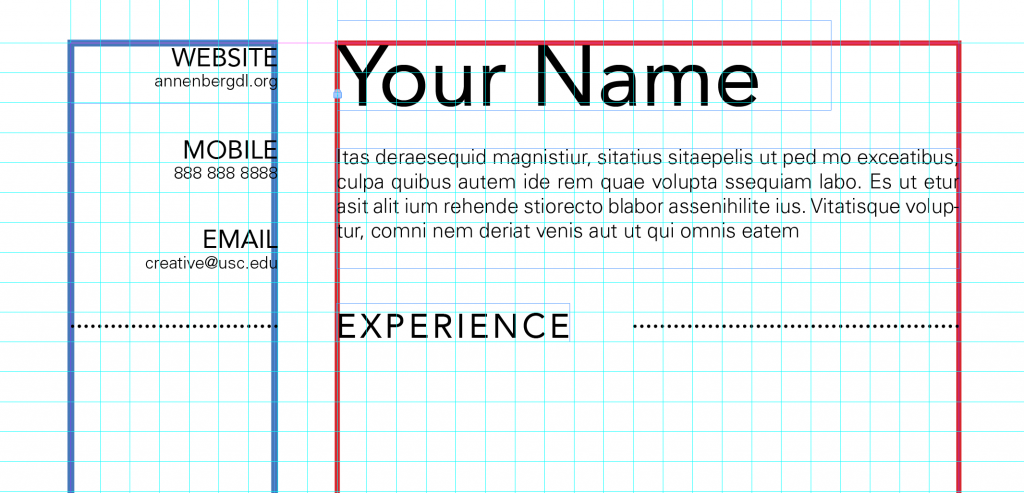
We will begin by typing our name. Select the Type Tool (T) and drag a box in order to create a text box and type. Feel free to adjust the box to fit your name. Align your name to the left edge of the red box.
Create a second box that is the same width as the red box. Fill it with placeholder text (Type > Fill with Placeholder Text) (Font: Univers, Font Size: 12). This area can be an “About Me” section or objective statement. To keep the block of texts looking clean, we’ll justify the paragraphs. To do so, go to your paragraph panel (Window> Type & Tables > Paragraph). Click on the icon that justifies the text to the left.
Contact Info
Now, we’ll focus on the left side of the page by listing our contact information. Create three new text boxes for your website, mobile, and email. The titles will be Avenir, size 15 and your information will be Univers, size 10. Align the text in these boxes to the right – you don’t need to justify these. Yay! We’re now finished with the first section.
Experience
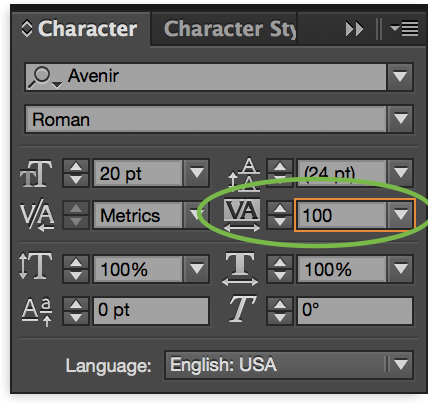
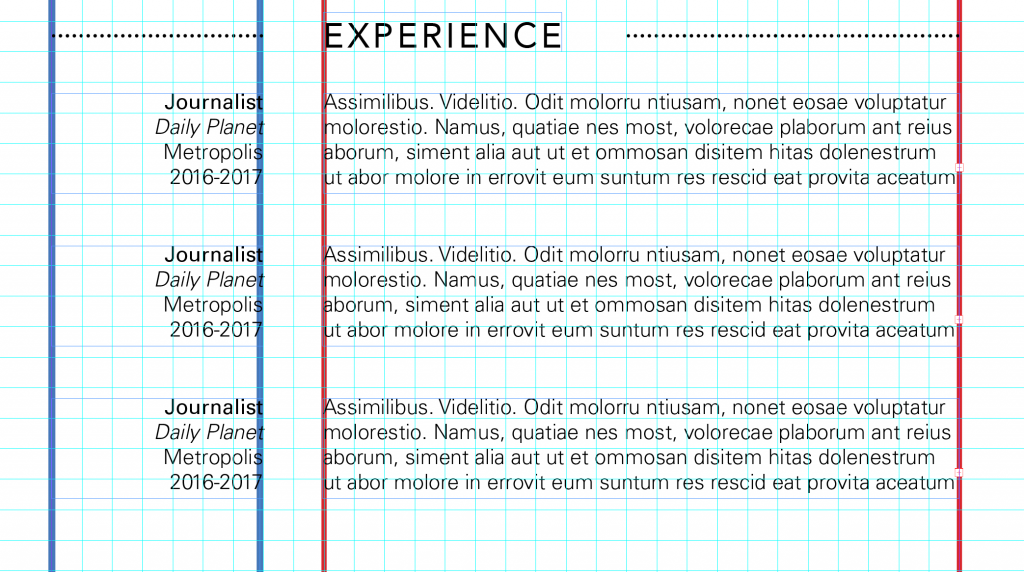
To start off the “Experience’ section, let’s first create a divider. Create a text box that says “Experience” (Avenir, 20). To distinguish the divider titles from your other titles, we’ll increase the tracking (spacing between the letters). To customize the tracking, open up the character panel (cmd+T or Window > Type & Tables > Character). The tracking section will be the one with the VA icon – increase this to 100.
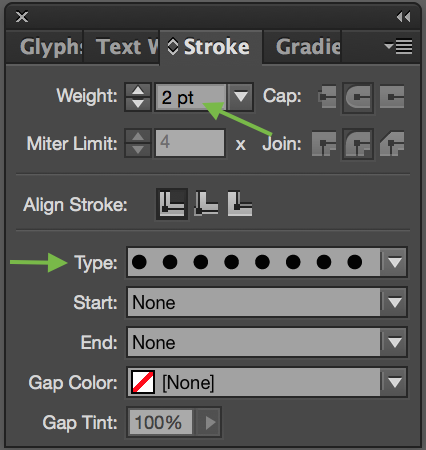
Next, we’ll focus on the actual line divider. Click on the line tool (\). Drag while holding Shift to create 2 straight lines. Open your stroke panel to increase the stroke size to 2 and type to Japanese dots. Place the dotted lines 2 units to the left and right of “Experience” and make sure they’re long enough to touch the side margins. You now have a divider!
Your “Experience” section will be similar to your header section, in that you’ll have 3 smaller text boxes on the left side while having larger text on the right. These text boxes are Univers, size 12; however, the job titles are Univers Roman and the company names Oblique.
Education
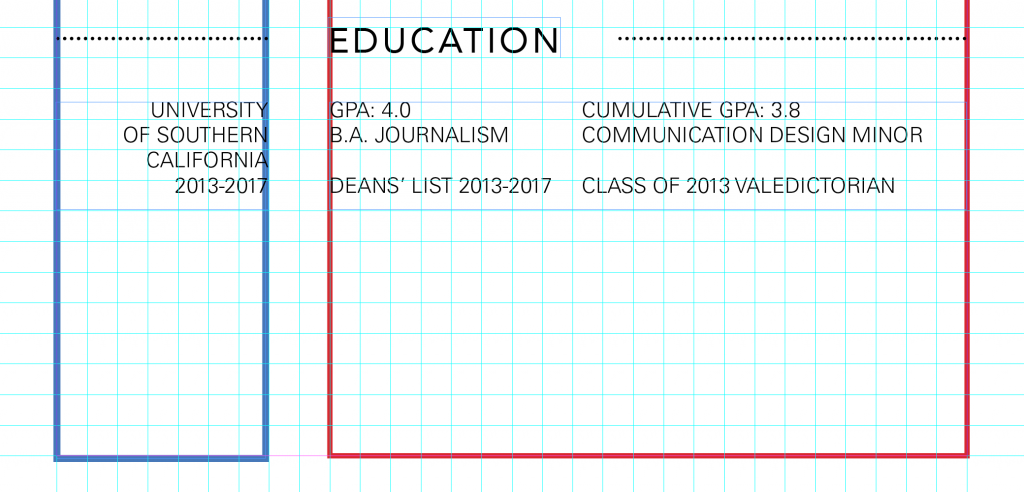
Onto the next section! Create an “Education” divider by repeating the divider steps from above. We’ve listed some relevant information, but feel free to add in or take away facts.
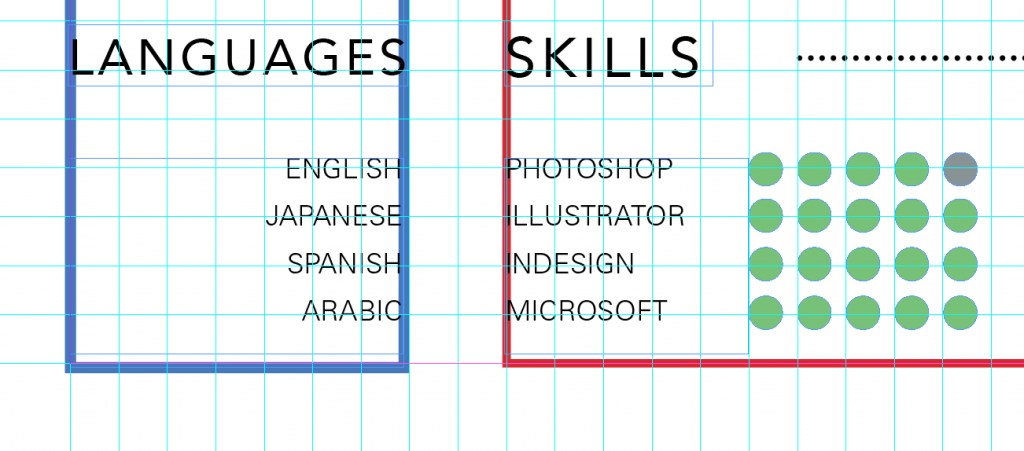
Language & Skills
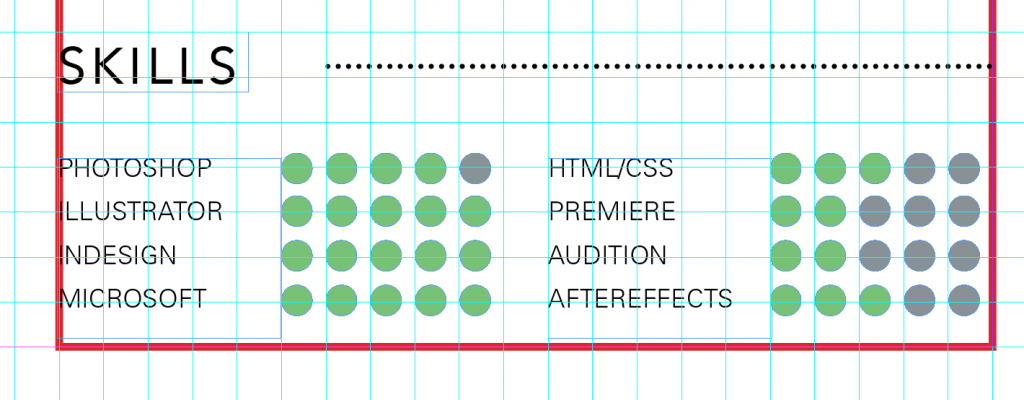
Next, we’ll be creating two smaller sections – language and skills. The divider for this will be similar to the ones we’ve already done. Skills will have a dotted line to its right, but instead of dotted lines to its left, it’ll have the word “Languages.” Feel free to change the font size and/or tracking for it fit nicely in the left box.
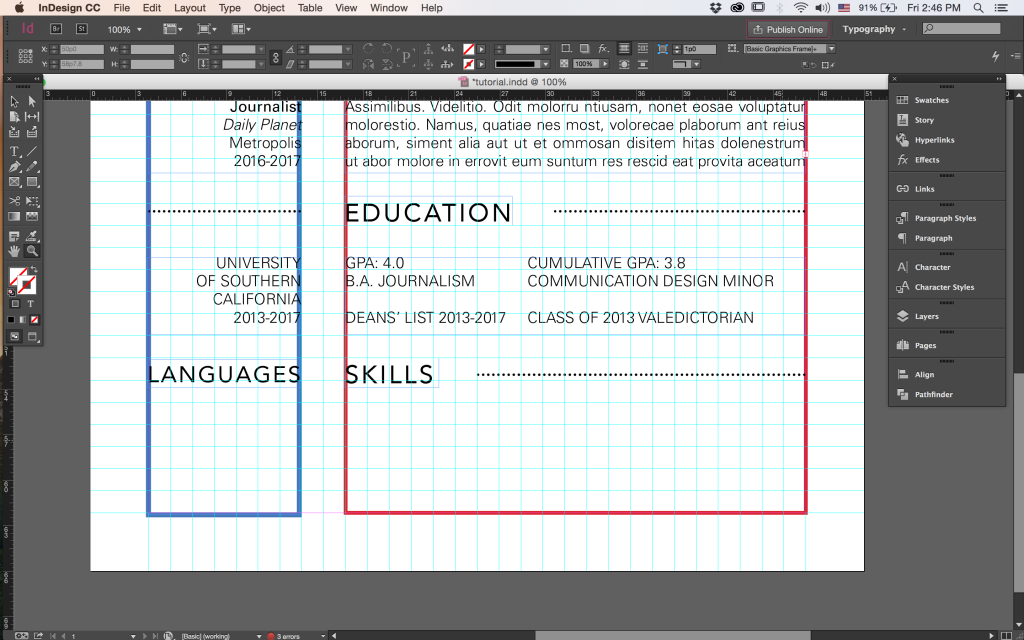
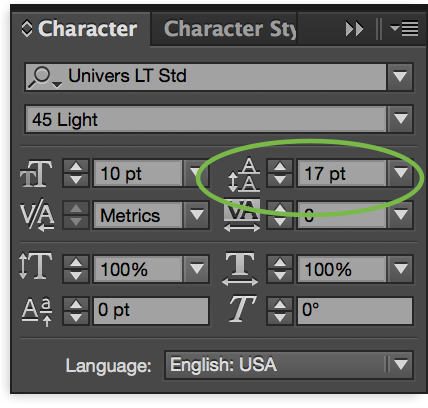
Next, create a text box and list your 4 skills (Univers, 10pt). We want to have more space between every return, so we need to change the leading. The more we increase the leading, the more space there will be between lines. So we’ll open the character panel and increase the leading to 17. Leading is represented by an “A” on top of another “A.”
Now, we’ll create a row of 5 circles. Click the Ellipse Tool (L). Drag while holding ALT and SHIFT to create a perfect circle. Create the circle slightly smaller than a unit and make the fill color whatever you want. We made ours green.
After creating your row of 5 circles, group them by selecting them all and hitting cmd+G or Object > Group. Copy and paste it 3 times, then align it with your skills. Think really hard, find 4 more skills, and repeat. Adjust the coloring of the circles to reflect your skill level.
Next, list the languages you know and give the text box a leading of 17. Now you’re done!
Customize Your Resume
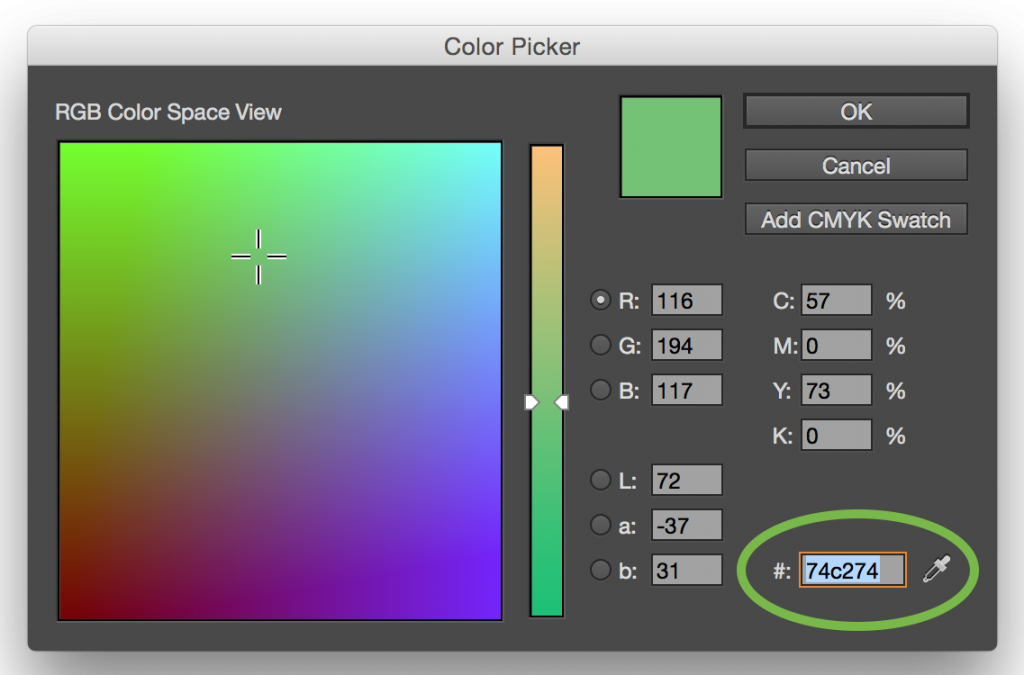
But we’re not done quite just yet. Add some color to make your resume pop! We added the color of our circles to all of the titles to create a cohesive, simple look. To copy a color, just copy the hex color code, highlight the text you want to recolor, double click on the T, and paste the code.
Zoom out (cmd+0), hide the red and blue boxes (go to your layers panel and click on the eye icon), and fit to window (w) to see the finished result. Congrats on your masterpiece, now go find your dream job!