


Topics
In this tutorial, we will cover how to add subtitles for videos in Adobe Premiere Pro. Fortunately, Instagram recently released an update where any and all aspect ratios can be used in the app. However, the method of overlaying subtitles on any video, regardless of the aspect ratio, stays the same. Let’s have a look.
Creating A New Project
- Launch Adobe Premiere
- File > New > Project
- Input what you want the project title to be and where you want to save it and click OK.
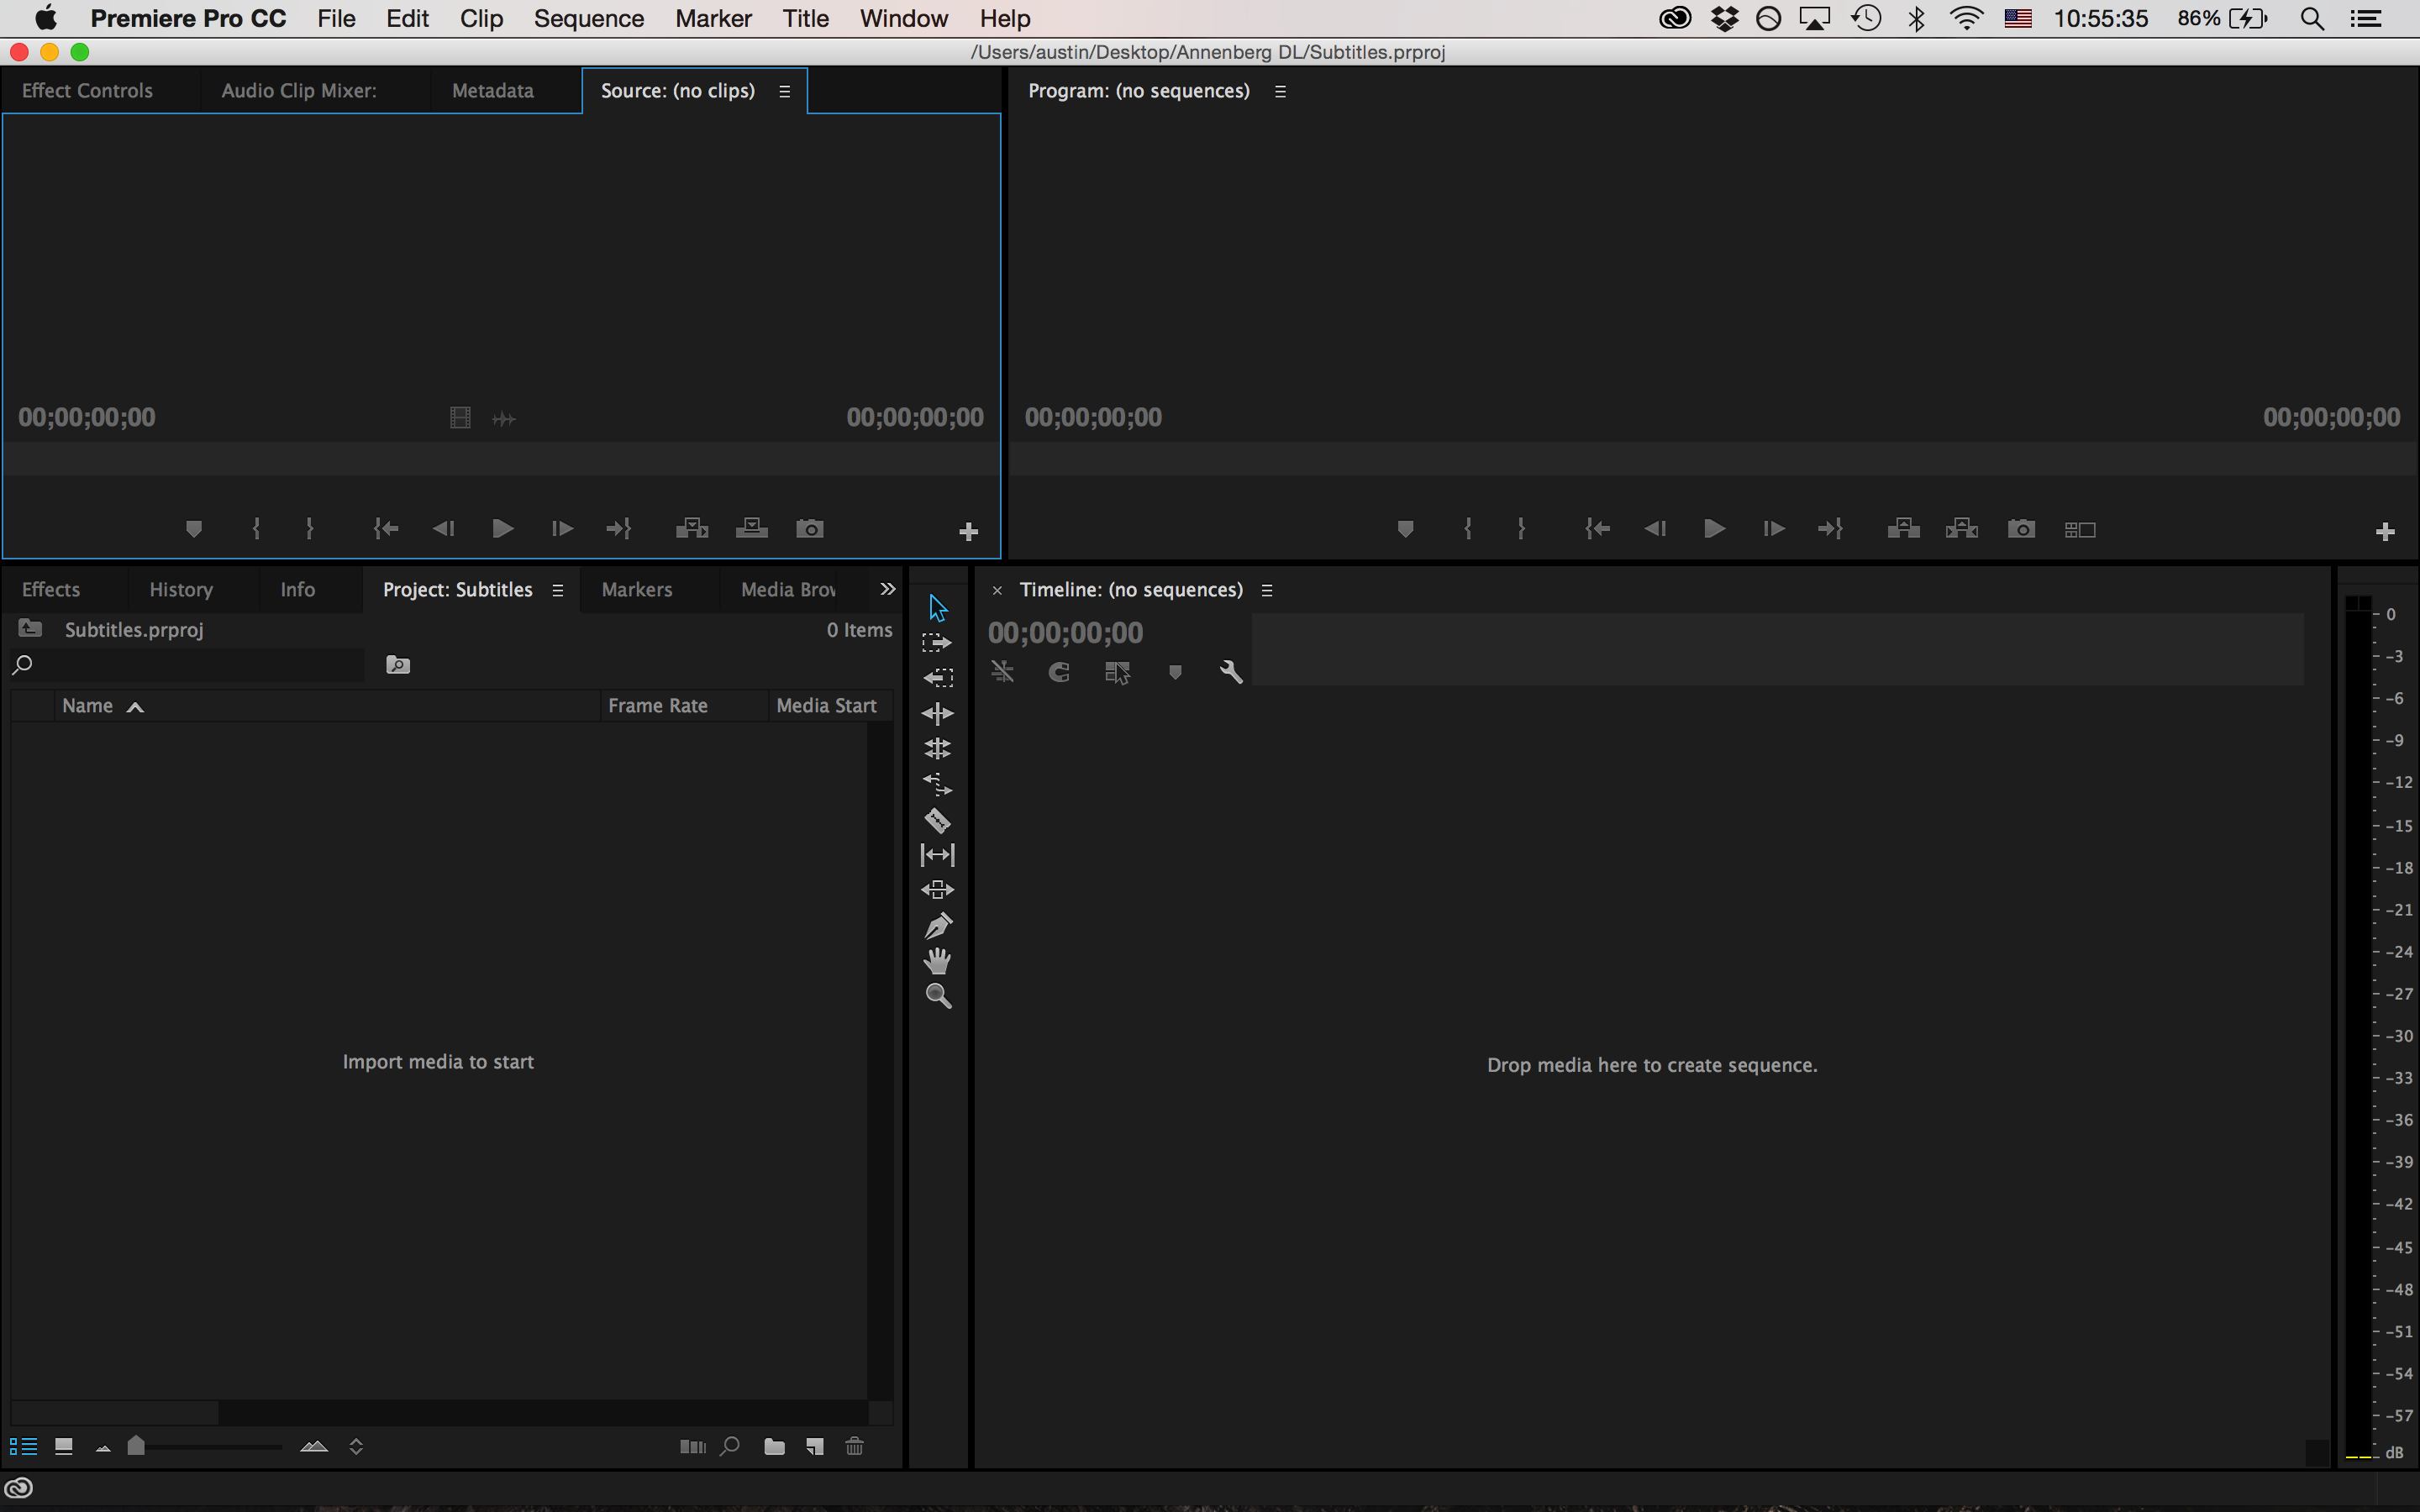
Importing Footage
- File > Import, and select the clip or clips you wish to import into your project.
- The file or files you import appear in the project window within Premiere.
- To create a new sequence from that clip, double click on the clip and set your in and out points in the source monitor (top left screen).
- You can then drag the clip from the source monitor to the timeline on the bottom right to automatically create a sequence.
Adding Subtitles
- File > New > Title (or Command⌘+ T)
- In the dialog box that pops up, name your title and hit OK.
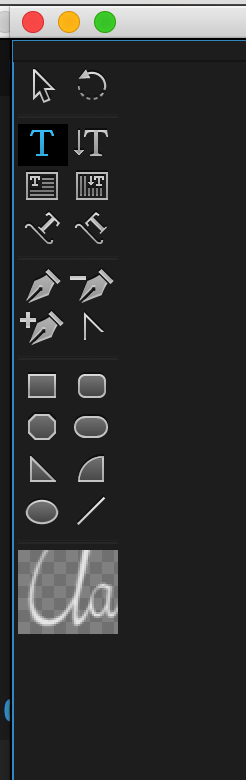
- The title tool box now pops up. Lets input our first subtitle by clicking the T on the left toolbar.
- Click anywhere on the screen to create a text box and create your subtitle.
Editing Subtitles
So we have our subtitle, but it’s incredibly hard to see. With films and motion pictures, they often use yellow font to fix the issue of readability. However, I’ve found that this doesn’t look the best for videos made for social media channels. Instead, It is good to drop a rectangle of the opposite color behind the text.
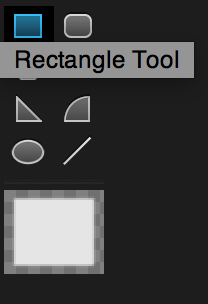
- Click on the Rectangle Tool on the left tool bar of the title tool window. Click and drag to create your rectangle over the footage.
- With the rectangle selected, go to the right side of the title tool window and reduce the opacity of the rectangle fill to 70-80%.
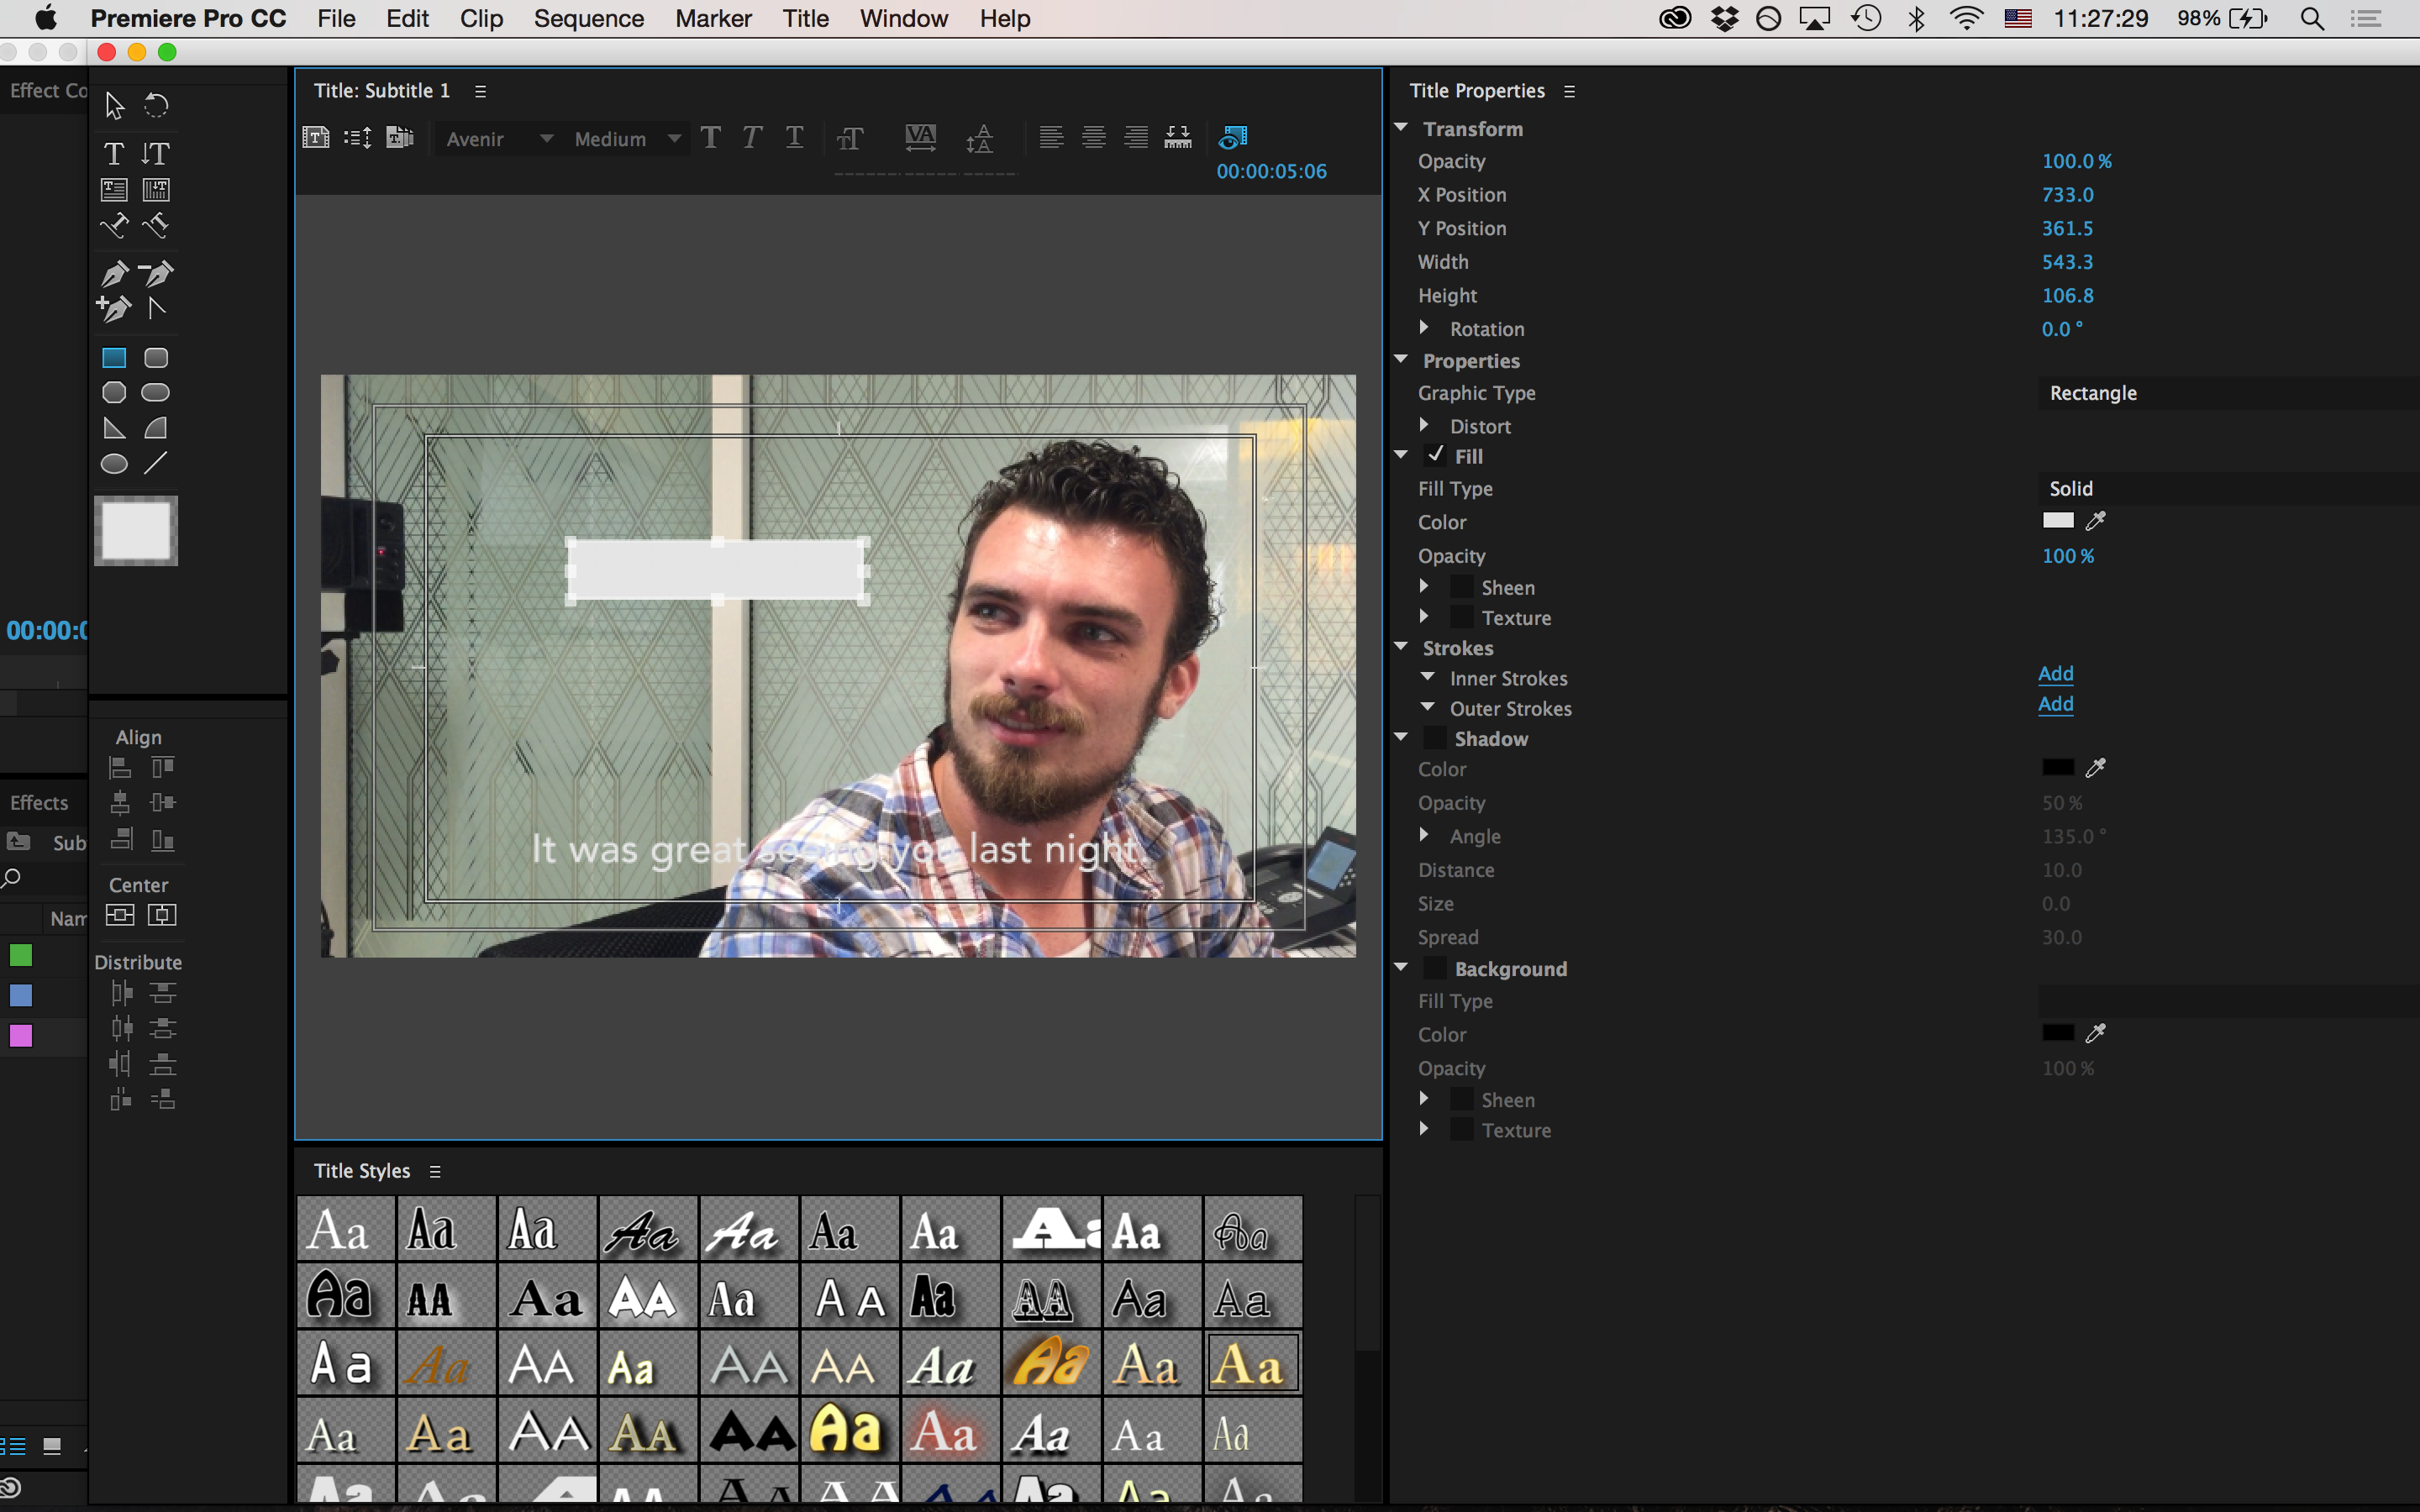
- Lets now right click on the rectangle overlaid on the footage and go to arrange > send to back.
- Select the text we have on the bottom, and change the color of the fill to black (on the right toolbar)
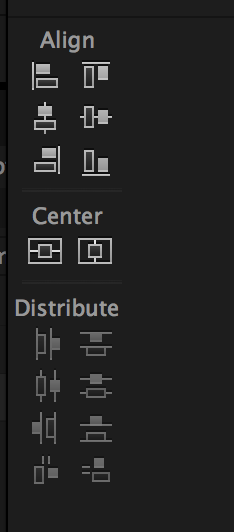
- Now click on the white rectangle and center it both ways using both center icons on the left toolbar.
- Click on the subtitle we created and do the same.
- Now click on both the subtitle and white rectangle and drag down to the lower third of the screen.

- Exit out of the title tool by clicking on the red x in the upper left corner.
Overlaying Subtitles
- Drag your subtitle from the project window in the left corner to the layer above our clip in the timeline.
- Right click the beginning of the subtitle in the timeline and add a fade in by selecting apply default transition.
- Repeat the same by right clicking the end of the subtitle and selecting apply default transition.
Our subtitle is completed! These kind of subtitles are perfect for social media videos including Facebook and Instagram, as videos now begin autoplaying without sound. Videos that incorporate subtitles are able to hook and inform viewers instantly!