


Topics
Adobe inDesign CC is a program best suited for designing and publishing layouts for magazines, newsletters, catalogs, postcards, brochures, decks and any multi-page document for print or digital delivery. In this tutorial, we will cover getting started in InDesign by creating a Photography deck. We will cover preflighting, creating master pages, using guides, threading and placing text, and how to place images and create frames.
Creating a New Document
1) Launch Adobe InDesign.
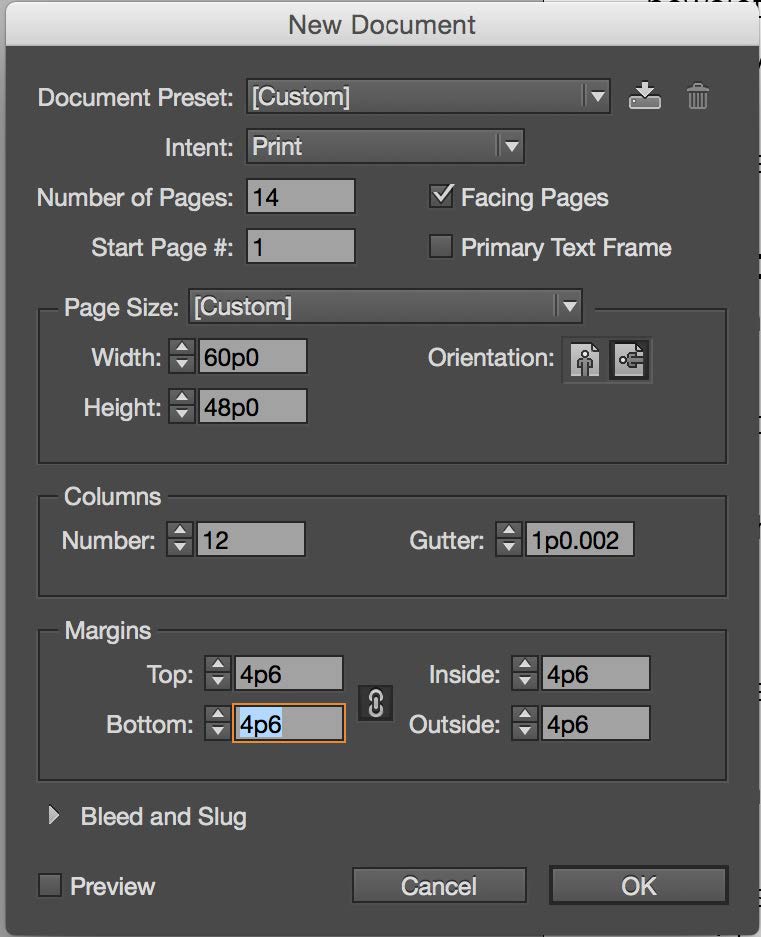
2) Go to File > New > Document
3) For this document, we’re creating a Photography deck that we eventually want to Print, so under Intent, we’ll select Print.
4) Type in 14 for the number of pages. We’ll leave the Start Page # as 1. We’ll leave Facing Pages check marked.
5) InDesign defaults to using picas as the unit of measure. We can change it to Inches later. We know we want our document to be 10 in by 8 in. Type in 10in under width and inDesign will automatically convert that to picas, then type in 8in for height. Make sure Landscape is selected for Orientation.
6) Under columns, type in 12. For Gutter, type in 0.1667 in. For Margins, we’ll type in 0.75 in into any of the fields and you’ll notice that all the margins change to match that. Then click OK.
Setting Up Master Pages
Before adding any content to your document, it’s a good idea to set up your master pages, which serve as backgrounds for your document pages. Any object that you add to a master page automatically appears on the document pages to which the master page has been applied. For our master page, we want to add a footer that shows the page number and the name of our deck. You can create multiple master pages to allow for variation while ensuring consistent design.
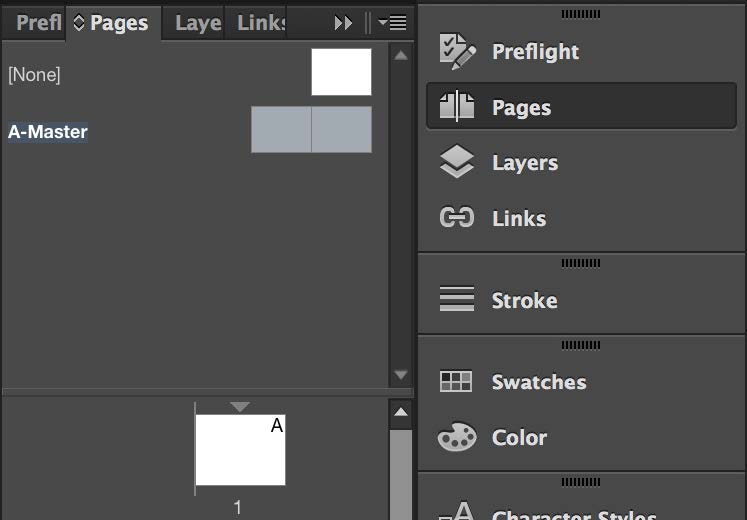 1) Click on Pages on the right hand side. If you don’t see it, go to Window > Pages.
2) Double-click on the name A-Master. The master spread will now appear in your document window to edit.
3) First, I’ll want to set up guides that show up on all my spread to help keep a consistent design across all my spreads. Go to Layout > Create Guides…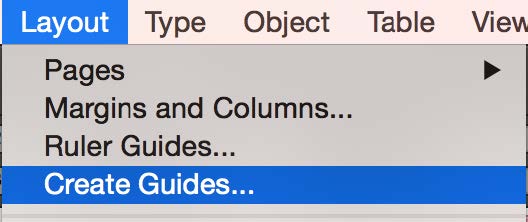
4) Check mark Preview to display your changes as you make them.
5) Since we’ve already added columns when we created the document, we’ll create 8 Rows with a gutter of 0.1667in and under options, we’ll choose Fit Guides to Margins.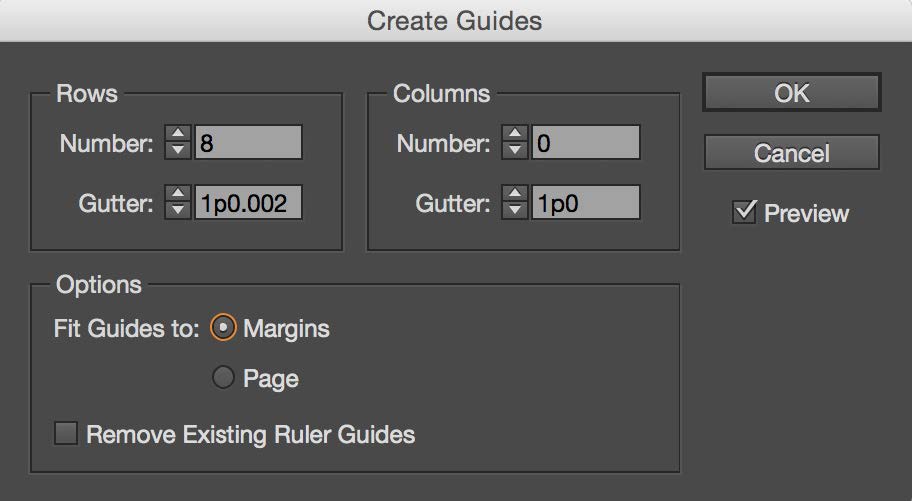
6) Click OK.
Your spread will now look like this:
7) First, I’m going to set the document to use Inches for its Ruler instead of Picas. To do this right click on the Ruler and select Inches.
8) Make sure your document view is 100%. To do this, select Window > Actual Size.
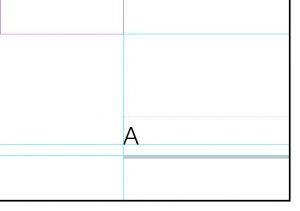
9) Now, click the ruler and drag out a guide. Using the ruler on the left hand side, I can drag the ruler to 7.75 inch and create a guide of where my Page Number and Deck Title will be. You’ll need to do this for both pages in the Master Spread.
10) I want the page number to appear in the bottom right hand corner and the name of my deck, which will be Veils to appear in the bottom left hand corner. To do this, I’ll select the Text Tool.![]()

11) Click and drag to create a text box above the guide. Notice, my text box is resting on top of that guide.
12) Type in Veils. While still in the text tool, you can change the font in the toolbar. I’ve changed it to Helvetica Neue Light, Size 8 pt.
![]()
13) In the toolbar, I’ll also select to Align Right and I”ll also change the font color to White.
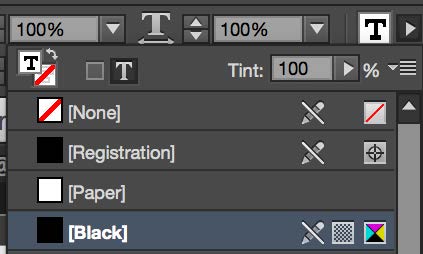
14) I create a guide to the Margin line and adjusted my text box to go right up to that  line. I also created another horiztonal guide underneath Veils at the 7.8in line and using the Line Tool
 ![]() , create a line underneath. Click and drag to create your line, while holding Shift to keep the line straight.
, create a line underneath. Click and drag to create your line, while holding Shift to keep the line straight.
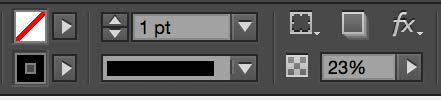
15) In the toolbar with the Line selected, I set the stroke color to Black and gave it a 27% opacity to make it a lighter grey.
16) Now I’ll do the same on the right hand page. Create the same guides.
17) To add the page number to the other side, create a new text box and with your cursor in the text box, you will go to Type > Insert Special Character > Markers > Current Page Number. This will place an A in the text box. Now, any page with the A-Master applied to it, it will automatically update that A to the page number that it is.

18) Set the font again to Helvetica Neue Light, 8 pt and set the alignment this time to Align Left.

 19) Create the same line as you did underneath VEILS. It should now look like this:
20) Double click on Page 1 to get out of the Master Page edit mode.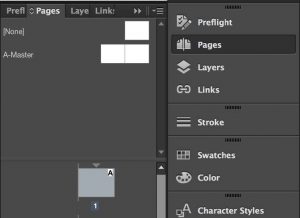
Placing Images into Your Document
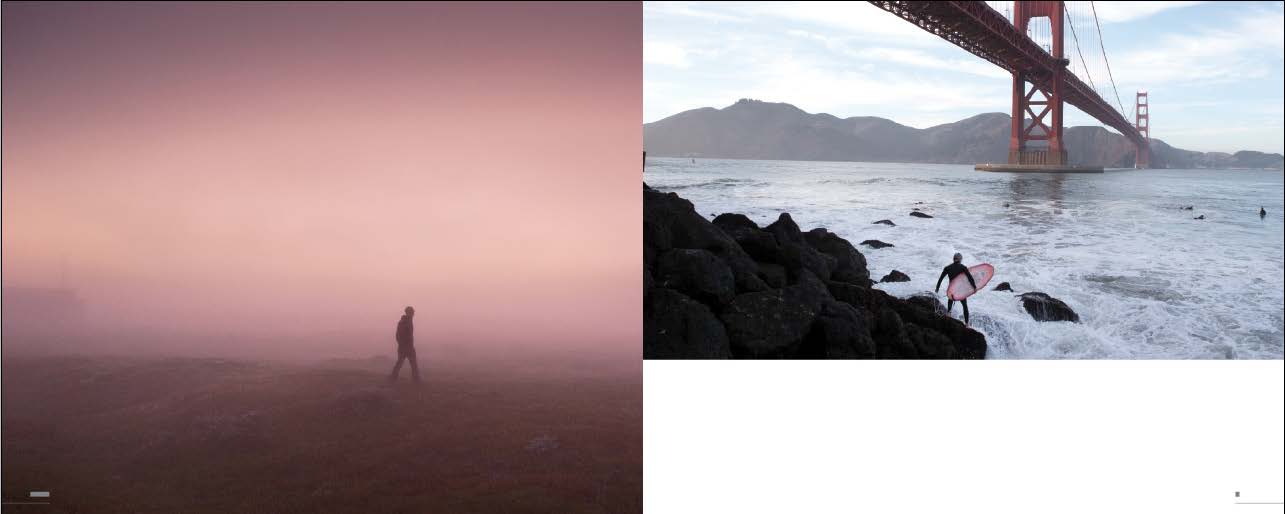
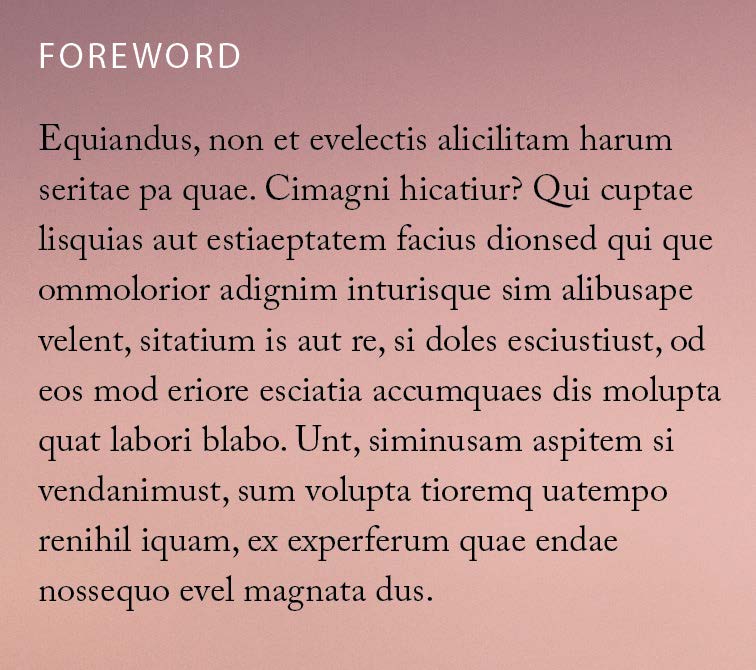
For the front of my deck, I want to place image with the title on top of it.
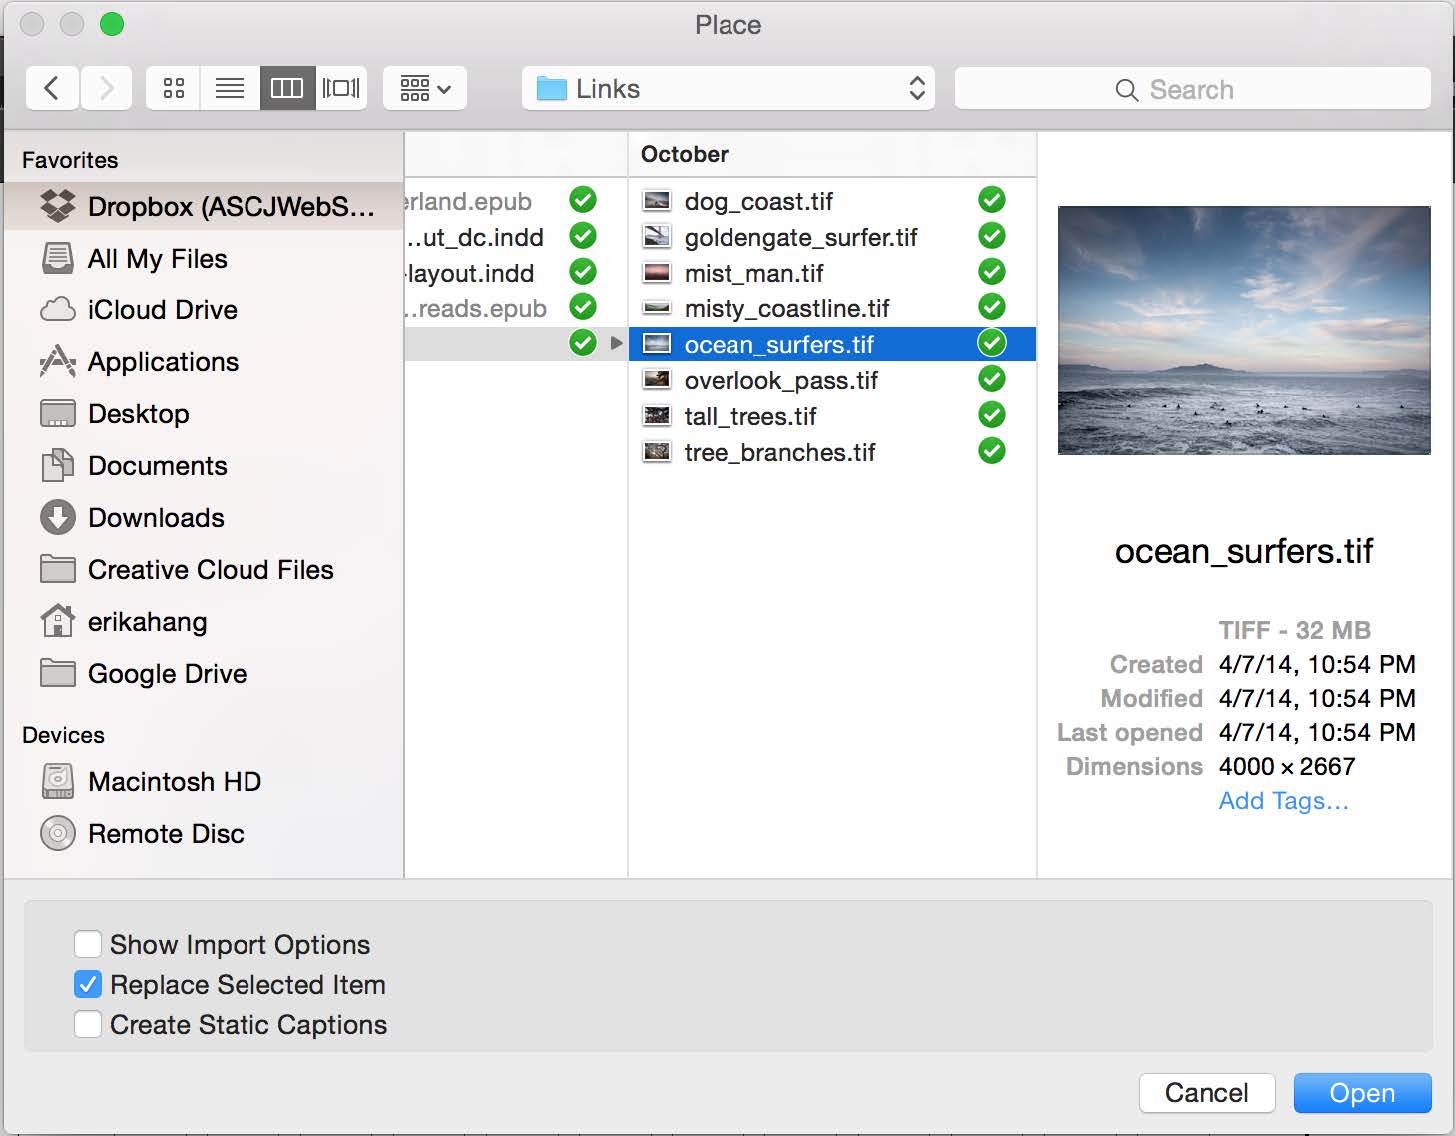
1) Choose File > Place… 
2) Find your image on your computer and click Open.
3) Click anywhere to place your image.
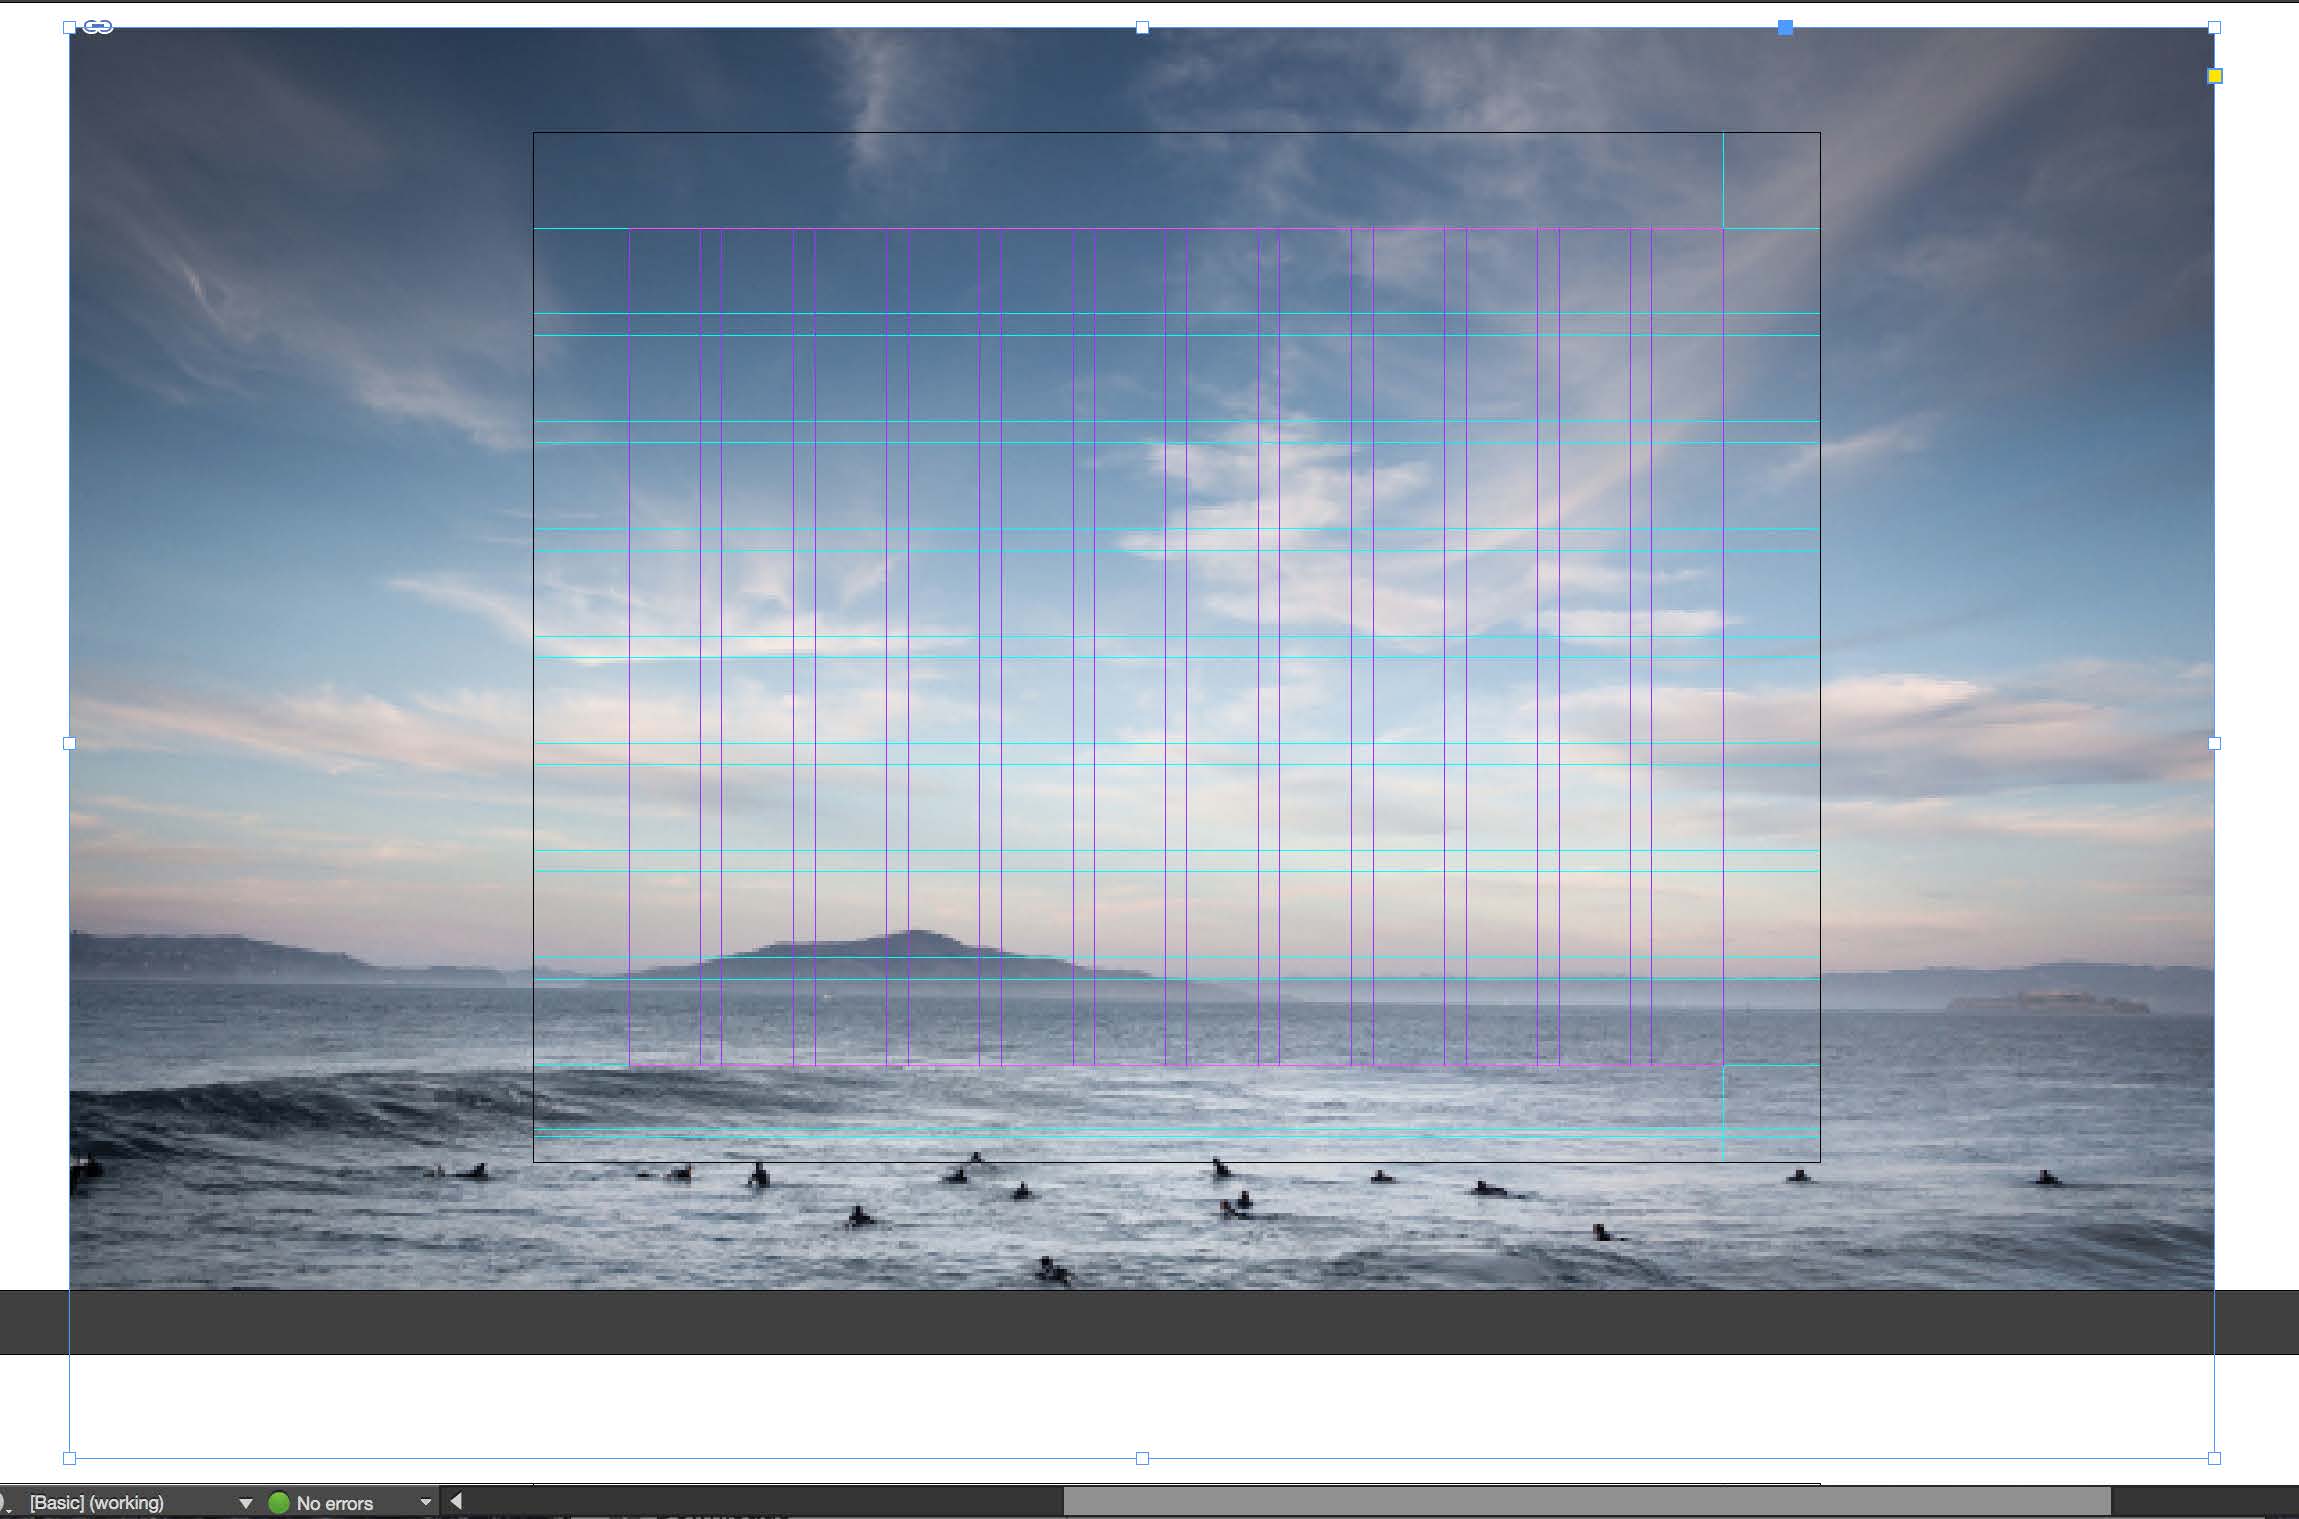
4) Notice that the image overtakes the page. We’ll need to resize the image. Select the Scale Tool. ![]()
5) With the image selected and while holding down Shift, click and drag in towards the center of the image to decrease it proportionally until it fits to the height of the document size. You’ll notice that it overflows on the sides. This will create a bleed and the image will go all the way to the edge. I’ve also moved the image around to get the part of the image I want to show. To preview how it will look go to View > Screen Mode > Preview.

6) Now let’s add the title of the deck on top of the image. Select the Text Tool. ![]()
7) Click and drag to create a text box and type in “VEILS”. Click and drag to create a second text box and type in “The Photographs of Elsa Whitlow”.
8) Using the toolbar, change the font and size to how you’d like and arranged it as pictured here: 
9) I’ve added some shapes to stylize my deck. I’ve done this using the Ellipse Tool ![]() and Line Tool.
and Line Tool. ![]() Click and drag to draw the shapes on top of your photo. Tip: Hold down shift while making the shapes, this will keep the circle proportionate and keep the line straight.
Click and drag to draw the shapes on top of your photo. Tip: Hold down shift while making the shapes, this will keep the circle proportionate and keep the line straight.
10) Now we can place more images in our deck just as we did wtih the cover image.
Setting Character & Paragraph Styles
Paragraph styles let you apply and globally update text formatting to speed up production and create a more consistent overall design. Paragraph styles incorporate all elements of text formatting, including character attributes such as font, size, style, and color, along with paragraph attributes such as indents, alignment, tabs, and hyphenation. In contrast, character styles apply formatting to selected characters such as word or phrase. For instance, in this document, the Headlin and bolded text would be a character style and the large chunk of text would be a paragraph style.
1) Now that I’ve placed my images like this, I can add text. Select the Text Tool. ![]()
 2) Click and drag to create a text box. I’ve typed a header and formatted it. InDesign allows you to add in Placeholder text, which places Loreum Ipsum type into your box. This can helpful when mapping out your document, before placing any text in.
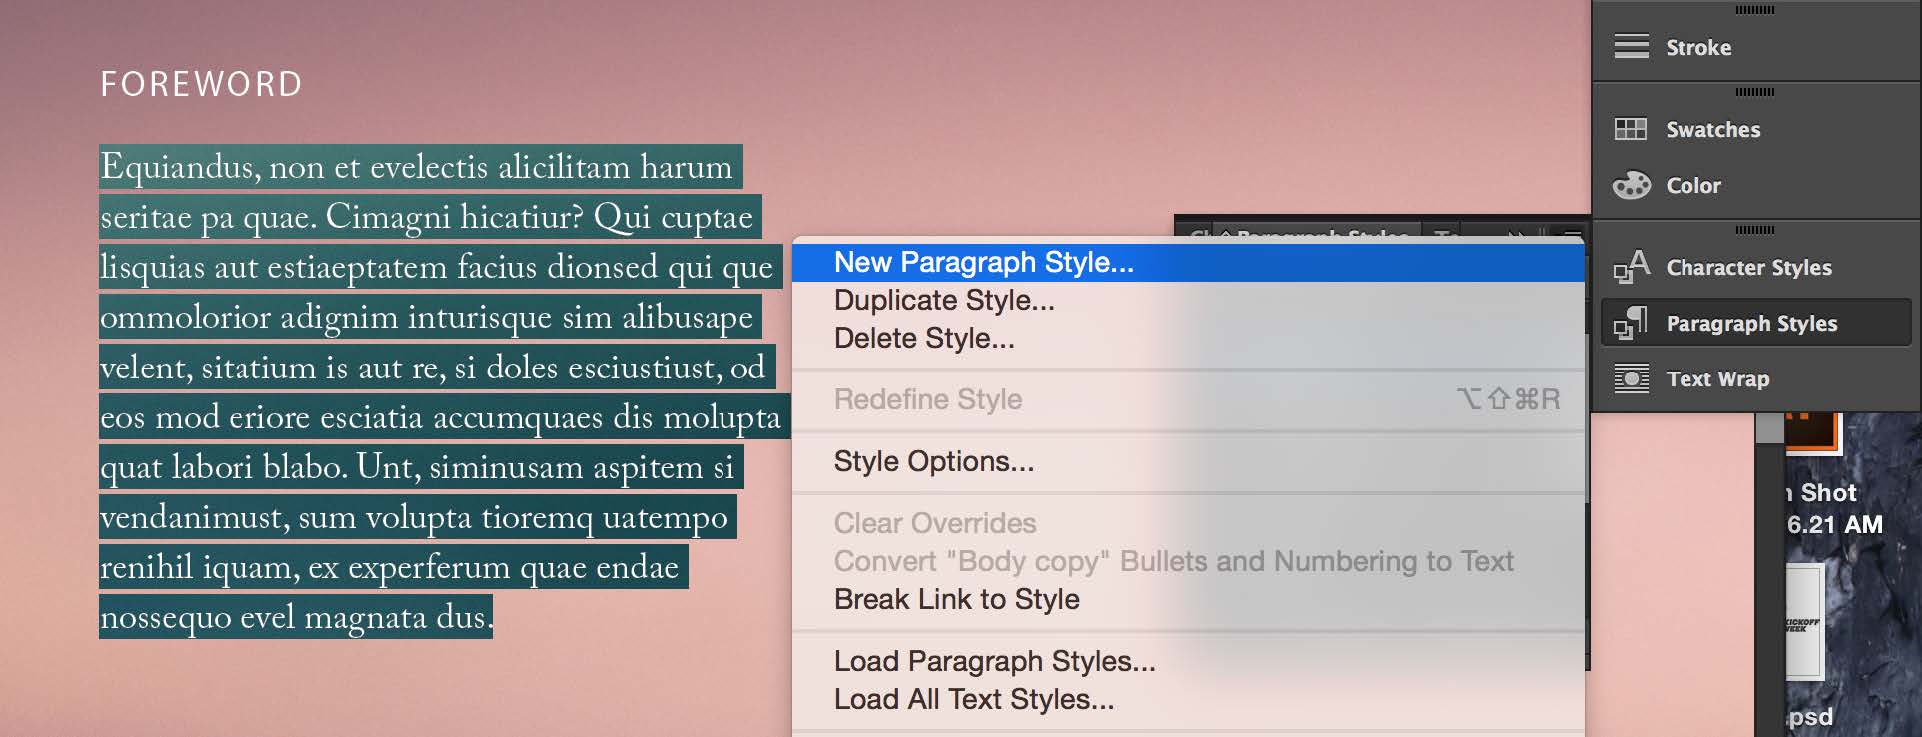
3) While in the text box, right-click and select Fill with Placeholder Text.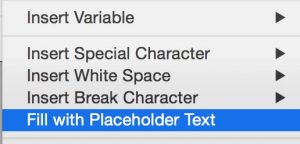
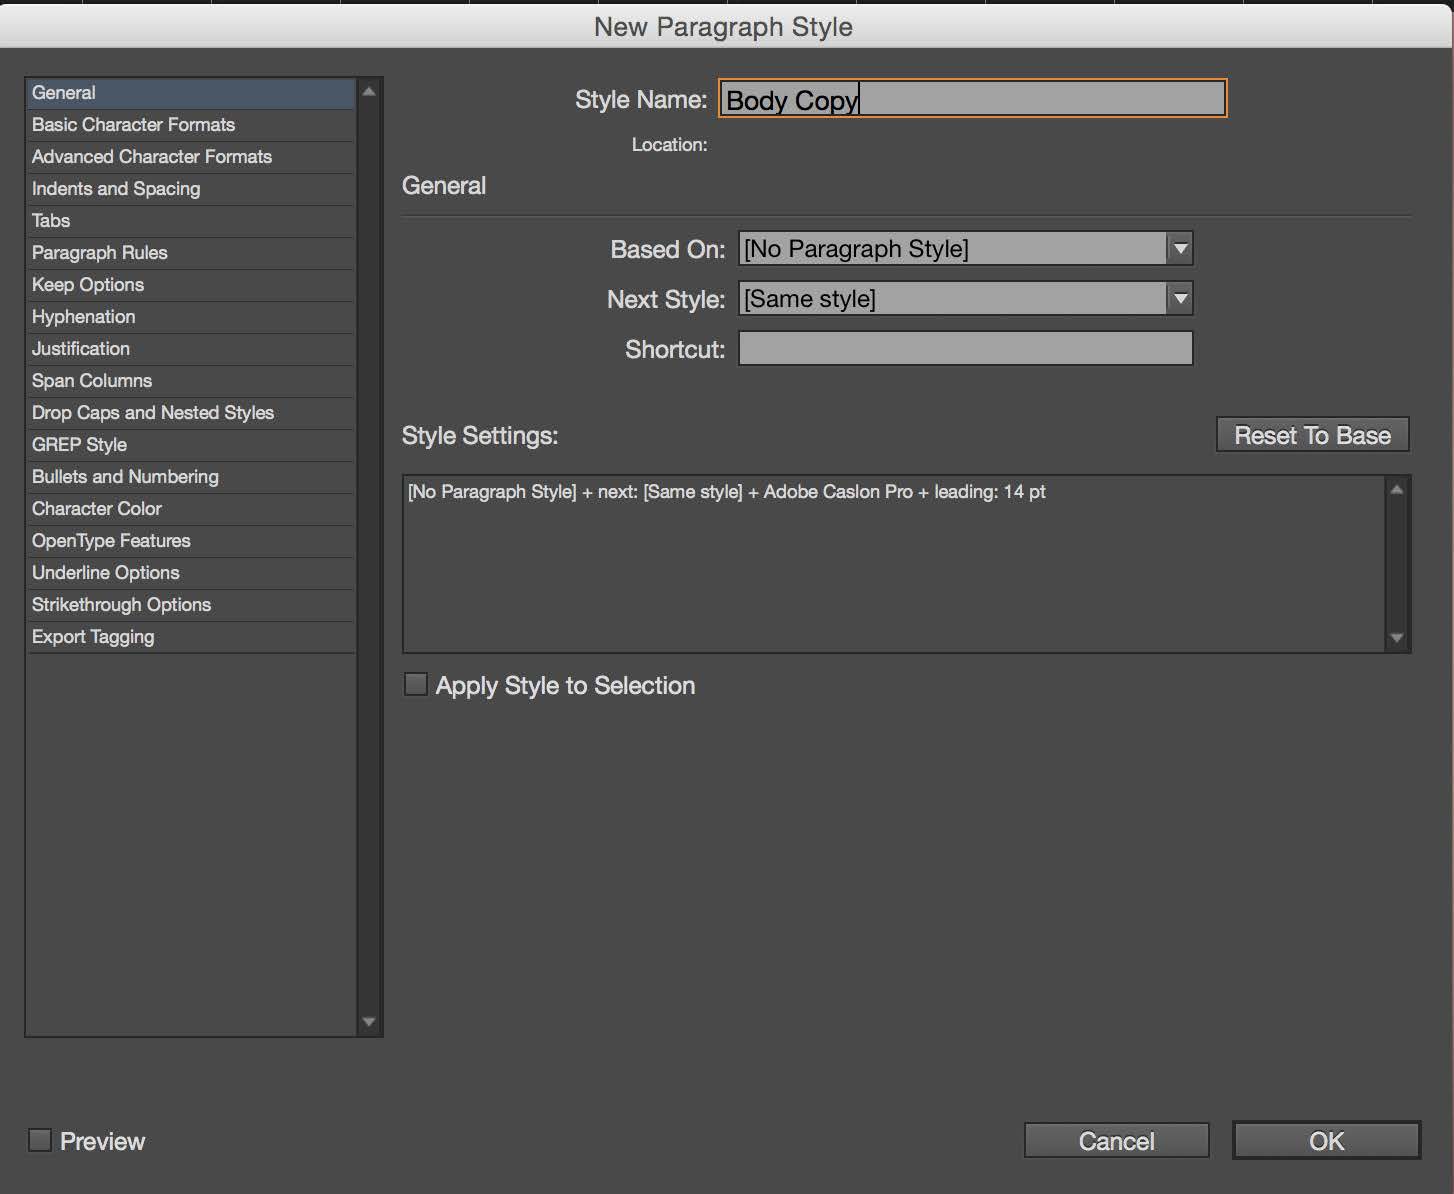
4) Now highlight the paragraph of text and format it in the toolbar. In this case, I’ve chosen Adobe Caslon Pro Regular, 10 pt font, and 14 pt leading.

5) With the text still highlighted, click on Paragraph Styles and the drop down menu to select New Paragraph Style.
If you do not see Paragraph Styles on the right hand side, select Window > Styles > Paragraph Styles.
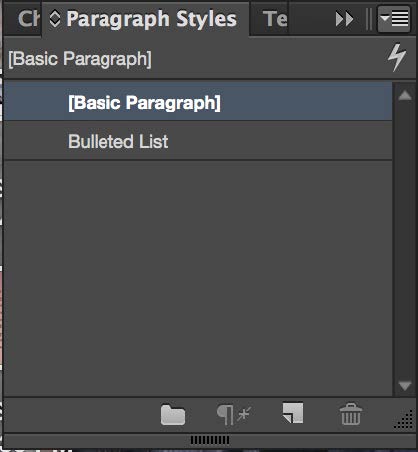
6) Under Style Name, I’ve typed Body Copy and then click OK.
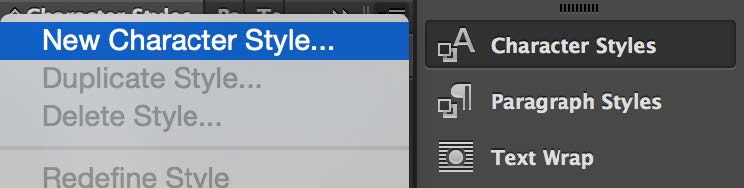
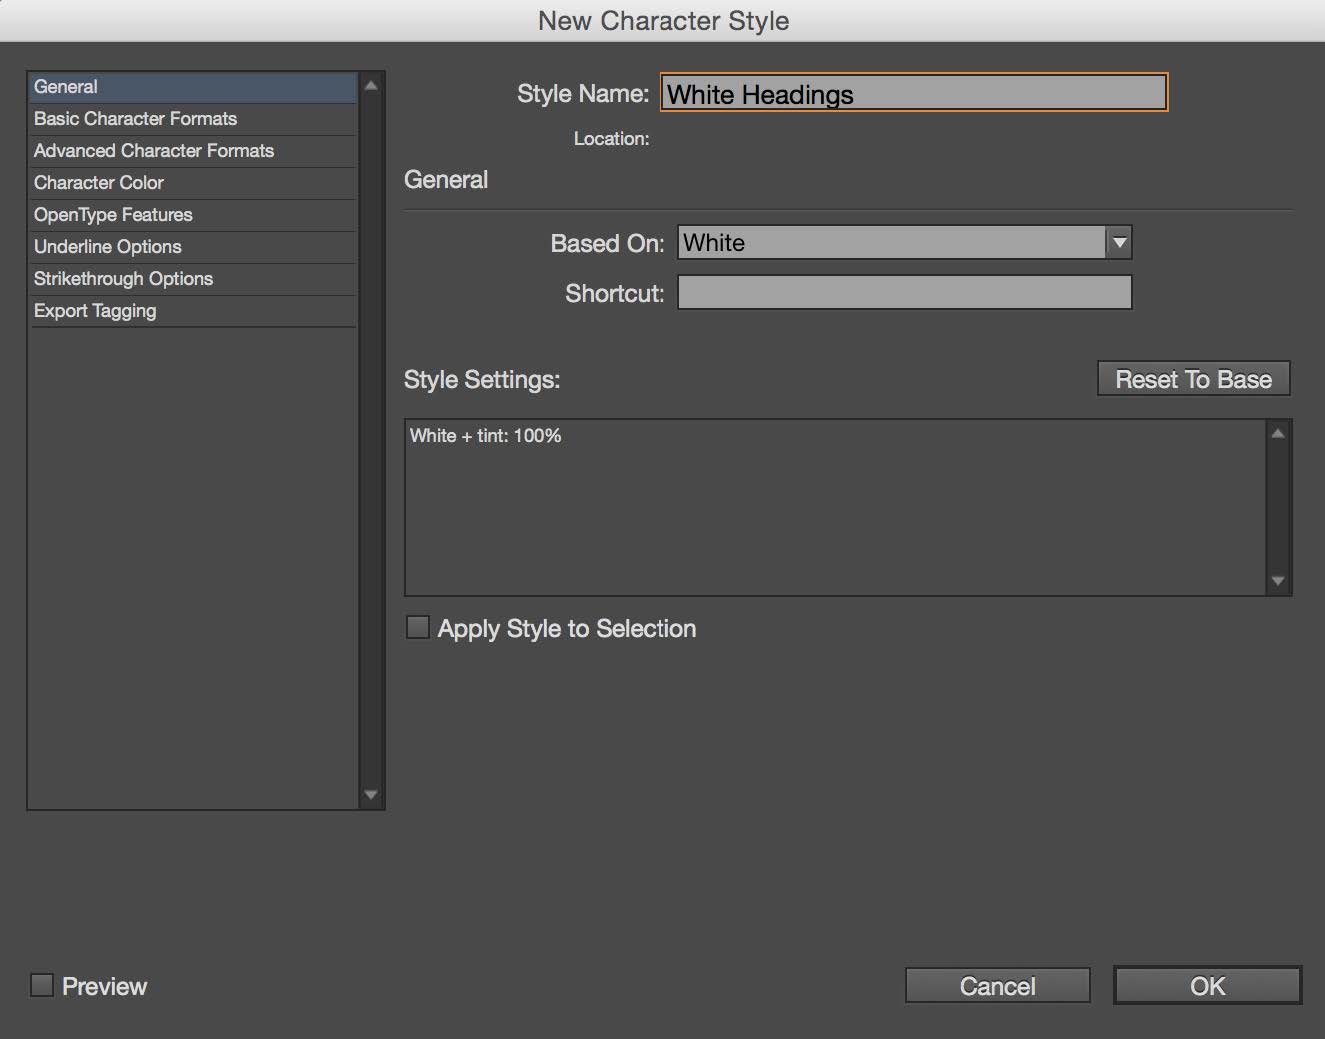
7) Now, I’ll create a Character Style for the White Headings. I’ll highlight the “Foreword” text and now click on Character Styles and in the drop menu, choose New Character Style.
8) Under Style Name, I’ve typed White Headings and then click OK.
When creating a document, repeat this step anytime you have a Paragraph or Character style you know that you will want to consistently repeat later in the document. This will be helpful as your document gets longer.
Now you know all the basics to create a simple deck: creating master pages, setting guides/rulers/ bleed/gutter, placing images, and setting paragraph and character styles.