


Topics
Screencast from Live Session
Introduction
Adobe Photoshop is photo editing software that allows you to work across desktop and mobile devices to create and enhance your photographs, website, mobile app designs, 3D artwork, videos and more. In this tutorial, we’ll introduce you to the interface and show you how to start using Photoshop to remix a photo and make selections. We’ll be using various selection tools, learning to Lasso, and mask.
Vector vs. Raster
Before we get started, it’s important to understand the difference between vector and raster files. Most of the images that you come across on a regular basis are raster-based, meaning that they are comprised of a grid of tiny pixels that come together to form the whole image. Computer monitors, TVs, and smartphone displays all render images using pixels, so raster graphics are the most common way to show things as simple as a smiley face or as complex as a photo. Common raster formats include JPEG, PNG, and TIFF.
On the other hand, we have vector-based graphics, which use mathematical expressions in the form of points, lines, curves, and shapes to make up an image, such as a logo or an illustration. While it is more difficult to generate fine details with vector as compared to raster, the advantage of vector graphics is that you can scale them up or down as much as you want without distortion. This means that you can use the same exact design on a business card or blown-up on a billboard with no impact to quality. Vector file types include EPS, AI, and a non-flattened PDF.
The Photoshop Interface
Let’s dig in and open up Adobe Photoshop!

Toolbar
The toolbar column can be found on the lefthand side. Some tools can expand to show additional tools beneath them; a small triangle at the lower right of the tool icon signals the presence of hidden tools. To see them, hold down on the tool and you will see the list of other options drop down. Check out what each tool does here.
Tool Properties
When you have a tool selected, there are properties and options that you can change. For example, when you select the Brush tool, the properties bar will change to give you options for what brush you use, the size of the brush, its opacity, etc.
Panels
In addition to tools, you have a Panels section that also gives you capabilities to edit your document in Photoshop. This area can be customized and includes your most frequently used panels. Most importantly, in your Panels area is your Layer panel. Photoshop allows you to layer images, text, and effects all on one document! Each item is its own layer. As you play around, you’ll become more familiar with all of the different panels.
![]()
Menu Bar
This is where you can save any open files, set options, choose panels, etc. Take a look at all the menus and try to familiarize yourself with them.
Layers in Photoshop
As mentioned above, Photoshop works in layers, which means that each object or item lays on top of each other. For example, I can lay a text object on top of an image. Each exists in their own layer. Layers can be moved around and arranged based on what you want on top. When working in Photoshop, it’s very important to keep your layers organized and to apply effects non-destructively, which means that each effect exists on its own layer and can be removed if you decide you don’t want that effect anymore. Throughout this tutorial, we’ll show you best practices for working with layers.
Creating a New Document
For our remix photo, we’ll start by opening an image in Photoshop, but it’s good to know how to create a new document and understand image size, resolution and color mode.
1) Open up Adobe Photoshop
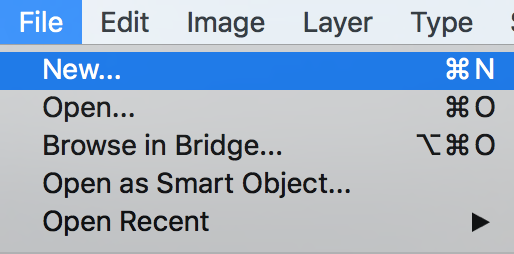
2) Go to File > New… or use Command (Ctrl for PC) + N
3) A new dialog box will open for you to input a Name, choose a Document Type, set the size and resolution.
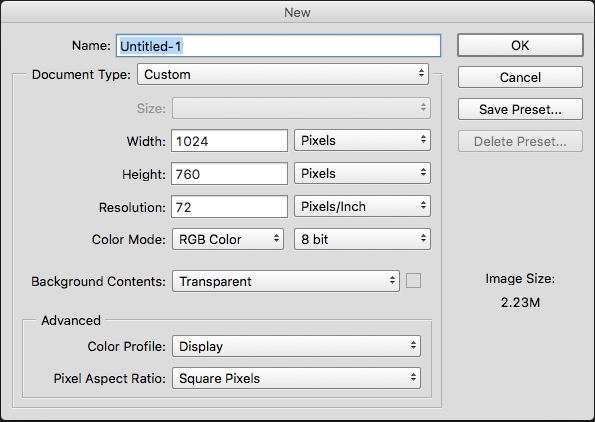
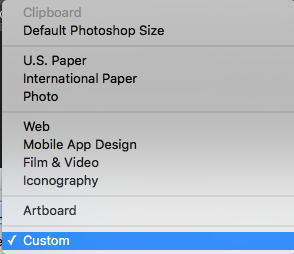
Under Document Type, there are several options. Depending on what type of image you are creating, you can select an Adobe preset or create a Custom document type. Let’s choose Custom.
Next, choose the size that you want your image to be. You can change the unit of measure. For images created for the web, you’ll want to choose Pixels.
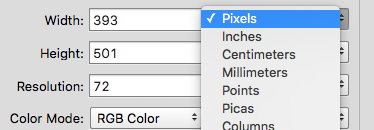
Next, you’ll want to set the Resolution and Color Mode. Generally for web images, you’ll have to set the resolution to 72 pixels/inch and color mode to RGB. For print, you’ll want to set the resolution to 300 or higher and color mode to CMYK.

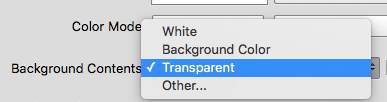
Lastly, you can set the background of your image to be White, a certain color, or Transparent (this appears as checkered in your workspace). Once you’re done, you can click OK.
For our purposes, we’ll click Cancel, because we are going to open an image to start editing instead.
Opening an Image
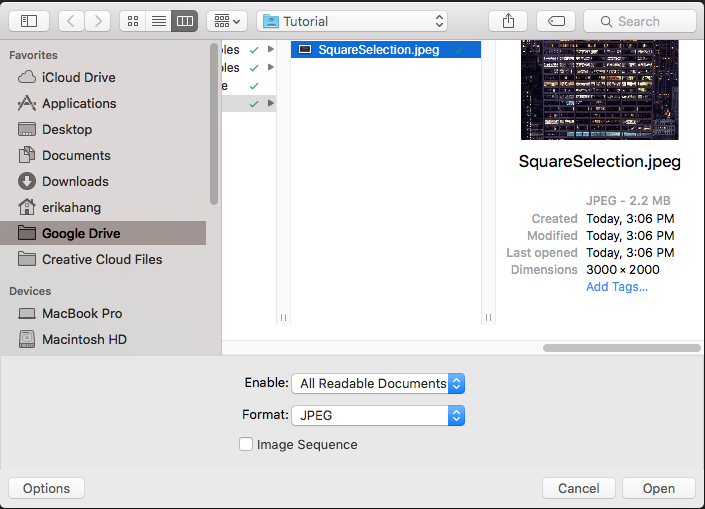
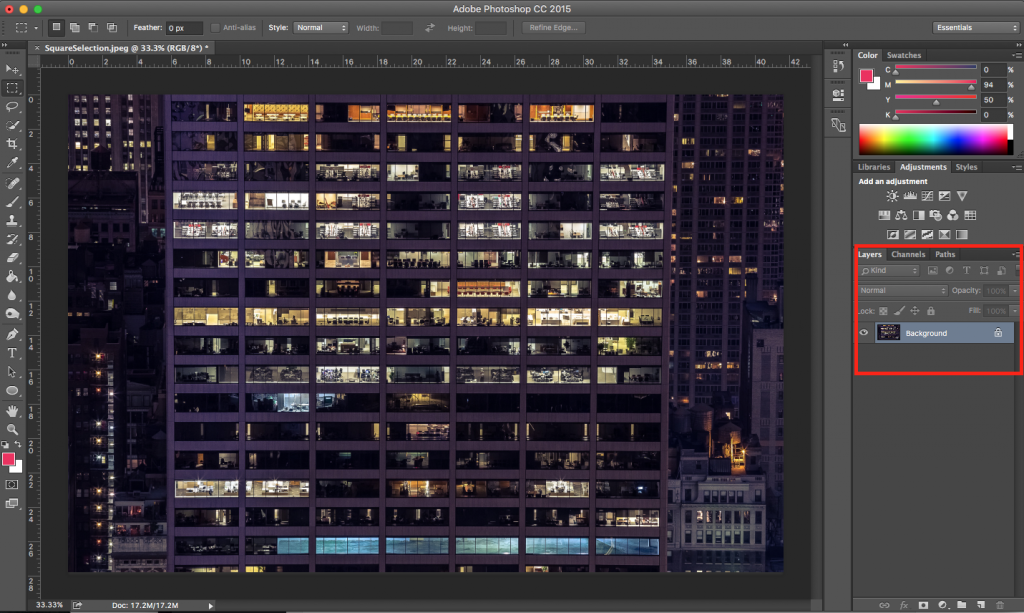
We’re going to be using this image (SquareSelection.jpg) to start. Download it to follow along!
1) Go to File > Open…
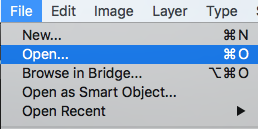
2) Find the image you just downloaded. It will most likely be in your Downloads folder, unless you have your settings configured differently . Click Open.
3) You’ll notice that this creates a base Background layer in your Layers panel.
Making a Selection
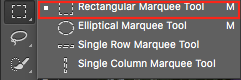
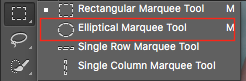
1) Some tools are nested underneath a tool. If you see a little triangle in the corner, that means there are hidden tools. Click, hold, and let go to get a menu of the other tools. In this case, we want to select the Rectangular Marquee tool.
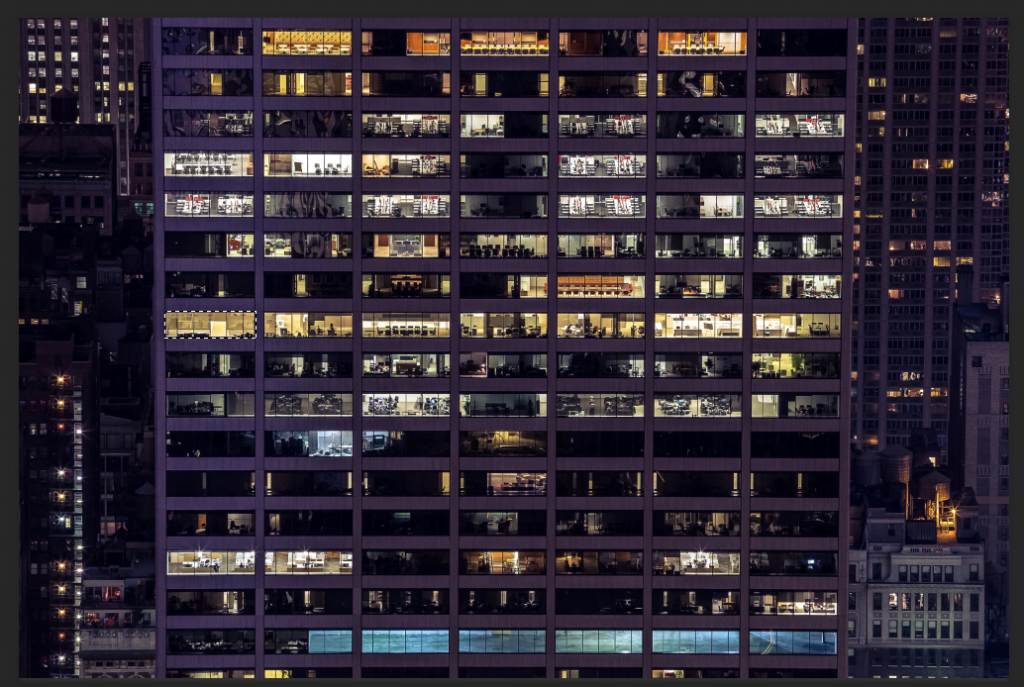
2) Click and drag over one of the windows that has light coming through. This will create a dotted line around your selection, also known as a row of “marching ants.”
Tip: If you mess up as you are making the selection, as you are still clicking and dragging — press the space bar and you will be able to reposition your selection and adjust as needed.
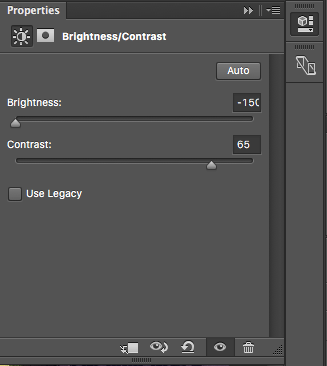
3) Next, we’ll add an adjustment layer to turn the room dark. On the right hand side, go to your Adjustments panel and click on the Brightness/Contrast icon (circled below). By clicking on this, it creates another layer in your panel. Again, this is laying on top of your image. If you click on the eye icon next to a layer, you can remove the adjustment at any time.
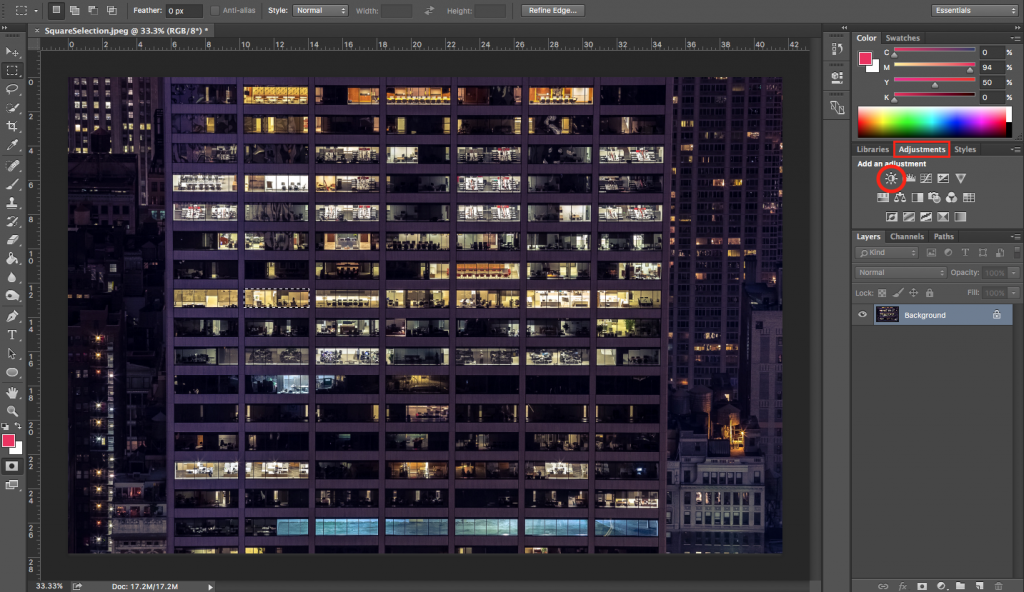
4) Bring the Brightness down by dragging the slider all the way to the left, and bring the contrast up by dragging the slider to the right. You will notice that the window is now darker, but it’s not quite dark enough. We’ll add another adjustment layer.
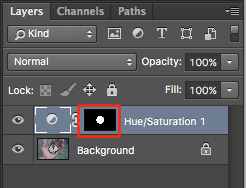
5) In the layer panel, while holding Command (Ctrl on a PC) click on the black square next to the adjustment layer you just made. This will re-select the selection you made. You should see the marching ants around that window again.
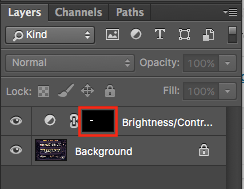
6) Now in the adjustments layer, click on Exposure. It will open a panel that allows you to adjust the exposure.
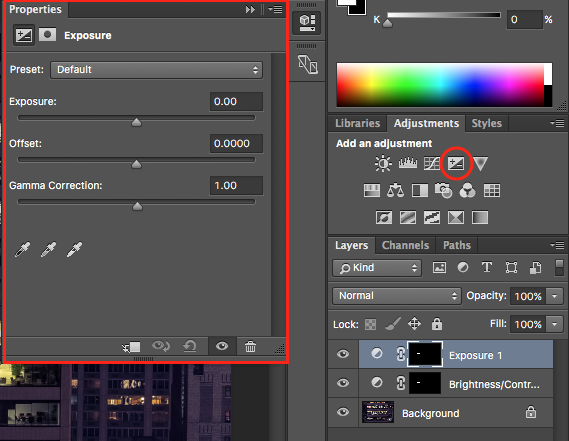
7) You can play around with the sliders. This is what I adjusted it to:
Try a few other windows for practice!
Using the Elliptical Marquee Tool & Inverting Your Selection
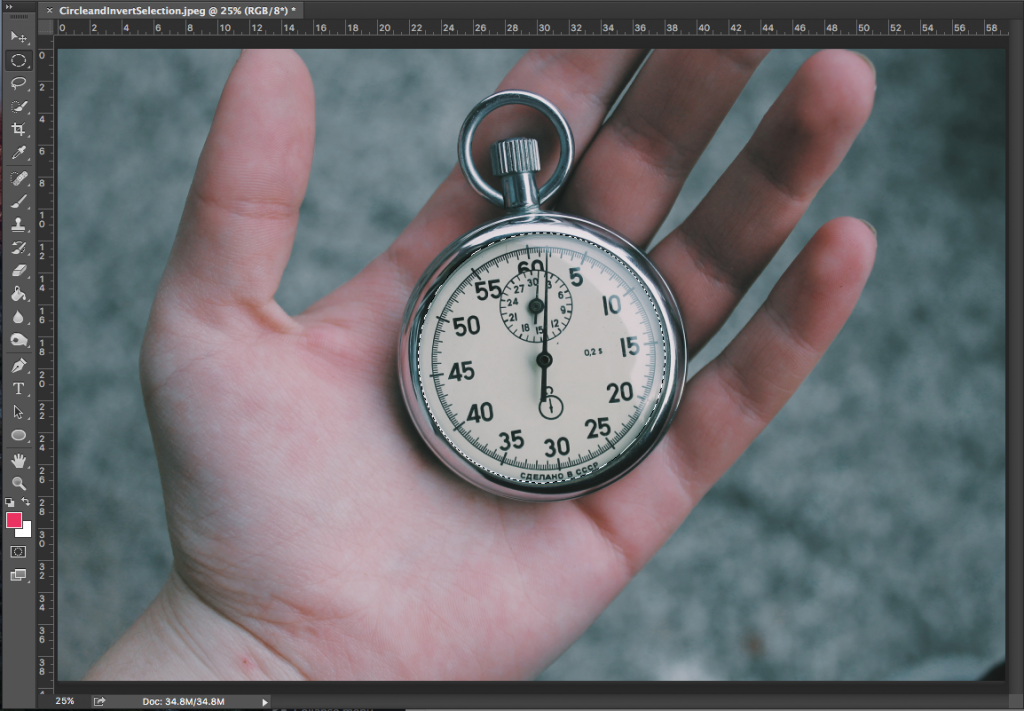
For this portion of the tutorial, we will be using this photo (CircleandInvertSelection.jpg) if you want to download it and follow along!
1) Go to File > Open…
2) Find the photo in your downloads folder and click Open.
3) This time, we’ll select the Elliptical Marquee Tool.
4) Set the feather to 10px in the Tool properties bar at the top. This creates a softer selection when you apply the effect.
![]()
5) To select the watch face, you’ll want to HOLD SHIFT while you click and drag to keep the tool selecting a perfect circle.
If you’re having trouble making the marching ants land exactly around the watch face, there is another method to try: HOLD ALT & SHIFT and click and drag from the center of the watch face. Alt & Shift will keep the selection a perfect circle while growing your selection out from where you click instead.
Lastly, if your selection isn’t exactly centered but you think it’s the right size, use the ARROW keys to nudge your selection one pixel at a time until it lines up.
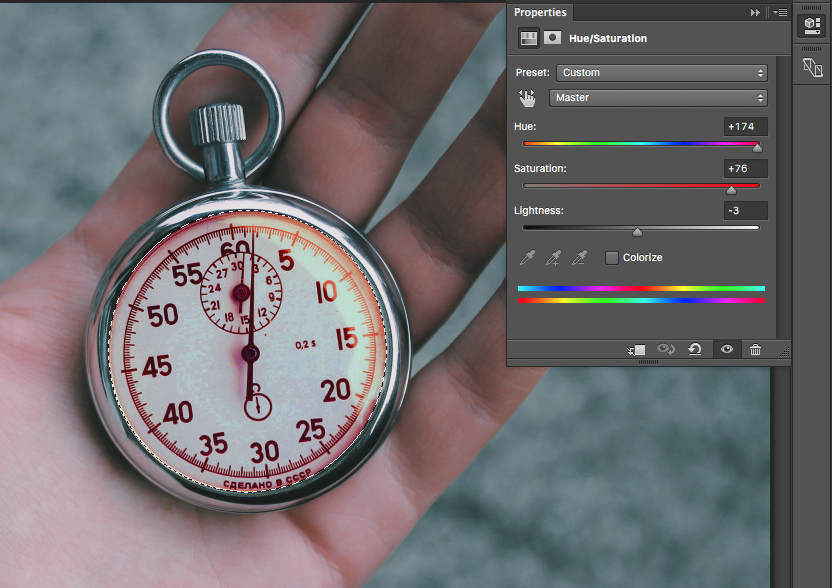
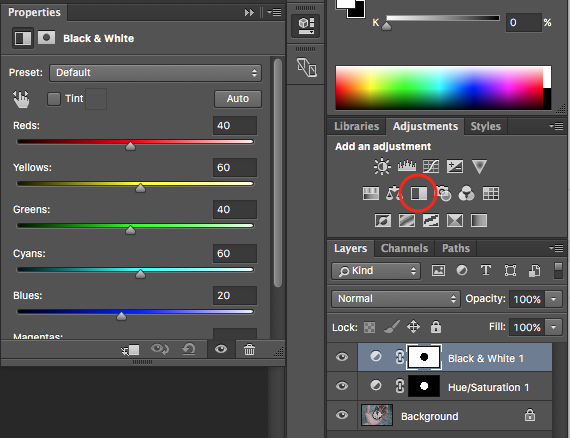
6) In the Adjustments panel, select Hue/Saturation and adjust the sliders. I went with a saturated red tone for the clock face.
7) Now, we’re going to turn the background into a black and white photo. Click, while holding Command (Ctrl on a PC) to select the selection again.
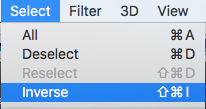
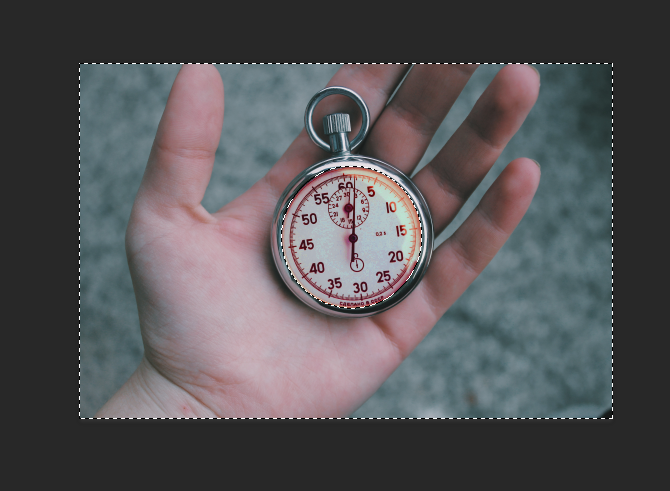
8) Go to the menu bar and go to Select > Inverse… or right-click on the image and choose Select Inverse.
Your image should now look like this.
9) In the adjustments layer, choose Black and White.
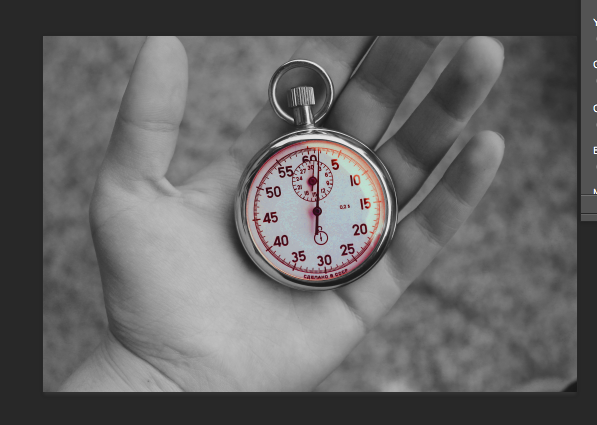
Your photo will now look like this:
Now that we’ve got basic selections down, we’re cover how to select objects that are more complex using the Lasso Tool, Quick Selection Tool, and Magic Wand.
Using the Lasso Tool
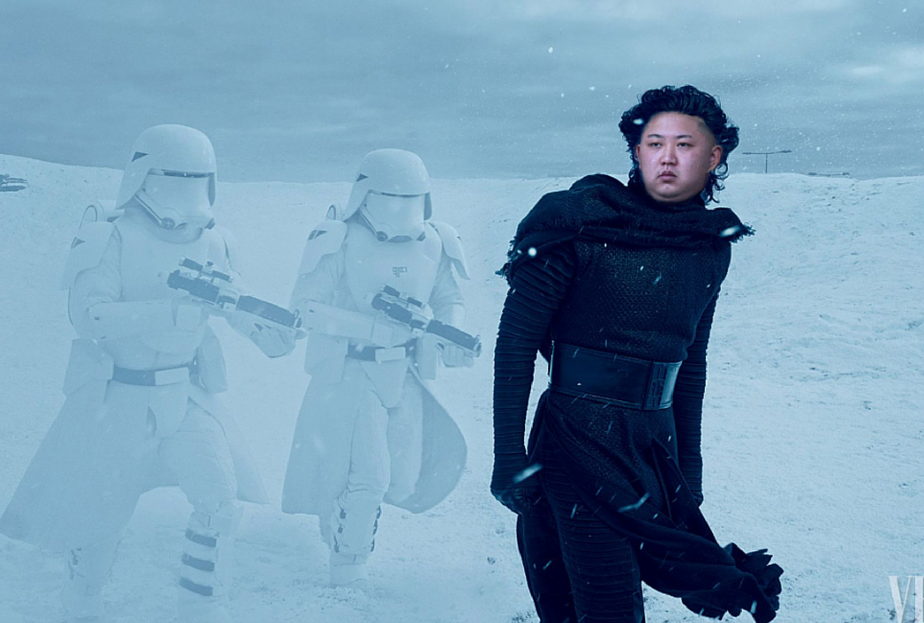
Next, we’re going to use the Lasso Tool to cut out someone’s face and put it onto another person. Then we’ll do the same thing we did with adjustment layers to apply an effect. For this project, you’ll need to download this image (KimJungUn-LassoTool.jpg) and this image (StarWars-LassoTool.jpg) . Yes, we’re going to photoshop Kim Jung Un’s face onto Kylo Ren!
1) Go to File > Open… and open up the image of Kim Jung Un’s face.
2) Next, select the Lasso Tool from the toolbar on the left.
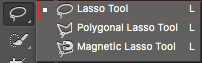
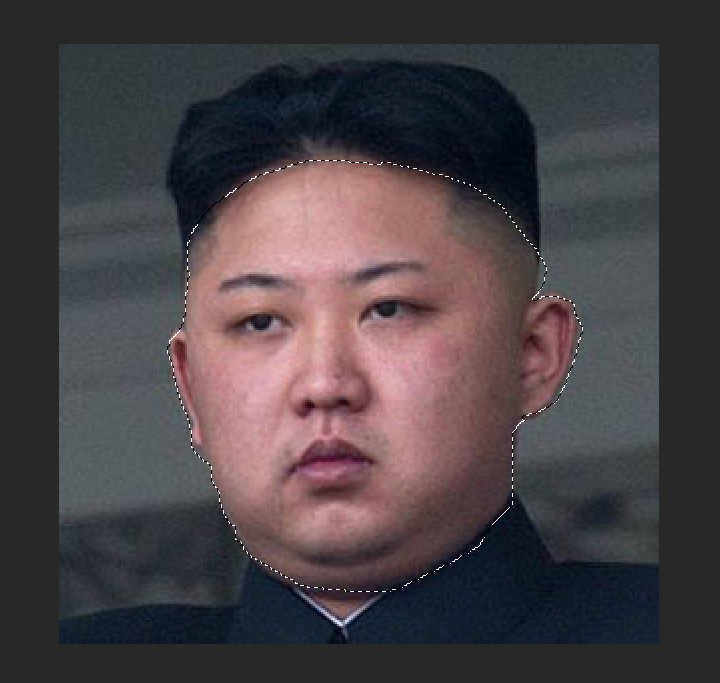
3) The Lasso tools allows you to freeform draw around an object. Do your best to outline his face (including his ears and both chins). You will probably want to ZOOM closer. Use Command + (Control + on a PC) to zoom in. Command – (Control -) will zoom out. Command 0 (that’s a zero) will zoom to fill your window. Command 1 will zoom to actual size.
It doesn’t need to be perfect, but go slow to get as close as possible. Try and get closer into the face – you can always feather your selection and expand it a little further. We’ll cover how to clean up your selection next.
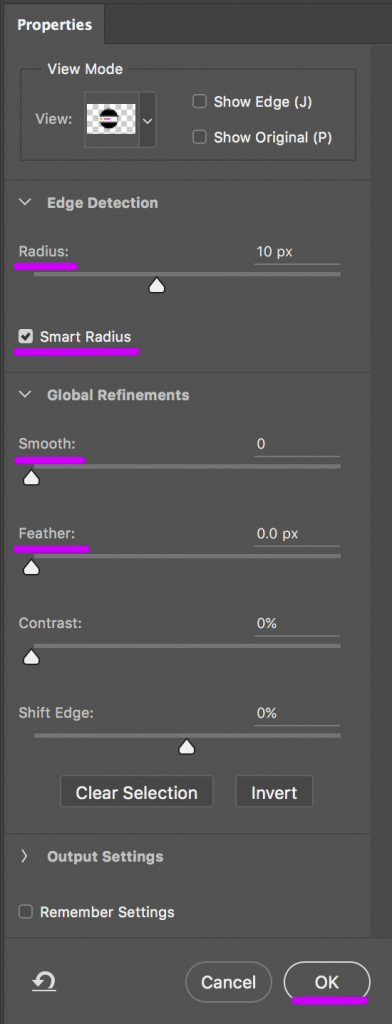
4) Now, we’re going to use refine edge to get a better selection. In the tool properties, click on “Select and Mask…”
![]()
5) Click through the VIEW MODE options and pick one you’re comfortable with. This might change depending on the type of photo you use. Open the EDGE DETECTION option and turn on SMART RADIUS. Now use the sliders for Radius, Smooth, and Feather to adjust your selection and you’ll see it adjusting in real-time on your canvas. Play around with the sliders to see what each one does. Once you’ve got a selection that makes you happy, click OK.
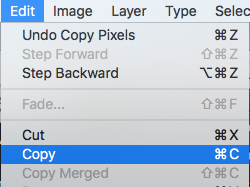
6) Go to Edit > Copy… or Command (Ctrl on a PC) + C to copy your selection.
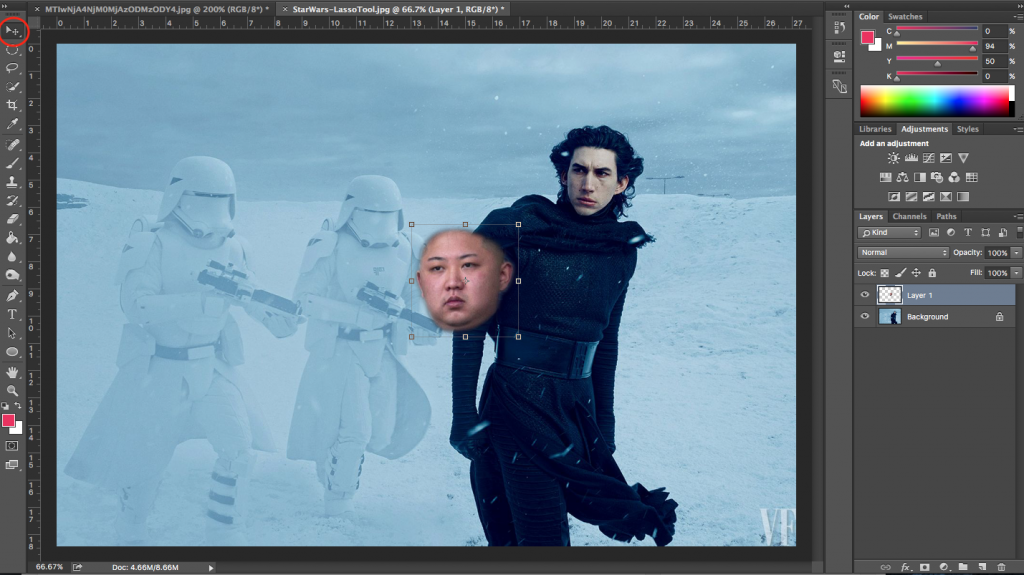
7) Go to File > Open… and open up the Star Wars image. With the new image open, go to Edit > Paste… Select the Move Tool (circled in the image below) and position his face over Kylo Ren’s face. Tip: Make sure you have “Show Transform Controls” selected.
Using the corner squares around the image + holding down Shift, you can resize his face proportionally until it matches the size of Kylo Ren’s face. If you hover to the corner of the image, you can grab a sideways crosshair, this allows you to rotate the face, so it’s slightly tilted.
Before:
After:
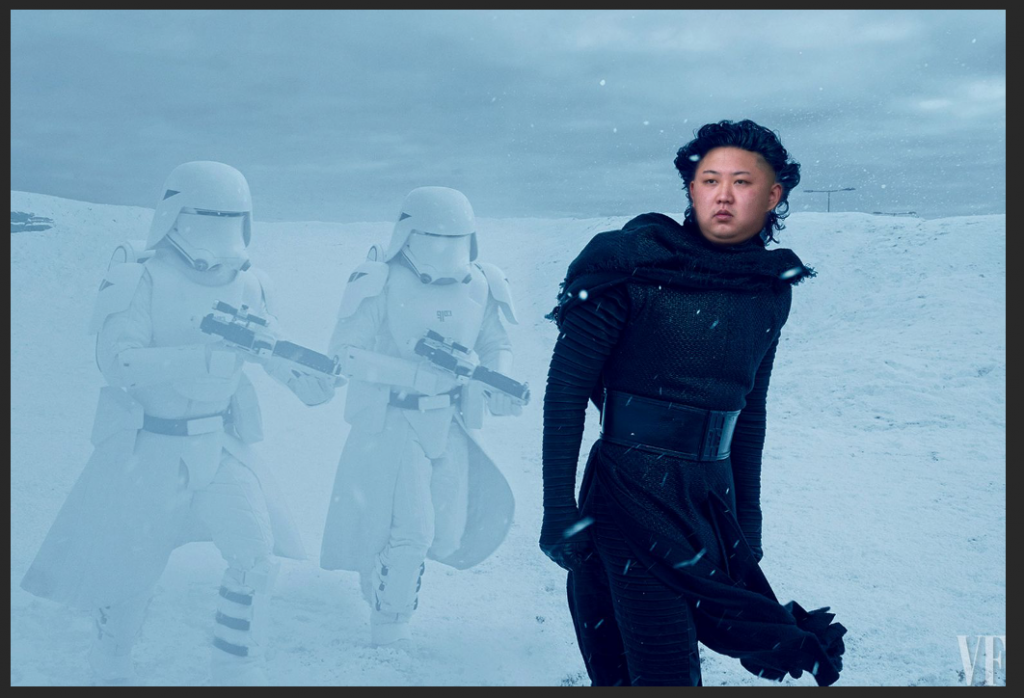
Now the face doesn’t quite look like it belongs. We will add adjustment layers to add a blue-ish filter to match his face against the snow tundra background.
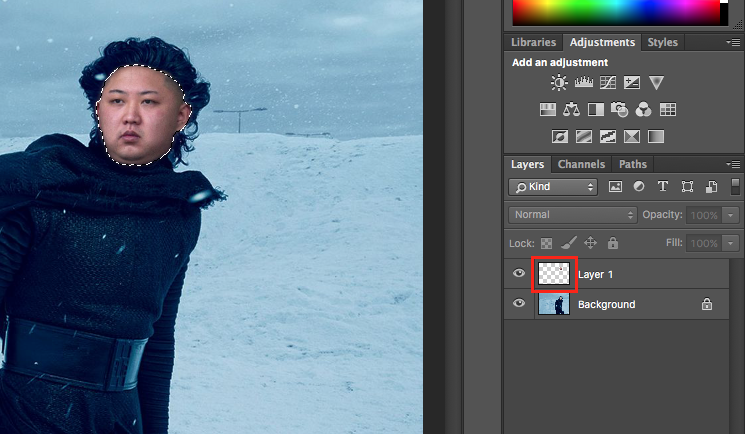
8) Command click on the layer icon to reselect your selection.
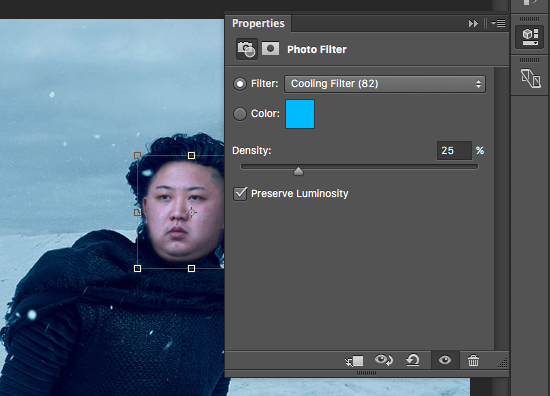
9) Let’s first add a filter that will give his face a more blue-ish tint. In the adjustment panels, click on Photo Filter.
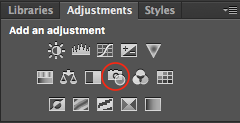
10) In the panel that opens up, choose Cooling Filter (82). Now, you’ll notice his face more closely matches the background!
11) Next, we’ll clean up the edges of his face with the Eraser Tool. Choose the Eraser Tool in your toolbar and then select Layer 1 in your Layers Panel.
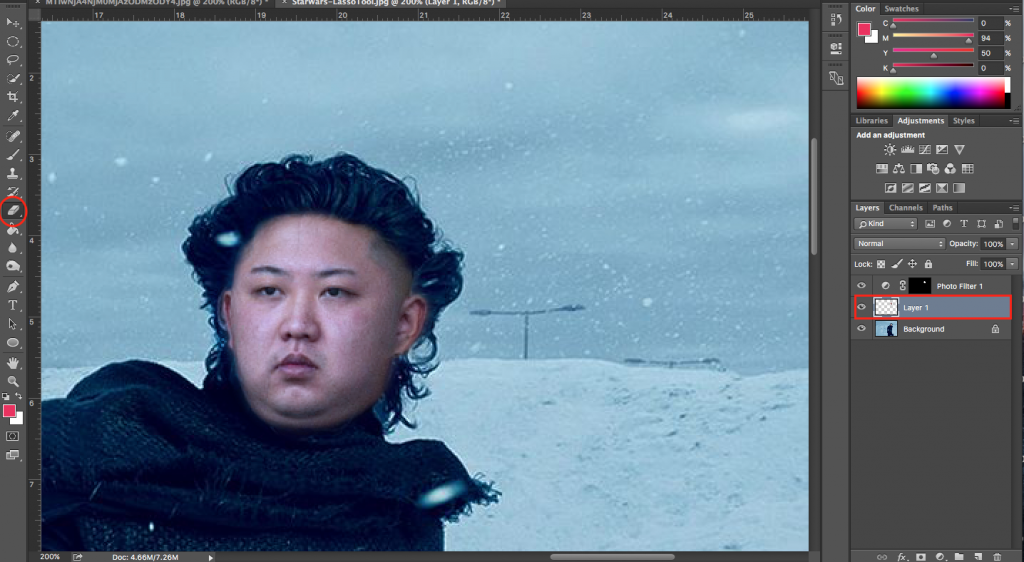
12) Adjust the Opacity and Flow of the Eraser Tool in the tool properties bar. We want to bring it down, so that we’re not making harsh eraser marks. Go over the edges of his face to make it softer and bring it in where it looks odd.
![]()
13) And now you’ve got a cohesive image!