


Topics
Download this tutorial as a PDF here.
Introduction
Adobe inDesign CC is a program best suited for designing and publishing layouts for magazines, newsletters, catalogs, postcards, brochures, and any multi-page document for print or digital deliv-ery. In this tutorial, we will cover the basics tools to inDesign. For more advanced features such as digital publishing for interactive documents or creating ePubs, visit tv.adobe.com or itsservices.usc. edu/lynda to watch indepth tutorials.
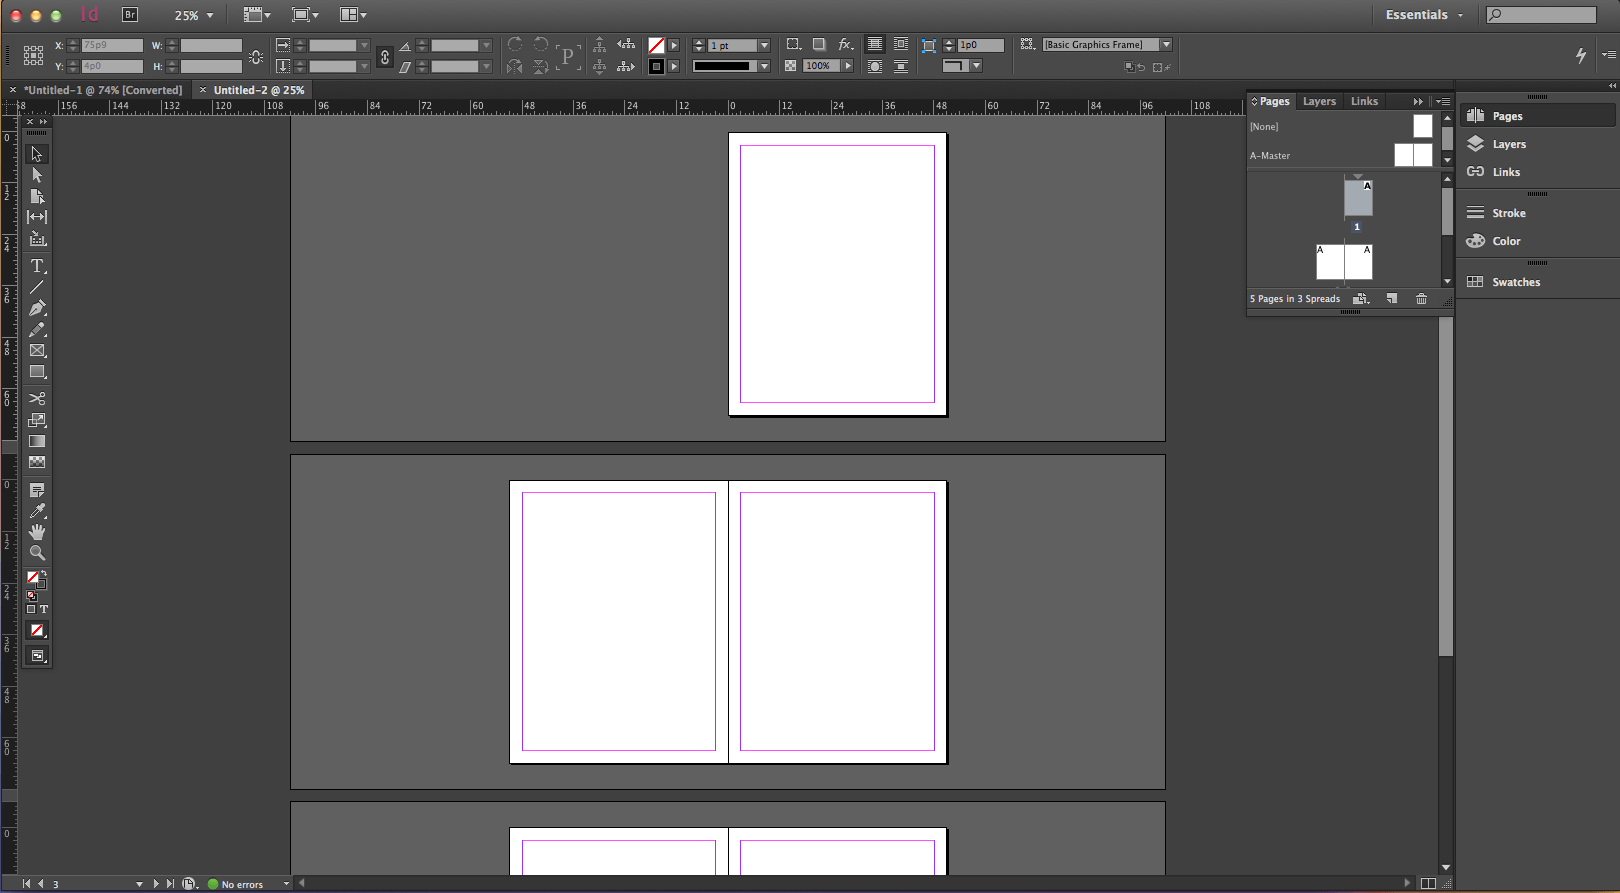
This is an example of what your workspace will look like:
Let’s first go over the toolbar and the different tools (such as a Type Tool, Rectangle Frames, Shapes, etc.) that inDesign offers you.
InDesign Tools and Functions
- “Black mouse” is used to select and move everything around.
- “White mouse” is used to select what’s inside of a frame and move a picture around within its frame. (More on page 3.)
- “Type tool” is used to is used to create a text box and add type to your document. (More on page 4).
- “Line tool” is how you create a line. (More on page 5.)
- “Add anchor point tool” is only to be used when editing the frame or a picture or shape. (More on page 6.)
- “Pencil tool” allows you to draw on your InDesign document with your mouse as if it’s a pencil. (More on page 7.)
- “Rectangle frame tool” is what you use to put a picture on your document. (More on page 8.)
- “Rectangle tool” is what you use to make a simple rectangle (or any other shape). (More on page 10.)
- “Gradient tool” is what you would select if you wanted to add a gradient to your object. (More on page 11.)
- “Note tool” allows you to select text and add a “note” to it that will hide when you want it to. (More on page 12.)
- “Eyedropper tool” allows you to match the color of a shape or line exactly to a color used somewhere else. (More on page 13.)
- “Hand tool” allows you to move around the document (up, down, or side to side) without zooming in or out.
- “Zoom” allows you to zoom in and out of a page, which can be done faster by pressing + or – while holding COMMAND.
- “Fill and stroke” control the color of the your shape, and the outline around the shape, respectively. (More on page 14.)
- This turns the grid on and off; the same can be accomplished by pressing the “W” key.
Type Tool
To make a text box, select the Type tool, click on the point where you want the text box to start, and drag it out. Double click inside the text box to begin typing.


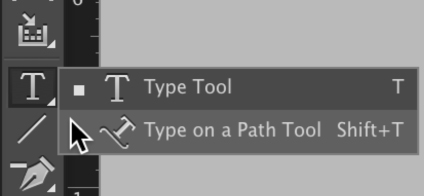
“Type on a Path”
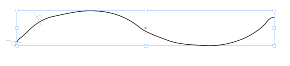
If you want your text to be in a curvy line, you first need to create the path. Use the pencil (see the “Pencil tool” on page 7 for mor7 e help) and draw the path that you want to type on.
1) Create your path.

2) Enter “Type on a Path” mode.
3) Click on the beginning of the path and drag your mouse along until the end (or wherever you want the text to stop).
4) Begin typing.

Line tool
Select the Line tool, and click and drag to form your line.

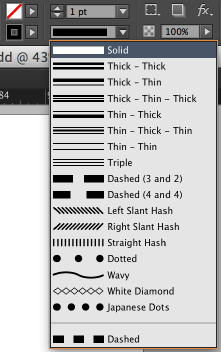
Everything about your line can be edited at the top:
Add anchor point tool
You can adjust the shape of your object by moving around its “anchor points,” which are the white points that appear around it when you hover over it with the white mouse.
Black Mouse

White Mouse
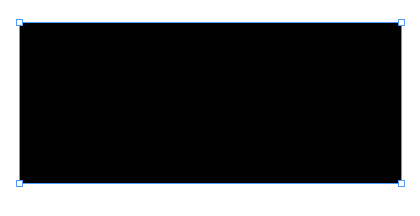
To change the shape of the object, simply move around the anchor points with the white mouse.
This…
Becomes this!

1) To add an anchor point, click and hold the pen tool to turn it into the add anchor point tool.
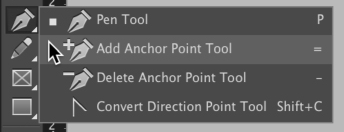
2) Click along the edge of the frame to add more anchor points.

3) Move the new points with the white mouse!

If you want to get rid of an anchor point, click and hold the pen tool again and select “delete anchor point tool” instead, and every anchor point you select will disappear.
Pencil tool
After you have selected the “pencil tool,” click and drag your mouse on your page as if you were controlling a real pencil. Here is an example of a heart, drawn with the pencil tool:
1) 
2) 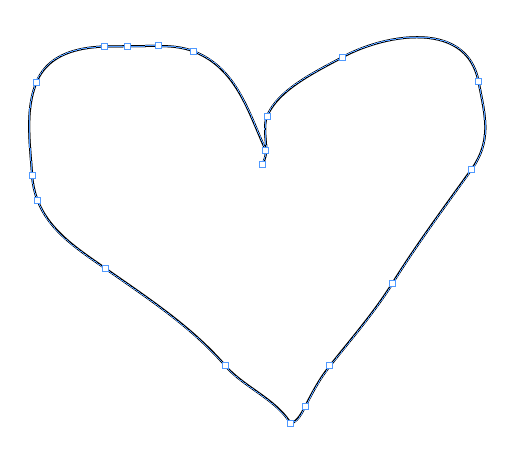
You can see the individual anchor points by hovering over your shape with the white mouse (as shown in figure 2). Here, you can move the points around to perfect your shape (or try, at least!)
3)
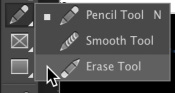
If you would like to erase parts of your drawing, turn the pencil into an eraser:
Rectangle frame tool
This is what you’ll use to put pictures on your page.
1) Select the “rectangle frame tool” and click and drag your mouse to create the shape of your picture.
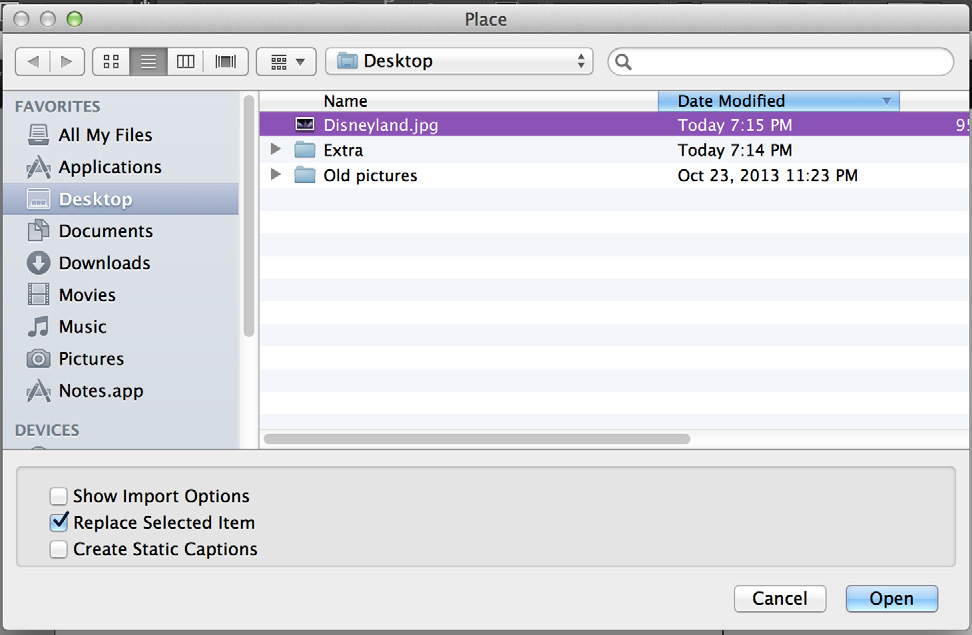
2) Place your picture into the frame:
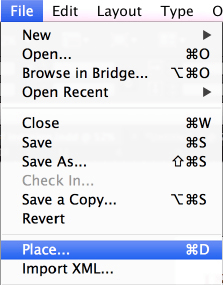
(Double click on your picture, or select it and click “open.”)
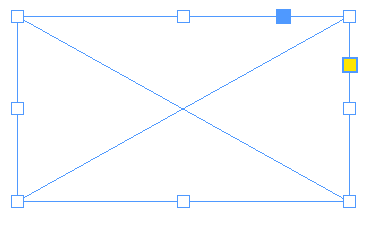
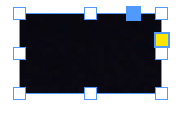
3) You’ll notice that your picture might have gotten cut off. You can either expand the frame by dragging the dots around the picture outward, like so:

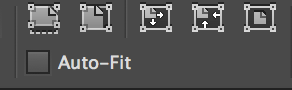
Or you can fit the picture to its frame. Notice this icon in the top right corner of your screen:
By clicking “fill frame proportionally,” this…

will turn into this.

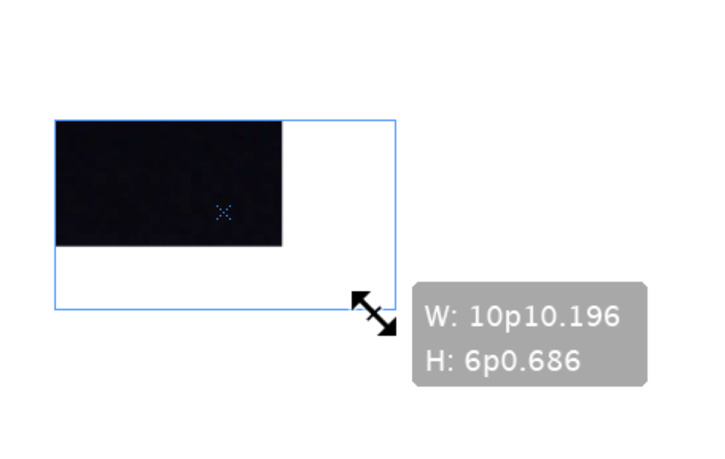
Enlarging and Shrinking a Picture
There are two good ways to change the size of a picture. One is to drag out the corners of the frame, as seen in figures 3.1 and 3.2 while holding SHIFT and COMMAND. You must hold down both SHIFT and COMMAND to maintain a picture’s proportions!
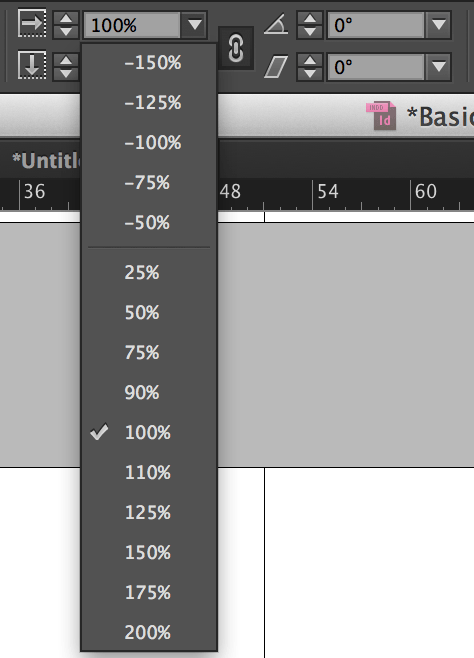
You can also change a picture’s size by changing the percent values for its height and width, up at the top:
Rectangle tool
This is what you’ll use to create shapes.
1) Select the “rectangle tool” and click and drag to create your shape.
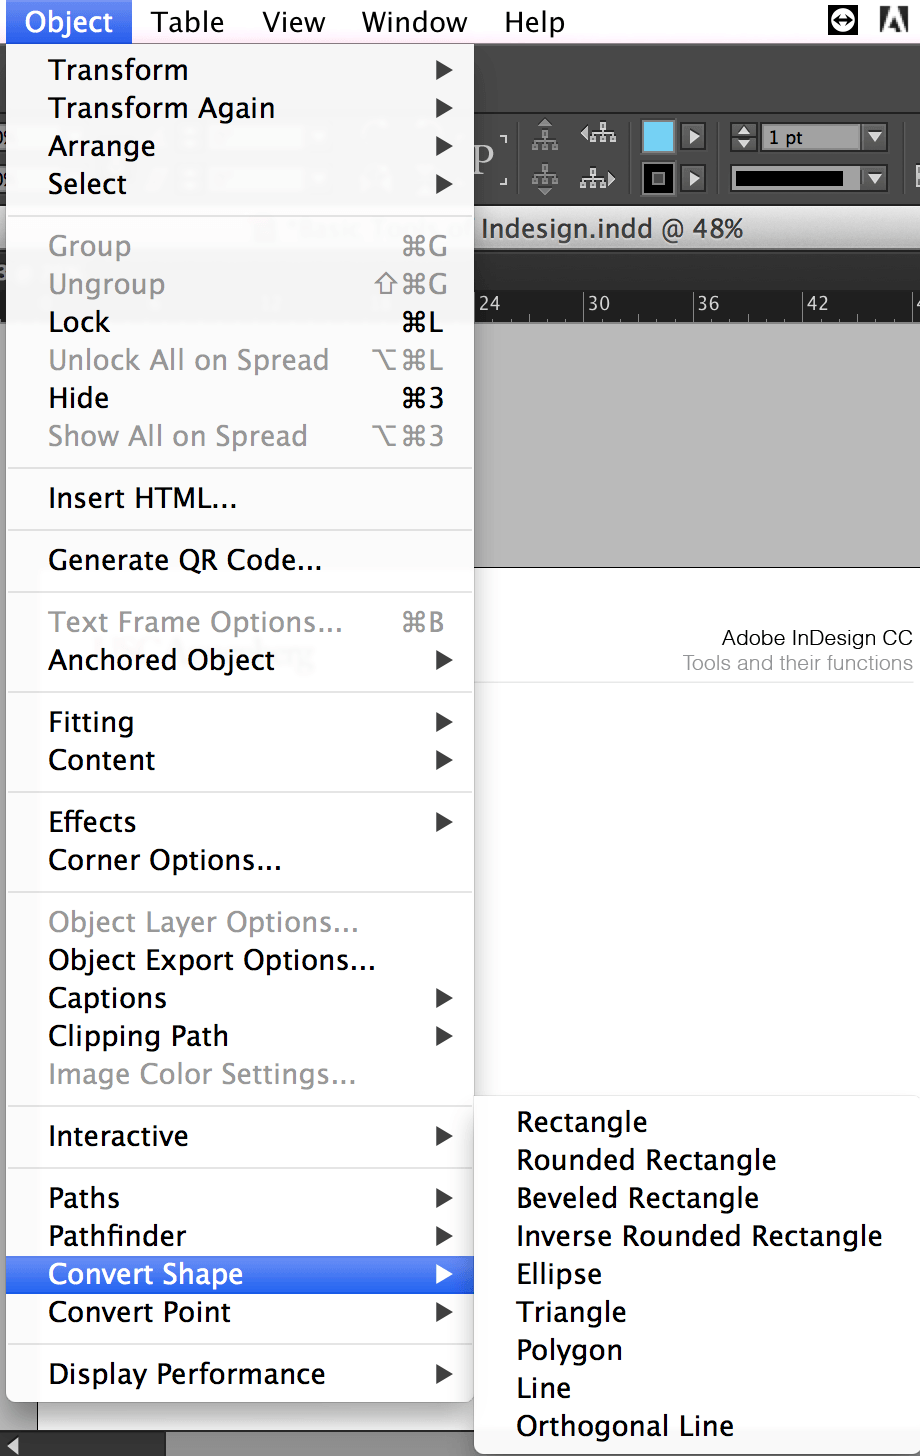
2) If you would like it to be anything besides a rectangle, you can convert the shape here:
You can also join pictures together by opening up pathfinder in Window > Object & Layout > Pathfinder:
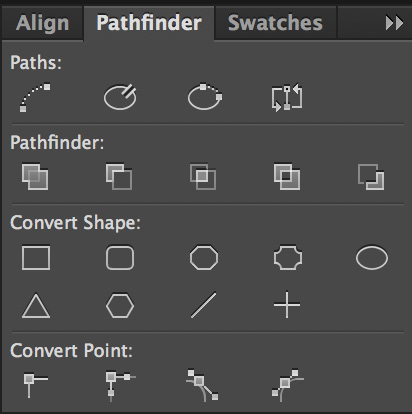
The “add” button combines shapes together:
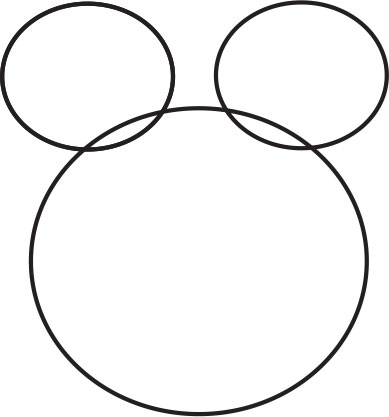
Play around with the other buttons and see what other shapes you can make!
Gradient tool
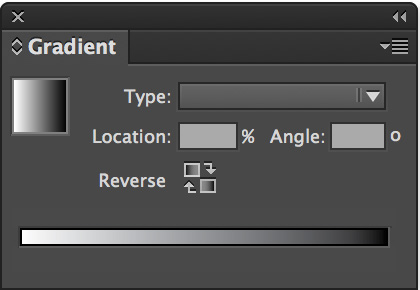
If you have a shape that you want to apply the gradient effect to quickly, select the shape and click on the “gradient tool.”

This box will pop up, allowing you to adjust the properties of the gradient.
Note tool
Pretend this paragraph of placeholder text is actually your homework assignment.
Ovit quid ut porem quiaerum ad qui bea coribus isiti optincta debis quis sus alibus, ut ent omnis acesequi dolupit qui quatem reptatur, siminis enistis totatis accus adi conem sitiae dipsam aut quod mosti inctiur QUOTE alita que nonsequid unt es doluptus doloria tionsequiate veliciissit maion cum ipidest labo. Por ma non pore, cum utestia quidellabore nossimp eribea sit ipsanim usanimoditem quis sit, officiam hil expelit enimpor rovidunt, atur, nim hilluptatia iumquia aut explit hiliquos dero et moles eos
Decide where you want to put a “note,” select the note tool, and click on that word:
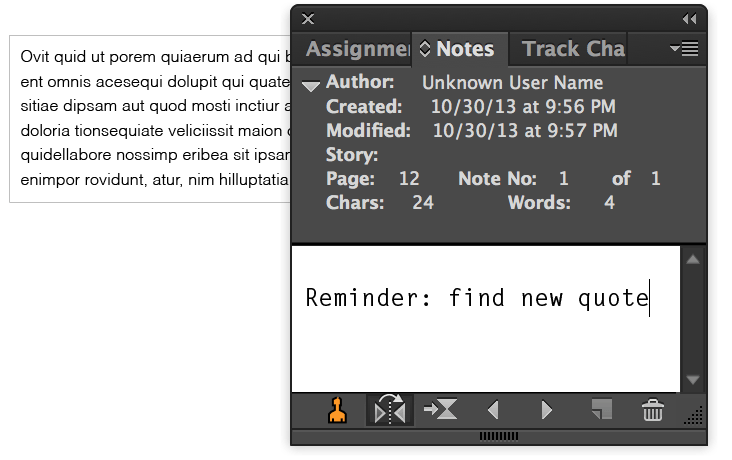
When you click outside the textbox, an orange spot will appear on the part you highlighted to let you know there’s a note there. Double click the spot to open “notes.” If you want to get rid of that note, simply click the trash can icon.
Eyedropper tool
This tool allows you to pick up the exact color of something in a picture. Let’s say you want to make a circle the exact color of a Lakers jersey:
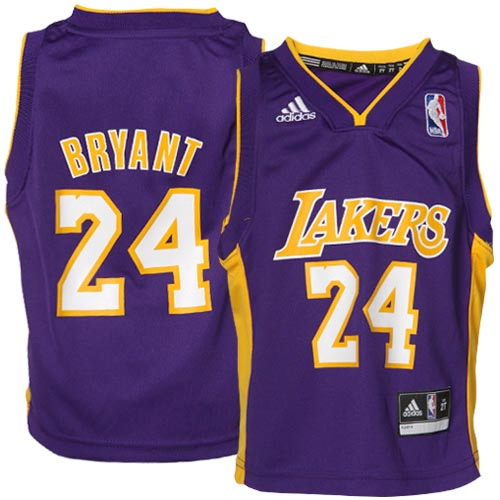
1) Highlight the circle.
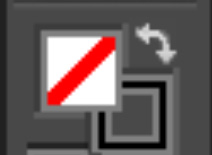
2) Make sure you’re on the “fill” color option, rather than the stroke. (This will change the color of the whole circle, rather than just the outline.) If the box on the top left isn’t already covering the box on the bottom right, click on the top left box.
3) With the circle selected, selected the “eyedropper tool” and click inside the Lakers jersey. The circle will go from empty to that exact shade of purple.
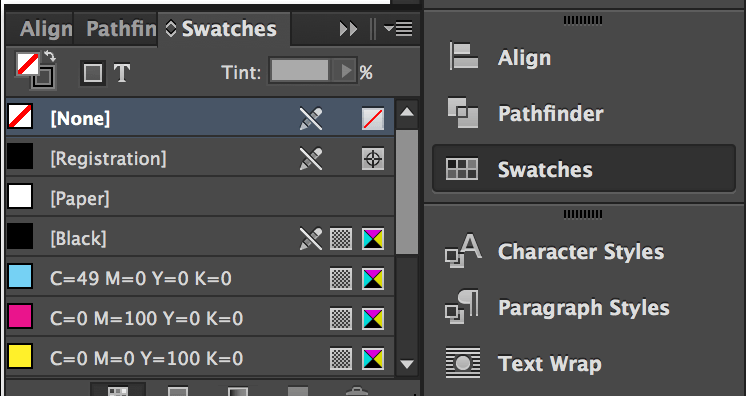
If this is a color you think you will want to use over and over again, you might want to turn it into a swatch. With the circle still selected, at the top of the page, click on the “new swatch” icon.
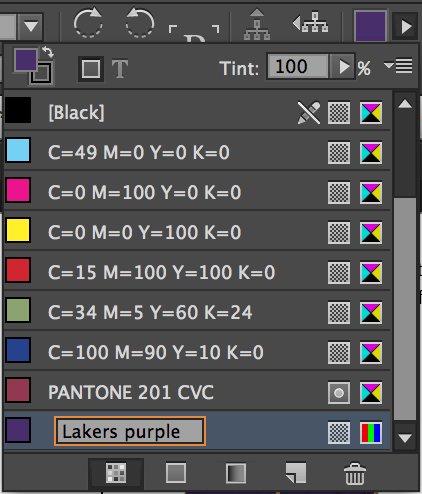
You can always access your swatches by going to Window>Color>Swatches.
Fill/Stroke tool
This is how you change the color of your object of text.
There are two boxes — the top left one controls the fill (meaning, the inside of the shape), and the bottom right one controls the stroke (outline). Whichever one is on top is the one that is being affected by the changes you make.
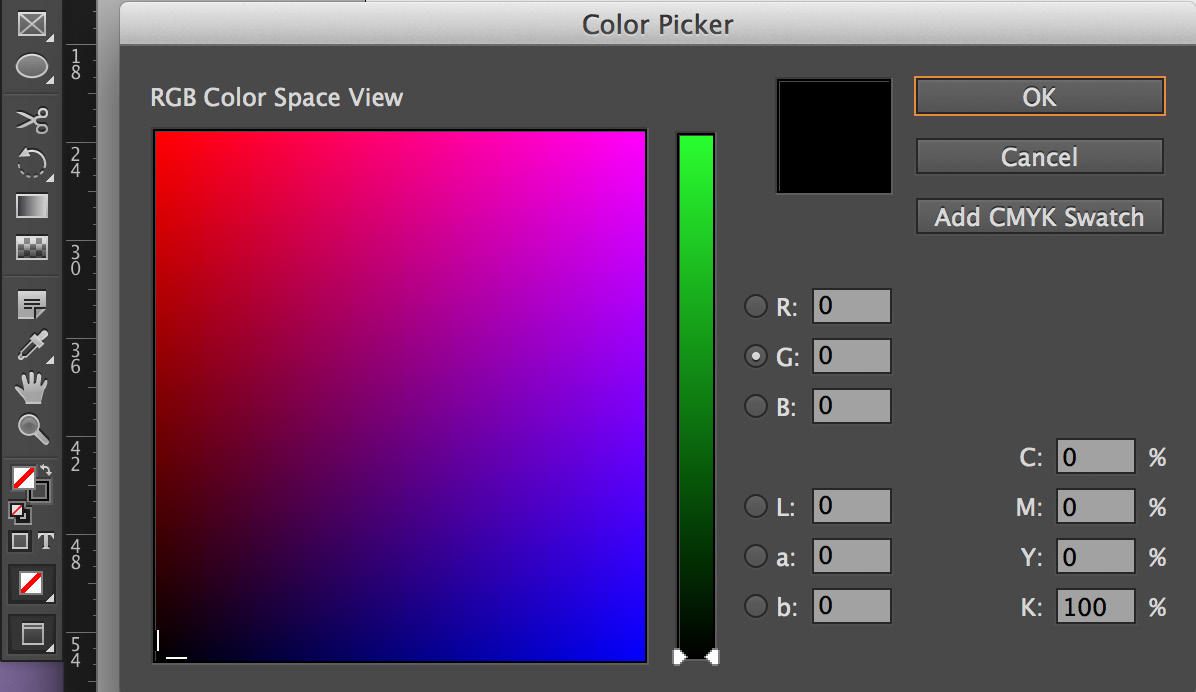
Double click whichever box you want to change and the color picker will come up. Pick the color and click okay.
You can also change an object’s color by highlighting it and selecting a swatch. (For more information about swatches, refer to page 13.)
Keyboard Shortcuts
- W: turns grid on and off
- V: black mouse (almost everything)
- A: white mouse (inside of pictures)
- T: create a text box (or allows you to start typing in whatever text box the mouse is already hovering over, but that’s the same as double clicking in that text box)
- I: the eyedropper (to match the color of something perfectly)
- H: allows you to scroll in any direction without using a mouse
- Z: turns the mouse into a magnifying glass, so you can either click to zoom individual times or select a specific region to zoom into a lot more+: when you’re using the white mouse to edit the frame of a picture, this adds pen points
- -: the same thing as above but it allows you to subtract the pen points
- COMMAND+A: highlights everything COMMAND+R: shows/hides the rulers COMMAND+Y: brings up the text in a separate box
- COMMAND+I: spellcheck
- COMMAND+O: open a different file COMMAND+S: save file
- COMMAND+B: opens box with the “ignore text wrap” option
- COMMAND+G: groups objects COMMAND++: zoom in
- COMMAND+-: zoom out
- COMMAND+0: zooms to fit the page perfectly (and holding down OPTION centers zooms to fit
- the whole spread perfectly)
- COMMAND+[: sends backwards
- COMMAND+]: sends forwards
- COMMAND+OPTION+C: forces a text box or picture to fit only around what’s in it (easy way to make sure the black lines around a picture to match exactly where the picture ends, or to get rid of a red plus in a text box) — this can also be done by double clicking on the corner of the text box or picture frame
- COMMAND+SHIFT+G: ungroups
- COMMAND+SHIFT+[: sends something to the back
- COMMAND+SHIFT+]: sends something to the front
- COMMAND+SHIFT+>: increases the font size of whatever’s highlighted (literally just discovered this now!)
- COMMAND+SHIFT+<: decreases the font of whatever’s highlighted
- COMMAND+SHIFT+V: paste without formatting
- COMMAND+SHIFT+OPTION+V: paste in place
- COMMAND+SHIFT+dragging the corner of anything: makes the object bigger or smaller
Holding down shift allows you to select multiple objects at once, or if you want to select everything in one part of the page, start from a point where the mouse isn’t on anything moveable and drag it over everything you want to select. Holding down option while you drag something copies it.
here you have a collection of 53 logos and icon tutorials in Adobe Illustrator that This tutorial is great for beginners to get started with icon design as like is a PDF