


Topics
Download this tutorial as a PDF here.
Introduction
Adobe inDesign CC is a program best suited for designing and publishing layouts for magazines, newsletters, catalogs, postcards, brochures, and any multi-page document for print or digital delivery. In this tutorial, we will cover the basics tools to inDesign. For more advanced features such as digital publishing for interactive documents or creating ePubs, visit tv.adobe.com or itsservices.usc.edu/lynda to watch in-depth tutorials.
In this tutorial, we are going to put together a basic flyer advertising USC Annenberg to students.
Creating a Document
1) Launch Adobe inDesign.
Note: As an Annenberg student, you receive Creative Cloud free. Please see our instructions for installing it on Virtual Commons (vc.uscannenberg.org/documentation).
2) Click File > New > Document….
For this document, make sure you’ve selected “Print”, unchecked “Facing Pages”, chosen Landscape for your orientation, and chosen
2 Columns. The column guidelines will help you position elements within your document.
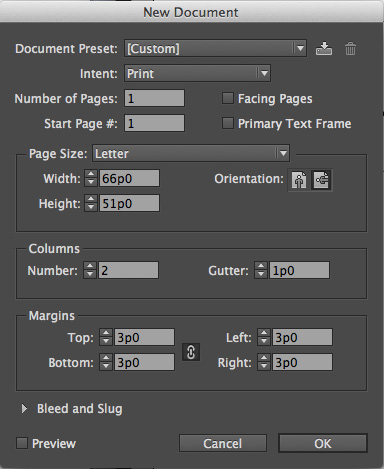
Once you’ve made all your selections, click OK.
Placing Images
It’s important to have a plan of action when starting your document. It might be a good idea to draw out your idea before mapping it out in inDesign. For this document, my plan is to have an image on the top half of the document with the bottom half being a “informational” section about USC Annenberg. Let’s start by inserting an image.
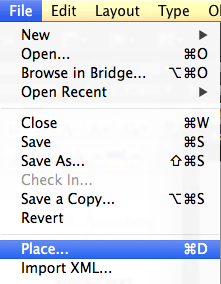
1) Select File > Place… and then select your image from your computer.
2) You will then be able to click anywhere on your document to place
the image.
3) Scale and position your image how you’d like.
Scale:![]()
Scale your image by using the Scale tool. With the image selected, drag in and out to change the size of your image. The tool will keep the same ratio as you decrease or increase the size.
Positioning:
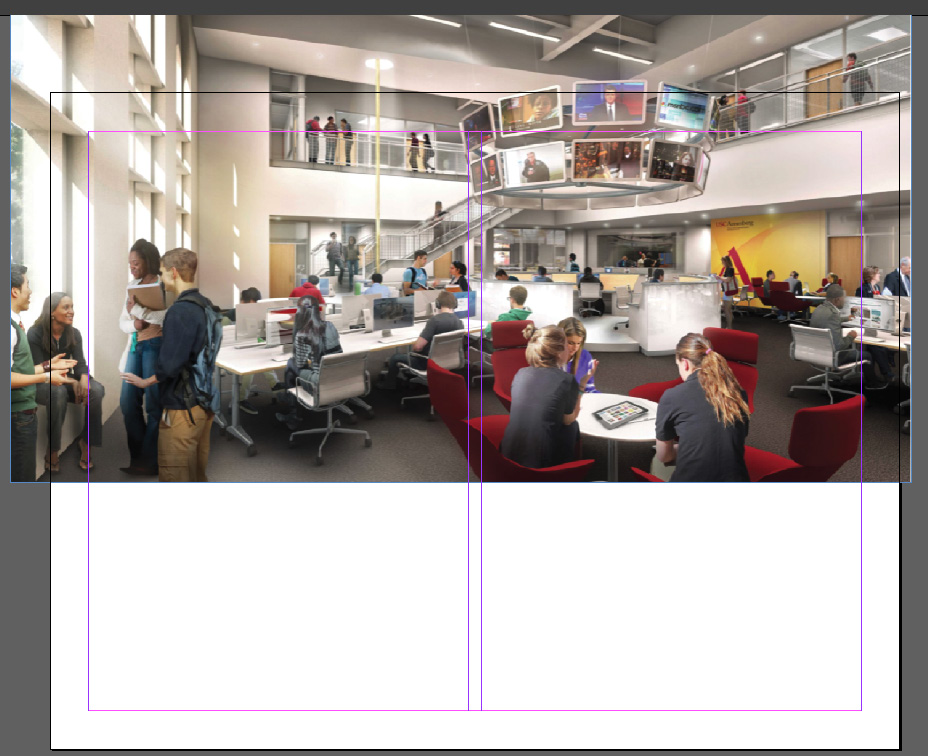
You can choose to bleed your image or have it confined to the document. Bleeding means that the image flows over the document parameters (picture below on the left). Hit “W” to see it in preview mode (right hand image). You can also constrain your image. Simply click on your image with the Selection Tool ![]() and use the handles outlining the image to drag and resize the frame.
and use the handles outlining the image to drag and resize the frame.

Adding Text
1) Select the ‘Text Tool’ ![]() from the toolbar.
from the toolbar.
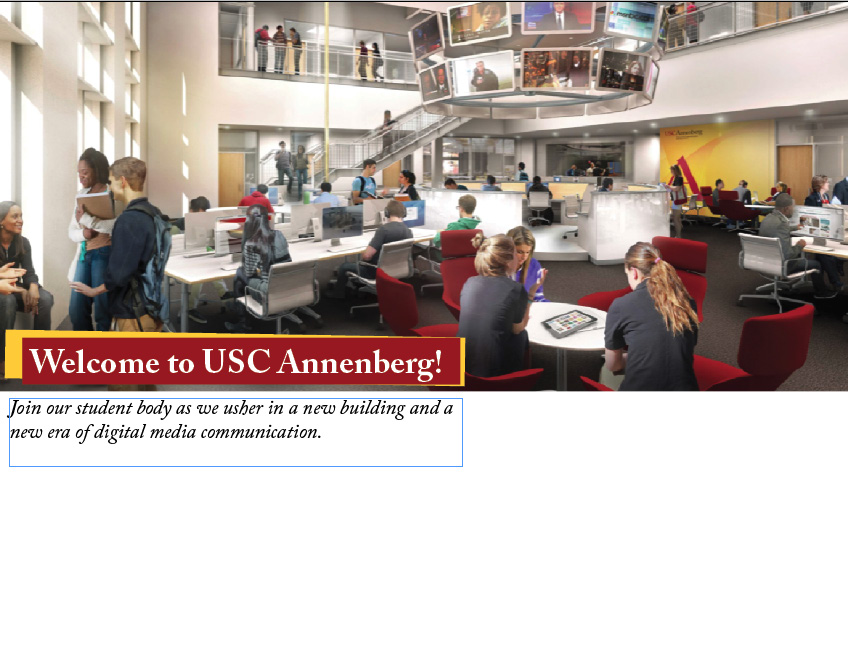
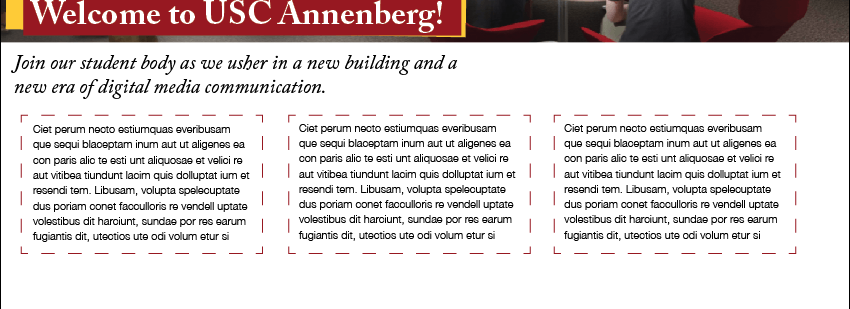
2) Click and drag to the size you need your text box to be and then start typing your text. In this case, I want to create a headline text that says “Welcome to USC Annenberg!”

3) At the top, you should have a Text toolbar, where you can change the font, size, and leading. You can also access this in your sidebar under “Character”. Get creative with your text. Tip: Don’t have too many fonts in one spread!

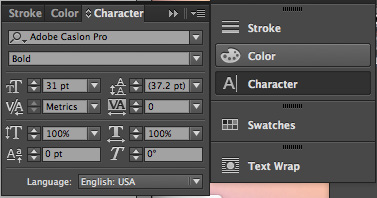
I’ve changed the font to Adobe Caslon Pro here:

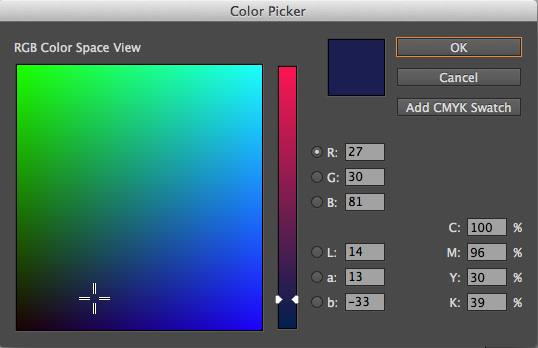
You can change the color of your text by highlighting your text within the text box and again, go to your top toolbar or on your side toolbar, where you can edit the fill and stroke color of your text. Double click on the “T” to custom select your own color with the Color Picker.
![]()
Adding Color
1) To spice up my text, I’m going to add some Cardinal and Gold behind my text.
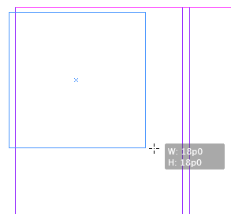
2) To create colored boxes, use the Rectangle Tool. ![]() Click and drag to the size of rectangle you want. Use the color tool in the top toolbar or sidebar to select a fill/stroke for your box.
Click and drag to the size of rectangle you want. Use the color tool in the top toolbar or sidebar to select a fill/stroke for your box.

Since I created the rectangle box after the text, it will layer on top of the text. To send the box behind my text, I’ll need to select the Rectangle with my selection tool and go to Object > Arrange >
Send Backwards, until it shows up behind my text or use the shortcut Command + [
3) I’ll do the same for the Gold rectangle. I’ve resized, repositioned, and rearranged mine so it looks like this now:
Adding Placeholder Text
Now that I’ve got a header and got a basic look for my document, I’m going to start adding more elements to help advertise USC Annenberg. I haven’t been given that text yet, so I’m going to add “Placeholder text” for now. Placeholder text can be useful when you want to map our your document on inDesign before placing it all on your document.
1) Select the Text Tool from the toolbar.
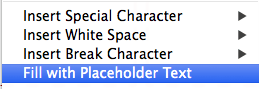
2) Click and drag a text box. Then right click and select “Fill With Placeholder Text”
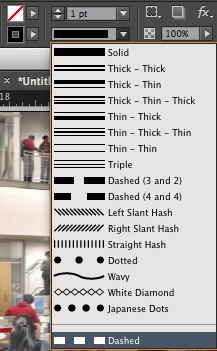
I’ve added three Placeholder text boxes here and added Rectangle boxes around them with a Dashed Stroke border. To create the Dashed Stroke border, create a rectangle with the Rectangle tool and select a stroke color with no Fill Color and select a Dashed style. inDesign gives you lots of different options to customize your elements in this way. Feel free to explore these on your own.
Wrapping Text
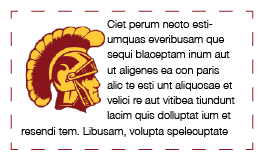
In the third text box on the right, I want to add an image of Tommy Trojan and I want the text to wrap around that image.
1) Again, I will go to File > Place… and select my image and then click anywhere to place the image on the document.
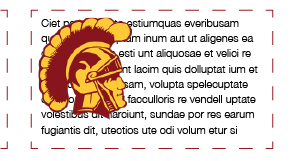
2) I’m going to move it on top of the text box as pictured above. You want to use the ‘Text Wrap’ options to wrap the text around this image. If you do not see “Text Wrap” in your right hand sidebar, go to Window > Text Wrap to make it appear.
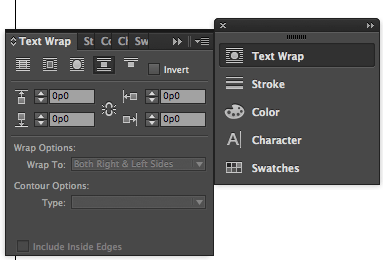
3) With the image selected, click on the “Wrap
Around Bounding Box” icon.![]()
It will now look like this:
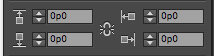
You can use the “Offset” tools to create a larger or smaller boundary box around your image.
Adding Pages
For our document, we want to add a second page with simply just plain text information.
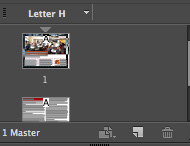
1) To add a page, click on the Page panel, and then click on the “New Page” button or go to the drop down options tab and click “Insert Pages…” to add multiple pages at a time.

For this second page, it will be two columns of continuous text.

2) Select the Text Tool.
3) Click and drag to make a text box to the length and width of the box. I’ve filled it with placeholder text and changed the font to Helvetica Neue Light, 10pt, 14pt leading.

4) You will notice a red + at the corner of the text box – that means there is more text that is not visible and does not fit in the text box. To create threaded text between the two colums (where the columns of text are connected and shift accordingly), click on the red + with the Selection tool.
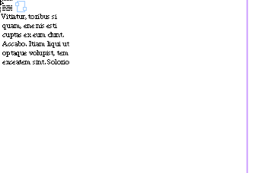
5) Move your mouse to the top of the right column and click to drop the text into the second column.
You will notice that the text overflows into the new text box you’ve created. This is “threading text.”
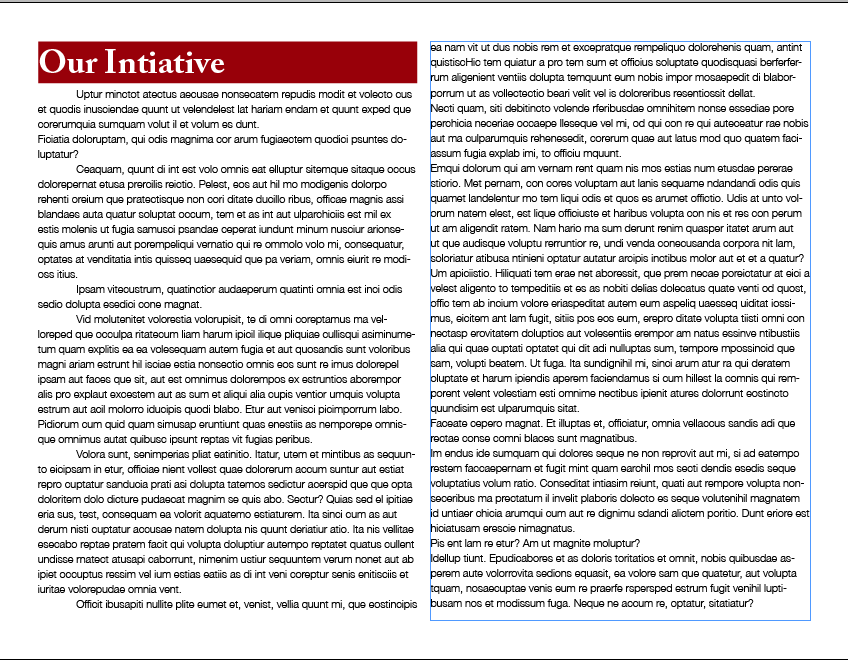
My second page looks like this:
Using Masters & Adding Page Numbers
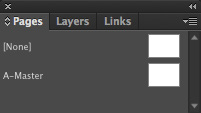
For some documents, it may be handy to have elements that are constant on every page such as page numbers. You can do this with “Masters.” This can found in the Pages panel.
1) Navigate to the Pages Panel – you’ll see A-Master. Double click on it.
Your screen will now show a blank page and this is where you create your Master. In this case, I want to add a Page Number in the bottom right hand corner.
1) Select the Text Tool.
2) Click and drag a box in the bottom right hand corner.
3) While still in the text box, click Type > Insert Special Character > Markers > Current Page Number.

4) This will place an A in the text box. This means, it will automatically place the page number for you based on what page of the document it is.

5) Each page will automatically default to reflect the A-Master, so you will now notice a page number in the corner of both pages. If you do not want the page number on the first page, you can use [None]. Simply drag [None] over the the Page 1 icon in the panel. Note you can also create more than one master if you need.

Saving Your Document
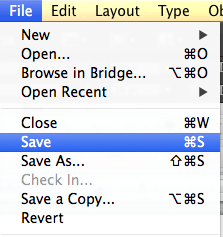
It’s always good habit to intermittently save your document as you work on it. I tend to hit Command + S frequently while working on my document, so as not to lose work.
1) Select File > Save
2) Browse to the location where you want to save your file.
3) Name your file and Click Save.
Exporting to PDF
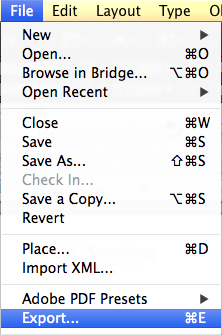
1) Select File > Export
2) Browse to the location where you want to save your file.
3) Name your file and make sure you select the Format as Adobe PDF (Print), then click Save.
